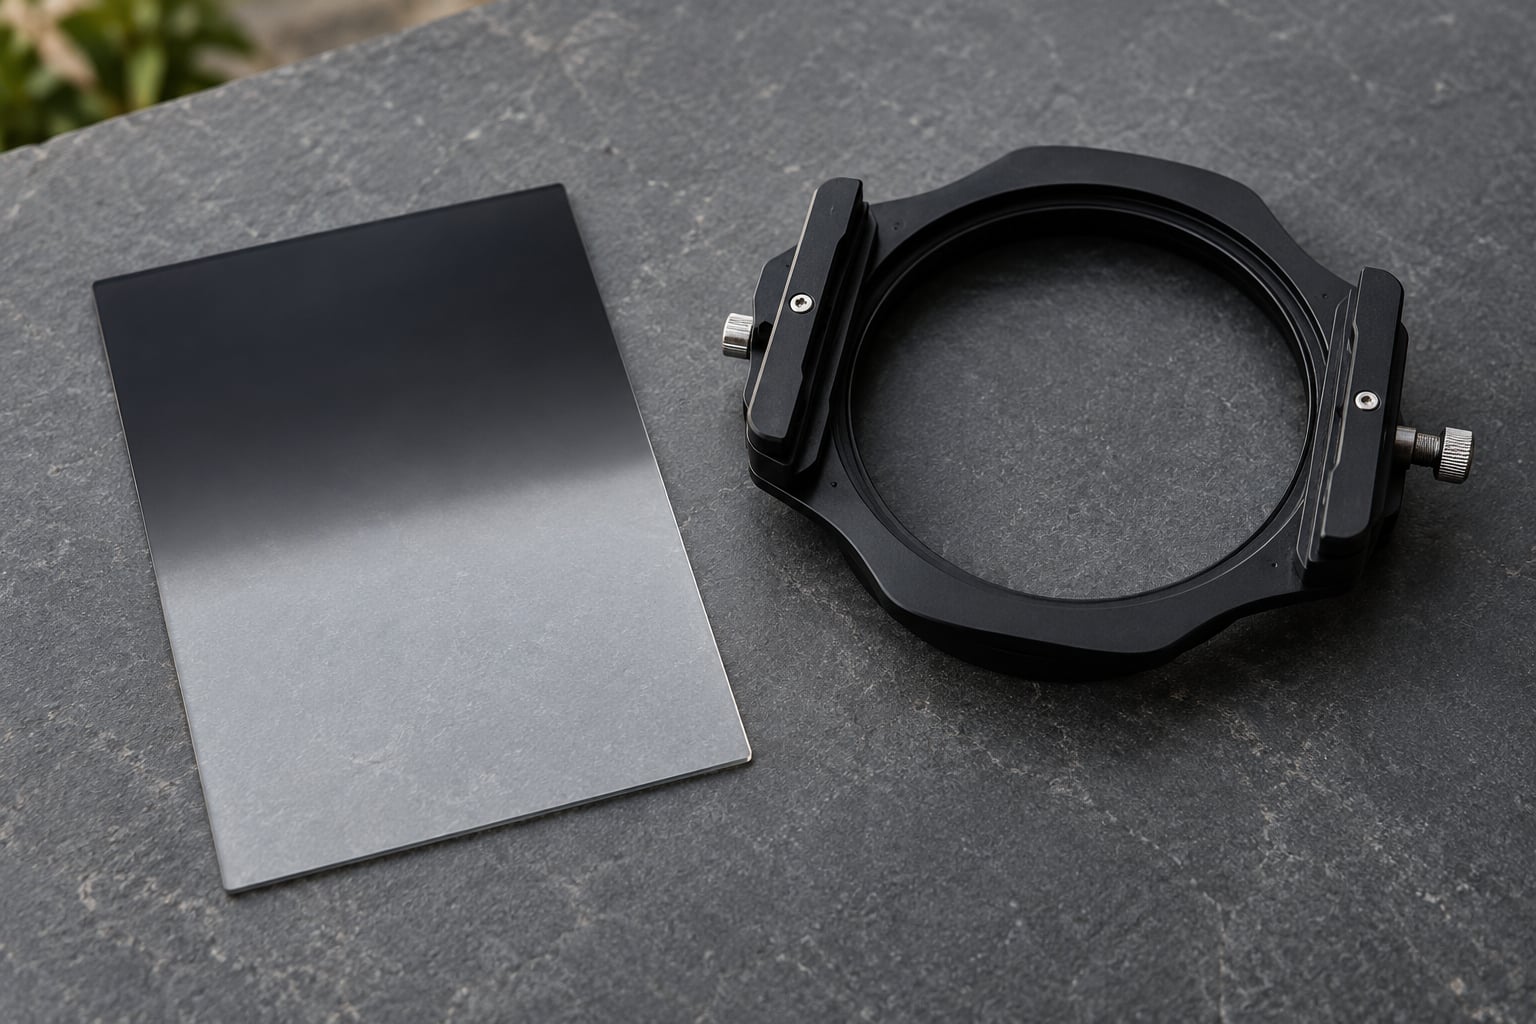
A graduated neutral density filter is used to darken one part of a photograph, usually the sky, so a bright sky and a shadowed foreground can both sit inside a single well-exposed frame. It is a half-dark, half-clear piece of glass or resin that you slide into a filter holder and rotate until its transition line matches your horizon.
That is the short answer to what a graduated neutral density filter is used for. The rest of this guide covers how the thing is built, which scenes it actually helps, how many stops you need, and when a polarizer or a software gradient does the job better.
Table of Contents
- How Does a Graduated Neutral Density Filter Work?
- How to work out how much density you need
- What Is a Graduated Neutral Density Filter Used For in Photography?
- When is a graduated ND filter the wrong tool?
- How to Choose the Right Graduated ND Strength
- Hard Graduated vs. Soft Graduated Filters
- How to Use a Graduated ND Filter Without Visible Edges
- When Is a Graduated ND Filter Better Than Another Filter?
- What Are the Common Problems with Graduated ND Filters?
- Frequently Asked Questions
- When should I use a neutral density filter?
- Which cameras have built-in ND filters?
- Are you supposed to use ND filters at night?
- Is it worth getting an ND filter?
- What is the difference between a graduated ND and a variable ND?
- Can you use a graduated ND filter on a mirrorless camera or for video?
- Conclusion
How Does a Graduated Neutral Density Filter Work?
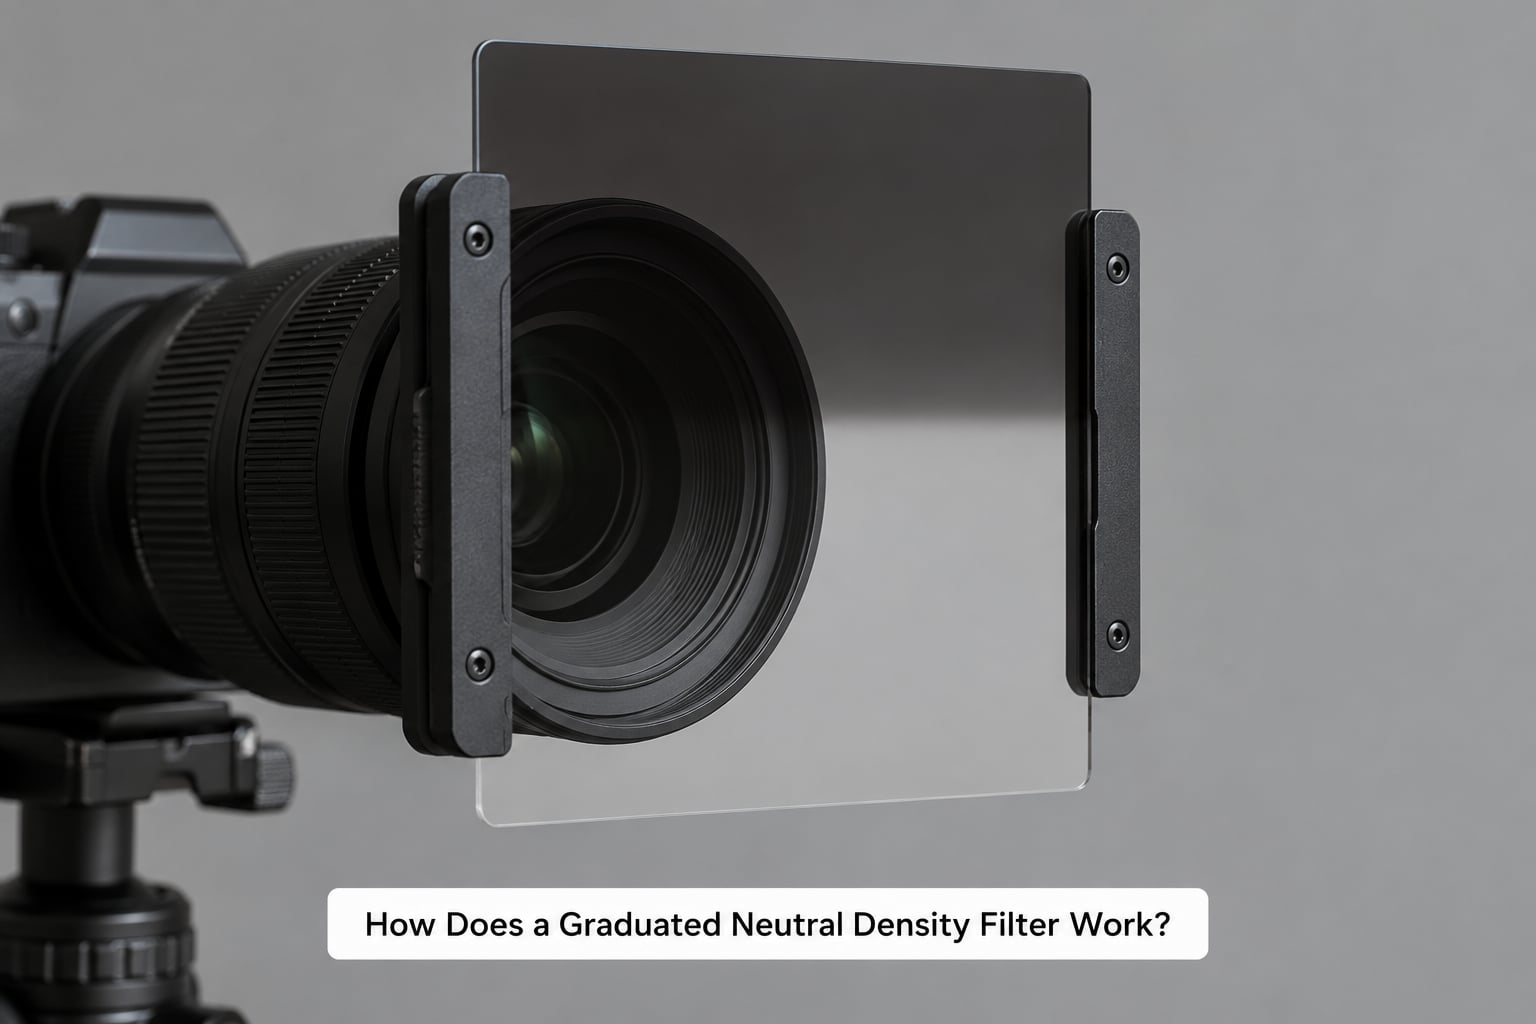
Take the name apart and it explains itself. Graduated means the darkening changes gradually across the surface instead of staying even. Neutral means the filter is supposed to reduce light without adding a colour cast. Density is the amount of light it holds back, measured in stops of exposure.
So the filter is a rectangle that is opaque at the top edge, fades across the middle and is completely clear at the bottom edge. Slide it into a 100mm filter holder, drop the holder on the front of the lens, and rotate the ring until the dark part covers the brightest part of the scene.
Because the density changes rather than staying constant, the filter does not flatten the whole frame the way a standard ND does. It only bites where your scene is already brightest.
How to work out how much density you need
Switch your camera to spot metering. Meter the brightest part of the sky, note the shutter speed, then meter the darkest foreground at the same spot. Count the stops between the two readings and buy that strength of filter, then round up one stop so the seam stays hidden. This metering method is the most reliable way to pick a strength, and it beats guessing from a scene in a photo magazine.
On a mirrorless body, exposure preview with a graduated ND fitted is honest enough to frame with, so you can check the darkening before you commit. Shoot RAW anyway. The Phoblographer’s advice to lock white balance to daylight or about 5500K is worth following, because a filter that shifts colour makes the mismatch between the filtered and unfiltered halves harder to correct later.
What Is a Graduated Neutral Density Filter Used For in Photography?
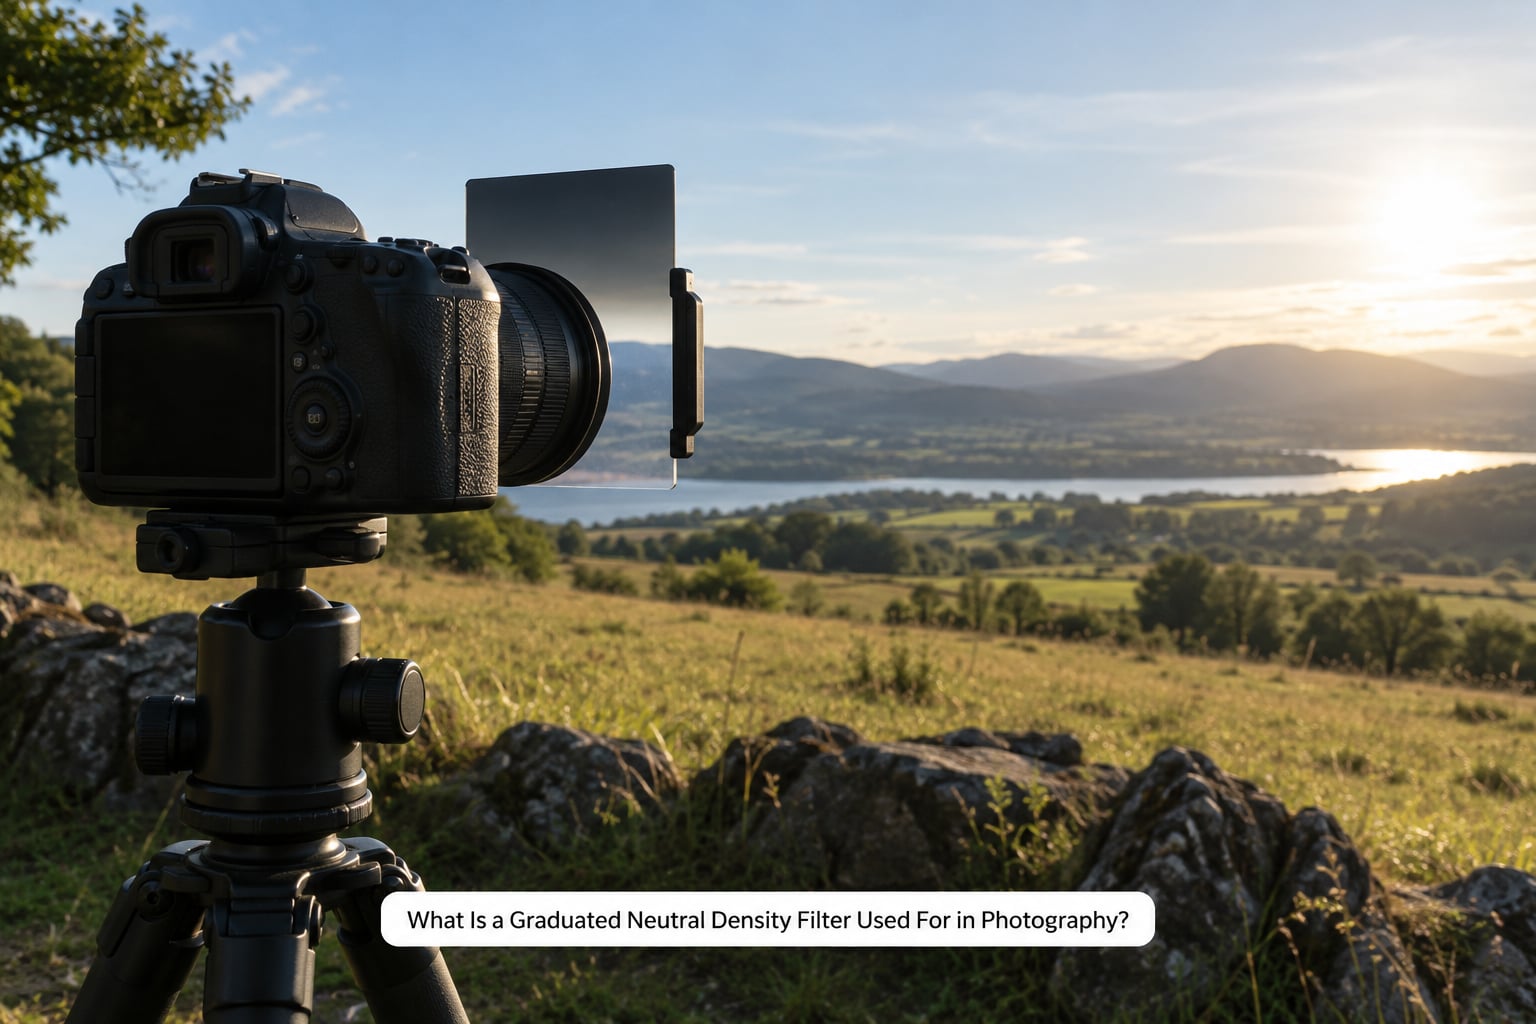
A graduated ND filter is used for any high-contrast outdoor scene where a single exposure cannot hold both ends of the tonal range. The concrete situations are:
- Bright sky over a shadowed foreground. The classic case. A coastal or rural scene shot in the middle of the day, where the sky is four or five stops brighter than the grass and hedges below it.
- Sunrise and sunset with the sun near the horizon. A standard graduated filter makes the upper sky richer, though a reverse graduated filter usually does this job better. A dpreview.com forum thread put it bluntly: graduated filters are not really for making pretty blue skies, they are for making a heavy sky look heavier.
- Cityscapes and architecture with lots of sky. The straight rooflines and tower edges suit a hard transition, because there is a natural edge to hide it against.
- Seascapes and lakes. Water is almost always several stops below a bright sky, and a flat horizon gives the transition somewhere clean to sit.
- Scenes you want to shoot as one frame. No bracket sequence, no alignment of five exposures in software, no waiting for the light to change while the tripod sits there.
- Making a weak sky look dramatic. A two-stop graduated filter over a grey afternoon sky is a quick way to add weight without touching the foreground.
When is a graduated ND filter the wrong tool?
There are scenes where it makes things worse. Skip it when the horizon is broken and busy, with treetops, power lines or a row of chimneys running through the transition, because the filter line becomes obvious. Leave it off low-contrast light such as heavy overcast, mist or a shaded forest, where there is nothing to balance. It is also a poor choice on ultra-wide lenses below about 20mm, where barrel distortion bends the horizon away from the filter’s straight edge. And if the scene is already evenly lit, the filter just darkens the top for no reason.
How to Choose the Right Graduated ND Strength
Most graduated filters are sold in 2-stop, 3-stop and 4-stop strengths, which correspond to optical densities of about 0.6, 0.9 and 1.2. A 2-stop filter cuts the light by a factor of four, a 3-stop by eight, a 4-stop by sixteen.
Here is how the strengths map to real scenes.
| Strength | Optical density | Best suited to | Watch out for |
|---|---|---|---|
| 2-stop | 0.6 | Overcast days, bright-but-flat light, gentle skies over mid-tone ground, stacking with a polarizer | Too weak for a strong sunrise, leaves a faint line on a clear horizon |
| 3-stop | 0.9 | Midday scenes with a bright sky over a shaded foreground, seascapes, most outdoor work | Can go too dark if you also add exposure compensation |
| 4-stop | 1.2 | Low sun, deep shadow foregrounds, dark storm clouds, a dramatic sunrise or sunset | Very obvious edge, and it will crush shadows if the stop count is even slightly off |
The most repeated answer on photography forums for a first purchase is a soft 2-stop and a hard 3-stop. That pairing covers the majority of outdoor scenes and costs less than committing to a full kit. The Phoblographer also suggests long exposures as the situation where a graduated filter beats an HDR sequence, because the filter holds the sky while the shutter stays open.
Two practical buying notes. First, filter rings and holders are not interchangeable between brands, so check that the filter thread matches the holder thread before you order anything. Second, a Fuji X Forum thread documents the same filter reading inconsistently in sunny conditions versus overcast ones, which is a reminder to check the result on the histogram rather than trust the label every time.
Hard Graduated vs. Soft Graduated Filters
The names describe the transition line, not the strength. A hard graduated filter moves from clear to dark across a very short band, so the change is a visible step. A soft graduated filter fades over a long distance, which hides the join but places its midpoint further from the horizon.
Hard edges suit flat, obvious horizons. A sea line, a straight shoreline or a flat roofline gives the step a place to sit where the eye is not looking. Soft edges suit rolling hills, tree lines and hazy horizons, where a distinct step would be immediately visible.
Focal length matters more than people expect. On lenses around 20mm to 50mm, a hard transition often still lines up with a gently curving horizon. At 16mm and wider, barrel distortion curves the horizon noticeably and the filter’s straight edge will not follow it, so a soft or medium edge is the safer choice.
Medium edges are the compromise, giving you a shorter fade than soft while staying less obvious than hard.
How to Use a Graduated ND Filter Without Visible Edges
Working without a visible seam is mostly about placing the transition, not about the glass itself.
- Meter both zones separately. Spot meter the sky and the foreground, then match the readings to within one stop of each other. That one stop is your filter strength, and any difference left over will show as a faint band.
- Set exposure without compensation first. Meter for the bright area, let the filter do the work on the dark area, and do not add exposure compensation on top. This is the most common beginner error and it pushes the filter past its intended strength.
- Lock white balance. Set it manually to daylight or around 5500K rather than leaving it on auto, so the filtered and unfiltered halves sit on the same colour reference.
- Mount the holder and level the camera. Slide the filter in with the dark end upward, then use the holder’s rotation to match the transition to the horizon. On a tripod, this takes seconds. Hand-holding a hard graduated filter is described on photo.net as a last resort, because any tilt in the camera shows immediately in the seam.
- Check the histogram before the shot that counts. Look for the sky sitting just below clipping and the shadows sitting above pure black, then adjust the strength or reposition the filter line if either end is wrong.
- Shoot RAW and refine in software. Even with careful alignment, a small local correction is normal. Veteran users on Fuji X Forum are blunt that you still have to correct areas in post, so treat the filter as getting you most of the way rather than all of it.
When Is a Graduated ND Filter Better Than Another Filter?
Graduated filters get confused with two other filter types, and the distinction is worth getting straight before you spend money.
| Filter | What it controls | Typical use | Weakness |
|---|---|---|---|
| Graduated ND | One part of the frame, usually the sky | Balancing sky and foreground in a single exposure | Needs careful alignment; a poor fit for broken horizons |
| Standard ND | The whole frame evenly | Long exposures of water, smoothing waterfalls in daylight | Darkens the foreground too, so the histogram can look wrong at a glance |
| Variable ND | The whole frame, adjustable from 1 to 10 stops | One filter covering many strengths, time-lapse and video | Can cast colour and reduce sharpness at some settings |
| Polarizer | Glare and reflections, not exposure balance | Water, foliage, skies, cutting reflection off glass | Uneven blue sky, weak on ultrawide lenses, absorbs about two stops |
The common question is the difference between a graduated ND and a variable ND. The graduated filter is an area control, tuned to the tonal split in your scene. The variable ND is a whole-frame control, useful for long exposures. They are not substitutes, and plenty of photographers carry both.
Then there is the honest question: are graduated ND filters still worth buying in 2026? On dpreview.com and photography.net forums, plenty of long-time users argue they have pretty much disappeared from working kits because bracketing and post-processing gradients are easier now. The counterpoint from photographers who still use them is that a filter beats most computer programs at balancing a scene, and one frame at the location beats a bracket sequence plus an evening at the desk.
My own rule is simple. If the scene is static, the horizon is clean and the light contrast is high, use the filter. If the light is changing fast, the tripod is heavy and the scene is moving, bracket it and merge later. Budget third-party soft grads are widely reported on thephotoforum to be visually indistinguishable from costlier options, so the expensive end of the range is not where the value sits.
What Are the Common Problems with Graduated ND Filters?
A visible dark line. Usually a misalignment rather than a bad filter. Reset the holder rotation, re-level the camera on the tripod and check again. On an ultrawide lens, switch to a soft or medium edge rather than fighting the distortion.
An over-dark transition. You used a strength too strong for the scene, or you added exposure compensation on top of it. Re-meter both zones and step down to the next filter down.
Colour cast between the two halves. A recurring complaint on Photo StackExchange, and the hardest of these to fix in camera. Lock white balance before mounting the filter, shoot RAW, and expect a small correction in software. A filter marketed as colour neutral is not always perfectly neutral in practice.
Flare and light leaks. Multiple filter rings in a holder create extra surfaces that catch stray light. Keep the rings clean, check for gaps, and remove the stack if the sun is in frame.
Banding in the gradient. Poor quality coating or a very dark 4-stop filter can produce visible steps in the fade. Lift the shadows slightly in RAW, and 3-stop and 4-stop filters from a decent maker are much cleaner than the cheapest ones.
Frequently Asked Questions
When should I use a neutral density filter?
Use one when the scene has more contrast than your camera can record in a single frame, which usually means a bright sky over a dark foreground. Meter the sky and the ground separately with spot metering, and use a filter that matches the difference in stops. For most outdoor work a 3-stop graduated filter covers it, and a standard or variable ND is the right tool for long exposures of moving water instead.
Which cameras have built-in ND filters?
Some cameras have electronic ND built in, and others offer it as an optional or firmware feature. The built-in versions are electronic rather than optical, so they do not darken a part of the frame the way a graduated filter does. Check your camera manual for an ND or exposure compensation menu option before buying glass for the same job.
Are you supposed to use ND filters at night?
Usually not. At night the scene is already dark, so an ND filter takes more light away from an exposure that already has plenty. It makes sense only for a specific reason, such as a very bright light source, a long exposure with a stopped-down lens, or smoothing water in a lit city scene. Otherwise you are just adding a second thing to clean.
Is it worth getting an ND filter?
It is worth it if you shoot outdoors, travel light and want correctly exposed single frames from static scenes. It is less valuable if you already bracket and merge every shot, or if you are starting out and have not learned exposure yet. Most photographers who get one use a soft 2-stop and a hard 3-stop, which covers most situations without a large kit.
What is the difference between a graduated ND and a variable ND?
A graduated ND darkens only part of the frame, fading from one end to the other, and you position that fade over the brightest area. A variable ND darkens the entire frame evenly and offers an adjustable strength from roughly one to ten stops. The graduated filter balances a sky against a foreground, the variable filter controls exposure time for long exposures.
Can you use a graduated ND filter on a mirrorless camera or for video?
Yes to both, with a caveat. On mirrorless, exposure preview is accurate enough with a filter fitted, so you can judge the darkening before you shoot, and you can hold a filter against the lens in bright light to preview it. For video, a graduated filter works on a tripod but the alignment matters more, because any movement shows as a wobbling seam.
Conclusion
A graduated neutral density filter is used to hold back a bright sky so the rest of the frame keeps its detail, and nothing more. Start by finding the brightest area of your scene, spot meter it and the darkest area, then pick the filter strength that matches the difference in stops. A soft 2-stop and a hard 3-stop covers most of what you will shoot, and once you can place the transition cleanly on a horizon you will reach for it every time.