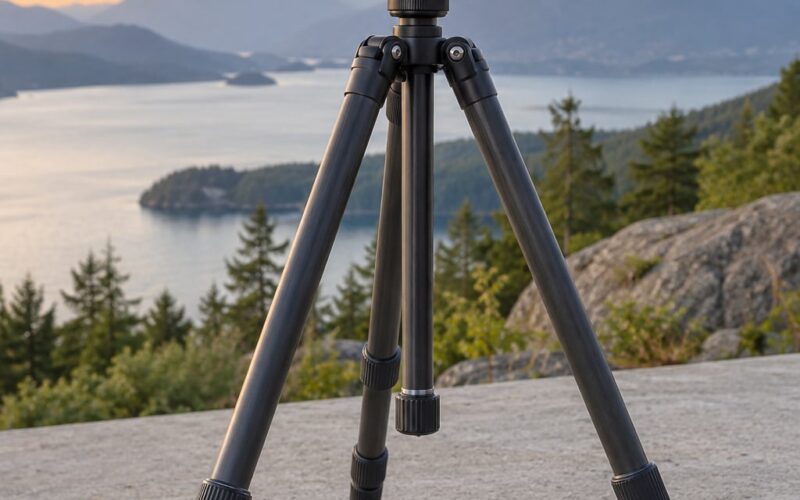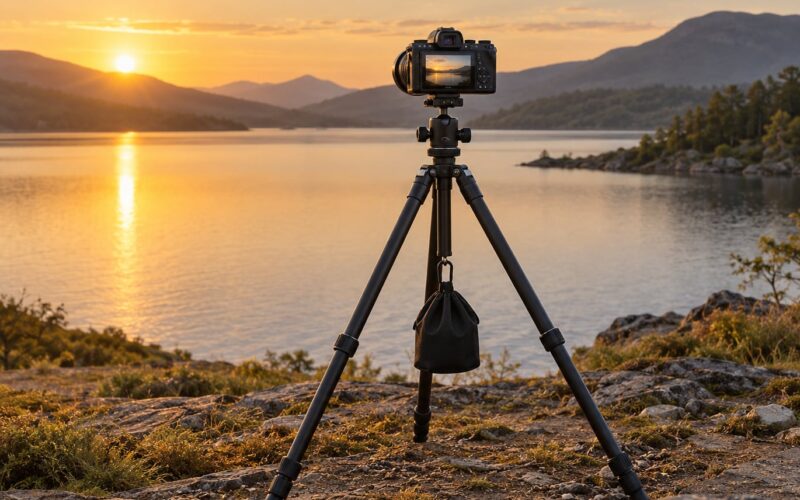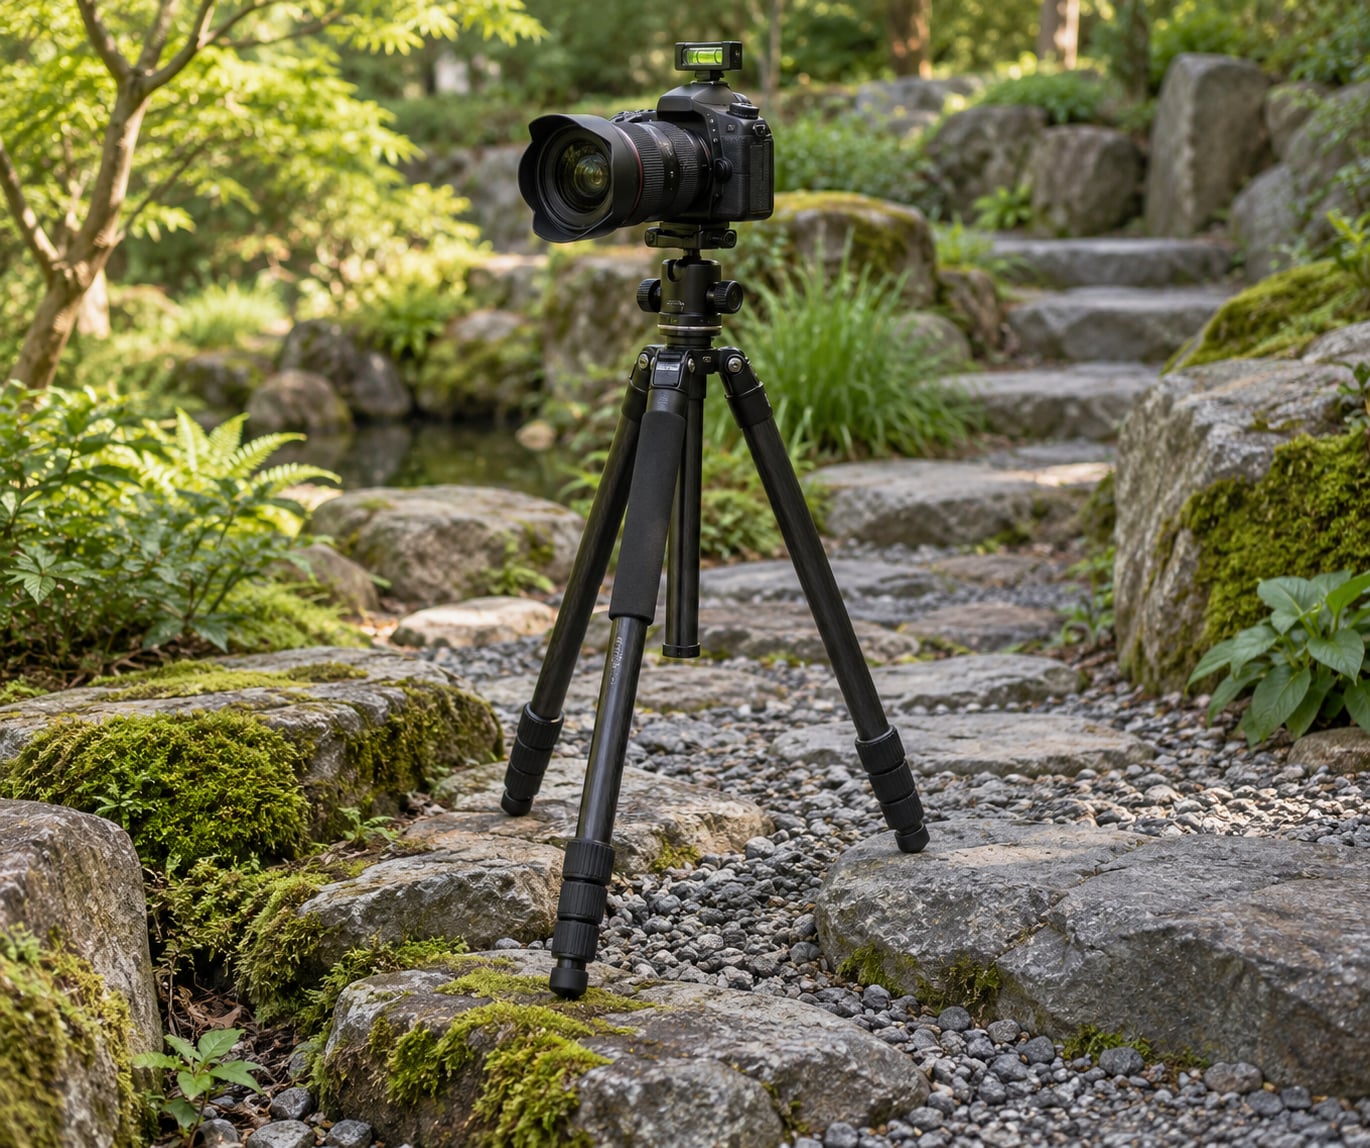
To level a tripod on uneven ground, change the length of each leg until all three feet carry equal load and the camera plate sits level to gravity. Turn the twist locks, not the center column, and confirm with a bubble level on the camera or in a phone level app. It takes about a minute once you know the order of operations.
Most wobble on a slope is not the tripod’s fault. It is one short leg carrying two legs’ worth of weight, so the whole frame acts like a spring. Fix the legs and the camera steadies on its own.
I have watched perfectly good tripods get blamed for camera shake that was really just a crooked setup. The shot looked fine at 100% on the back screen and the horizon gave it away a week later during editing.
Table of Contents
- What You Need
- Step-by-Step: How to Level a Tripod on Uneven Ground
- 1. Inspect the Ground and Position the Tripod
- 2. Set the Legs to Equal Length
- 3. Level the Camera Carefully
- 4. Check for Rocking and Recheck the Horizon
- 5. Stabilize the Setup for the Shot
- Common Mistakes
- Why Not Just Use the Center Column to Level a Tripod on Uneven Ground?
- The Mistakes That Show Up Most Often
- Frequently Asked Questions
- Can you level a tripod on uneven ground without a bubble level?
- Does a tripod need to be perfectly level to take a sharp photo?
- What if my tripod has a built-in spirit level?
- Can I use a phone level instead of a camera or tripod level?
- Should I put a tripod foot on a rock on a slope?
- How do I photograph safely when the ground slopes downhill?
- Final Stability Check Before You Shoot
What You Need
You need very little. A tripod, some way to read a level, and a camera that is not hanging off one side of the frame.
- A tripod with independently adjustable legs. Twist locks or flip locks both work. Leg-angle release collars are useful but not essential.
- A bubble level. Many tripods have one built into the top plate or the center column. A small machinist’s level from a hardware shop works just as well.
- A phone level app as a backup. Most camera apps have one built in, and some phones have a physical level sensor you can find in a shortcut.
- An optional leveling base. This is a plate with three screws or a ball joint that sits between the tripod and your Arca-Swiss plate. Worth it for regular landscape and astrophotography work.
- A loaded camera that sits centred. A long lens plus a battery grip shifts the mass forward, and that changes how you position the tripod relative to your subject.
- Two small items that rescue bad ground: a folding saw blade or a small platform for mud, and spike feet or snowshoe pads if you shoot on rock, sand or ice.
Skip all of it if you are just trying to level on a park path. A phone level and three legs get you there.
Step-by-Step: How to Level a Tripod on Uneven Ground
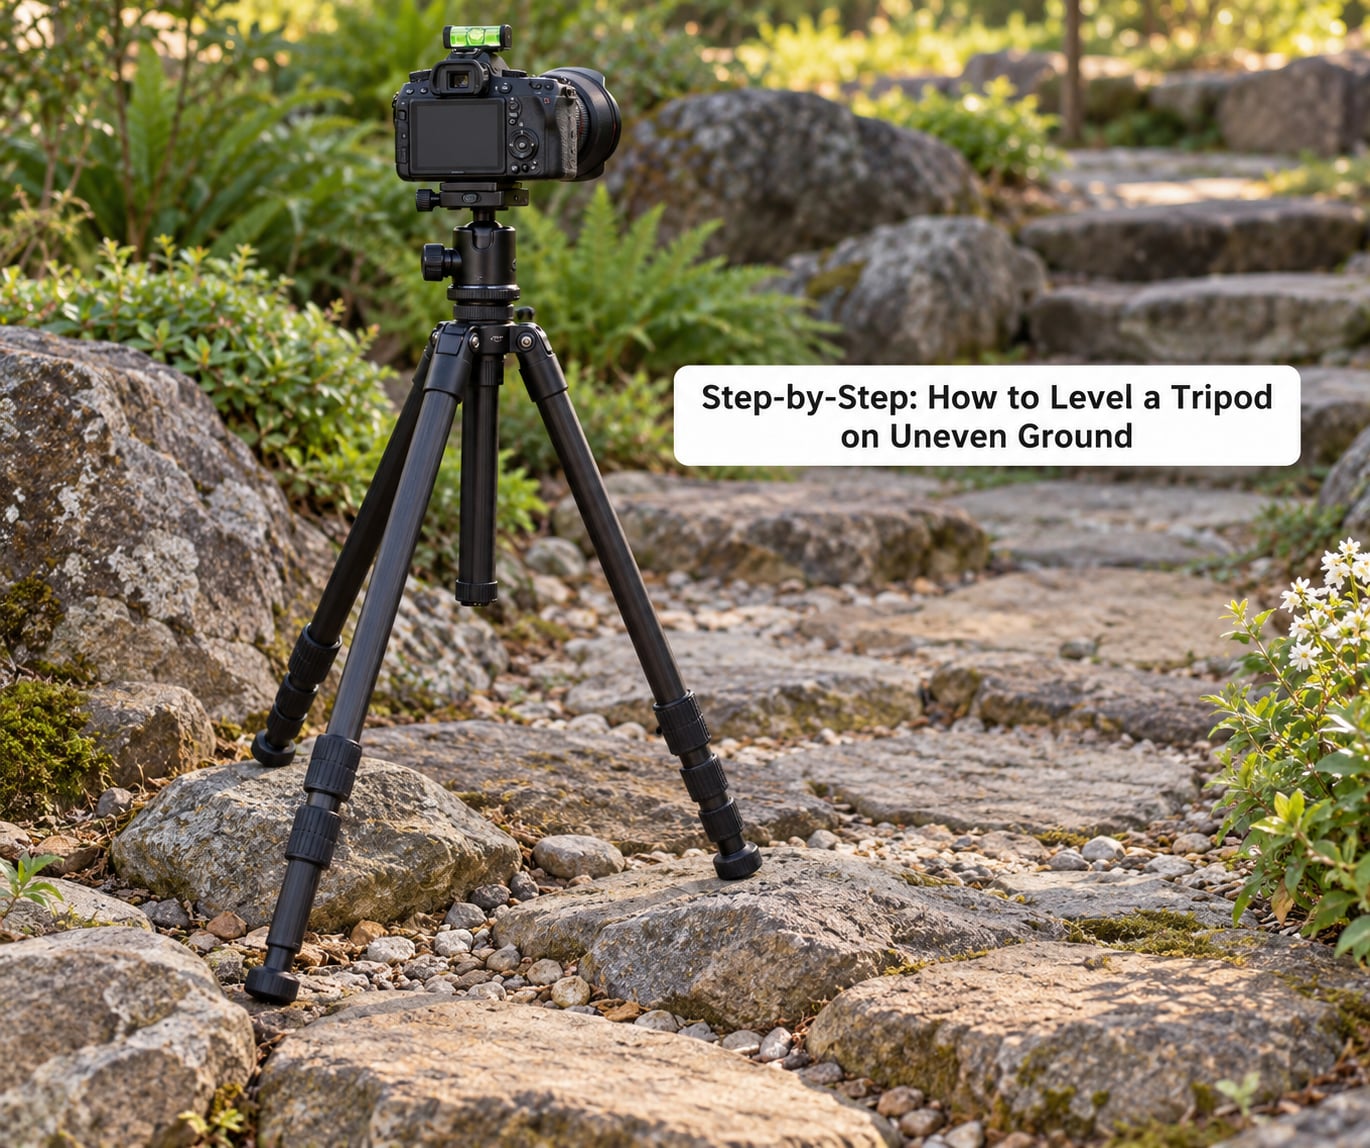
Work in this order and you will not fight the tripod. Each step has a visible check, so you know it worked before moving on.
1. Inspect the Ground and Position the Tripod
Look at the patch before you unclip the tripod from your bag. You want a spot where all three feet can reach solid ground within the leg’s range, not a spot that happens to be directly under you.
Tap each candidate foot position with the heel of your hand. Hollow-sounding ground means soil with air pockets under the crust, and a spike or foot pushed into it will sink as the exposure runs. Firm ground sounds dull and flat.
Next, position the tripod so the camera side faces downhill or across the widest part of your base. On a slope, the uphill leg is the one that will splay, so you want the load pushing into the frame rather than out of it.
Open the legs wide enough that the base triangle covers a broad area, but do not force them until the leg-angle collar strains. A forced leg is a bent leg, and bent legs drift under a long exposure.
Success check: every foot has a place to sit, the wide part of the base points uphill, and nothing is obviously going to sink when you press down.
2. Set the Legs to Equal Length
This is the step people skip, and it is the whole trick. Start all three legs at roughly the same extension so the leg sections carry similar loads. Do not start with one leg at half extension because that is where it needs to end up.
With the legs near equal, plant all three feet flat. Then walk each leg up or down a quarter turn at a time: downhill legs get longer, uphill legs get shorter. Turn the twist lock a fraction past firm, no more.
Watch the bubble as you go, not just at the end. Once the bubble starts drifting toward one edge, you know exactly which leg to keep adjusting and in which direction.
Keep the center column down and close to collapsed while you work. It is a fine carrying handle and a poor level. Extending it to reach level on a slope tilts the base plate underneath it, and the tilt sits exactly where the camera plate needs to be flat.
Success check: the bubble sits in the ring, and all three feet are touching the ground with equal pressure.
3. Level the Camera Carefully
Put the bubble level on the camera’s top plate or the lens barrel, not on the tripod, if you can. The bubble on the tripod’s top plate only tells you the frame is level, which is not the same thing.
If the bubble is off, nudge one leg at a time by a fraction of a turn and recheck. You are aiming for centred, not for perfection. A bubble that stays inside the ring over a full leg adjustment is a well-set tripod.
Some cheap bubble levels are the weak link in the whole system. Photography forum users point out that a moulded plastic vial with a curved top surface can read centred while the head underneath it is genuinely tilted. If your level seems to contradict what you can see, lay a known-flat surface on top of it and test.
A phone level app is a decent stand-in. Lay the phone flat on the camera’s top plate with the screen dark so it does not tilt under its own weight, and read the angle while you adjust. The sensor measures tilt accurately; the app’s interface is what makes it fiddly.
Success check: the bubble is centred with the camera mounted, or the phone reads within a degree of zero on both axes.
4. Check for Rocking and Recheck the Horizon
Level means nothing if the frame rocks. Push down gently on each leg in turn, then push on the camera itself from several directions. Any movement at all means one foot is bearing less weight than the other two.
The usual cause is a foot resting on the edge of a rock rather than a flat face. Either rotate the leg until the foot has full contact, or move to a slightly different spot. I once spent ten minutes on a riverbank wondering why the bubble would not hold before I realised one foot was teetering on a pebble.
Then recheck the horizon itself. Turn on your camera’s electronic level or grid lines and look at them, not at the tripod. A level frame with a crooked camera mount will still put a slope in the sky.
For panoramas, check this again after every frame. Stitching software aligns overlapping areas, and a small tilt between shots leaves a visible step in the finished image.
Success check: no visible rock under pressure from any direction, and the on-screen horizon sits level.
5. Stabilize the Setup for the Shot
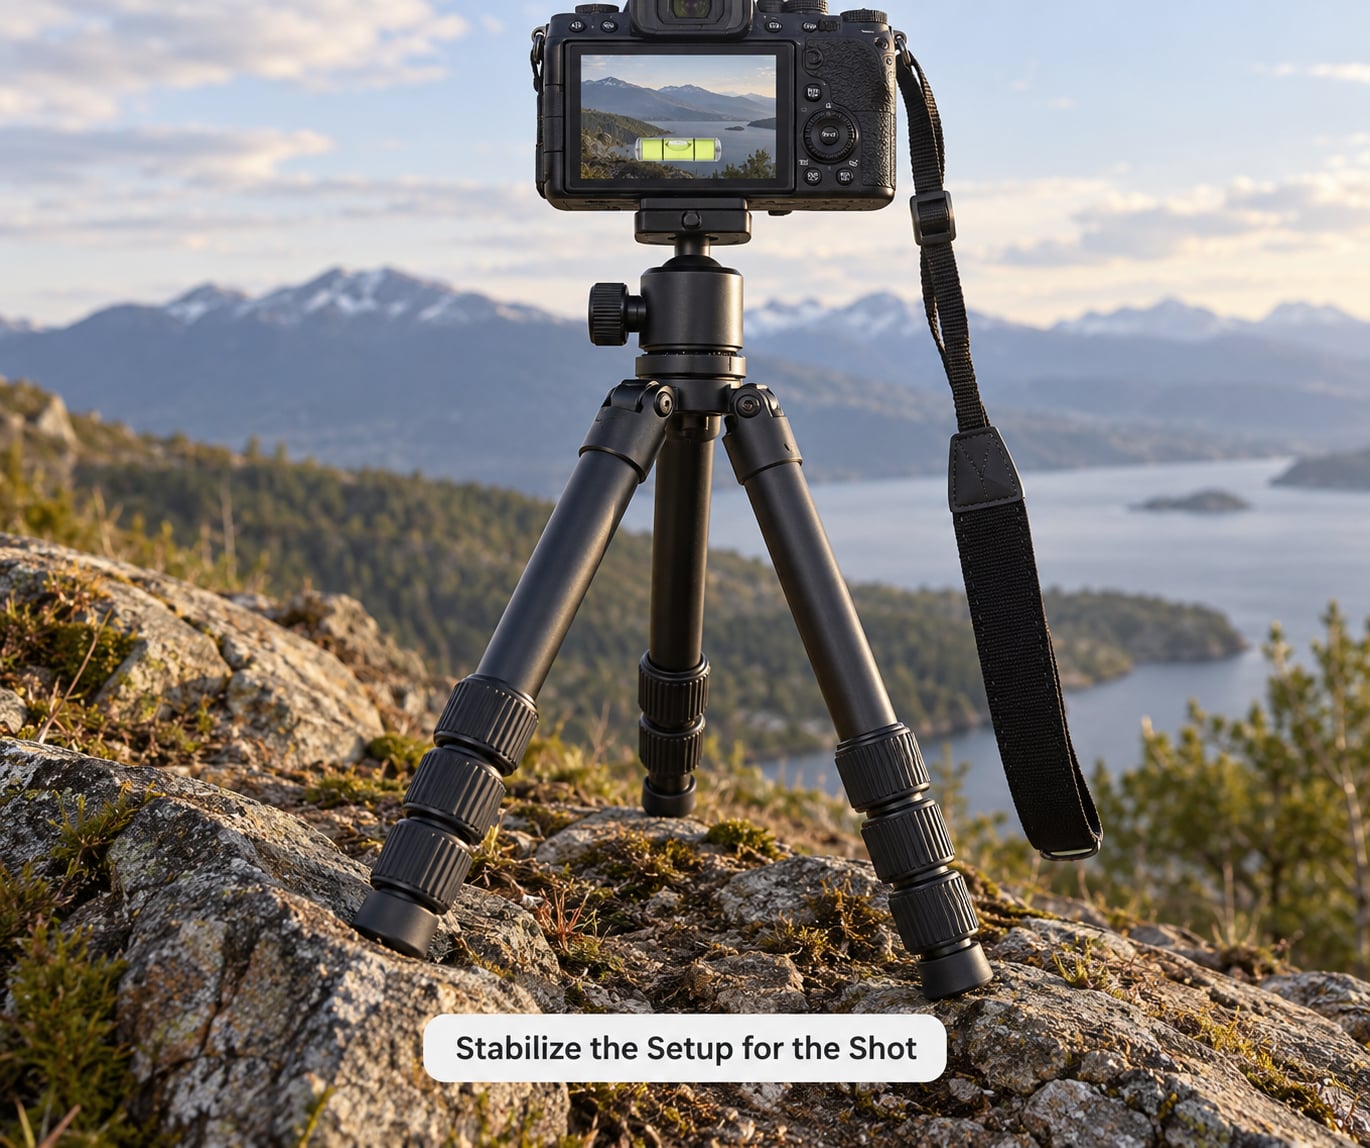
Once the geometry is right, tighten everything and clean up the things that introduce movement.
Check every twist lock, including the ones on sections you did not extend much. A lock with uneven torque will slowly creep during a multi-minute exposure. Open them fully, close them fully, then snug them a quarter turn past firm.
Hang your camera strap down between the legs or buckle it to a leg. A loose strap swinging in the breeze is a pendulum you built yourself.
If you need more weight, use the hook under the center column. Bag or pouch, enough to feel the tripod settle rather than shift, roughly 15 to 25 percent of your rig’s total weight. Keep the bag low and close to the legs so it cannot swing and knock the frame.
Use a 2-second timer or a remote release instead of the shutter button. Pressing the shutter moves the camera, and at long focal lengths that movement shows up even on a perfect setup.
Wait a moment after you finish adjusting. Vibration in the legs and any weight you added takes a few seconds to settle, and long exposures reward the wait.
Success check: the frame is quiet when you press on it, nothing dangles, and the bubble is still centred after the strap and weight are in place.
Common Mistakes
Every one of these is something I have watched happen on a live shoot, usually by someone who had done it a hundred times on flat ground.
Why Not Just Use the Center Column to Level a Tripod on Uneven Ground?
Because the column sits on top of a base plate that is already tilted. Extending it raises the camera along a diagonal and leaves the base plate at whatever angle the ground dictates. Your head is level while the platform underneath it is not.
A tripod is a triangle, and a triangle only stays rigid when all three contact points carry roughly equal load. Shorten one leg and that leg stops sharing the load. The remaining two act as a lever, and the head becomes the pivot point. That is where micro-vibration comes from, and it gets worse the longer the column extends.
There is one exception worth knowing. Tripods with an inverted column let you flip the whole assembly so the wider section is on top and the narrow section reaches the ground. It is a genuine solution for low-angle work on rough ground. Check that your model supports it before you rely on it.
The Mistakes That Show Up Most Often
Levelling the frame but not the camera. A level on the tripod’s top plate tells you the frame is level. A level on the camera tells you the shot will be. Use the camera.
Forcing a leg to reach. If a leg needs to be twisted hard to reach the ground, the leg-angle collar is doing the work your foot position should be doing. Move the tripod instead of bending the leg.
Standing on loose soil, gravel or sand. Every foot sinks a different amount and the level drifts mid-exposure. Push down hard on each leg before you trust it, or find firmer ground. A small platform under each foot solves it.
Leaving one foot on the edge of a rock. It reads as level in the bubble and rocks under the smallest push. Full flat contact per foot, or move.
Checking stability before the accessories go on. A tripod that was solid becomes a lever once you hang a bag from a high hook. Recheck after everything is loaded.
Trusting the phone without reading it twice. Phone levels measure the device, and the device is only a proxy for the camera. Lay it flat, screen dark, and read both axes. It is a good cross-check, not the last word.
None of these are about gear quality. They are about doing the same four things in the right order: inspect, equal legs, level the camera, test for rock.
Frequently Asked Questions
Can you level a tripod on uneven ground without a bubble level?
Yes, and most photographers do it by eye every time. Find a horizon line in the distance, or hold your phone’s camera at arm’s length and use it as a reference, then rotate the head until both match. It takes longer than a bubble level and it is less precise, which is why a cheap vial level is worth carrying. For panoramas and long exposures, do not trust the eyeball method alone.
Does a tripod need to be perfectly level to take a sharp photo?
No. Slight tilt will not blur an image, because lens and sensor alignment has far more effect on sharpness than a degree of tilt. What a tilt does is tilt the horizon, break panoramic stitching, and add micro-vibration when one leg carries too little load. Get close to level, keep the load even, and let the rest go.
What if my tripod has a built-in spirit level?
Use it, but put it where it measures what you care about. A level built into the tripod’s top plate tells you about the frame, not the camera. A level mounted on the ball head or the camera plate is closer to the shot you are taking. If it is moulded into the plastic top of the column, treat it as a rough guide and confirm with a second level on the camera.
Can I use a phone level instead of a camera or tripod level?
Yes. The tilt sensor in most modern phones is accurate to well under a degree, which is better than a lot of tripod-mounted vials. Lay the phone flat on the camera’s top plate with the screen dark so it sits flat, then read the roll and pitch while you adjust each leg. The catch is that the app takes a few seconds to settle, so give it a moment before you turn a lock.
Should I put a tripod foot on a rock on a slope?
Only if the rock has a flat face big enough for the whole foot and you can wedge the foot against it so it cannot slide. A small contact patch is worse than bare ground because the foot can rotate. On a slope, most photographers get better results by shifting the tripod until one uphill foot lands on a broad surface rather than chasing the rock directly under it.
How do I photograph safely when the ground slopes downhill?
Set the tripod up on the downhill side and shoot across the slope, not straight down it. Keep your weight on the uphill side of the legs and never lean on the camera to adjust it. On loose ground, wear boots with grip and walk the route before you commit to a position. If you cannot reach a stable stance comfortably, move rather than stretch.
Final Stability Check Before You Shoot
Start with all three feet fully planted and carrying equal load, then level the camera, then push on the frame from several directions. If nothing moves and the bubble is centred, you are ready to compose.
One more minute of checking beats an hour of editing a tilted horizon. When you have to level a tripod on uneven ground, the order never changes: equal legs first, camera level second, rock test third.