How to focus at night comes down to four moves: switch the lens to manual focus, open Live View, magnify a bright star or the moon, and turn the focus ring until it collapses into a tiny pinpoint with no colour halo. Then tape the ring so it cannot drift. Get those four right and the rest of your night settings can be loose. Skip them and a 15-second exposure of a gorgeous sky comes back as a grey smear.
Focus is the single most common reason night photos look soft, and it is also the most fixable. Autofocus systems on most cameras give up somewhere around minus 4 EV, while a moonless backcountry sky can sit at minus 9 EV. That gap is the whole problem, and the technique below closes it.
Table of Contents
- What You Need
- Step-by-Step
- 1. Switch to Manual Focus When Autofocus Struggles
- 2. Use a Tripod and Keep the Camera Still
- 3. Find a Bright Area to Establish Focus
- 4. Set Focus with Live View or the Focus Magnifier
- 5. Apply the Focus Peaking or Focus Assist Display
- 6. Recompose Without Changing Focus
- 7. Test with a Short Exposure
- 8. Take the Final Photograph and Check the Result
- Common Mistakes
- Frequently Asked Questions
- Do I need autofocus to shoot at night?
- Is a tripod necessary for focusing at night?
- How do I focus on stars without Live View?
- What f stop is best for night photography when you are focusing by hand?
- How do I focus on the moon without a bright sky?
- Why do my stars look like dashes instead of dots?
- Conclusion
What You Need
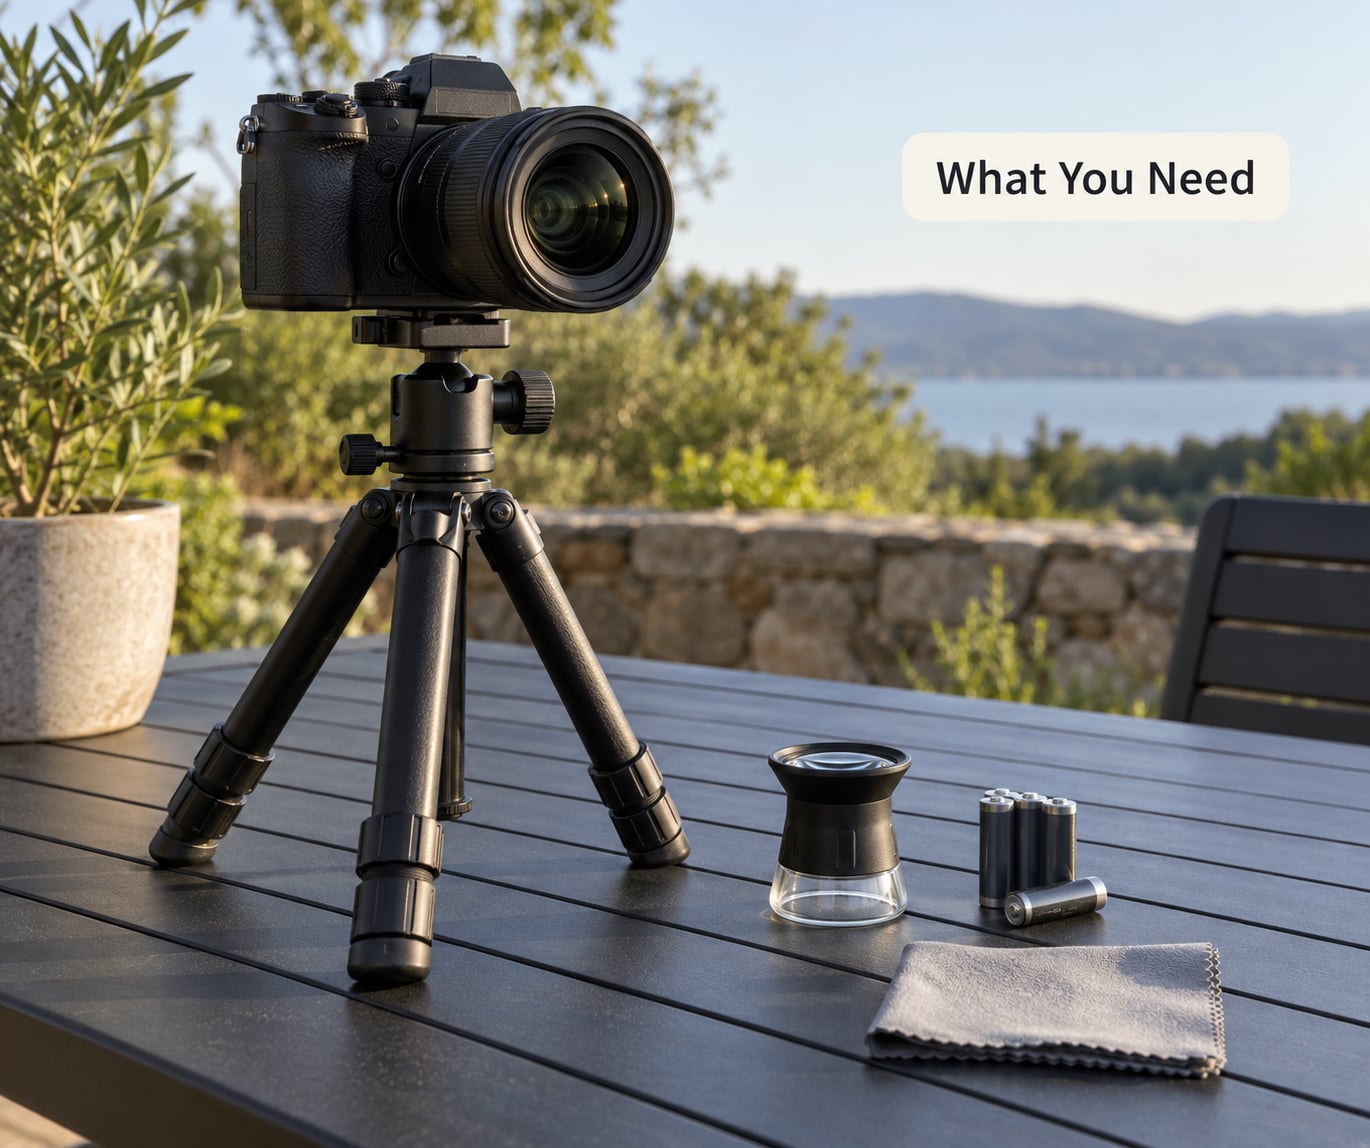
Most of this list is short. You need a tripod, a way to focus manually, and one light source you control. Anything beyond that is optional.
A tripod. Not optional, even though this article is about focus. Focusing by hand means your head is pressed against the viewfinder and your fingertips are on the ring, and no one can do both without nudging something. A tripod also lets you step back, look at the rear screen from a normal angle, and take a test frame without shifting the camera.
A lens with a manual focus ring. Every interchangeable lens has one. Manual-focus glass gets a bonus: most manual lenses have a hard infinity stop, so you can feel the ring stop rather than hunting for it in the dark. Zoom lenses with electronic focus-by-wire often have a long, slithery throw and no stop at all, which is why they need the tape more than anything.
A camera with Live View. Mirrorless bodies live in this mode. DSLRs with a live view screen get it through the menu. If yours has none, there is still a workable fallback further down.
One light you control. A headlamp with a red mode, or any flashlight, does more for you than an extra lens would. It gives autofocus something to grab, and it gives you a high-contrast edge to judge sharpness against.
What you do not need: a focus checker, a laser distance measure, or a special night lens. Forums keep good company on this. On the Pentax Forums, experienced shooters get both the foreground and the stars sharp with a tripod, a two-second timer and the hyperfocal distance. On DPReview, the advice that gets repeated back is simply to find any light source that is not the sky, lock to it, switch to manual, and shoot.
Optional but genuinely useful:
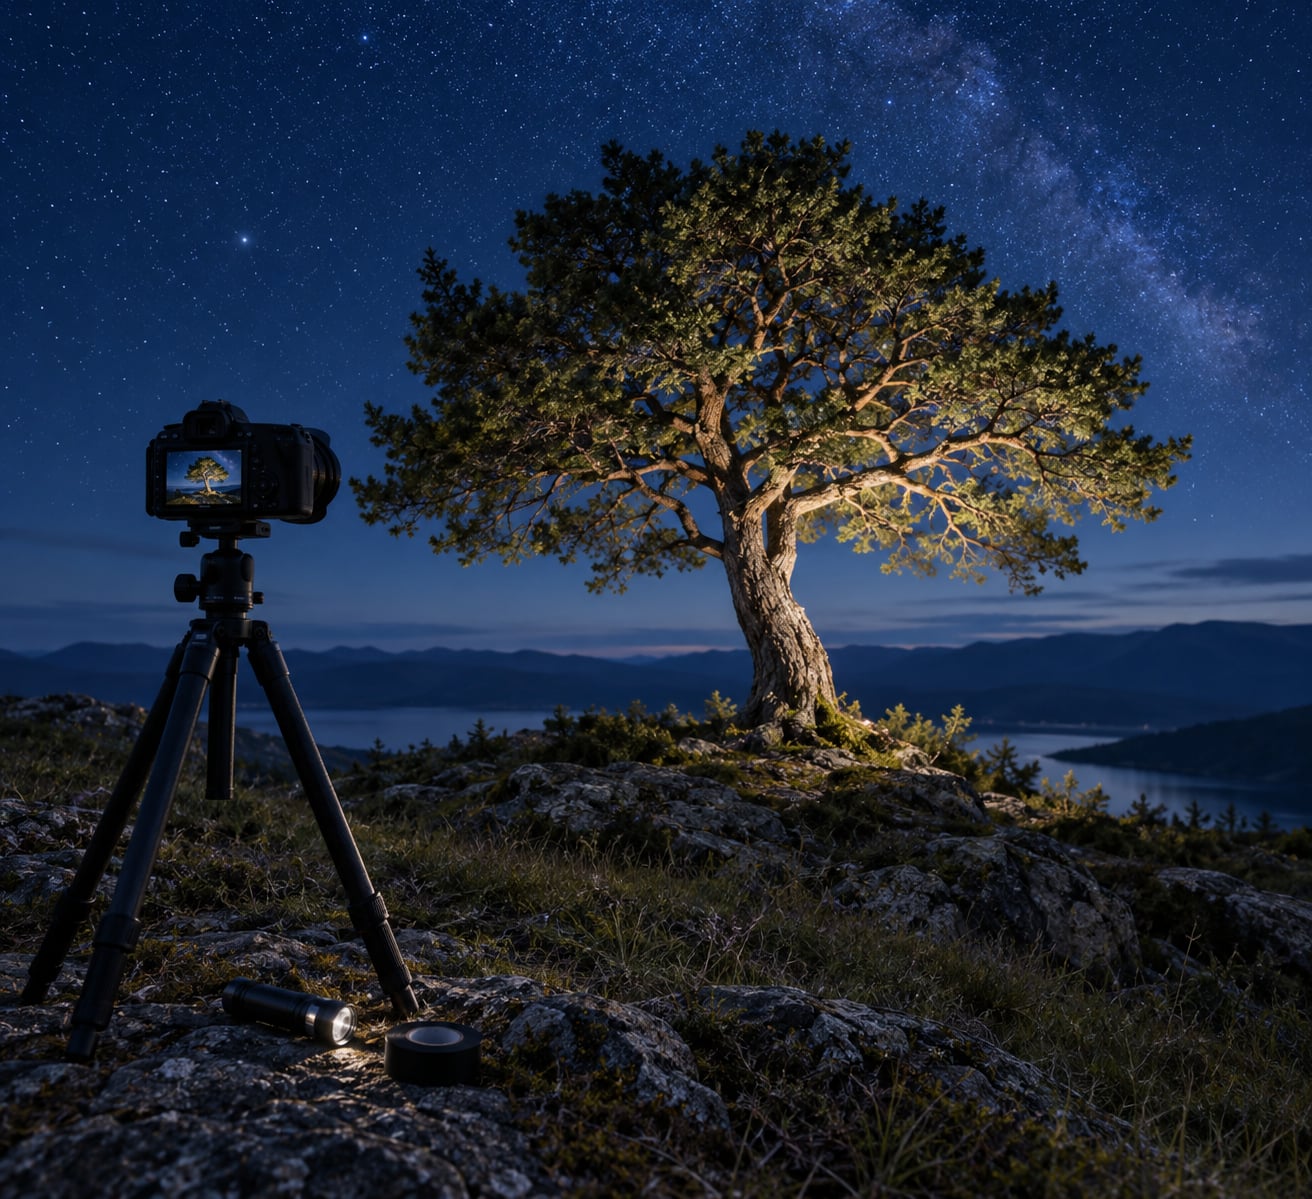
- Gaffer tape or matte tape to lock the focus ring once you have dialled it in.
- An expired plastic card wound with tape, used as a wedge so nothing can rotate the ring.
- A two-second timer or a remote release, so you are not touching the camera at the moment of exposure.
- A lens cloth for condensation. Moving from a warm car into a 5-degree night puts a film on the front element that wrecks contrast and, sometimes, focus judgement.
- A laptop and a tethering cable, if your camera supports it. Magnifying a night scene on a bright laptop screen is easier than squinting at a dim one.
Step-by-Step
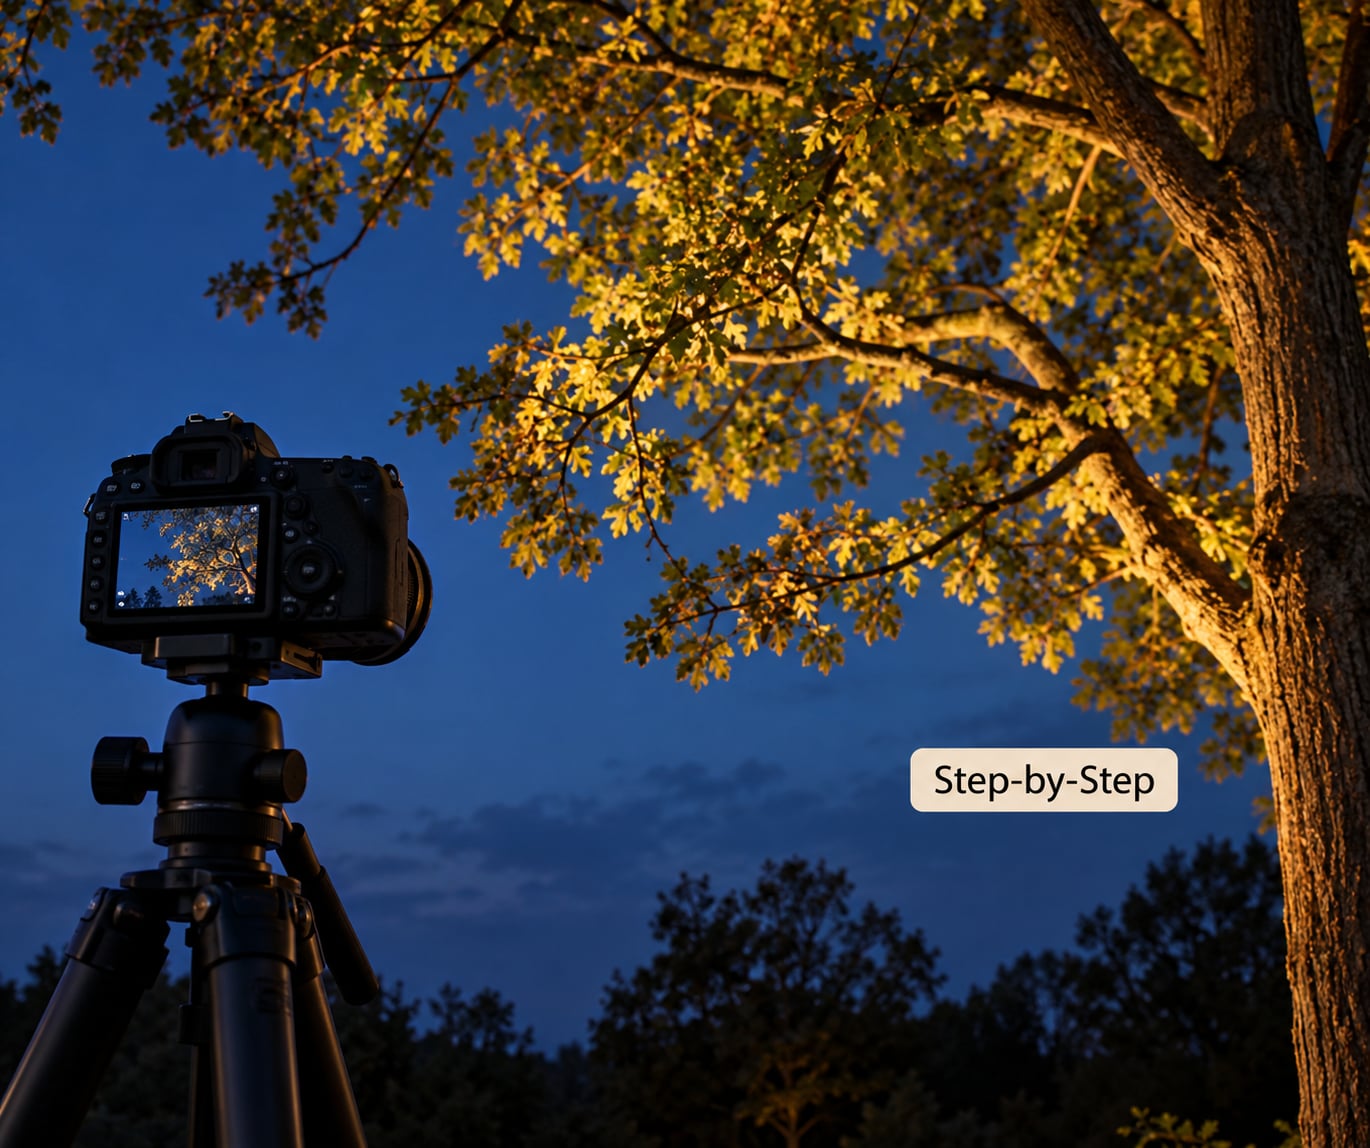
This is the process I use on any night shoot that matters. It takes about three minutes once you have done it a few times.
1. Switch to Manual Focus When Autofocus Struggles
Find the focus mode switch on the lens or in the camera menu and set it to MF, or M. On many lenses it is a small slider marked AF/MF. On mirrorless bodies it is usually a menu item or a button you can hold down.
You are switching because of a hard limit, not a preference. Autofocus needs contrast and enough light to compare two edges. In deep darkness there is no second edge to compare against, so the system hunts, reports failure, or locks confidently on the wrong thing. The worst outcome is not a failed lock. It is a successful lock on the lens barrel, the inside of a barn, or the nearest leaf, which produces a perfectly focused photo of nothing.
You will know the switch worked when the lens no longer snaps back to a default position when you release the shutter.
2. Use a Tripod and Keep the Camera Still
Mount the camera, tighten the head, and load the weight so the lens sits over the centre leg. On longer lenses, hang your camera bag from the centre hook under the tripod so the lens does not tip the whole thing forward.
For the focus step itself the tripod is doing something specific. To judge whether an edge is sharp, you need to be able to see individual pixels, and you need to see them without your own pulse moving the frame. Magnify to 10x on Live View and a hand-held camera drifts constantly enough that you will chase sharpness that is not there.
After you lock focus, do not touch the camera again except through the two-second timer or a remote. A bump of a few millimetres changes focus far more than most people expect at close distances.
3. Find a Bright Area to Establish Focus
Your lens cannot focus on nothing. You need one point in the frame with a clear, hard edge, and you need to put that point on your chosen focal plane.
Work down this list from best to worst:
- The moon if it is up and not blown out. It sits at infinity, which is exactly where a night sky needs to be focused.
- The brightest star or planet you can see through Live View. At 10x magnification even faint stars resolve.
- A distant light at least 100 feet, or 30 metres, away. A far-off roadway, a town’s edge, a harbour light. This is the answer people give most often in the forum threads, and it works better than the sky does.
- A lit subject you carry with you, such as a flashlight placed at the target distance.
- A high-contrast edge on a nearby object, when you are shooting a lit foreground rather than stars.
Check success by looking at the target. If it is a lamp, its filament or its housing edge should have a defined boundary, not a soft glow bleeding into the dark. That boundary is what you will dial focus against.
4. Set Focus with Live View or the Focus Magnifier
This is the core of how to focus at night photography, and it comes down to making the screen bright enough to judge and then zooming in far enough to see the difference between nearly sharp and sharp.
Turn on Live View. The screen may still be almost black because it is showing you a correctly exposed dark scene. Temporarily raise ISO to 6400, or up to 12800 on a body that holds it, and lengthen the shutter slightly. The feed brightens. It will be noisy, and noise is not your problem right now. Find your target, dial focus, then put the ISO back to where it needs to be for the real exposure.
Users describe exactly this in practice. On GetDPi, someone shooting a Hasselblad for a night sky put ISO as high as it would go, found focus on the brighter, noisy field, and then dropped the ISO back for the shot. Same move, different body.
Now magnify to 10x or more and centre your target. Turn the focus ring slowly. Three cues tell you you have arrived:
- Size. The star or filament shrinks. This is the most reliable cue by a distance.
- Dim stars appearing. As the focus point goes past slightly soft to correct, fainter stars around it snap into view. This is the cue people notice most and trust most.
- Colour. Just either side of correct focus, a bright point grows a coloured halo, green on one side and magenta on the other. That happens because a lens does not focus every wavelength at the same distance, and it is called spherochromatism. When the halo disappears and the point is neutral white, focus is correct.
Turn very slowly near the end. On a zoom ring with electronic focus, a small movement on the ring can shift focus a lot.
5. Apply the Focus Peaking or Focus Assist Display
Most mirrorless cameras can outline the highest-contrast areas of the frame with coloured pixels. The setting is called focus peaking, and it lives in the live view display or shooting menu on most bodies.
Turn peaking on, set it to high sensitivity, and adjust focus until the outline sits exactly on the edge you care about. If the highlight is a thick flickering band, you are close but not there. When it becomes a thin, steady line, focus is done. For astro work many people use a mid or low sensitivity instead, because at high sensitivity every star in frame lights up and you cannot tell which one is your target.
Magnification assist is the other version of the same idea. On several bodies you can assign a button to jump straight to a set magnification level, which saves fumbling through the dial in the dark. Menu names vary between makers, so look for wording like focus assist, magnification, or magnification focus in your camera’s live view menu.
If the peaking highlight never settles, you are probably hunting against focus drift, which is covered under common mistakes.
6. Recompose Without Changing Focus
Once focus is set, moving the camera is the dangerous part. Pan and tilt are fine. Rotating the camera on the tripod head changes where the sensor sits relative to the subject, and if your focal plane was only centimetres deep, that rotation changes focus.
Two habits fix this. First, decide your framing before you focus, then focus on a target inside that framing, so you never need to recompose at all. Second, if you must move, loosen the head only enough to swing between compositions, and keep the lens-to-subject distance roughly constant.
Do not turn the focus ring during the move, and do not tilt the camera up while the lens is aimed at the ground, which is how people accidentally point the lens at a field of dirt at infinity.
If your tripod head has a pan-and-tilt handle, use it for the framing move. That is what it is for.
7. Test with a Short Exposure
Do not discover a focus problem fifteen minutes later, after a 15-minute exposure. Take a two-second frame at high ISO before the real shot. That costs you nothing and it tells you the truth about focus, because focus is not affected by shutter length or ISO.
Play the frame back and zoom to maximum magnification on the rear screen. Check the target you focused on, not the overall frame. The thumbnail view lies to you at night, which is the most common reason people ship a soft photo: the image looks acceptably crisp at arm’s length and falls apart at 100 percent.
If it is soft, nudge the ring a touch and take another short frame. Two or three iterations is normal. If it is soft in the same direction every time, your Live View magnification may be showing sensor noise or heat rather than focus, so re-check by finding the brightest star again.
Verify with the target you focused on. The foreground can be soft while the sky is perfect, and that is fine if the sky is your subject.
8. Take the Final Photograph and Check the Result
Put the ISO and shutter back to the exposure you want, start the two-second timer, and step away from the tripod. Take two or three frames so you have a choice.
Now check the finished file, magnified. This is where a few honest numbers matter. If you are on a fixed tripod under a starry sky, the 500 rule says divide your focal length in millimetres by that number to get the longest untracked exposure before stars trail noticeably. A 20 mm lens gives you about 10 seconds; a 50 mm lens gives you about 5. If your stars are elongated rather than round, that is trailing, not a focus problem, and the fix is a shorter exposure, not a different focus position.
Refocus before the next frame when any of these have changed: the distance to your subject, the light on it, or the temperature. Temperature matters more than most people expect. Moving from a warm car to a cold night shifts the lens barrel enough to move the infinity point, and a lens set by the infinity mark on a warm evening can be measurably off by midnight.
If someone else or something moved the camera, or a gust took the tripod, refocus from scratch. It takes three minutes.
Common Mistakes
These are the failures that come up again and again in the night photography threads, including the ones people only notice after they get home.
Trusting autofocus to find focus in the dark. The fix is the one you have now read twice: switch to MF. If you want the autofocus’s help for a lit foreground, give it light. On r/Beginning_Photography the most-asked question in this whole area is what to do when there is genuinely no light out, and the answer is to introduce your own. Shine a headlamp on the subject, let autofocus grab it, then switch to manual before the light moves away. Users on Pentax Forums recommend a red-LED headlamp for the same reason: you keep your night vision, which takes 20 to 30 minutes to build and is destroyed by a second of white light.
Moving the camera or the ring after focusing. This one is silent. A stray elbow, a tripod handle nudged under load, or a hand brushing the barrel shifts the focal plane and the resulting photo looks unaccountably soft. Lock the ring with tape and frame before you focus.
Raising ISO to solve a focus problem. ISO does not help you focus; it only brightens the screen. One forum user put it plainly: highest ISO for a brighter field, focus, then drop it back. If you leave the ISO at 12800 for the real shot, you have turned a focusing task into a noise problem. Use the ISO boost to focus and nothing else.
Judging sharpness on a dim screen at full-frame view. A 3-inch screen at arm’s length will make a soft star field look acceptable. Zoom the playback to 100 percent, every time, including for the final check on your computer.
Focus drift over a long exposure. Some lenses shift slightly under their own weight as the camera tilts, and some bodies’ stabilisation corrects movement that changes the point where focus lands. If stars are soft in the centre and fine at the edges, focus drift is the likely cause. Turn in-body stabilisation off, hang the camera bag from the centre hook to balance the lens, and check again.
Confusing star trailing with defocus. These look similar and have opposite fixes, so it is worth being sure. Trailing shows as short streaks or dashes, and the shape is directional and consistent across the frame. Defocus shows round blobs of roughly uniform size. If it is a short 3-second exposure at 50 mm and the stars are dashes, the focus was fine and the shutter was too long. On tracked exposures, astrophotographers find that a focus target works reliably at 3 to 5 seconds with the mount tracking before tracking error starts smearing things anyway, which is a useful window for a final check on a long session.
One habit covers most of these. Set focus once, verify it with a magnified high-ISO test frame, lock the ring, then stop thinking about focus entirely and let the exposure be the only thing you manage.
Frequently Asked Questions
Do I need autofocus to shoot at night?
No, and on most nights you actively want it off. Autofocus needs enough light and enough contrast to compare two edges, and both run out on a moonless night. When it fails outright you get a warning. When it half-succeeds it locks on the nearest object to the lens, which is often not your subject. Manual focus plus Live View magnification gives you a target you choose and a result you can actually see.
Is a tripod necessary for focusing at night?
Practically yes. Focusing means judging whether a tiny bright point is a sharp pinpoint or a soft blob, and that judgement requires magnifying the image on the rear screen. Hand-held, the camera moves with your pulse and you will chase sharpness that is not there. The tripod also lets you compose, then focus, then step away from the camera to trigger the shot with a two-second timer instead of touching anything.
How do I focus on stars without Live View?
Use a trial-and-error loop. Start at the infinity mark on the lens, take a high-ISO test frame at the shortest exposure the sky allows, and review it at maximum magnification. Nudge the ring a little in one direction and repeat. If the stars are smaller, keep going that way. It is slow, and a tethered laptop turns the same loop into a fast one, but it converges on correct focus in a handful of frames.
What f stop is best for night photography when you are focusing by hand?
For focusing, wide is what matters. Between f/1.4 and f/2.8 the lens gathers enough light to make the Live View feed usable and to let autofocus grab a lit subject from a short distance. Narrower stops suit a different problem, getting both the foreground and the stars sharp using the hyperfocal distance, but they make the focusing step harder because everything is darker. If you are hand-focusing in darkness, shoot wide open.
How do I focus on the moon without a bright sky?
The moon is the easiest focus target there is, because it sits at infinity and it is bright enough to fill the frame. Magnify in Live View, centre a crater edge or the terminator line where light meets shadow, and turn the ring until that edge is crisp. A crescent moon gives you the strongest contrast on its edge. Watch for a coloured fringe around the bright limb, which means focus is close but not exact.
Why do my stars look like dashes instead of dots?
That is trailing, not defocus, and no amount of focus adjustment will fix it. Dashes mean Earth rotated while the shutter was open. Divide your focal length in millimetres by 500 for the longest untracked exposure, so about 10 seconds on a 20 mm lens, and shorten the exposure from there. If you need longer than that, a star tracker moves with the sky and lets you run minutes of exposure on the same focus.
Conclusion
If you do one thing differently on your next night shoot, do this: put the camera on the tripod, switch the lens off autofocus, and confirm focus on the brightest thing in the frame magnified at 10x. Once the star is a colour-neutral pinpoint, take a two-second high-ISO test frame, check it at full size, and tape the ring where it sits.
Everything after that is exposure and composition. Focus is a solved problem once you set it deliberately, and it stops being the reason your night photos are soft.
Practise on a familiar foreground close to home, at a spot you can reach in daylight, so you arrive early enough to pre-focus while there is still light. The first time you do this on a dark-sky trip, it will already feel automatic.