To photograph bees on flowers, you need a true macro lens, a single narrow aperture around f/8 to f/11 so the bee and the petals are both acceptably sharp, and the patience to hold still while a foraging insect decides it is not going anywhere. Set continuous autofocus on a single point, shoot short bursts, and get low so you shoot across the flower rather than down at it.
That is the whole method in three sentences. The rest is field craft: finding a bee that is working rather than travelling, keeping the flower steady in wind, and backing off when your shadow crosses the bloom. Most disappointing bee photos fail on one of those, not on the camera.
A single session can take twenty minutes or two hours. Difficulty sits somewhere in the middle, and the honest reason is that bees are moving targets in a very thin slice of focus.
Table of Contents
- What You Need
- Step-by-Step
- Step 1: Choose a Bee-Friendly Flower and Location
- Step 2: Set the Right Camera Mode and Focus
- Step 3: Position Yourself Without Chasing the Bee
- Step 4: Use Light and Background Color to Separate the Bee
- Step 5: Take a Short, Controlled Burst
- Step 6: Check the Result and Make Small Adjustments
- Common Mistakes
- The bee is soft but the flower is sharp
- Everything is blurred, including the flower
- The bee is black and featureless
- Nothing sharp no matter what you do
- The flower shakes in the wind
- You get home and the frames are all too similar
- Frequently Asked Questions
- How do I take photos of bees at all?
- What aperture and settings work best for a bee on a flower?
- Do I need a tripod or macro lens to photograph bees?
- How do I take sharp photos of insects on an iPhone?
- How can I capture a swarm of bees?
- Why are my bee photos blurry when the flower looks fine?
- Conclusion
What You Need
You need less than most people expect, and you do not need a studio.
- A camera with interchangeable lenses. Any body that shoots raw and has continuous autofocus will do. Sensor size barely matters at this scale.
- A true macro lens. Look for 1:1 magnification, not just a close-focusing zoom. 90mm and 100mm full-frame lenses are the usual choices; 60mm and 105mm cover crop-sensor shooters. A long close-focusing zoom works at bees on flowers because you are not chasing them, but filling the frame gets harder.
- Steady hands or a beanbag. A tripod head is rarely useful on a moving subject. A beanbag, a folded jacket, or your forearm resting on your thigh does more good than a full tripod.
- Something to steady the plant. A garden cane, a clamp, or a ground spike in a soft patch of soil. Wind moves the flower and the bee together, which is what ruins focus.
- Optional: a small flash or speedlight with a diffuser. Fill flash lifts a dark bee against a bright petal, and manual flash power set low does it without startling the insect. An automatic pre-flash fires twice and often sends a wary bee off.
- Optional: extension tubes or screw-on diopters. They add magnification to any lens, at the cost of a thinner depth of field and more sensitivity to camera movement.
You can also do it on a phone. A clip-on macro lens that brings the front element within a couple of centimetres of the subject transforms a phone into something usable for bees on flowers.
One last thing before you go: bees are pollinators working a food source. Do not swat, do not grab, and do not stand in a flight path or shake the plant. If you are shooting near a nest entrance, move somewhere else.
Step-by-Step
Step 1: Choose a Bee-Friendly Flower and Location
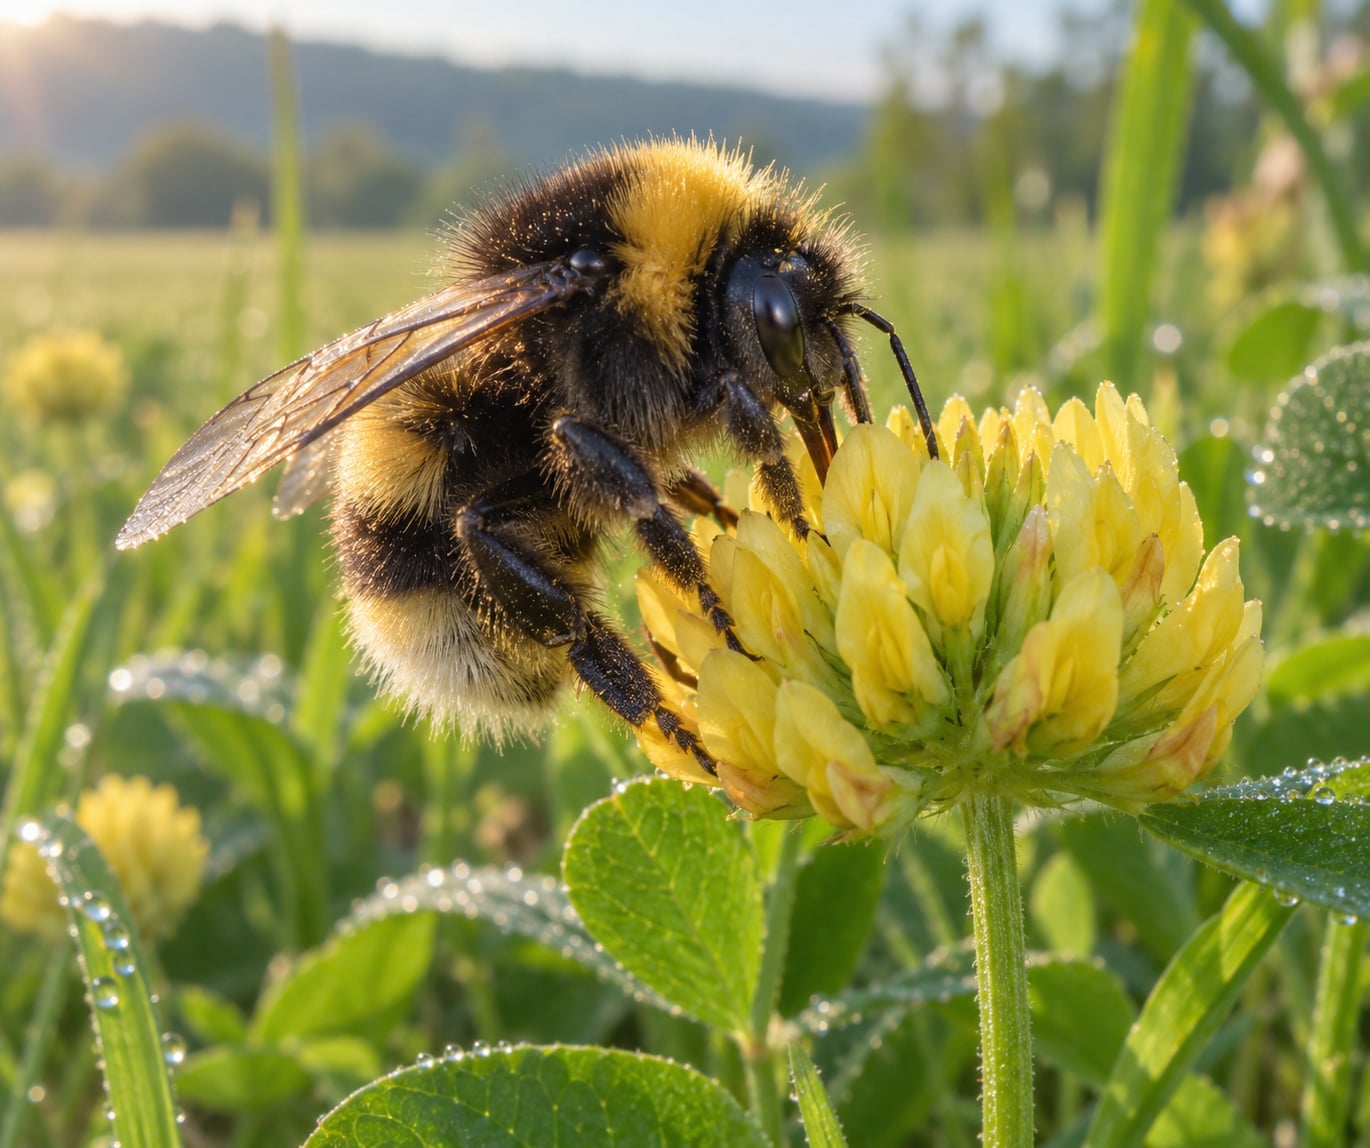
Start where bees already feed, not where you wish they did. Nectar-rich single blooms with obvious landing platforms work best: bumblebees on lavender, clover, or aster, and honey bees on orchard blossom, beans, or anything with flat open faces. Deep tubular flowers are hard because the bee disappears inside.
Watch the plant for a few minutes before raising the camera. You are looking for a foraging bee that lands, works, and leaves — one in regular rotation, not a single passerby. Bumblebees move slowly and spend long stretches on one flower, so they make the friendliest first subject.
Then find the light and the background together. Pick a bloom with a metre or two of clean space behind it, away from bright sky gaps and stray twigs. A bee against a dark hedge or leafy shade reads far better than one against blown-out sky, and you fix that at the location stage rather than in software.
Keep your footing stable. Kneel, sit on the ground, or lie flat rather than balancing on one foot on a slope. You will be in that position for twenty minutes, and sore knees end sessions early.
Step 2: Set the Right Camera Mode and Focus
How to photograph bees on flowers comes down to three dials: a narrow aperture, a shutter fast enough to hold wing detail, and continuous autofocus that keeps tracking as the insect moves between petals.
- Aperture: f/8 to f/11 is the working range. Below f/5.6 you will have one or two millimetres of depth of field at 1:1 and spend the session hunting. Past f/16, diffraction softens everything.
- Shutter speed: 1/250s or faster as a floor. A foraging bee’s body is not moving much; her wings are. Slow the shutter for flowers in low light, not for bees.
- ISO: 400 to 800 in daylight. Open up before you drop below 1/250s.
- Focus mode: continuous autofocus with a single flexible point you can place on the flower head. Animal eye detection helps on newer bodies, though a bee’s compound eye is a difficult target and manual pre-focus often wins.
- Drive mode: high-speed burst, set to a short burst so the buffer does not choke.
| Light condition | Aperture | Shutter speed | ISO | Notes |
|---|---|---|---|---|
| Overcast or light cloud | f/8 | 1/320s | 400 | Best conditions of the year; soft light keeps wing detail |
| Bright sun, open flower | f/11 | 1/500s | 200-400 | Watch for blown highlights on pale petals |
| Open shade or dusk | f/5.6 – f/8 | 1/160s | 800-1600 | Steady the flower; low light magnifies every wobble |
| Warm early light, bee moving | f/8 | 1/640s | 400 | Bees fly faster and sooner in warmth |
| Cold dawn, chilled bee | f/8 | 1/125s | 400 | Slow subjects, dew on petals, easiest session of the week |
If the bee reads as underexposed — black on a white or yellow flower, detail gone in the thorax — dial in positive exposure compensation, starting at +1 and going to +2 if it is still dark. The camera meters the bright petal and treats the bee as a shadow.
Flash works here too, but set manual power low rather than automatic. A diffused speedlight at reduced output lifts the shadow side of the bee without the double blink that sends it flying.
Step 3: Position Yourself Without Chasing the Bee
Move slowly and in an arc. Bees notice a direct approach and a sudden shadow crossing their flower long before they notice a person edging sideways from two metres away.
Drop your camera to flower height. A shot from above gives you the top of a fuzzy thorax; a shot from level or slightly below gives you the compound eye, the profile of the head, and the curve of the wing — which is the frame people actually want.
Keep a comfortable working distance of 15 to 25cm with a 100mm lens. Closer means more magnification but a thinner depth of field and a nervous insect. If the bee is already filling a third of the frame when you are that close, back up rather than leaning in.
Settle in before you raise the camera. Compose first with the camera at your chest, then bring it up slowly. Most lost shots come from a rush between the general area and the close-up position.
Step 4: Use Light and Background Color to Separate the Bee
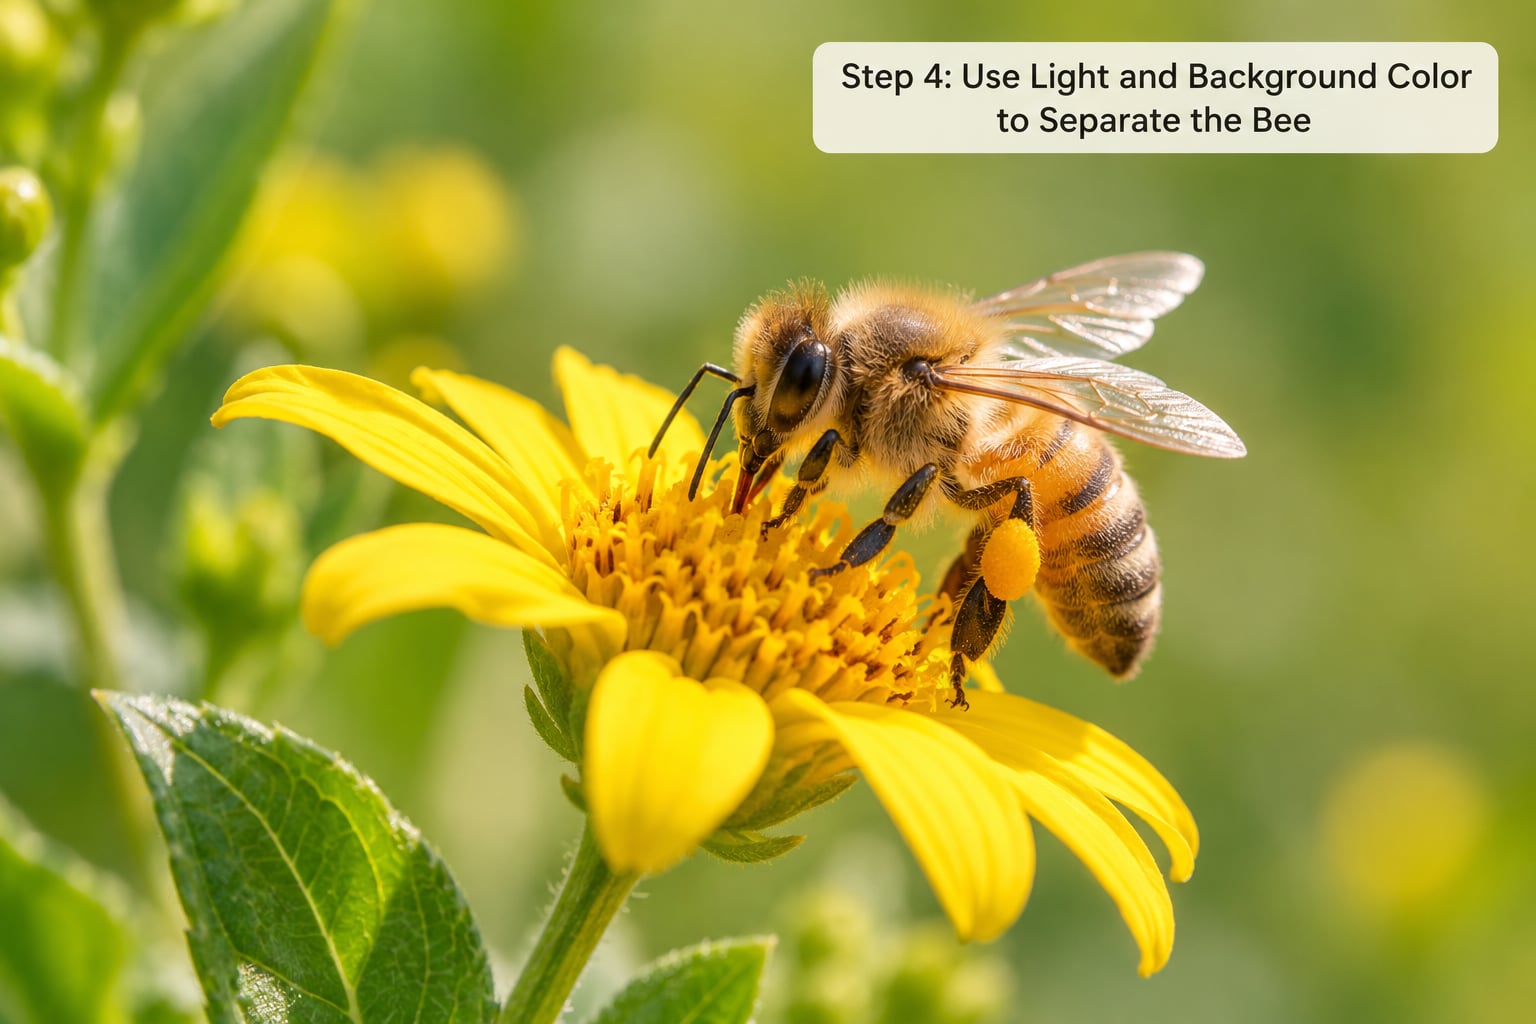
Colour contrast is doing half the work before you press anything. A dark bumblebee on a yellow or white bloom separates cleanly. A yellow-and-black honey bee on a yellow flower nearly disappears, so look for a red, purple, or blue bloom instead — clover and asters are useful here.
Light direction changes the picture more than any setting. Soft overcast light wraps around the bee and keeps wing membranes readable. Low side light in early morning or late evening rakes across the body and brings out hair and texture. Backlight through a petal glows and shows pollen dust, but it also puts the bee’s front in shadow, so it pairs well with a little fill.
Midday sun is the hardest. It is harsh, it produces hard shadows across the flower, and your own shadow is in the frame. If that is your only option, work under light cloud or in the shade of a fence and come back later.
Step 5: Take a Short, Controlled Burst
How to photograph bees on flowers well is mostly a matter of timing the release. Aim before you focus, focus before the bee lands, and fire the moment the head settles.
Pre-focus on the spot where the bee will be rather than on the bee itself. Lock that focus, hold it, and let the subject come to you. That one habit removes most of the misses that beginners report, because their focus was chasing a moving insect the whole time.
When the bee arrives, track with the focus point, let autofocus confirm, and shoot a burst of five to ten frames. Not fifty. A long burst fills the card with near-identical frames and makes the selection slower, and on some cameras it slows the frame rate so you miss the moment she turns.
If she flies off mid-sequence, keep the shutter going as you retreat. Half the time she circles back, and you will already be focused and framed when she lands again.
Step 6: Check the Result and Make Small Adjustments
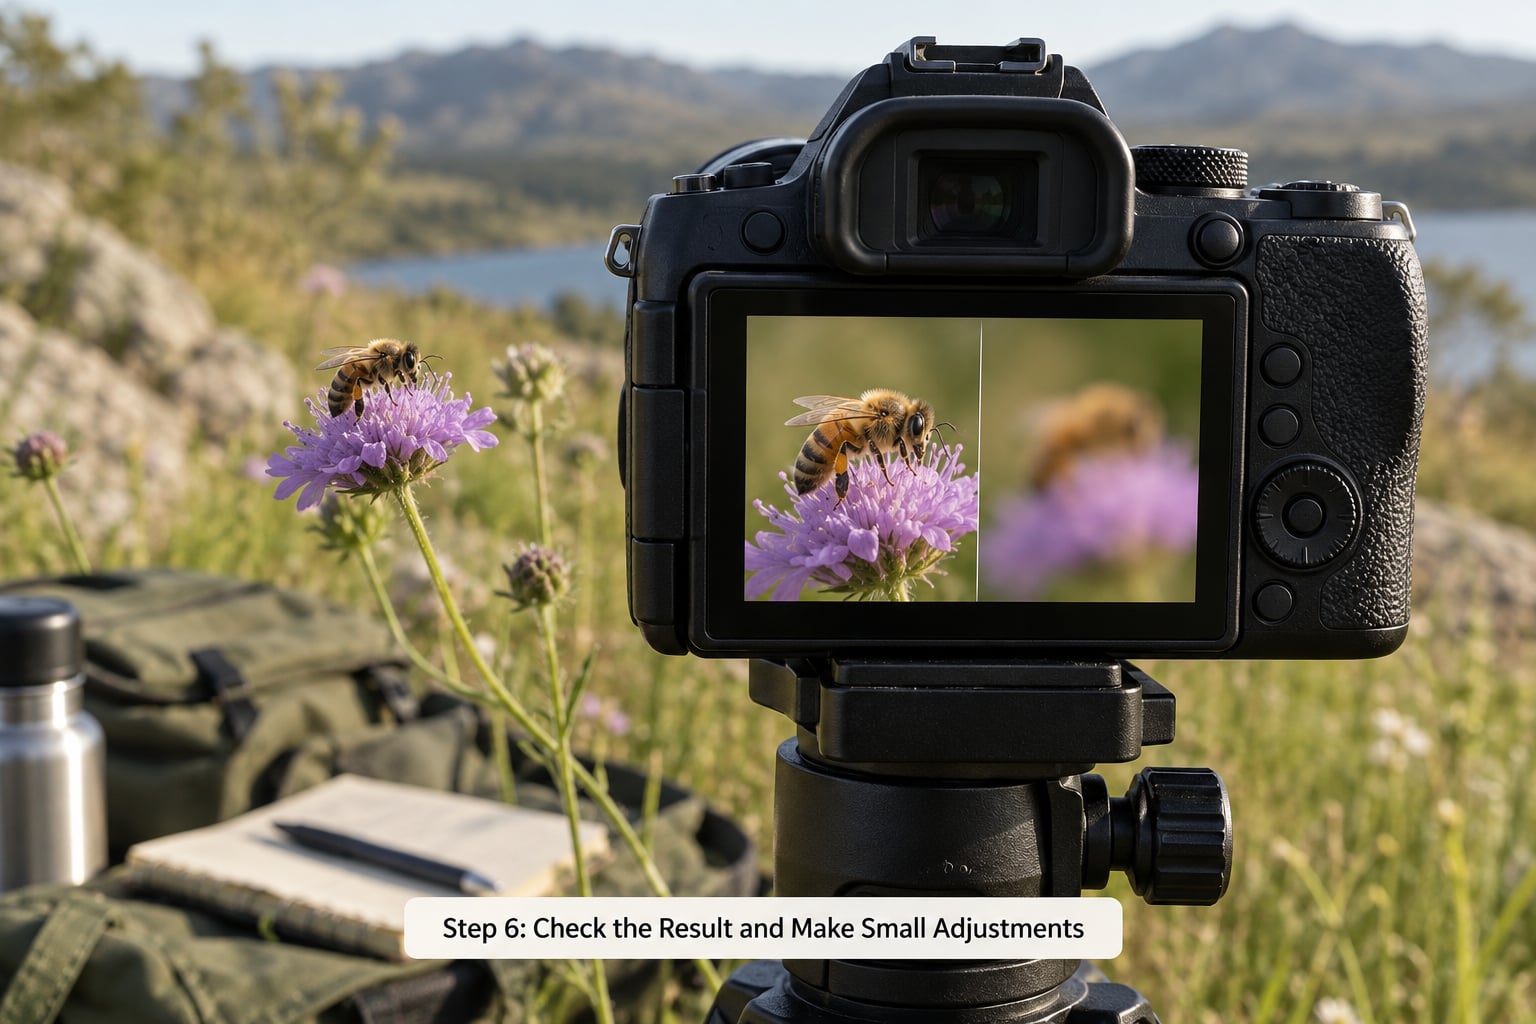
Check every ten frames or so, on the back screen rather than by eye alone. Live view magnification at 100% shows you what you cannot see at fit-to-screen.
Look at four things in order:
- Eyes. Sharp eyes read as a sharp photo. A soft eye makes the whole image feel broken even when the wing is fine.
- Wings. A diagonal smear means the shutter was too slow. Push to 1/500s and accept a higher ISO.
- Exposure. Crushed thorax detail on a bright flower? Add compensation. Glaring white petals? Take some back.
- Framing. Off-centre frames are usually fine. Crop later.
Make one adjustment at a time and stay in position. Moving to fix the exposure loses the shot you had coming.
One thing worth adding at home: if you have time, shoot a short focus stack. Take several frames moving the camera a few millimetres between them, then blend them in Helicon Focus or Zerene. It is the way to get a whole bee sharp, though for a single frame at a bee’s normal speed it is a luxury.
After that comes the edit that matters: black point, contrast, and a small clarity bump on the eye. Then crop to the bee’s head and one clean wing, and stop. Colour grading a macro shot too hard is the fastest way to make a real bee look fake.
Common Mistakes
The bee is soft but the flower is sharp
Focus missed the head, or the subject moved toward you during the exposure. Pre-focus on the landing spot, place the single point on the eye, and raise your shutter speed. If the eyes still drift, work on a chilled bee at dawn instead of a working one at midday.
Everything is blurred, including the flower
That is camera shake, usually at a slow shutter speed in shade. Raise the shutter speed and the ISO, rest your elbows on your thighs, or prop the lens on the stem. At macro distances a fraction of a millimetre of movement is visible.
The bee is black and featureless
Metering is being fooled by the bright flower. Add +1 to +2 exposure compensation, or use low manual fill flash with a diffuser. Check the histogram before you decide the camera is at fault.
Nothing sharp no matter what you do
You are closer than the lens can focus. Check the minimum focus distance and back up until the subject is comfortably inside it. Extension tubes and clip-on lenses make this worse, not better.
The flower shakes in the wind
Steady the plant, not the camera. Push a cane or clamp into the soil beside the stem and rest the stem against it, or choose a sheltered spot behind a wall. A still flower means the bee and the focal plane stay in the same place.
You get home and the frames are all too similar
Shoot a wider variety instead of more frames. Different angles, a bee seen side-on, a bee carrying pollen, one with the head toward you. Ten different pictures beat two hundred near-identical ones.
A few general habits cover the rest. Clean the front element before every session — a dusty lens eats contrast and autofocus confidence. Shoot in light cloud if you can choose the day. And keep the lens off the ground, because gravel and grass tips find the front element every time.
Frequently Asked Questions
How do I take photos of bees at all?
Find a nectar-rich flower where bees already feed, watch for two minutes to see which blooms they return to, then work with continuous autofocus, a single focus point, and a burst of about ten frames. Get to flower height, focus on the spot where the bee will land, and shoot the moment her head settles. Then check the eyes on the back screen, since that is what a viewer reads as sharp.
What aperture and settings work best for a bee on a flower?
Start at f/8, 1/320s, ISO 400 on an overcast day and move to f/11 and 1/500s in bright sun. Narrow apertures keep the bee and the petals acceptably sharp, but pushing past f/16 softens everything through diffraction. If the bee looks too dark against a bright bloom, add +1 or +2 exposure compensation, because the camera meters the petal rather than the insect.
Do I need a tripod or macro lens to photograph bees?
A tripod is rarely useful because the subject is moving and the flower sways; a beanbag, your forearm, or a folded jacket is steadier in practice. A true macro lens that reaches 1:1 magnification is worth having, since a standard zoom cannot fill the frame. For bees resting on a flower rather than flying, a phone with a clip-on macro lens gets you recognisable frames.
How do I take sharp photos of insects on an iPhone?
Attach a clip-on macro lens, then get the front element within about two centimetres of the insect and move in until the picture goes soft, then back off slightly until it sharpens again. Hold the phone with two hands, tap the screen on the bee to lock focus and exposure, then lower exposure a little to stop pale petals blowing out. Shoot a short burst rather than a single frame.
How can I capture a swarm of bees?
Do not try. Swarming bees are defending a colony, and provoking them puts you and the colony at risk. Photograph from a distance with a longer lens, never block a nest entrance, and do not shake branches or disturb a cluster. If you want swarm imagery, work with a local beekeeper who can show you a safe, calm hive under conditions where the bees are already calm.
Why are my bee photos blurry when the flower looks fine?
At macro distances depth of field can be around a millimetre, so a bee leaning toward the camera falls out of focus while the petal behind stays sharp. Work in stops wider, focus on the bee’s eye rather than the nearest petal, and keep the camera body aligned so the sensor plane is parallel to the subject. Be patient, and shoot early or late in the day when the light is softer.
Conclusion
Start with one flower and one bee that keeps returning to it. Set f/8, 1/320s, ISO 400, continuous autofocus on a single point, and pre-focus on the landing spot before the insect arrives.
Then be boring about it. Stay low, stay still, move in an arc, and let the bee work. Most of what separates a usable frame from a blurry one is waiting quietly at flower level with the burst ready.
And leave the plant and the colony exactly as you found them. Photographing bees on flowers works best when the bees do not notice you at all.