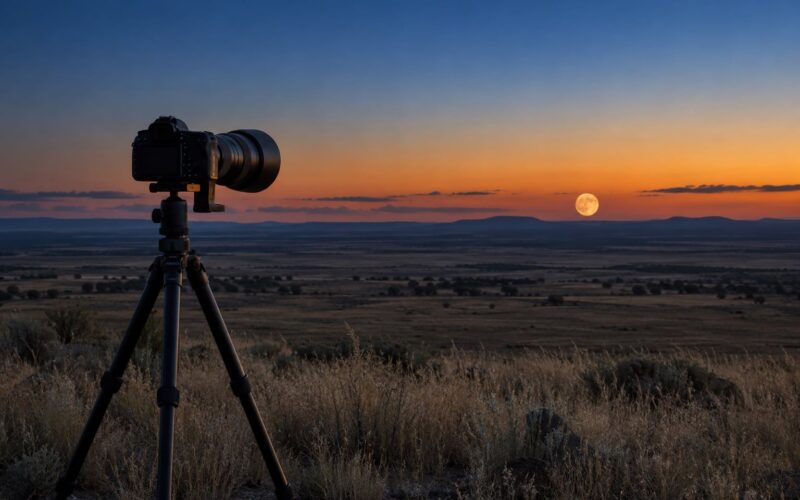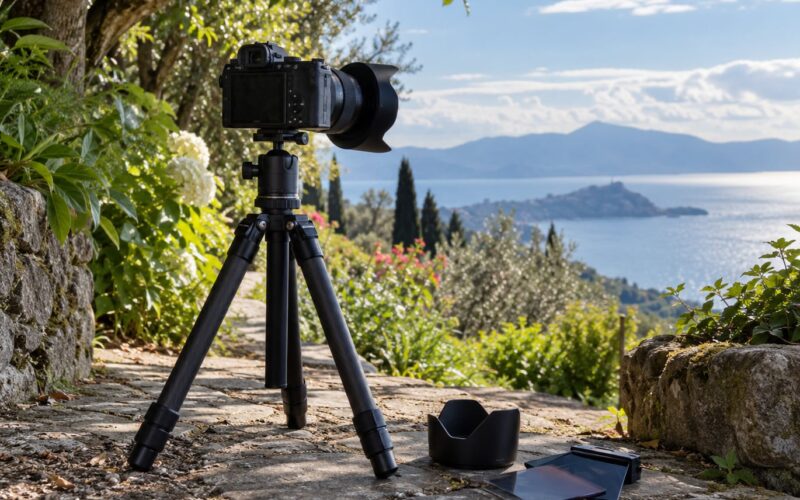
Using a tripod correctly comes down to three things: spread the legs so your weight sits inside them, extend the thickest leg sections first, and mount the camera on a properly tightened plate with the centre column left down. Get those right and the camera stops moving, which is the only way to get a genuinely sharp frame. Updated for 2026, this guide walks through the whole sequence, then the mistakes that quietly undo it.
Most blurry photos blamed on “high ISO” are really camera shake. A camera held in your hands moves fractionally every time you breathe, and a tripod removes that movement entirely. A full setup takes about thirty seconds once you have done it a few times, and it is the single biggest upgrade a photographer can make without buying a new lens.
Table of Contents
- What You Need Before You Start
- Step-by-Step: How to Use a Tripod Correctly
- Choose the Right Leg Position
- Balance the Camera and Check Stability
- Focus and Adjust the Camera Settings
- Common Mistakes and How to Fix Them
- Frequently Asked Questions
- What is the hook for on the bottom of a tripod?
- At what shutter speed should you use a tripod?
- How do I mount my phone on a tripod?
- How do I level a tripod on uneven ground?
- Do I need to turn off image stabilisation on a tripod?
- What is the 20-60-20 rule in photography?
- Conclusion
What You Need Before You Start
A tripod is the only mandatory item. Beyond that, what you need depends on whether you shoot stills or video, but the list is short:
- A tripod rated above your kit’s weight. Check the stated payload on the legs, not just the head. Payload is a safety limit, not a target, so aim for a number comfortably higher than your camera and lens combined.
- A camera, or a phone with a tripod socket. Most phones have a threaded mount point on the back for exactly this.
- A remote release or the self-timer. A two-second timer is free and works on any camera. A wired or wireless release is better if you shoot often.
- A clear patch of ground. Walk the spot before you unpack. Firm, level ground saves more trouble than any accessory.
- Optional extras. A spirit level or bubble level for levelling, an L-bracket for vertical shooting, and a small bag for the weight hook under the centre column.
If you are just starting, the forum consensus is worth repeating: a mid-range tripod is enough for most people, and a good one bought second-hand is a very common recommendation among people who shoot every week. Spend the money on the legs and the head rather than on a lightweight travel model with a flimsy head, which is the most common complaint in photography communities.
Step-by-Step: How to Use a Tripod Correctly
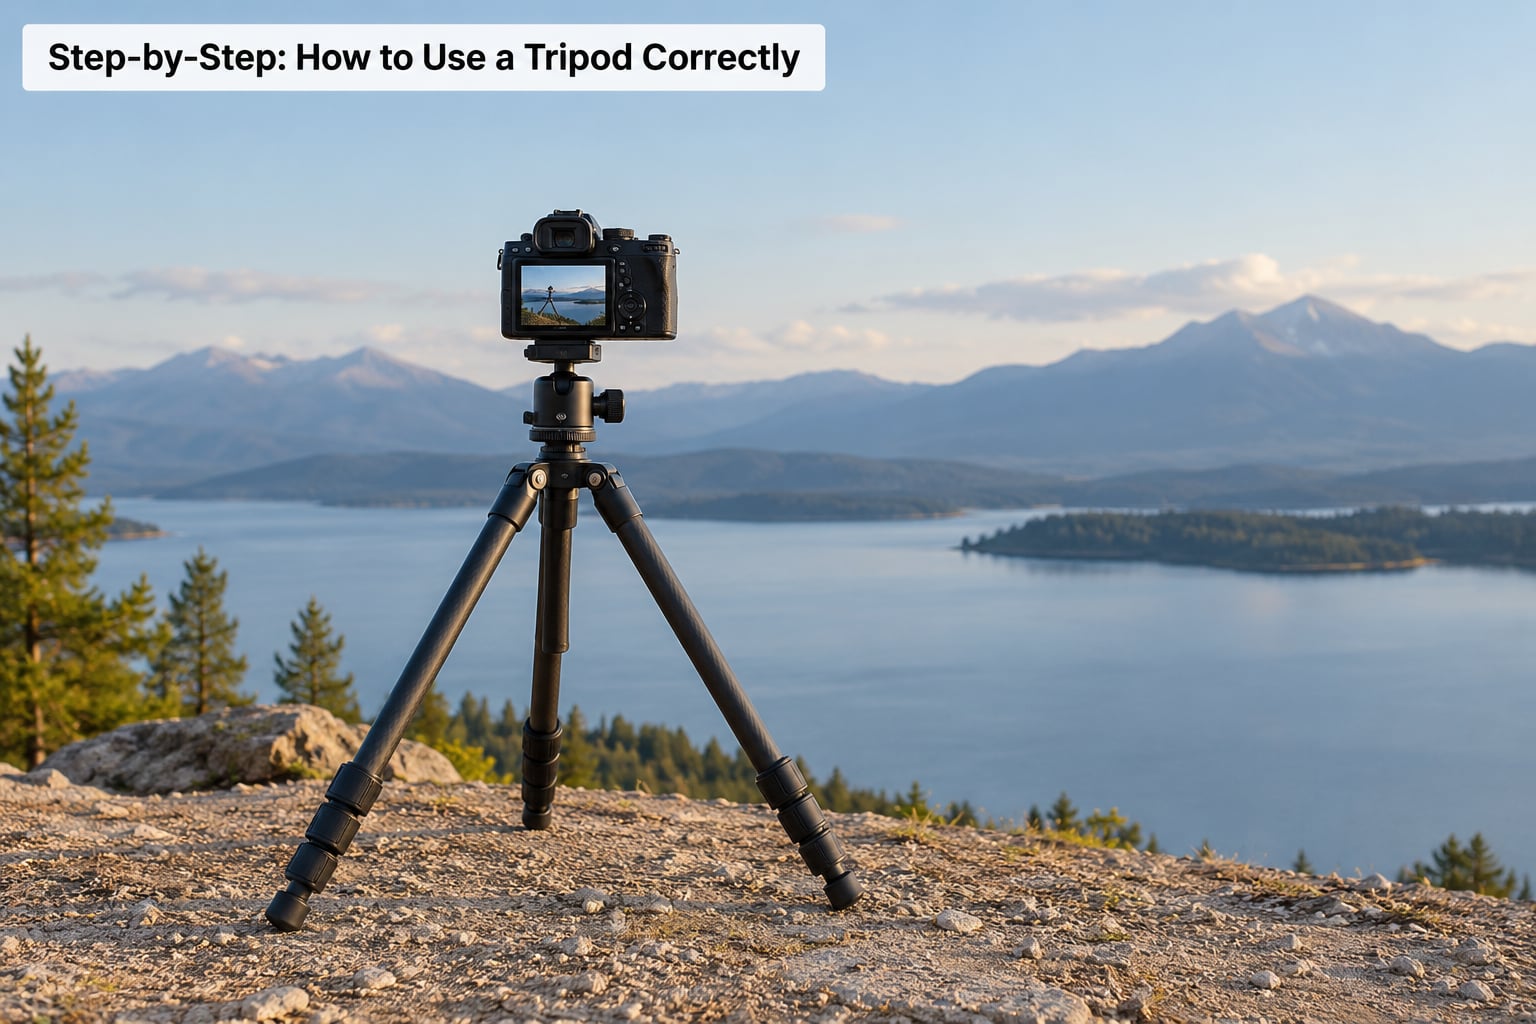
Here is the sequence in the order it should happen. If you follow these six steps in order, the shot is sharp before you even touch a setting.
- Set the feet first. Place each foot fully flat before moving to the next one. Never leave a leg dangling or balanced on its tip, however briefly.
- Spread the legs wide and angle them outward. The legs should not drop straight down from the head. Wider and more angled means a larger support triangle.
- Extend the thickest leg sections first. Work down the leg, one twist lock at a time, until you reach the height you need. Leave the thinnest sections folded unless you truly need the extra height.
- Keep the centre column down. Leave it collapsed for anything other than reaching the last few inches. The centre column is a last resort, not a standard step.
- Level the head. Adjust the individual legs until the top platform is level, or use a head with a built-in bubble level. An out-of-level tripod tilts your horizon.
- Mount, tighten and verify. Attach the quick-release plate to the camera body, lock it into the head, and tighten the 1/4-20 thread or the plate’s own knob. Then give the camera a gentle nudge with one hand. It should not shift or release.
That last check takes two seconds and it is the one people skip. A camera that shifts under gentle pressure is telling you something.
Choose the Right Leg Position
Match the leg spread to the camera height and the shot. The higher the camera sits, the wider and more angled the legs need to be, because a tall narrow tripod is close to a topple waiting to happen.
For a low shot, drop the legs down until they are nearly horizontal and let the tripod sit low to the ground. For eye-level framing, adjust the leg length rather than reaching for the centre column, which is what a tripod is designed to do. On sloping ground, extend the uphill leg and shorten the others until the head is level, adjusting one leg at a time rather than two.
Angle matters as much as length. Legs that hang vertically put the camera high above a narrow base. Splaying them outward widens the triangle formed by the three feet, and that triangle is what resists tipping.
Balance the Camera and Check Stability
Centre the camera over the middle of the three legs before you tighten anything. On a ball head this means pushing the camera toward the front leg until it stops, then checking it from the side. If the camera wants to flop over on one side, the load is not sitting over the supporting leg.
Tighten the controls gradually. The ball head clamp should be firm enough that the camera holds position and no more. Over-tightening a ball head clamp feels like extra security and actually adds friction to the mechanism over time, so snug is the target.
With a long telephoto, mount the lens by its tripod collar and foot rather than by the camera body. The collar puts the weight over the centre of the lens and lets you rotate the lens from landscape to portrait without moving the camera. A long lens on a cheap head is exactly how gear gets dropped.
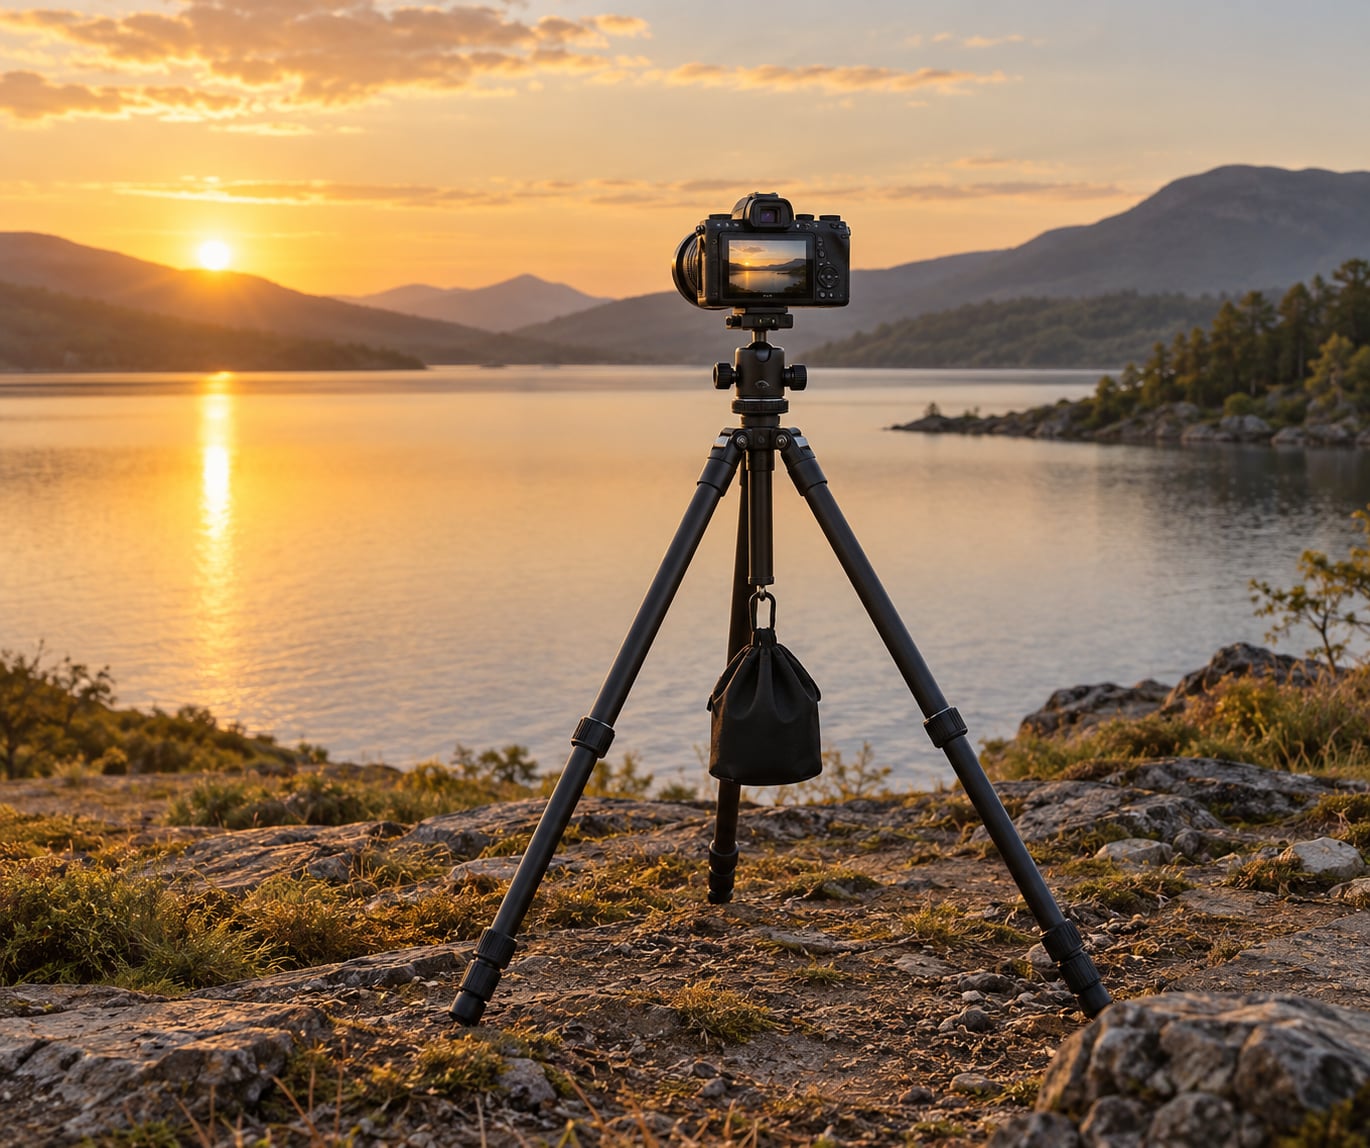
Then run the stability test. Press down gently on one end of the camera, then the other, then push the top from behind. No visible flex, no creep, and no drift in the head means you are fine. If the head dips or the legs move, extend the thickest leg sections further, close the centre column, or add weight to the hook under the column. A camera bag or a small sandbag hanging from that hook is the standard answer for wind and for heavy lenses.
Focus and Adjust the Camera Settings
Turn image stabilisation off once the camera is on a tripod. Stabilisation is tuned to correct for hand movement, and on a rigid tripod it can hunt and introduce blur of its own. Some cameras detect a locked mirror; the rest you set by hand.
Switch to manual or single-point autofocus and focus before you finalise the composition. On a tripod, a single focus point is often faster and more predictable than a whole-scene autofocus mode, especially at long focal lengths.
On a tripod you can use whatever shutter speed the scene needs, because the camera is not moving. For a static subject, anything from 1/10s upward is a reasonable starting point, and for moving people, 1/250s or faster keeps the action sharp. The handheld reciprocal rule no longer applies, which is the main reason to mount up.
Finish with the two-second self-timer or a remote release. Pressing the shutter with your finger still transmits a small shock through the head, and at slow speeds that shock is enough to soften the frame. On cameras with a mechanical or electronic shutter you can also use mirror lock-up or electronic first curtain to remove the mirror’s own movement.
Common Mistakes and How to Fix Them
These are the errors that show up again and again, in forum threads and on location. Each one has a simple fix.
- Leaving a leg dangling while setting up. A foot balanced on its tip will slip as you move the tripod. Set all three feet flat on the ground before extending anything, and never carry a tripod with only two legs down on rough ground.
- Extending the thinnest leg sections first. Legs get thinner as they extend, so the top section is the stiffest and the bottom section the least rigid. Extending the thin section first puts your heaviest gear on the weakest part of the leg. Reverse the order.
- Raising the centre column for everyday shooting. The column raises the camera and narrows the effective base, adding vibration at the same time. Keep it down. The one legitimate exception is an overhead or flat-lay shot with the column inverted, where the legs are out of frame.
- Mounting the camera off-centre. A camera that hangs to one side of the supporting leg wants to fall to that side. Centre it first, then clamp.
- Not fully seating the quick-release plate. A plate that looks attached but has not clicked home can release mid-shot. Push until it locks, then tighten the screw or knob, then nudge the camera to confirm.
- Pressing the shutter button by hand. Your finger applies pressure that travels straight into the head. Use the two-second timer or a remote release instead.
- Leaning on the tripod to look through the viewfinder. Your weight moves the camera and can flex the legs. If you need to get closer, adjust the head instead, or compose on the rear screen where the body allows it.
- Setting up on soft ground. Feet sink on sand, mud and grass, and the camera slowly settles. Use the spiked feet if your tripod has them, shorten a leg and lay it flat on the ground, or plant something flat and wide under each foot.
- Leaving image stabilisation on. Stabilisation hunts when it senses a stationary camera and can add blur. Switch it off before you shoot on a tripod.
Two more worth knowing. Wind is often the real limit in landscape and wildlife work, and the answer is weight on the hook plus shielding the tripod with your own body while the shutter runs. And carrying matters: collapse the legs fully, re-lock every twist lock, then carry the tripod over your shoulder with the head at your hip. A tripod that swings from the leg loops will hit the camera, and that is a surprisingly common way people damage a lens.
Frequently Asked Questions
What is the hook for on the bottom of a tripod?
It is an anchor point for weight. You hang a camera bag, a small sandbag or a pouch of lens cloths from it to stop the tripod tipping in wind, on soft ground, or when a long heavy lens shifts the balance forward. Adding a few kilos of low weight also damps vibration through the legs. Most tripods carrying a telephoto lens need it.
At what shutter speed should you use a tripod?
Once the camera is on a tripod, any shutter speed becomes usable, because the camera is no longer moving with your hands. Handheld, you need roughly 1/50s or faster for a static subject and 1/250s or faster for people in motion, following the reciprocal rule that the safe speed equals one over the focal length. Below those speeds, mount up or stabilise another way.
How do I mount my phone on a tripod?
Look for the threaded tripod socket on the back or bottom of the phone, usually a small recess near the lower edge. Screw a phone tripod adapter into it, or use a clamp-style cradle that grips the phone and has a matching socket underneath. Keep the clamp centred on the phone, avoid resting the phone loosely on top, and turn off screen rotation so the framing stays put.
How do I level a tripod on uneven ground?
Adjust one leg at a time, extending the uphill leg and shortening the downhill ones until the top platform looks level, then fine-tune with the head’s own controls. Where the ground is too broken for leg length alone, use a small flat platform under the low foot, such as a rock or a folded piece of card. A bubble level on the head makes the final adjustment quick.
Do I need to turn off image stabilisation on a tripod?
Yes, on most cameras. Image stabilisation is designed to detect hand movement, and once the camera is perfectly still on a tripod the system can hunt for movement that is not there, which softens the frame at slow shutter speeds. A few bodies detect a mounted camera and switch off automatically, so check your camera’s manual rather than guessing.
What is the 20-60-20 rule in photography?
It is a composition guideline rather than a tripod technique: roughly 20 percent of the frame is your subject, 60 percent is the space around it, and 20 percent is background. It is a useful check when you are framing on a tripod because a tripod slows you down enough to actually consider the background before pressing the shutter.
Conclusion
Start with the four checks in this order: all three feet flat and the legs spread wide and angled out, the thickest leg sections extended first with the centre column left down, the camera centred over the middle leg and locked tight, and a two-second timer or remote release so your finger is nowhere near the shutter. Add a stability push on each side before anything expensive, and your tripod shots will be sharp from the first frame rather than the twentieth.