If you are searching for why is my tripod still shaky, the answer is almost never the tripod alone. Movement gets into the shot through a leg lock that is not fully closed, feet that do not match the surface, a center column raised too high, a rig that is not balanced over the legs, wind on a long lens, or a camera setting fighting the tripod.
Most of the time the fix takes under two minutes. Work through the steps in order and stop as soon as the shake stops, because the shake has exactly one source at a time, even when it feels like three.
A tripod is only as stable as its weakest joint. Weight hangs below the head, so every unlocked section, soft foot or uneven floor becomes a pivot that motion passes straight through to the sensor. A long focal length magnifies that motion on the screen, which is why a rig that looks perfectly still to your eyes still produces soft frames.
Table of Contents
- What You Need
- Step-by-Step: How to Stop Tripod Shaking
- 1. Check Whether the Tripod Is Fully Opened and Locked
- 2. Tighten Loose Leg Locks and the Center Column Clamp
- 3. Inspect the Leg Sections for Wear or Flex
- 4. Match the Feet to the Surface You Are Standing On
- 5. Set the Legs at the Correct Spread
- 6. Stop Camera Movement and Reduce Vibration
- 7. Keep Weight Off the Center Column and Balance the Load
- 8. Test the Setup and Recheck It Before Every Shot
- Common Mistakes That Make a Tripod Feel Shaky
- Frequently Asked Questions
- Why is my tripod still shaky after I tighten all the locks?
- Can a tripod be slightly flexible and still work?
- How do I stop my tripod legs sinking into the ground?
- Why does my camera shake even when the tripod is not moving?
- Is a heavier tripod always less likely to shake?
- When should I replace a shaky tripod instead of adjusting it?
- Why Is My Tripod Still Shaky After All That? Start With the First Loose Part You Find
What You Need
Almost everything you need is already in your bag. The point of gathering these is to isolate the source rather than guess at it.
- Your tripod, plus the manual if you still have it.
- The camera and lens you actually shoot with. A zoom collapsed versus fully extended changes the balance dramatically, so test with the real glass mounted.
- A flat surface you trust, such as a level concrete floor or a sturdy table, to test the tripod before you blame a location.
- A 2-second self-timer or a remote shutter release wired or wireless, so your hands never touch the camera during exposure.
- Live view at 100 percent magnification on the camera, which turns an invisible wobble into an obvious one.
- A spirit level if you shoot wide enough for tilt to matter. A bubble level is enough.
- Optional ballast: a small sandbag, a lens pouch, or a power bank. No more than a couple of kilograms.
- Optional foot upgrades: rubber feet with a wider contact patch, metal spikes for soft ground, or claw feet for rock and tree bark.
Thread size matters if you plan to swap feet. Most replaceable tripod feet use a 3/8-16 bolt, but Manfrotto is a well-known exception with its own standard, so check before you buy parts.
Step-by-Step: How to Stop Tripod Shaking
Run these in order. Each step answers one question, and each has a simple test that tells you whether you are done with it. Stop as soon as the frame at 100 percent magnification holds still.
1. Check Whether the Tripod Is Fully Opened and Locked
An unlocked tripod moves, and the shake you see is that movement. Look at every leg section and confirm each hinge is opened to its full stop and every latch is fully closed, not resting against the latch.
Spread the legs wide, then press down on each leg and twist it gently. Any leg that moves at an open hinge is not seated. On many tripods the top section is a two-part hinge, and closing only the visible clamp leaves the inner arm free.
2. Tighten Loose Leg Locks and the Center Column Clamp
Under-tightened twist locks and wing levers are the single most common fault. They look closed while the sections can still rotate a few degrees against each other, and a few degrees is enough at the end of a long leg.
Close each lock firmly by hand without forcing it. If a lever feels gritty, the hardware is corroded or the leg is binding, and no amount of tightening will help. On the center column, drop the column all the way down while you work, then tighten the collar clamp in two passes rather than one hard pull.
On a cold morning, locks stick because of condensation on the threads. Wipe them dry and work each one a few times before you tighten.
3. Inspect the Leg Sections for Wear or Flex
Some movement is normal at the unlocked sections, since a tripod is built to fold. Movement at a locked section, or at the top leg joint where the leg meets the hub, is not normal and means the joint has loosened.
Mount the camera, then apply gentle downward pressure on the head and watch the top leg joint for flex. Lightweight travel tripods with plastic or thin aluminium fittings flex noticeably here, and users on photography forums describe them as very wobbly once the sections are extended. Carbon fiber legs resist flex well, but the locks and hinges still wear, and aluminium tubing can develop micro-cracks around the bolt bosses.
If a leg creaks, rocks in its locked position, or the hinge hardware shows rust, stop using it until you have looked at it closely.
4. Match the Feet to the Surface You Are Standing On
Rubber feet are designed to grip hard surfaces. On grass, carpet, mud or sand, the same wide rubber pads float and turn the contact into a spring, and soft ground lets the legs sink a few millimetres during a long exposure.
- Hardwood, tile, concrete, stone: stock rubber feet with a flat, clean contact patch.
- Snow and ice: metal spikes, pushed in as far as the design allows.
- Mud, sand, soil, turf: spiked feet or wide claw feet that spread the load.
- Bark and rock: claw feet, which bite into irregular surfaces.
Also check what is under the feet. A tripod on a rug, a laptop table or a wobbly café table will move even when the tripod itself is perfect, and a commenter on a videography forum put it plainly: if the floor is the problem, adding stabilization to the camera is not the solution. Fix the floor.
5. Set the Legs at the Correct Spread
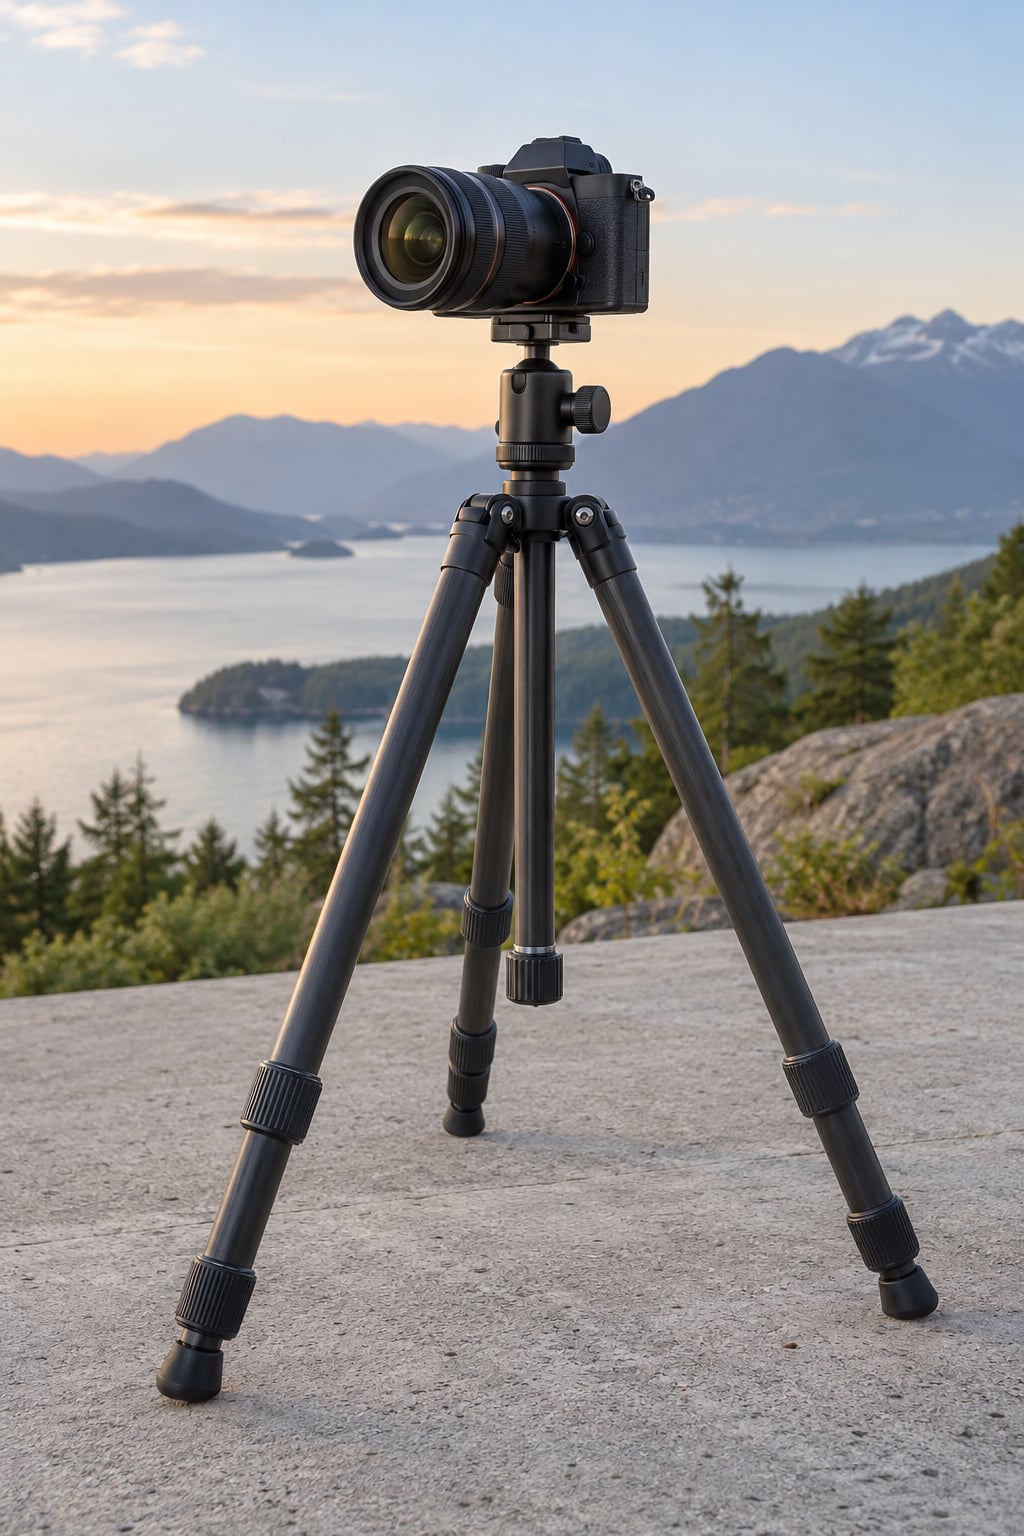
A tripod is stable when the camera’s center of mass sits inside the triangle formed by the three feet. Spread the legs until that triangle is comfortably larger than the load above it, then avoid pushing the legs so far out that the spreader or center column takes the weight sideways.
Test before mounting anything. Give the head a firm push in four directions and a twist. If it moves, narrow the stance a little. If it still moves, the stance was too narrow. Wide is generally better, but a stance so wide that the legs are nearly straight can make a tripod less rigid, not more.
Then lower the center column as far as it will go. A raised column raises the pivot point, and the whole rig swings like a pendulum. When you do need height, extend the legs first and keep the column short.
6. Stop Camera Movement and Reduce Vibration
This is why is my tripod still shaky even when every lock is closed: something is touching the camera during the exposure. Your hand on the camera body or lens while adjusting focus, a strap swinging against a leg, a lens that hangs past the leg apex, and a head whose friction or damping is too loose all produce the same symptom.
Balance the rig so the heaviest point, often the lens collar or the front of a long zoom, sits over the tripod’s top leg joint rather than out in front of it. A lens collar or a long Arca-Swiss quick release plate helps, and forum users shooting long glass report a clear improvement from exactly this change.
For stills, trigger the shutter with the 2-second self-timer or a remote release, and keep your hands off the camera entirely for those two seconds. For video, the fix is different: set the head’s damping so it holds position firmly, and lock any pan or tilt handles.
7. Keep Weight Off the Center Column and Balance the Load
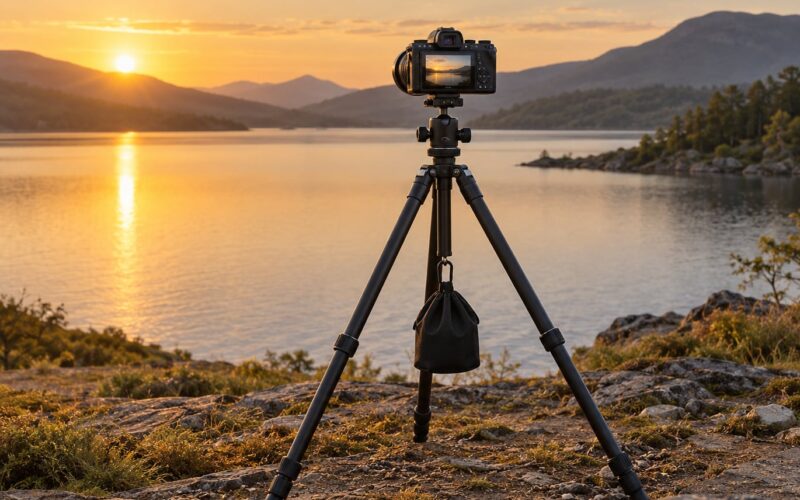
Hanging a camera, lens or bag from the center column adds weight at the worst possible point, pulling the head sideways and making the rig rock. If you must add weight, hang it from the leg apex or the hook on the center column only when the column is fully lowered and the load sits symmetrically under the head.
Wind is the other weight problem. A 150-600mm lens acts like a sail, and on a windy evening long exposures can become impossible no matter how good the tripod is. Shield the rig with your body or a jacket, keep the lens level rather than pointed into the gust, and shorten the exposure.
8. Test the Setup and Recheck It Before Every Shot
Mount the camera, switch to live view, magnify to 100 percent, and press the shutter with the self-timer. If the image sits still, the setup is rigid. If it drifts, you have one more loose or soft element to find.
Run this two-minute field checklist before every setup:
- All legs fully spread and every lock closed firmly.
- Center column lowered as far as needed, no higher.
- Feet matching the surface, sitting flat or spiked in.
- Camera balanced over the leg apex, strap tucked away and not touching a leg.
- Wind checked, long lenses shielded, exposure shortened if gusts pick up.
- Stabilization switched off for stills on a tripod.
- Self-timer or remote release instead of a finger on the shutter.
- Live view at 100 percent checked for drift.
Common Mistakes That Make a Tripod Feel Shaky
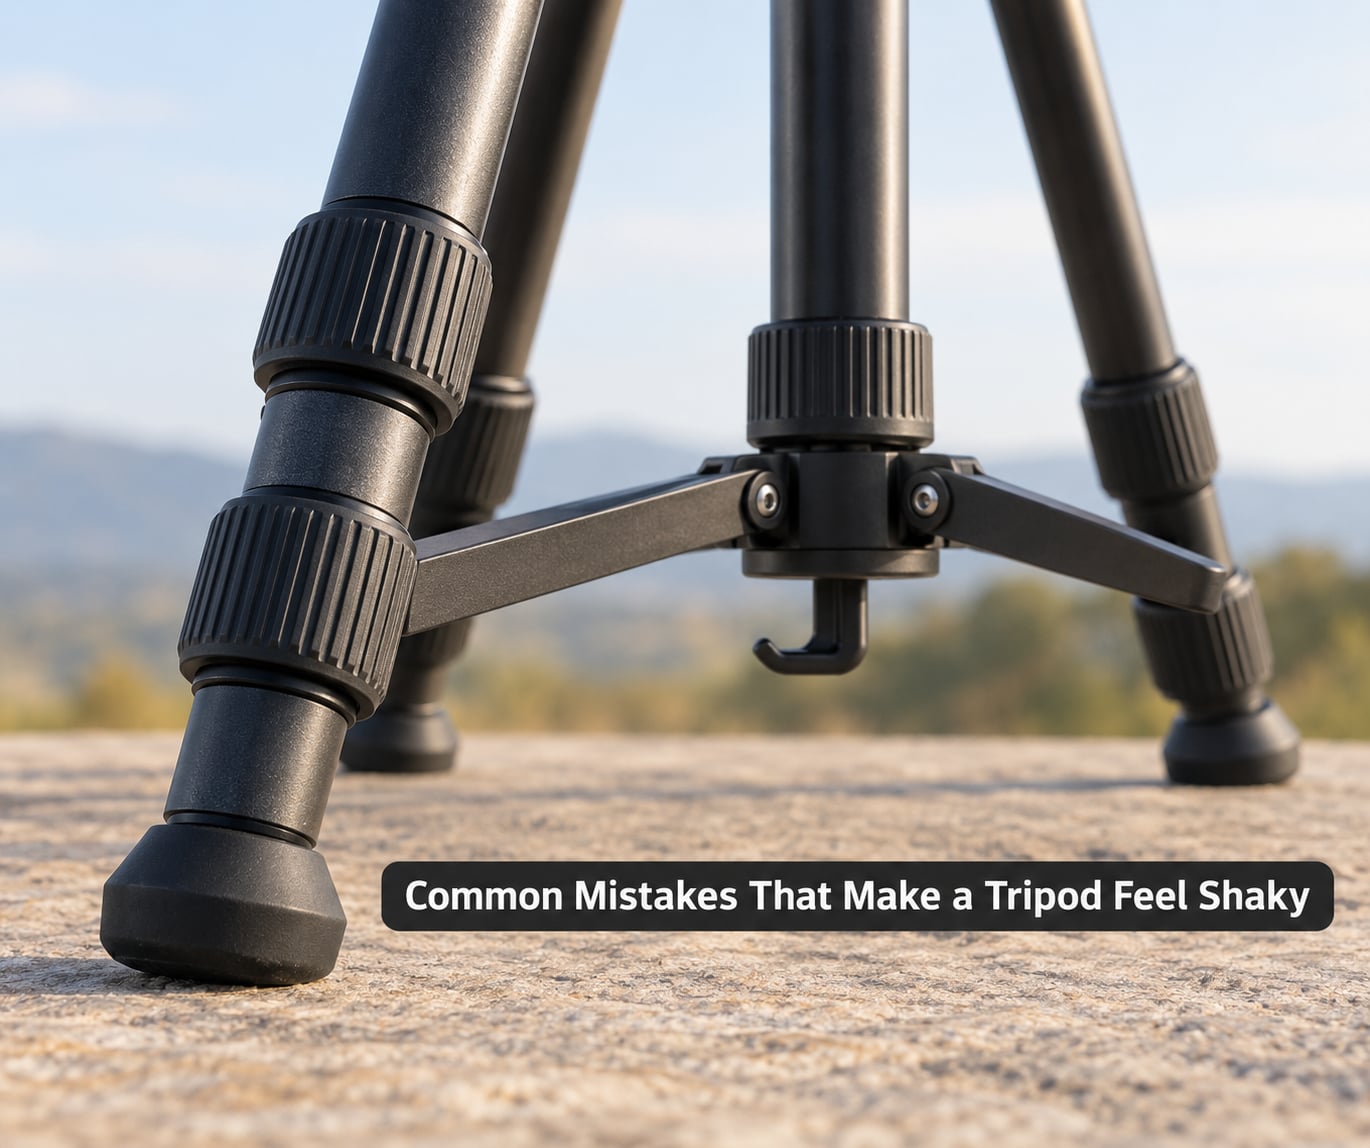
Most shake complaints come down to a short list of repeated habits. Each one has a corrective action, and each produces a slightly different symptom.
Leaving image stabilization switched on. In-body stabilization and lens-based Vibration Reduction or SteadyShot are tuned for a moving camera. On a locked-down tripod they hunt for motion that is not there, and the correction loop adds jitter of its own. Turn them off for stills on a tripod, and check your camera manual for a mode specifically labelled for tripod use.
Mirror slap and shutter shock. A DSLR mirror rising and returning can rock the body enough to blur the frame, and the shutter curtain snapping can ring the internal frame. A 2-second self-timer fixes mirror slap because the mirror has settled before the shutter opens. For shutter shock, switch to electronic front curtain shutter where the camera supports it, or enable exposure delay mode, which waits a moment after the mirror settles.
Fighting a problem with a bigger tripod. This upgrade loop is well documented on photography forums: buying a heavier tripod while the technique is unchanged rarely helps, because the cause was a loose lock or a soft floor, not a lack of mass. Diagnose first, then consider gear.
Shooting video with a head that drifts. For video, the usual fault is a fluid video head with damping set too loose, so the head slowly sinks or bounces during a take. Tighten the damping until the head holds any angle without help, and counterweight a heavier front element with a bar or a separate handle.
Relying on a remote release alone. A remote removes the shake from pressing the shutter, but it cannot fix a loose lock or an unbalanced rig. Treat it as one step, not the fix.
Counting on post-production stabilization. Software stabilization in a video editor crops and stretches the frame, and heavy motion still shows as warping at the frame edges. It rescues mild wobble. It does not rescue a blurred long exposure, where the detail is simply gone.
Forgetting the strap and the cables. A strap hanging free swings in a breeze and taps the leg. Loop it around a leg or tuck it, and route cables so they do not tug the camera or move against the head.
For phone rigs and other light setups, the physics changes. A phone or a small mirrorless body has far less mass to damp movement, so the same small wobble shows up more. Add weight where you can, clamp the rig to a proper plate or handle instead of a pinch grip, and on phones check for a dedicated tripod or Astro mode that is actually locking exposure and focus before the shot starts.
Frequently Asked Questions
Why is my tripod still shaky after I tighten all the locks?
If the shake survives a full lock-down, the movement is coming from somewhere else. Common culprits are a center column raised too high, feet that float on soft ground, a rig that is not balanced over the leg apex, a video head with damping too loose, or wind moving a long lens. Watch live view at 100 percent magnification while pressing the head gently in four directions, and the failing joint shows itself immediately.
Can a tripod be slightly flexible and still work?
Yes, within limits. Legs are designed to flex a little under load, and carbon fiber models flex less than aluminium. What matters is whether the flex is at a locked section or the top leg joint, and whether it grows visibly under pressure. Small give is fine for wide-angle and video work. Visible wobble, creaking, or a leg that rocks in its locked position means the joint or hardware has worn and should be serviced.
How do I stop my tripod legs sinking into the ground?
Match the feet to the surface. Use spikes on snow, mud and soft soil, and wide claw feet where you need to spread the load. On flat hard ground, check that each foot is sitting flat rather than tipped on the edge of the pad, and clean mud off before you set up. For interiors, put the tripod on a rigid surface rather than carpet or a loose rug, since feet sink into soft flooring slowly during a long exposure.
Why does my camera shake even when the tripod is not moving?
The tripod can be perfectly still and the image still move. Mirror slap from a DSLR, shutter shock ringing the internal frame, image stabilization hunting because it is switched on, and a hanging strap touching a leg all happen inside or around a motionless setup. Use the 2-second self-timer, switch off stabilization for tripod shooting, select electronic front curtain shutter or exposure delay where the camera offers them, and tuck the strap away.
Is a heavier tripod always less likely to shake?
Not always. Mass helps most against wind and against a heavy rig on soft ground, but a heavy tripod with under-tightened locks still rocks, and a light tripod with correct locks, a low center column, matched feet and a balanced camera can be perfectly rigid. Diagnose the loose or soft element before upgrading, because a heavier frame does not fix a loose lock, and it is harder to carry.
When should I replace a shaky tripod instead of adjusting it?
Replace it when the fault is in the structure rather than the setup. Signs include visible flex at the top leg joint when the legs are extended, a leg that will not hold position when locked, cracks around a bolt boss, corroded or stripped locks, worn foot threads, or a head that will not hold friction. If the shake follows the tripod to a different floor, a different camera or a different surface, the tripod is the problem.
Why Is My Tripod Still Shaky After All That? Start With the First Loose Part You Find
Work the checklist in order: locks and hinges, then feet and surface, then leg spread and center column height, then anything touching the camera, then camera settings, then wind and balance. Each step has a test at 100 percent magnification, and the shake has one source at a time, so stop the moment the frame holds still. If the movement follows the tripod to every floor and every camera you mount it on, the hardware has worn out and it is time to replace it.