The fastest way to sequence photos in a series is to decide the story first, cut the selection hard, then set the strongest image as your opener and the second strongest as your closer before you fine-tune anything in between. Order is not a finishing detail. It changes how each photograph reads, and it takes about an afternoon once your files are organised.
I have watched people spend weeks editing a set of forty frames and then lose the whole thing in a folder sorted by file name. The images were good. The order was random, so nobody could read it. That is the whole problem this guide fixes.
Below is the workflow I actually use, built around eight steps. It works for a photo book, a website gallery, an exhibition wall or a slideshow, because the ordering logic is the same in all four and only the export changes.
Table of Contents
- What You Need
- Step-by-Step: How to Sequence Photos in a Series
- 1. Decide the Story You Want to Tell
- 2. Select the Strongest Photos First
- 3. Create a Contact Sheet or Thumbnail Overview
- 4. Choose a Beginning, Middle, and Ending
- 5. How to Sequence Photos in a Series by Visual Flow
- 6. Check Rhythm and Repetition
- 7. Refine the Order and Test It
- 8. Export with Consistent Formatting
- Sequencing for Photo Books and Print
- Sequencing for Websites, Slideshows and Carousels
- How to Sequence Photos You Shot Without a Project in Mind
- Common Mistakes
- Frequently Asked Questions
- Should a photo series be in chronological order?
- How many photos should be in a photo series?
- Which photo should go first in a photo series?
- How do I sequence photos on a website gallery in the order I chose?
- Why don’t my photos show up in chronological order?
- What is the difference between a photo sequence and a montage?
- How do you sequence photos you shot without a project in mind?
- Conclusion
What You Need
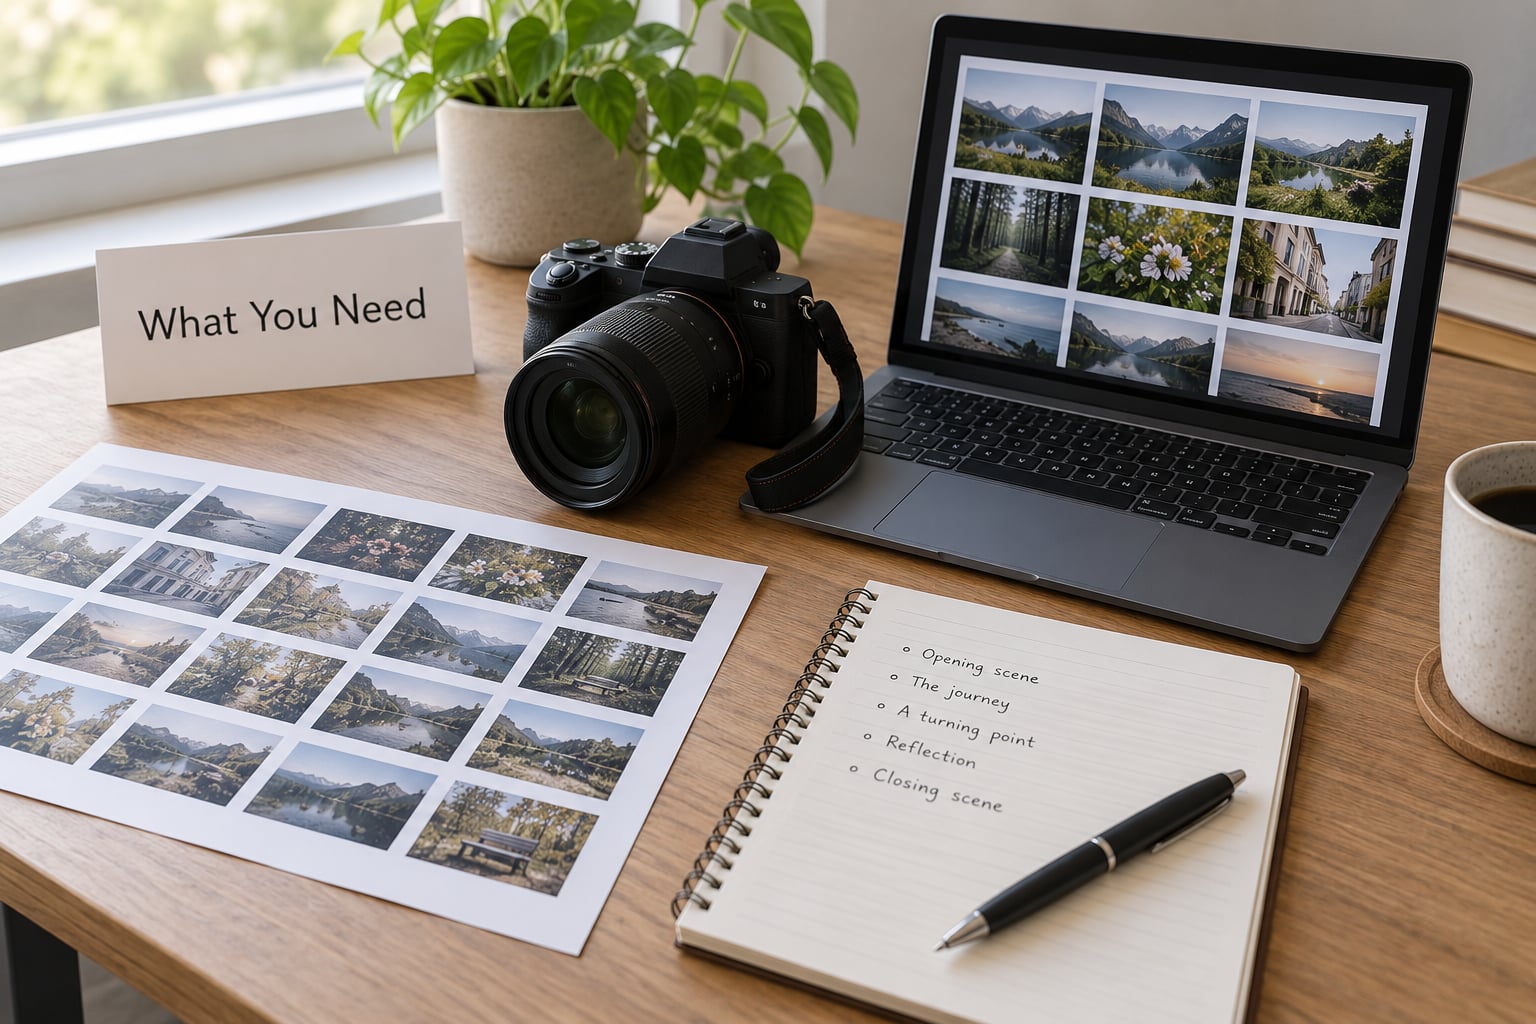
Sequencing needs far less equipment than people assume. The expensive part is the images themselves, and the useful part is a bit of space and an hour of distance from your own opinion.
- A selected folder. One shoot, one subject, one project. Mixing three trips into a single folder is the most common reason sequencing stalls.
- A working folder you can throw away. Copies, not originals. You will move things around and you should not be moving the only version.
- Contact sheets or thumbnails. A printed contact sheet beats a screen grid for judging an entire set at once. Small, cheap and black and white is genuinely fine.
- Test prints. A copyshop run of 4 by 6 prints is the cheapest sequencing tool there is, and the one people are most reluctant to use.
- A one-sentence statement of the story. Written down, not just held in your head. One sentence is plenty.
- A software workflow. Lightroom Classic for sorting, culling and export. InDesign or Figma only if you are laying out real book spreads. Optional but it speeds up delivery.
Two things worth adding. A notebook, because sequencing makes you notice crops that need changing mid-draft, and a second pair of eyes that does not shoot photographs.
Step-by-Step: How to Sequence Photos in a Series
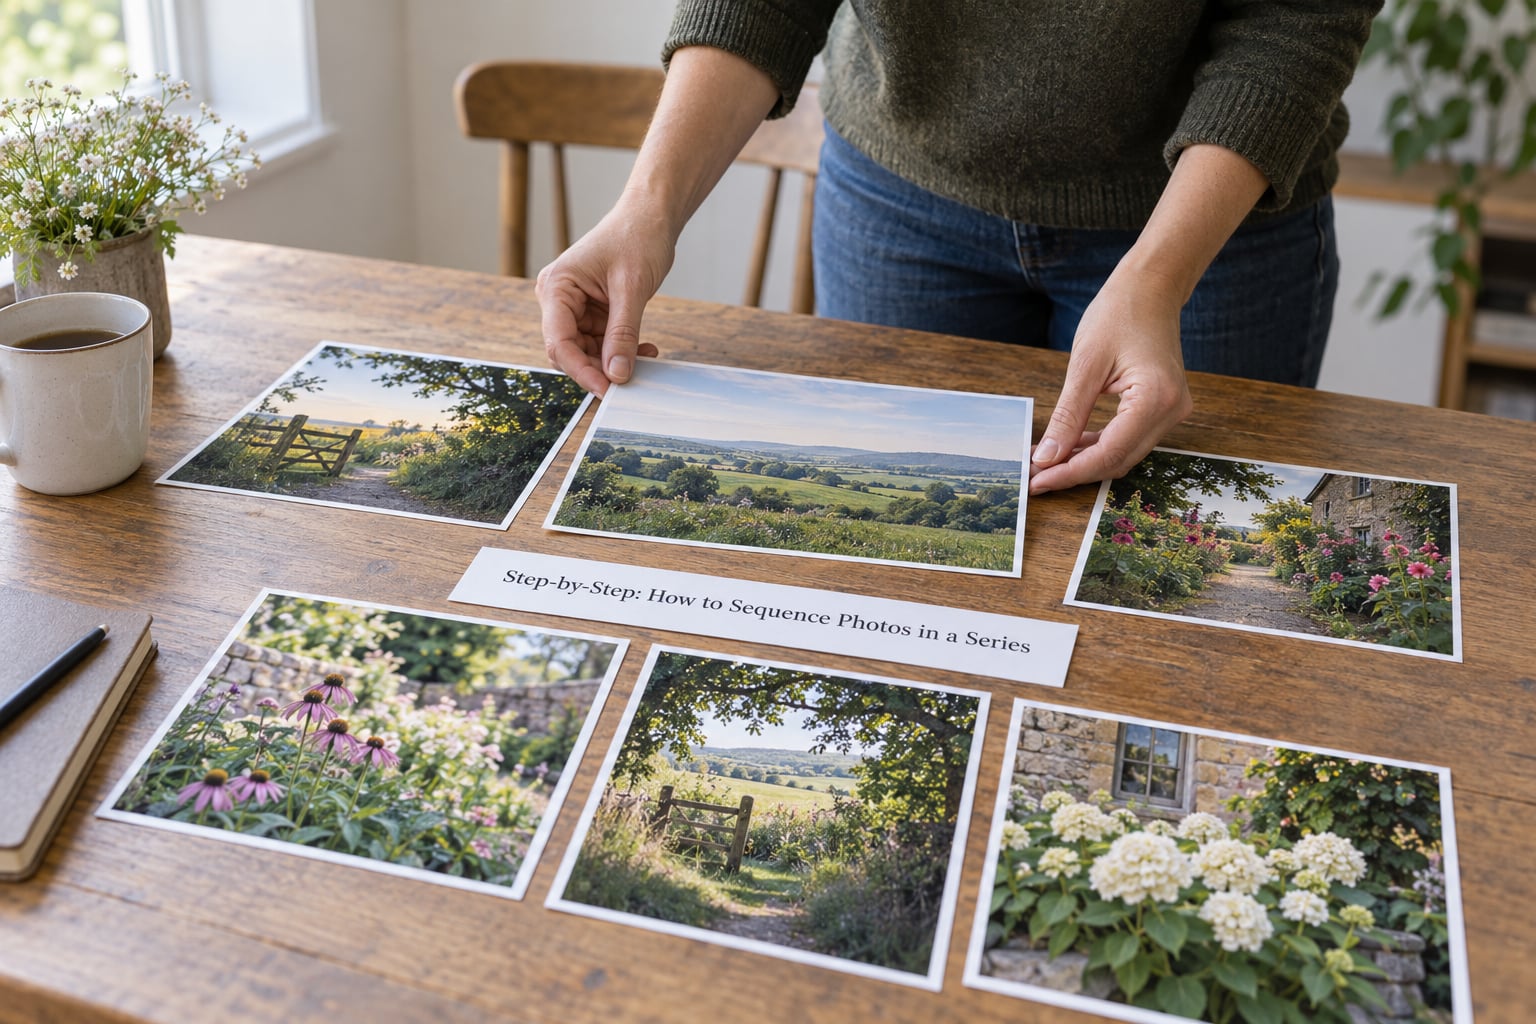
The process moves from story planning to a rough draft to a refined order, and it is never a single pass. Grant Scott, who art directed at Elle and Tatler, frames it as group by a constant, edit each group, then recombine. That is an iteration, not a decision.
1. Decide the Story You Want to Tell
Before you touch the order, write one sentence naming the subject, the mood and who the series is for. “Autumn allotments in a northern city, photographed over six weeks, for a small gallery audience” is a usable sentence. “Autumn” is not.
A theme should be identifiable without explanation. If a stranger could describe the series from three frames without guessing, your theme is tight enough to sequence. If they would need a caption for every image, the set is really several smaller sets and you should split it.
Then run the altruistic test Life Framer proposes: whose story are you telling, and who benefits? If the answer is only that you want to show off a camera, the sequence will feel thin, because there is nothing pulling the images forward except your taste.
2. Select the Strongest Photos First
Cut before you arrange. Sort the folder into two stacks, which is the system photographer Wesley described as A-sides and B-sides: A-sides are the frames that could anchor the series, B-sides are everything else that might earn a slot.
From the A-sides, remove technical failures, near-identical frames and anything that does not support the sentence you wrote. Keep a handful of B-sides as transitions. A sequence needs quieter images between loud ones, and those are almost never on your shortlist at the start.
The near-duplicate problem deserves its own rule. When you have four frames of the same motif, pick the one with the best light and the clearest gesture, and be honest about whether the others were shot for the series or just because you were there.
3. Create a Contact Sheet or Thumbnail Overview
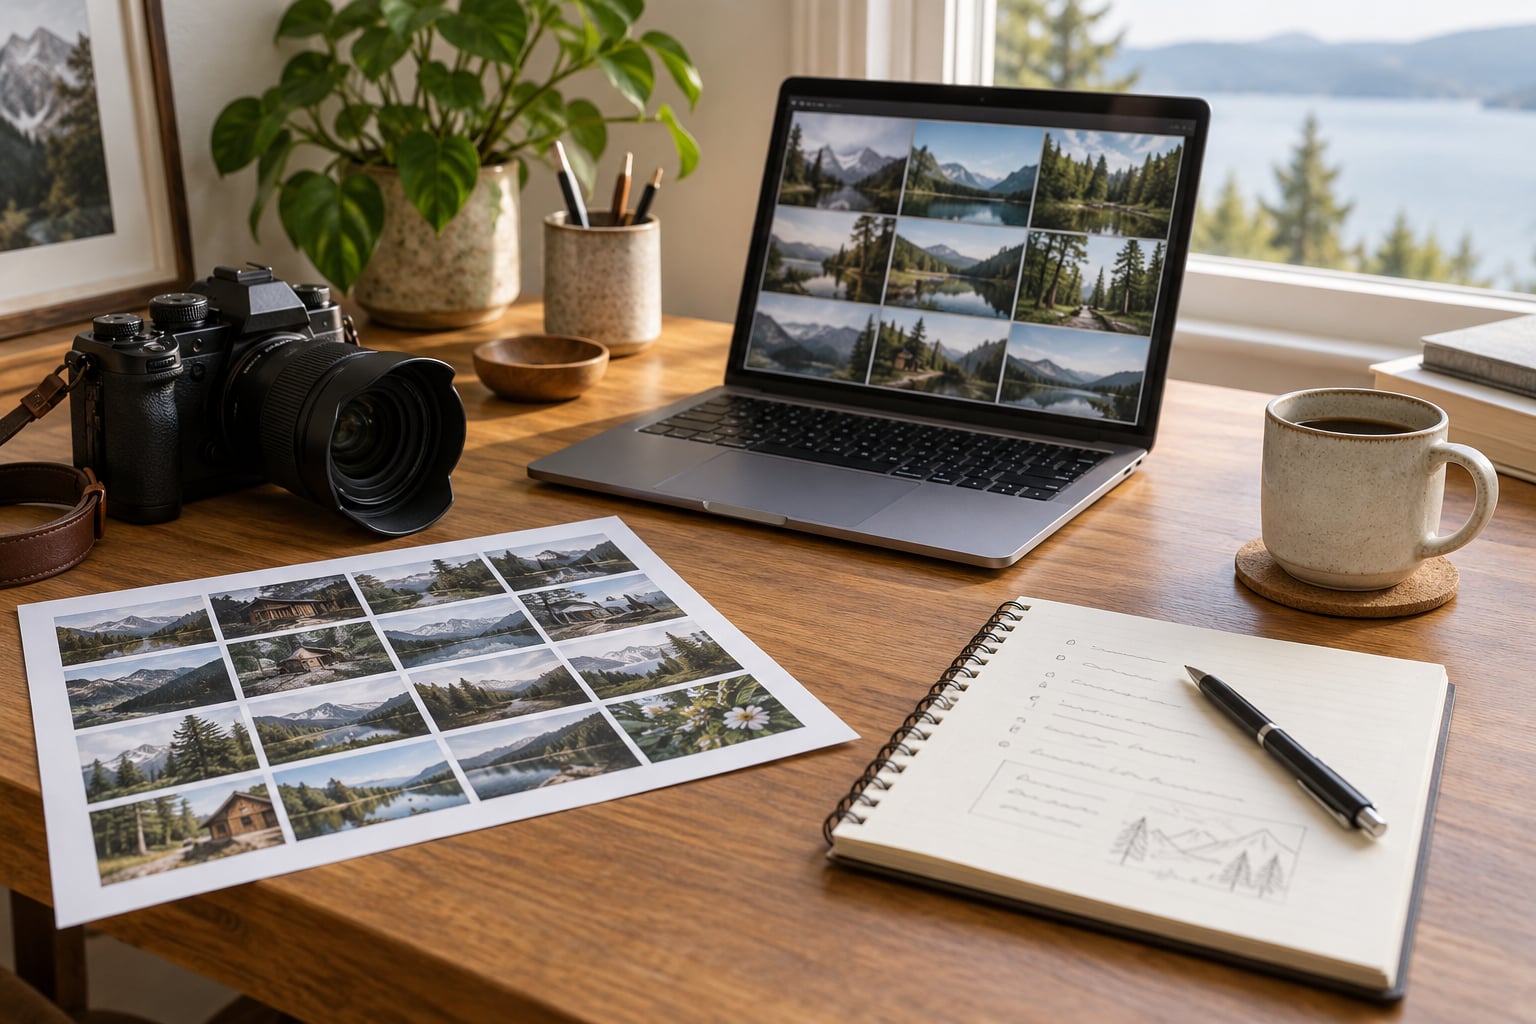
Lay the whole set out at once so you can compare scale, colour, focus and repetition side by side. A printed contact sheet does this best, because you can squint at it from across the room and still see the rhythm of the set.
In Lightroom Classic, build a Collection for the series, switch the grid to square thumbnails, and press the key for the selected frame to step through the set at a size where the whole composition is visible. Do not judge crops at full screen size at this stage; you are looking at relationships, not pixels.
What you are looking for at this stage: does the set have variety in scale, or is it twenty versions of the same wide shot. Does colour shift across the run, or is every frame the same grey-blue. Those two answers shape everything after.
4. Choose a Beginning, Middle, and Ending
Every sequence, even a short one, has three jobs. The opening image earns attention and sets expectations. The middle does the work. The closing image delivers whatever the whole set was building toward.
Take your two strongest frames and put one first and one last. Scott’s description of this is worth keeping: the best two images are the capital letter and the full stop, and everything between them is the words in the sentence. Take that literally. Your number two image does not go in position two.
Spread your remaining strong frames evenly through the middle rather than clustering them at the front. A common pattern for a four-image online gallery is strong, weaker, second-weakest, strongest: 1, 4, 3, 2. It keeps a strong image in the final position, which is where many visitors stop scrolling.
5. How to Sequence Photos in a Series by Visual Flow
Now the interesting part: the rule that turns a pile of good photographs into a readable set. Every adjacent pair should hand off to the next one, and there are only three clean ways that happens.
- Reinforce. Put two images together that share something, so the viewer sees the common thing more sharply. David Travis, whose Medium essay is the only place on the results page that names these three, calls it the highlighter-pen effect.
- Contrast. Pair two images that differ, so the difference becomes the subject. Warm against cool, wide against tight, busy against empty.
- Catalyse. Place two images that create a third idea neither one contained alone. This is the strongest pairing and the hardest to pull off.
Worked example from a single garden shoot of twenty frames. Sequence A runs chronological: watering, weeding, the first frost, bare soil. That is Reinforce all the way down and it reads as a record. Sequence B runs by scale, wide establishing view into four close details, which is Reinforce opening and Contrast inside. Sequence C runs warm to cool, which is Contrast and shows the frost arriving early. Same twenty files, three completely different sets.
The point of running one shoot three ways is that the ordering axis is a choice, not a property of the photographs. Most of the hesitation people feel at this stage comes from assuming there is one right order already hiding in the folder.
| Method | Best for | Watch out for | Example |
|---|---|---|---|
| Chronological | Documentary work, events, before-and-after | Interchangeable middle; dates dull the story | A winter walk photographed every Sunday for ten weeks |
| Thematic | Recurring subjects across time and place | Eclectic sets; the sequence can feel jumpy | Roadside cafes from four different counties |
| By place or location | Travel stories and a single trip | Loses the comparison across years | One market, photographed across a single morning |
| Formal | Design-led sets, portfolios, walls | Reads as graphic rather than narrative | Shape, scale and colour moving from minimal to busy |
| Emotional or tonal arc | Quiet sets where mood is the subject | Hard to sustain if the frames vary in tone | Fading from warm afternoon to cold dusk |
| Narrative arc | Photo essays and exhibition walls | Forces weak images into a role | Arrival, work, weathering, departure |
Most sets end up using one primary axis with a second one inside it. That is exactly what sequence B above does: scale as the primary rule, colour as the variation.
6. Check Rhythm and Repetition
Pacing is what keeps a set from going flat. Three wide shots in a row reads as a slideshow of the same idea; three close-ups in a row reads as claustrophobic.
- Alternate scale: environmental wide, then detail, then environmental wide.
- Alternate colour weight, so a run of blue skies gets broken up unless the story specifically wants them together.
- Alternate density: a busy frame wants a quiet frame beside it, and a quiet frame is worth more next to a busy one.
- Watch eyelines. If a subject is looking toward the frame edge, give that direction somewhere to travel.
- Watch the white space. Negative space gives the eye a rest and it can be the most useful image in the sequence.
Photographers who build albums compare it to music: a single track, then a run of pairs, then a single track again. In practice that means giving the sequence beats rather than an even tempo.
7. Refine the Order and Test It
Test the sequence at three viewing sizes, because it behaves differently at each. On a phone it is a scroll. On a laptop it is a gallery. On a wall, with the images at a metre apart, it is a body of work.
Three tests that catch real problems:
- The stranger test. Show a draft to someone who does not photograph. Ask them to say what the set is about after ten seconds. If their answer differs from your sentence, the order is not carrying the story.
- The thumbnail test. Look at the set as a grid of small squares. Do your strongest images look strong at that size, or do they depend on detail?
- The swap test. Move the third image to the front. If nothing improves and nothing breaks, position three is not doing any work.
Get feedback from photographers and non-photographers, and treat them differently. A photographer will notice your crop. A non-photographer will notice that image four feels like it belongs to a different set, which is the observation you cannot make yourself after months in the folder.
Bring notes, not just prints. Write one line about each image’s job in the sequence, hand over the list, and ask where their attention drifted.
8. Export with Consistent Formatting
Once the order holds, standardise the files so the sequence survives the move from your catalogue to wherever it is going. Name files with a numeric prefix matching the sequence position, such as 01, 02, 03, so the sort order in any folder, any system, any upload tool matches what you built.
Apply consistent crops and orientation across the set. Keep the aspect ratio identical unless a specific spread needs otherwise, because mixed ratios in a gallery make every thumbnail a different size and flatten the rhythm you worked on.
Export at the resolution the destination needs, which differs a lot by output. Full resolution for print and books. Web-sized files, around 1600 pixels on the long edge, for websites and slideshows. Leave a little more room than you think you need so the same set can be used later for a print version.
The two destinations that need their own decisions are the last two steps worth splitting out.
| Where the series runs | What to optimise | Image count | Opener and closer rule |
|---|---|---|---|
| Photo book or zine | Spreads, pacing, white space | Six to twenty per chapter | Protect the right-hand page; closer sits on a final spread |
| Website portfolio | Immediate impact, thumb appeal | Eight to ten | Strongest first; second strongest last |
| Exhibition wall | Scale, distance, walking route | Six to twenty | Entrance image does the inviting; last image holds the room |
| Slideshow or carousel | Pacing and swipe motivation | Five to twelve | Strongest first, and never waste the last slot |
Sequencing for Photo Books and Print
A book is the strictest format, because the reader controls the pace and you do not. Facing pages are the real unit, not single images, so pair images first and paginate second.
- Protect the right-hand page. Readers of western books turn to the right-hand page first. Grant Scott’s advice is to treat that page as the most important one in the spread.
- Watch the gutter. Anything you place near the fold loses visual weight. Keep subject matter away from the centre of a spread, or let an image bleed across it deliberately.
- Respect the binding. A section-sewn book opens flat and can carry a full-bleed spread. A perfect-bound or glued book narrows near the spine and cannot, so keep compositions off the inner margins.
- Vary scale between spreads. Two large images across two consecutive spreads is heavy. Follow a full-bleed with a small single image and some white space.
Small prints on the floor make this testable before you commit. People building books in the photo-book forums all land on the same method: lay the sequence flat and look at the actual spread, because a spread imagined on a screen is never right.
Sequencing for Websites, Slideshows and Carousels
Online, the main enemy is the default sort order. Most galleries and content management systems will show your images by upload order, by date taken, or by file name, and not the order you built.
In Lightroom Classic, the fix is the Sort menu in the grid view. Set Order to Custom, then drag images into position in the grid or use the Sort menu again to set the preferred order. Once your sequence is right in a Collection, export that Collection and upload in the same sequence.
Two practical rules for online. Put your strongest image first, because a lot of visitors never scroll past the hero. And cap the gallery at about eight to ten images; a portfolio is a shortlist, not an archive, and anything past that length loses the person you are trying to reach.
If your photos refuse to appear in date order, it is almost always because the platform is sorting by file name, and file names start with numbers once you sequence them properly. Prefix with a number and you control the order rather than fighting it.
How to Sequence Photos You Shot Without a Project in Mind
Not everyone arrives with a brief. If your practice is going out and waiting for pictures to emerge rather than executing a list, this is your section.
The recurring answer in the r/photography threads on this question is that you already have the project, you just have not named it. You have shot the same kind of picture for two years without noticing. Light posts, the backs of billboards, empty waiting rooms, roadside cafes. That repetition is the theme, and the series is the set of frames that contain it.
Then the real decision: group by place, or group by theme.
- By place gives you a coherent travel story and a strong narrative through a single day or trip. It loses the comparison across time, which is often the most interesting thing you have.
- By theme gives you that long comparison across different places and seasons, which is where recurring work earns its power. It produces more eclectic individual sets, because you are choosing the idea over the location.
Most photographers who shoot recurring motifs end up doing both, and that is fine. The theme set is the project; the place set is the proof that you have actually been there and actually returned.
The other half of this is gaps. A retrospectively assembled project usually has holes, and the instinct is to paper over them by adding a decent-but-not-right image. Better to leave a gap and go shoot it. A long-term project with visible gaps is honest; a sequence padded with filler reads as thin.
Common Mistakes
Sequencing fails in a small number of very repeatable ways. Each has a fix.
- Sorted by file name. You have effectively outsourced the order to your operating system. Fix: number-prefix your files before uploading anywhere.
- Best image first with no setup. A stunning opener followed by a weak second image reads as a letdown. Fix: put the strongest opener somewhere position two or three and lead with context.
- All your best work in the first third. The back half looks like filler. Fix: spread the strong frames evenly and save one for the end.
- Ignoring pacing. Same scale, same colour, same density, every frame. Fix: after every two images, deliberately change at least one of scale, colour or density.
- Using every photograph. A sequence of forty is a contact sheet, not a series. Six to twenty images is the working range, and eight to ten for an online portfolio.
- Re-cropping halfway through. You change the edit mid-sequence and the layout no longer matches what you printed or built. Fix: finish the edit before the final draft, then only re-edit if something genuinely breaks.
- Changing the story at the end. Swapping to a new theme in the last pass undoes the whole selection. Fix: write the sentence in step one and treat changing it as starting again.
- Sequencing once and never returning. Every new frame you add changes the meaning of the ones around it. Fix: re-run the sequence each time the set grows.
One more that gets missed: putting your newest work at the bottom of the gallery, where nobody sees it. Recency is not a sequencing principle unless your story is explicitly about how something changed.
Frequently Asked Questions
Should a photo series be in chronological order?
Only when the change over time is the point. Chronological order works for documentary work, a single event, or before-and-after pairs, because the viewer already understands time and does not need orienting. It fails for thematic and portfolio work, where the interesting relationship is between subjects rather than dates. If you try chronology and three images in a row feel interchangeable, switch to an axis based on scale, colour or emotion.
How many photos should be in a photo series?
Six to twenty is the useful range for a book, zine or exhibition wall. Below six you often cannot establish a rhythm, and above twenty the viewer has no memory for the opening image by the time you reach the end. For a website portfolio or slideshow, aim for eight to ten. Treat these as ceilings rather than targets and cut anything that does not carry weight.
Which photo should go first in a photo series?
Your strongest image, provided the second image does not then look weak by comparison. Pick your best and second-best frames and put one first and one last, with the rest spread through the middle rather than clustered at the front. If the strongest frame has an unusual crop or an orientation that breaks the pattern, open with a strong context-setting image instead and let the unusual one land later.
How do I sequence photos on a website gallery in the order I chose?
Most galleries sort by upload order, date taken or file name, so your intended order is ignored unless you change it. In Lightroom Classic, set the grid Sort menu to Custom, drag images into the sequence position, and keep that order in a Collection before exporting. Online, number-prefix your filenames so 01, 02, 03 sorts correctly in any system, and upload in sequence. For social carousels, upload the final image first and work backwards.
Why don’t my photos show up in chronological order?
Because the platform is almost certainly not sorting by date. The usual causes are sorting by file name, by upload timestamp rather than capture timestamp, or by the order you dragged files into the uploader. If you number-prefix your files for sequencing, file name becomes the deciding factor and the dates are ignored entirely. Check the gallery’s sort or display settings first, then confirm the camera’s clock was correct on the day of the shoot.
What is the difference between a photo sequence and a montage?
A sequence keeps the images separate and orders them in time, so the viewer moves through them one after another. A montage combines multiple images into a single composite picture, sometimes with blended edges, so they read as one photograph. A photo essay sits between the two: usually presented as a series but built to explain or argue, often with captions. Diptych and triptych simply mean two and three images used as a deliberate set.
How do you sequence photos you shot without a project in mind?
Start by listing what you keep photographing when you are not working to a brief, then treat that repetition as the theme. Group by place for a coherent single trip, or by recurring subject for a longer comparison across seasons and locations, which is usually where the interesting work sits. Splitting the set into both, one as the project and one as the record, is a normal outcome rather than a compromise. Leave gaps unfilled and go shoot them.
Conclusion
Do the first three things now and the rest becomes easier. Write the one sentence that says what the series is about, cut the folder down to your A-sides, and lay the strongest images out on a table in the order you think is right.
Then take that order seriously enough to break it once. Move an image, change the axis, watch what happens. Sequencing photos in a series is not a puzzle with one solution hidden in the files; it is a decision you make, test and make again every time the set grows.