If your photos exist in only one place, you don’t have a backup, you have a hope. How to back up photos safely at home comes down to one rule that takes about an hour to set up: keep three copies of your library, on two different kinds of storage, with one copy stored somewhere other than your house.
That is the 3-2-1 backup rule, and it works because each part covers a different failure. No single fire, flood, stolen laptop, dying drive or mis-tap takes out all three.
- 3 copies — the library you work from, plus two backups.
- 2 different storage types — a drive and a cloud account, not two folders on the same disk.
- 1 copy away from home — cloud storage, another person’s house, or a bank safety deposit box.
A fourth copy is fine. I keep one, because a rule you understand is worth more than a rule you follow exactly.
Table of Contents
- What You Need
- Step-by-Step: How to Back Up Photos Safely at Home
- Step 1: Choose One Main Photo Library
- Step 2: Make the First Local Backup
- Step 3: Make a Second, Separate Backup
- Step 4: Store One Copy Away From Home
- Step 5: Verify and Maintain the Backup
- Common Mistakes
- Frequently Asked Questions
- What is the safest way to back up photos?
- What is one downside of cloud backup?
- How often should I back up photos?
- Do photos stay in the cloud after you delete them?
- How do I know my backup is actually working?
- I lost all my iPhone photos. How can I recover them?
What You Need
Before you copy anything, you need a source and two places to copy it to. The source is whatever holds your originals right now: a phone, a camera card, a folder on your computer, or an old backup you are not sure about.
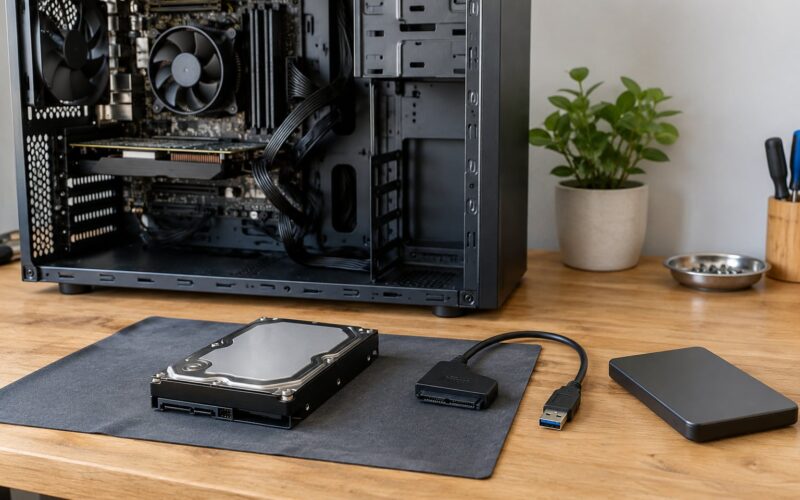
The first destination is a USB external hard drive or SSD. Buy for the next few years, not for today — a library that fills a 1 TB drive now will fill a 2 TB one sooner than you expect. The second destination is different in kind from the first: a cloud account, or a second physical drive that lives somewhere else.
Get your free space right first. Copying 300 GB into a drive with 40 GB free fails partway through, and a half-finished copy is the sort of thing people mistake for a backup. Leave headroom on both the source and the destination.
Pick a folder naming convention before you start, and stick to it for every backup you make from now on. I use a single top folder with one dated subfolder inside it, so each backup run adds a new folder rather than overwriting the last one.
Two practical notes. Privacy: if the drive holds private family photos, turn on BitLocker in Windows or FileVault in macOS, and store the recovery key somewhere other than the computer the drive usually plugs into. Reliability: a cheap drive that has been sitting in a drawer for eight years is not a backup, it is a paperweight, so check the drive’s health status now and then and replace anything getting old.
Step-by-Step: How to Back Up Photos Safely at Home
Step 1: Choose One Main Photo Library
Start by gathering every original into one place, so your backups have a single source to copy from. If you have never worked out how to back up photos safely at home before, this first decision matters more than the drive you buy: one main library, copied, never reorganised on the fly. On a Mac or PC, make one folder per year or per project — 2026-Kent, 2026-Family — and copy files into it. Copy, never move.
Most of a home library lives on a phone. On iPhone, open Settings, tap your name, then iCloud, then Photos, and turn on Sync this iPhone; the full-size originals then show up in the Photos app on a Mac, or on a PC through iCloud for Windows. On Android, open Google Photos, tap your profile picture in the top right, tap Backup, and check the line that says when it last finished.
Camera cards get copied in too, and they stay plugged into the routine until you are certain the main library is complete. Format a card only after you have opened its photos from two separate copies. One set of vacation photos exists once, and it exists on a fragile card until you have proved otherwise.
Tidy the main library before copying, not after. Burst shots, screenshots of nothing, and duplicate downloads make verification miserable later, and every extra file slows each copy you make from then on.
Step 2: Make the First Local Backup
Plug in the external drive and create a new dated folder on it for this run. Drag the whole library in, and let it finish without touching the computer — a lid closed or a sleep timer during a large copy is a common way to end up with a folder full of truncated files.
On Windows, open File Explorer, go to This PC, find your photo folder, and copy it to the drive. To automate it instead, open Control Panel, choose File History, pick the drive with Select drive, and turn it on; it then keeps hourly and daily versions of anything in your library folders. On Mac, copy the folder across in Finder, or turn on Time Machine in System Settings under General, which keeps hourly and daily snapshots and keeps a month of them around.
Copy the camera originals, not just the JPEGs you exported. A RAW file plus its sidecar is the thing you cannot recreate, and edited JPEGs are cheap to lose and expensive to redo.
When the copy finishes, compare the file count on the drive with the count on your computer. They should match. Then eject the drive properly through the system tray or Finder rather than yanking the cable, which is a small courtesy your filesystem will repay you for.
Step 3: Make a Second, Separate Backup
The second backup goes on different media, and for most households the cheapest version is a cloud account. For a Google Photos library, Google Takeout exports your originals into an archive you download; iCloud, OneDrive, Dropbox and Amazon Photos will all take a full library too.
A sync folder is not a backup. This is the single most expensive misunderstanding in home photo storage, and it shows up again and again in photo forums. Deleting a photo on your phone deletes it in the cloud as well; people on r/iCloud describe waking up to find years of pictures gone from both places. A MacRumors forum user ran a first sync in the wrong direction and pushed an empty computer folder over the phone library, wiping the device. Another cleared Recently Deleted believing iCloud was off.
What separates a backup from a sync is history. A sync makes two identical copies that always agree, so a mistake is instantly duplicated. A backup keeps previous versions, so a deletion at the wrong moment is recoverable for a while.
Check this copy the same way you checked the drive: compare file counts, compare the total size of the folder, and open three or four files at random, including at least one video and one large RAW file.
Watch compression while you are here. Some services re-encode images above a certain size, which means the cloud copy is a viewing copy rather than the original file. Keep the full-resolution original on the drive at home so nothing depends on that.
Step 4: Store One Copy Away From Home
One copy has to survive the house. Cloud does that on its own, and for a family with a large library it is the least effort option. For a fully offline copy, a second drive at a relative’s house, a bank safety deposit box, or a storage unit all work.
Rotating two drives is the cheapest version I know. One drive lives at home, one lives at another address, and they swap whenever you visit or every month or so. With cloud, run the big upload overnight so it never sits half-finished when you go to bed.
Two things people miss. First, providers retire features and lock accounts, and the only copy that survives that is one you control — so treat the offsite copy as a copy, never as the original. Second, encryption: if the offsite drive holds anything private, turn on BitLocker in Windows or FileVault in macOS, and keep the recovery key away from the machine the drive plugs into.
Step 5: Verify and Maintain the Backup
A backup you have never opened is a hope, not a copy. Once a month, and after any big shoot, connect each backup and look at the newest folder. Open several photos full size, including a RAW and a video, and scroll through the whole folder rather than just the first screen.
Compare file counts on both sides. The poster in the top-ranking thread on r/DataHoarder says he cannot find a clear way to prove files have not quietly rotted after years on a drive, and the honest answer is a periodic verify pass: FreeFileSync can compare a source and destination using checksums, and a drive health utility such as CrystalDiskInfo will flag a failing disk before it takes your copy with it.
Restore something now and then. That is the part most guides skip, and it is the part that tells you whether how to back up photos safely at home actually worked for you. Copy a folder from the backup to a new location on your computer or phone and open it, so you know the copy is genuinely usable rather than merely present. Do this once at setup, and then every few months.
Check free space while the drive is connected, replace a drive that has been in service about four years, and always eject before unplugging. Then put a recurring reminder in your calendar, because the backups that quietly stop running are the ones nobody was watching.
Common Mistakes
- Keeping one copy. A library that lives only on a phone is gone after a theft, a stolen bag, or a dead battery. Three copies, two media, one offsite — the rule exists because each of those events is ordinary.
- Formatting the wrong drive. Check the drive letter or disk name twice before formatting anything, and never format the source. Format only the brand new empty drive, before you copy to it.
- Using a sync folder as your only backup. Deletions propagate to every device, and once Recently Deleted expires, the files are unrecoverable. Keep one true backup somewhere sync does not reach.
- Pushing an empty folder up on a first sync. When in doubt, copy files manually for the first run. A wrong-direction first sync is the most common way people lose a phone library.
- Naming files so broadly that restoration becomes work. IMG_4821 tells you nothing in five years. Date and event in the folder name, and keep the camera’s original filenames inside.
- Forgetting videos, phone photos and RAW. Back up video too — it fills space fastest and is the most sentimental. Check that your phone library made it across, not just the camera card.
- Never testing the backup. An untested backup is an assumption. Open files, compare counts, and restore one folder deliberately.
- Leaving the backup drive plugged in. A permanently connected drive is reachable by malware. Disconnect between backups, or use a schedule that runs and disconnects on its own.
And keep the originals unchanged. Every step above copies; none of them edits, moves, or tidies the source library. Deduplicate inside a copy, never in the place your only originals live.
Frequently Asked Questions
What is the safest way to back up photos?
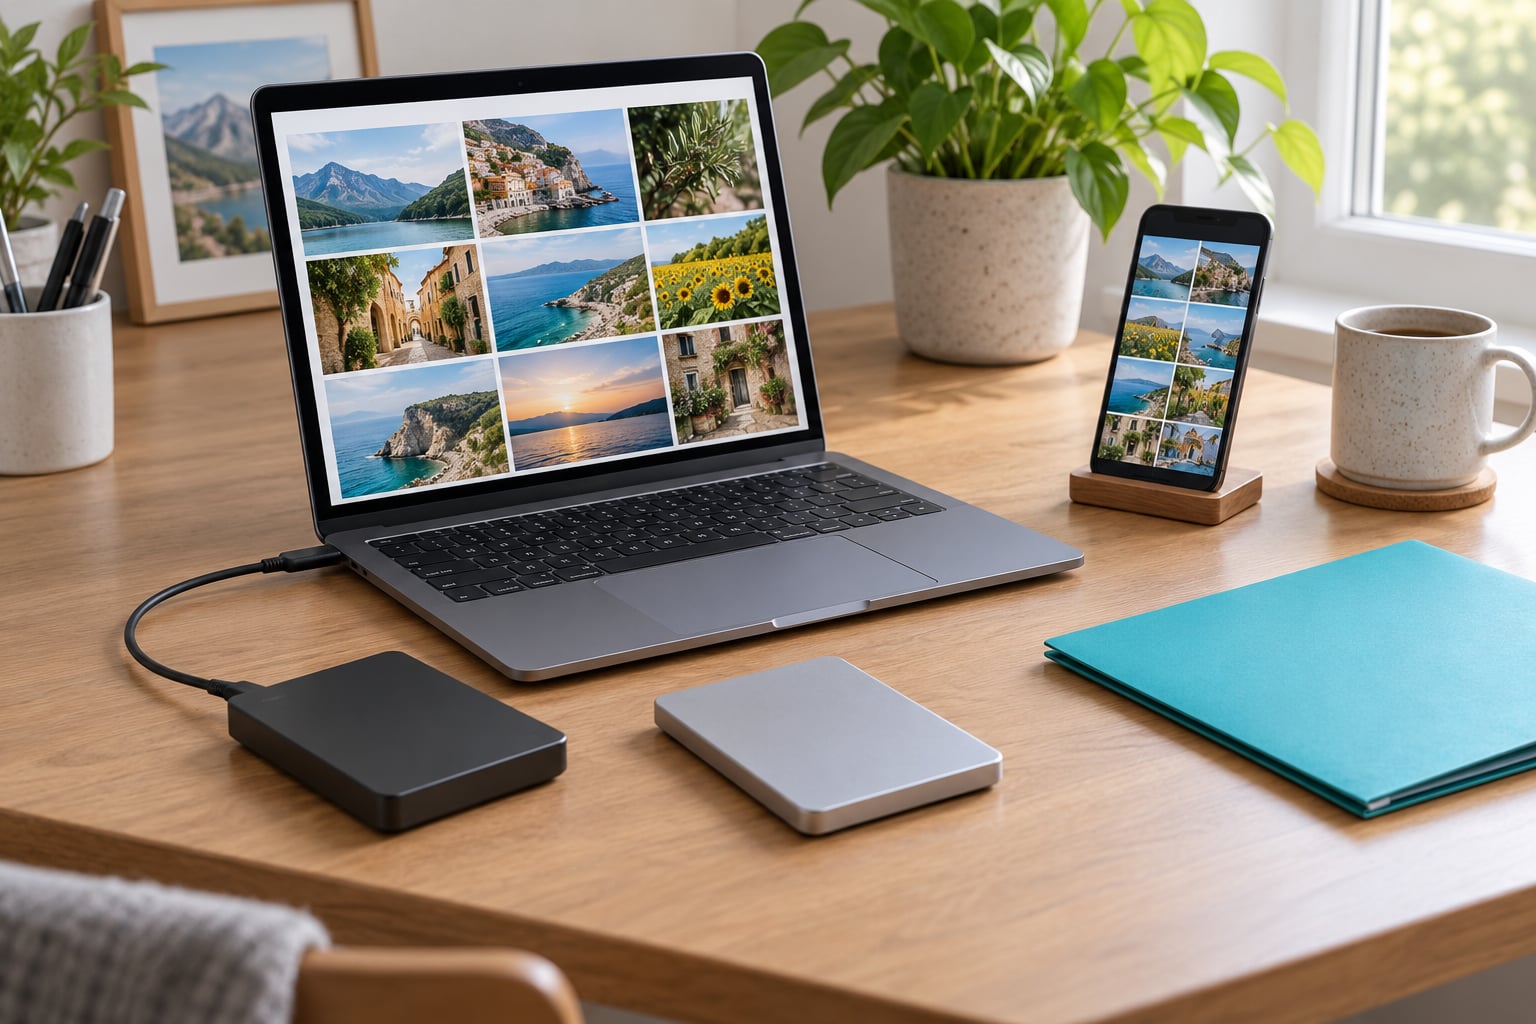
Three copies, on two different kinds of storage, with one copy stored away from your house: the 3-2-1 backup rule. In practice that means your phone or computer, an external drive you plug in on a schedule, and a cloud account or second drive kept elsewhere. The reason it works is that each copy fails differently, so theft, fire, drive failure and accidental deletion each reach only some of them.
What is one downside of cloud backup?
A sync is not a backup, so a deletion on one device reaches the cloud copy too. Photos deleted on a phone are usually recoverable from Recently Deleted for a short window, and after that they are gone from both places. The other real drawbacks are recurring subscription cost at library scale, re-encoding of large images by some services, and the fact that a provider can retire a service or lock an account, which is why the cloud copy should never be your only copy.
How often should I back up photos?
Every time you finish shooting, and at minimum monthly for a family library. A weekly routine catches most accidents early, and after holidays or a big project you will want a run the same evening because those are the weeks when card and laptop failures cluster. Set the drive to run the job on a schedule, then keep a calendar reminder for the monthly verification, where you open files, compare file counts and check free space.
Do photos stay in the cloud after you delete them?
Usually not for long. On iPhone and in Google Photos, deleted photos move to Recently Deleted or the trash for a limited period, commonly around 30 days, and then they are permanently removed from the cloud as well. If you run the first sync in the wrong direction, an empty computer folder can overwrite a phone library, which is why the cloud copy should never be the only copy you own.
How do I know my backup is actually working?
Test it rather than assume it. Connect each backup, open the newest folder, and check a few files full size, including a RAW and a video. Compare the file count on the backup with the source, and once in a while restore a folder to a new location to prove it opens. FreeFileSync can run a checksum comparison between source and destination, and a drive health tool such as CrystalDiskInfo will warn you about a disk that is about to fail.
I lost all my iPhone photos. How can I recover them?
Work through these in order, quickly. First, open Photos on the iPhone and check Recently Deleted, which holds removed items for about 30 days. Next, check any other device signed into the same Apple Account, including an iPad or Mac, since iCloud Photos may still hold the library. Then sign in at iCloud.com and look for the photos there. Finally, restore an older device or disk from a local backup or Time Machine, and stop writing new photos to the phone in the meantime.
Start tonight, not this weekend. Plug in one drive, copy your whole library, check the file count, and label the folder with today’s date. Everything after that — the second drive, the offsite copy, the monthly verification — is maintenance on a system you already own, and it is the whole of how to back up photos safely at home done properly.