An external drive only protects your photos if it is one part of a system, not the whole system. The short version of how to store photos on an external drive long term: format the drive, copy your originals in date-based folders, confirm the copy is complete, store the drive powered off somewhere cool and dry, and keep two more copies including one away from your house. That is the 3-2-1 rule, and it takes an afternoon to set up properly.
I have moved three decades of family and wildlife images this way, and the archives that survived are the ones where I never asked a single drive to carry the whole job. The drives I neglected are the ones that needed data recovery work years later.
Table of Contents
- What You Need
- Step-by-Step: Build a Long-Term Photo Storage System
- H3 1. Prepare the External Drive
- H3 2. Create a Clear Folder Structure
- H3 3. Copy Rather Than Move the Photos
- H3 4. Verify the Files After Copying
- H3 5. Keep a Second Backup
- H3 6. Maintain and Check the Drive
- Common Mistakes
- Frequently Asked Questions
- How long can an external drive reliably store photos?
- Should I use an external hard drive or SSD for long-term photo storage?
- Is cloud storage enough for keeping photos long term?
- How do I check that photos copied to an external drive are complete?
- Should RAW files be stored on an external drive?
- What should I do if my external drive stops working?
- Conclusion
What You Need
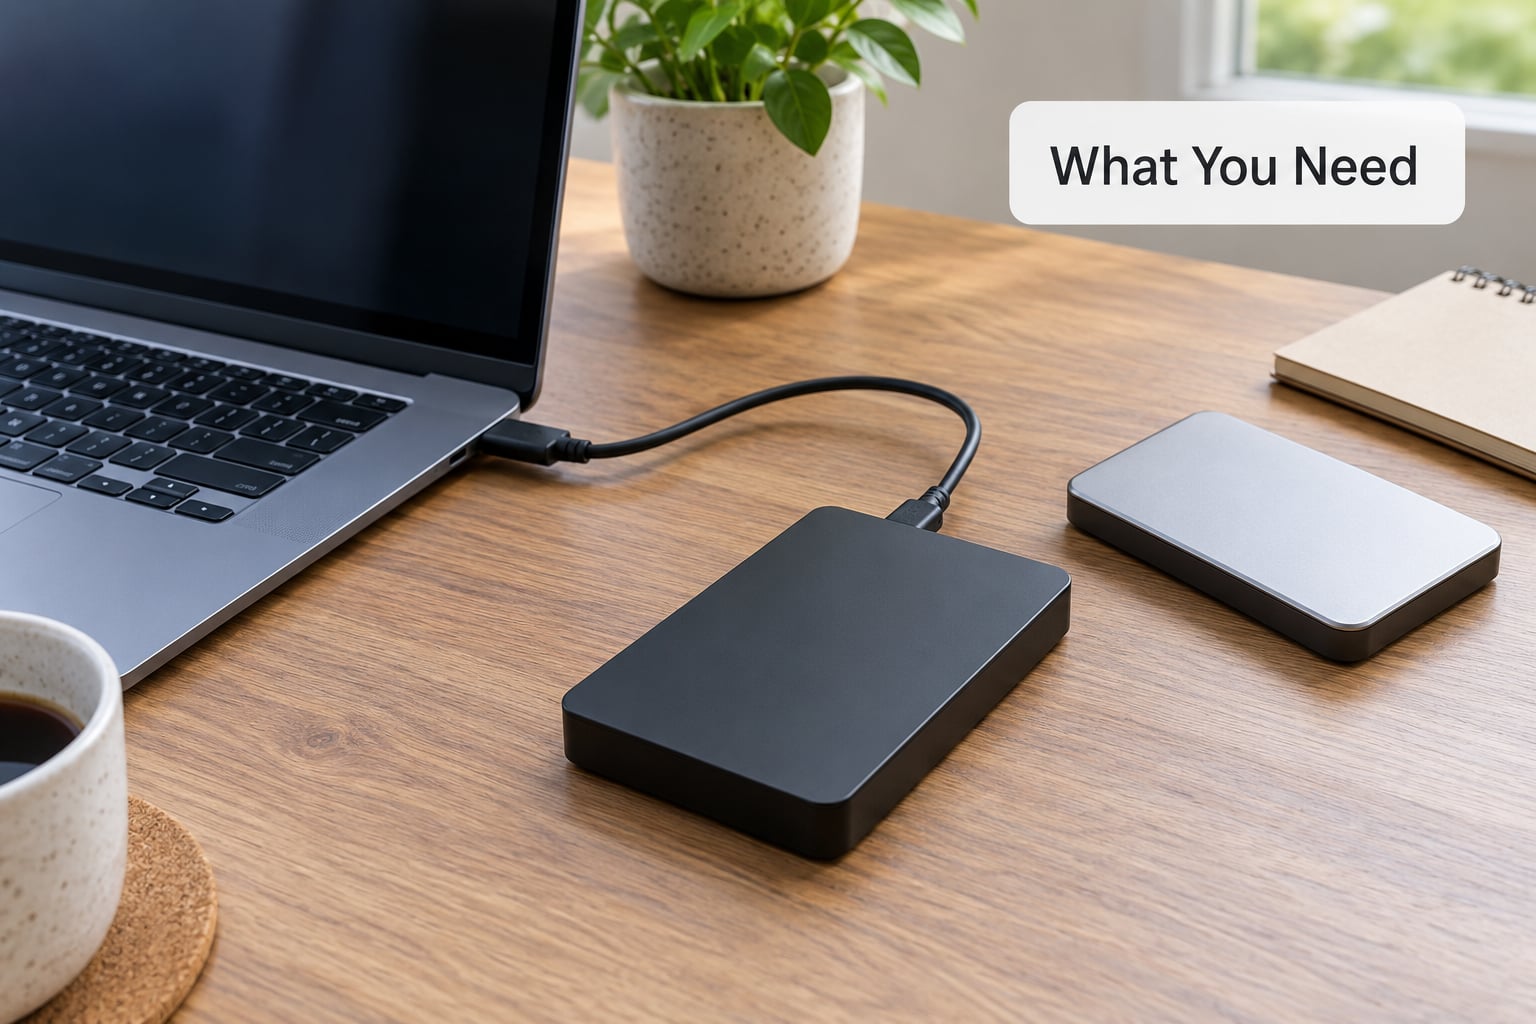
Everything here is ordinary equipment, and most photographers already own most of it.
- An external hard drive for the archive. Buy capacity with headroom, because the drive you size today will be the drive you regret in four years. For a shooting library, twice your current library size is a reasonable starting point.
- A second drive or device. This is the copy that proves the first one works. A second external drive is the simplest version, and an older computer drive, a NAS, or a cloud account all count.
- Enough free space on your computer so the copy can run without filling the source volume halfway through.
- A verification method. File counts and sizes are enough for most people. Checksums are better if you are dealing with irreplaceable archives.
- A clean folder plan. Decide it before you copy anything, not after.
A note on where you buy the drive. Forum advice in the photographer communities is consistent on this: buy from the manufacturer or an established retailer, not a marketplace reseller with no track record. Counterfeit and pulled drives get relabeled and resold.
Step-by-Step: Build a Long-Term Photo Storage System
H3 1. Prepare the External Drive
Format the drive before the first copy. On Windows, right-click the drive in File Explorer and choose Format. On macOS, use Disk Utility and the Erase function. Pick a file system that works on both machines if you want portability: exFAT for cross-platform use, NTFS on Windows-only setups, APFS if the drive lives on a Mac.
Check the drive’s health before you trust it. macOS ships Disk Utility with an option to run Verify Disk; Windows 10 and 11 have a drive health column in Disk Management. A brand-new drive reporting reallocated or pending sectors is a return-it signal, not something to work around.
One practical point that catches people out. Sometimes you open a folder expecting the drive and get an empty window because you clicked a shortcut on the desktop instead of the volume itself. Check the drive label and capacity in the sidebar before assuming the copy failed.
H3 2. Create a Clear Folder Structure
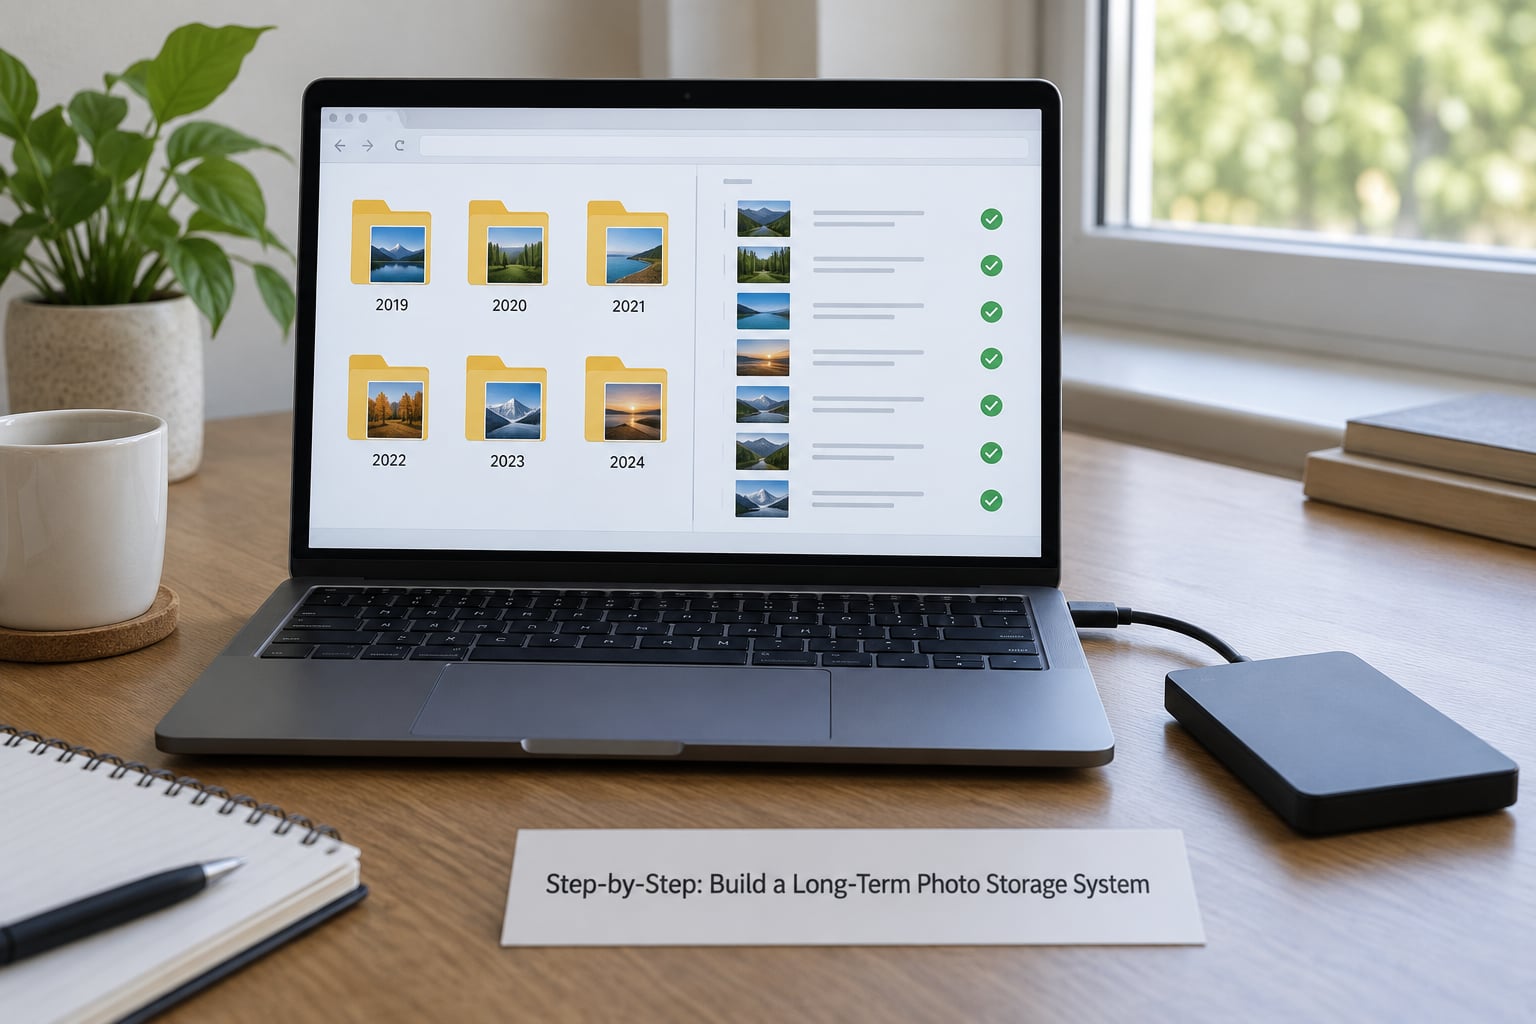
Build the structure on the drive first, then copy into it. A folder layout that still makes sense in ten years looks like this:
Photos/
  2026/
    2026-03-14_Kew_Gardens/
      RAW/
      JPEG/
      SIDECARS/
      notes.txt
    2026-06-02_Studio_Portraits/
Name folders by date and project. Keep original filenames exactly as the camera wrote them, because renaming breaks the link between RAW files and their XMP sidecars in Lightroom and Capture One. Keep RAW, JPEG exports, sidecar files and your catalog file all inside the same project folder so the set can be moved or restored as one piece.
If you shoot video alongside stills, give the video its own folder inside the project. Mixed timelines slow down sorting later, and video files grow fast enough to reshape your capacity plan.
H3 3. Copy Rather Than Move the Photos
Drag and drop with Command or Ctrl held down, so the files copy and stay on the source drive. Moving is how libraries quietly lose images: an interrupted transfer deletes the source without completing the destination.
For large transfers, a copy tool with a transfer log is safer than the file manager, because it shows failures instead of hiding them. Windows has Robocopy built in, and macOS has rsync available from the command line. Either way, do not use the copy as a chance to reorganize the source at the same time.
H3 4. Verify the Files After Copying
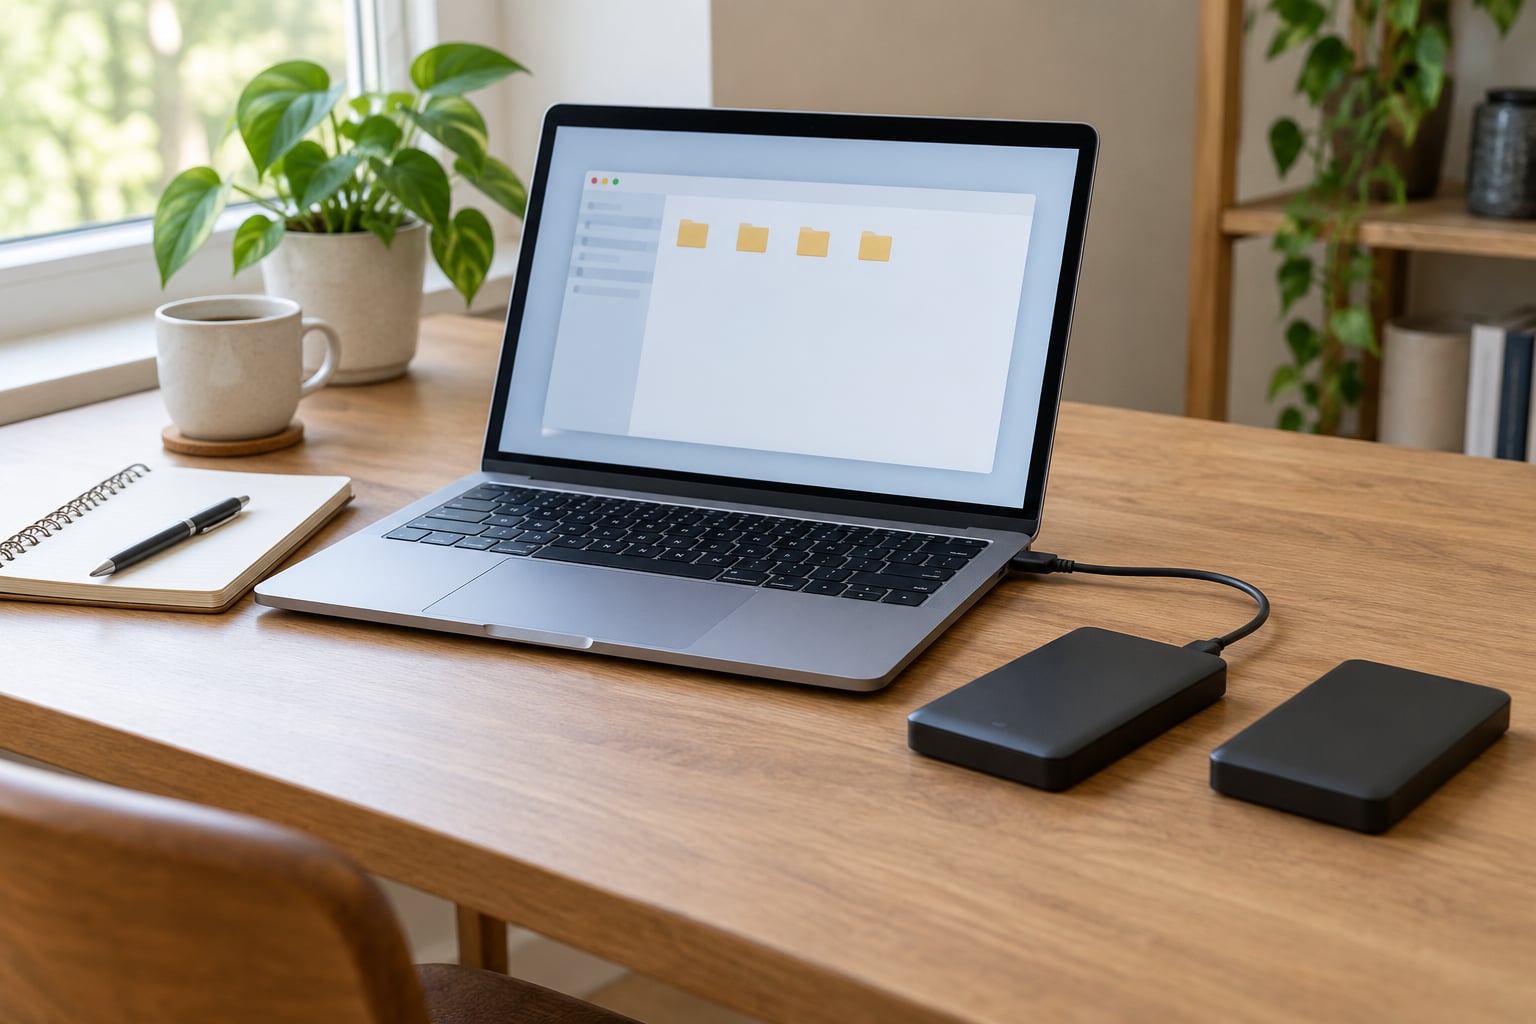
Treat the copy as unproven until you have checked it. Open the source folder, select everything, and read the item count and total size at the bottom of the window. Then select the same set in the destination folder and compare.
Open a handful of files from the external drive itself, including at least one RAW and one JPEG. Opening from the drive is the test that matters, since the file manager can show you a filename from a cached thumbnail without touching the disk.
Sort both folders by size and compare the largest files. Truncated transfers usually show up as suspiciously small files at the top of that sort. If you want a stronger guarantee, a checksum comparison on the two folders takes longer but gives you a per-file match rather than a total that happens to look right.
H3 5. Keep a Second Backup
The external drive is copy one. Copy two should be a different device or medium, which is the point of the second number in 3-2-1. Copy three should be somewhere other than the building copy one is in.
This is where most home archives are one copy short. Two drives sitting in the same cupboard fail together in a fire, a flood or a burglary, and the photographers who post in the Canon and Nature Photographers communities are blunt about that. One off-site copy is not optional if the images matter to you.
Understand the difference between backup and sync. Sync mirrors changes in both directions, so a deletion on one machine deletes everywhere. A backup keeps independent versions and is what protects you from accidental deletion.
Off-site options in rough order of cost and effort: a cloud photo service for a curated selection, a second drive at a relative’s house, or a drive in a bank box if you want something closer to physically separate.
H3 6. Maintain and Check the Drive
Long-term photo storage is a schedule, not a one-time event. Put these on a calendar:
- Monthly while in active use. Run a health check on any drive you are writing to regularly.
- Twice a year. Power the archive up, confirm it mounts, and open a few files. A drive stored powered off for years should still mount fine, and you want to find out while you still have a working copy.
- Once a year. Do a proper restore test: copy a project folder from the archive back to a computer, open the files, and confirm the folder structure and sidecars came across intact.
- Every three to five years. Replace the drive hardware. Mechanical failure rates climb sharply after about five years, and photographers on datastorage forums report a second climb around the ten-year mark. Retiring a drive before it fails costs a new drive; retiring one after costs the photos.
Storing the archive drive: powered off, cool, dry, dust-free, out of direct sunlight, not stacked on the floor. A surge protector on the outlet is cheap insurance for the powered drives you keep on your desk. Forum consensus is that a spinning hard drive is perfectly acceptable for archival storage on exactly these terms.
Common Mistakes
- Treating the external drive as the backup. It is one copy. The moment you copy originals to it and delete nothing else, you have a backup system with a single point of failure. Fix: add the second copy and the off-site copy.
- Ejecting or closing during a transfer. Partially written files are the common result. Fix: wait for the copy to finish and verify before you unplug anything.
- Skipping verification. A transfer can report success and still be missing files. Fix: compare item counts and open samples from the drive itself.
- Losing sidecar files and catalog files. RAW files without their XMP sidecars lose edit history, ratings and keywords. Fix: keep sidecars and the Lightroom or Capture One catalog inside the project folder.
- Renaming originals as you copy. Your camera names and sidecar pairs rely on the original names. Fix: organize through folders, leave filenames alone.
- Treating cloud sync as a backup. A synced library deleted by mistake is deleted everywhere at once. Fix: enable versioning or keep a true second copy that sync cannot touch.
- Keeping both copies in the same building. One fire or flood ends the archive. Fix: move one copy off-site.
- Forgetting to test the restore. A backup you have never restored is a hope, not a copy. Fix: the annual test in step 6.
If a drive does fail, stop using it. Do not format it, do not run repair utilities on it, and do not keep powering it on hoping it recovers. Copy what you can to another disk, then take it to a data recovery service. Recovery gets harder with every additional power-on, and it is expensive enough that prevention is the better spend.
Frequently Asked Questions
How long can an external drive reliably store photos?
A mechanical external hard drive usually gives you five to ten years of service, and failure rates climb sharply after about five years. Flash-based external SSDs run cooler with no moving parts and often outlast spinning disks in the same role. Either way, treat the drive as consumable hardware: replace it every three to five years rather than trusting it indefinitely.
Should I use an external hard drive or SSD for long-term photo storage?
A spinning external hard drive gives you far more capacity for the money and is perfectly fine for a powered-off archive kept somewhere cool and dry. An external SSD is faster, silent, resistant to shock and takes less power, which matters if you travel with it. For a stationary archive at home, capacity usually wins.
Is cloud storage enough for keeping photos long term?
Cloud works well as one off-site copy, and a second copy somewhere separate is the reason the 3-2-1 rule exists. On its own, cloud is weak for a full RAW archive because of recurring fees and the risk that a sync deletes an edit everywhere at once. Treat it as copy three, not the whole plan.
How do I check that photos copied to an external drive are complete?
Compare the item count and total size of the source folder against the destination folder, then sort both by size and check that the largest files match. Open several files from the external drive itself, including at least one RAW and one JPEG. For archives you cannot replace, run a checksum comparison on both folders.
Should RAW files be stored on an external drive?
Yes, and RAW should be the version you archive. JPEG exports can be regenerated from the RAW file, so they are the safer copy to keep offline and the easier one to share. Store RAW, its sidecar XMP file and your catalog together in the same project folder so nothing gets separated.
What should I do if my external drive stops working?
Stop using it immediately. Do not format the drive, do not run repair tools on it, and avoid further power-ons, since each one can make recovery harder. Copy anything readable to another disk, then take the drive to a professional data recovery service. If you kept the second copy you should have made, pull from it while you arrange recovery.
Conclusion
Keep the original library where it is. Format a new external drive, build a year-and-project folder structure on it, copy your photos across without moving them, and confirm the copy by comparing counts and opening files from the drive itself. Then make a second copy on different hardware and a third somewhere outside your house. Put the yearly restore test in your calendar, and replace the archive hardware every three to five years.
That is the whole system. It takes an afternoon to build and it is the difference between a photo library and a pile of files on one disk.