Lens fog is condensation, and condensation only forms when warm humid air touches glass that is colder than the air’s dew point. To prevent lens fog when moving between cold and warm air, seal the camera in a bag while it is still on one side of the temperature change, then let it equilibrate inside the bag before you open it. The whole routine takes about 30 seconds of setup and 15 to 60 minutes of waiting, and the waiting is the part that actually works.
I shoot winter countryside and night skies, and the fog used to get me every single time: I’d walk into a warm car, the viewfinder would go white, and the shot I wanted was gone. Now the bag goes in first and the camera comes out later. That’s the whole trick, and the rest of this guide is the detail that makes it reliable.
Last reviewed and updated for October 2026.
Table of Contents
- What You Need
- Step-by-Step
- 1. Prepare the camera before entering the warm environment
- 2. Let the camera acclimate gradually
- 3. Keep lenses and camera openings away from moisture
- 4. Use controlled drying if fog appears
- 5. Prevent recurring fog during outdoor sessions
- Common Mistakes
- Frequently Asked Questions
- How do I defog my camera lens?
- How do I get moisture out from inside a lens?
- Why does my outdoor camera fogging up happen?
- Can you remove haze from a camera lens?
- Does rubbing alcohol or toothpaste work as anti-fog on lens glass?
- How do I stop a security camera or phone lens from fogging up?
- Conclusion
What You Need
You need very little, and all of it is cheap or already in your kit bag. The point is to have these within arm’s reach before you cross a threshold, not to go hunting for them once the glass is already white.
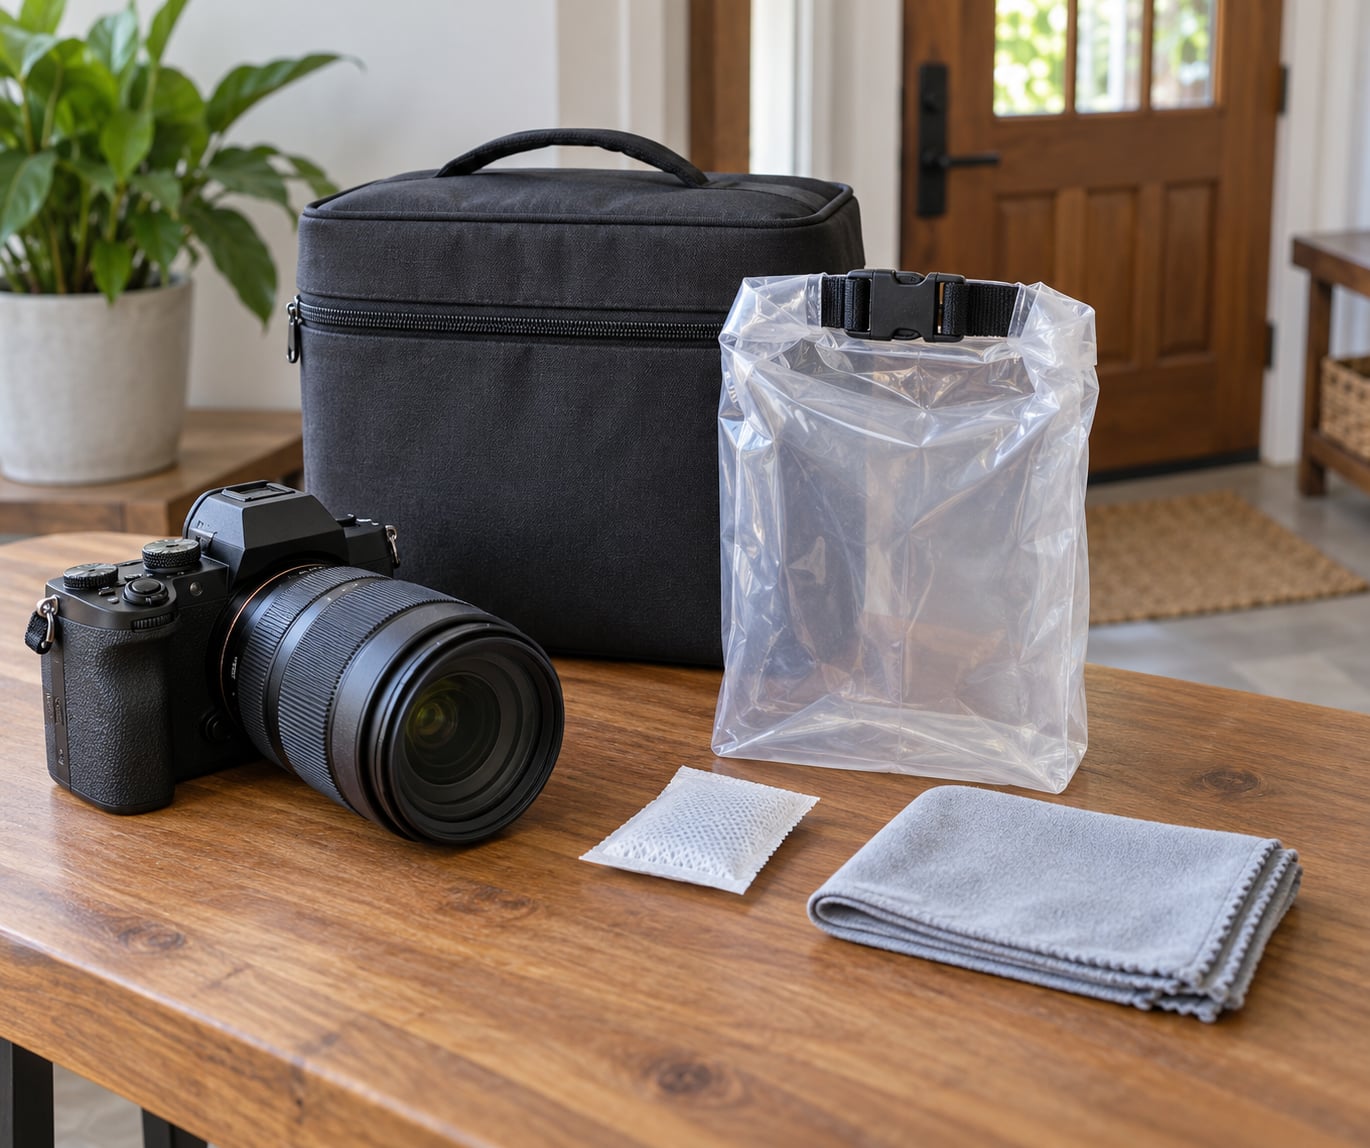
- A sealed camera bag or large zip-lock bag. A padded camera bag works because the shell slows the temperature change. A heavy-duty zip-lock bag is the cheap version and it does the job just as well, as long as it seals flat with no air left inside.
- Dry desiccant. Silica gel packets pull water vapour out of the sealed air around your gear. Throw two or three in the bag and refresh them in a warm oven or on a radiator every few weeks, or until the colour indicator on the beads turns from blue to pink.
- A microfibre cloth. For condensation on the front element and on the back of the LCD screen. Keep it in an outer pocket so you do not have to open the main bag to find it.
- A blower, not a brush. A hand blower clears loose snow and spray off the front element without touching the coating. A blower also gets water droplets off the filter thread before you mount it.
- A hand warmer or heat pack. Optional, but it is the fastest active way to keep glass above the dew point during a long session in high humidity. Hand warmers taped flat under rubber bands on the lens barrel are a field trick photographers report using constantly.
- Your camera manual. Genuinely useful here. It tells you which compartments open, whether your body has weather sealing, and what the manufacturer says about operating the camera in damp conditions.
Step-by-Step
1. Prepare the camera before entering the warm environment
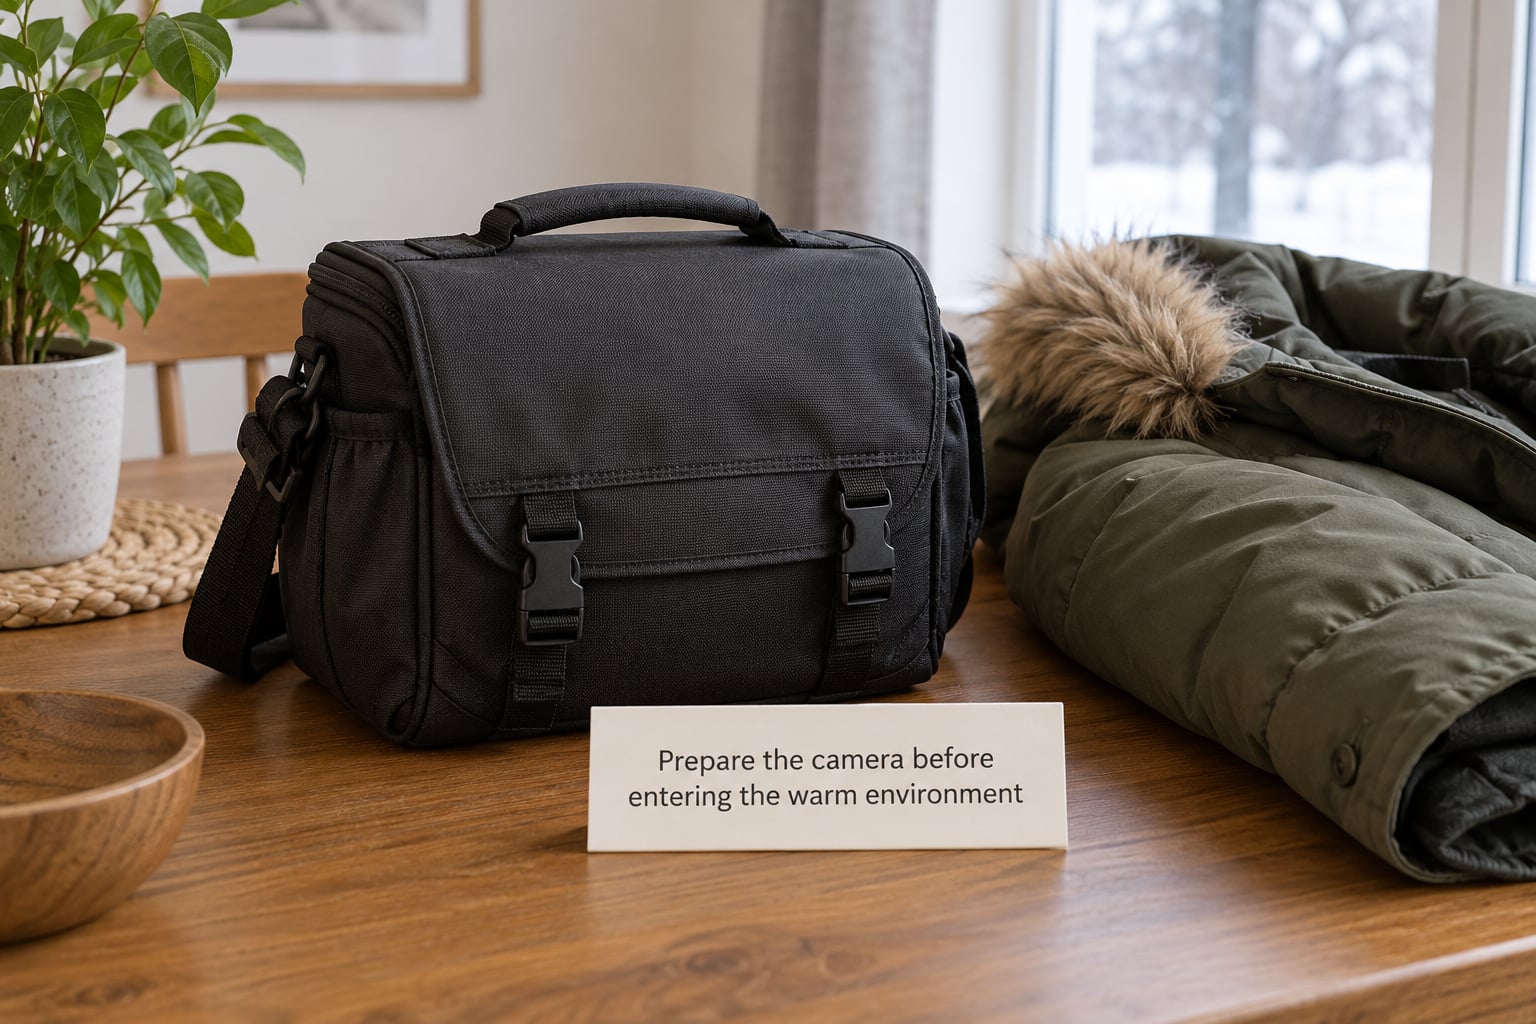
Power the camera down before it moves, not after. Pop the battery and memory card if you are crossing into a really damp place, since a closed compartment traps moisture with nowhere to go.
Wipe off anything wet first: snow on the body, rain on the hood, condensation on the front element. Moisture carried inside the bag will condense on the glass no matter how well you seal it. Then put the camera into its bag or zip-lock and seal it while it is still cold, sitting in cold air, before you open the door.
This is the step people skip, and skipping it is why the plastic bag trick sometimes seems to fail. The bag works because condensation forms on the outside of the sealed plastic first, where you can ignore it, and the gear inside is already at the temperature of the air it came from. Seal it on the warm side instead and you have simply locked a cold object and warm damp air together for an hour.
2. Let the camera acclimate gradually
Condensation forms when the air touching a surface is at 100% relative humidity. Warm air holds far more water vapour than cold air, so the moment cold glass meets warm indoor air, the thin layer of air right at the surface is holding more vapour than it can carry, and the excess turns back into liquid.
The only way to prevent lens fog when moving between cold and warm air is to keep the camera at or above the dew point of the surrounding air at every moment of the transition. Bagging slows the transition down until the glass and the indoor air have time to agree on a temperature without a sudden gradient.
Rough wait times, based on how big the swing is and how solid the camera is:
| Temperature swing | Wait inside the sealed bag | Typical recovery if it does fog |
|---|---|---|
| Under 5C / 9F | 15 to 20 minutes | Usually none |
| 5 to 15C / 9 to 27F | 20 to 40 minutes | 20 to 45 minutes |
| 15 to 25C / 27 to 45F | 45 to 90 minutes | 45 to 90 minutes |
| Over 25C / 45F | 2 hours or more | 2 to 4 hours, then desiccant |
Heavy zoom lenses, bodies with a viewfinder eyecup full of foam, and old glass with a lot of internal air take longer than a compact mirrorless body. When in doubt, wait longer. There is no penalty for an extra half hour; the penalty is opening early and starting the clock over.
Check progress by touch, not by lifting the glass. Feel the front element housing with a clean dry finger. If the metal is at room temperature and there is no cool patch, it is safe to open.
3. Keep lenses and camera openings away from moisture
The transition is not the only exposure. Once inside, most indoor air is far wetter than the air you just walked out of, so anything that adds vapour locally makes fog worse. Coffee and tea steam rising past a lens is enough to fog it. Breath from two people talking over your shoulder will do it in a humid room.
Take hot drinks outside before you unpack, and keep the lid closed while you drink. Stow wet gloves in a separate pocket or a zip-lock, because a damp wool or nitrile glove pressed against a body cap traps water against warm glass. Change out of a wet jacket rather than draping it over your bag, since a damp shell against a cooling camera is the same problem in slower motion.
Keep the front and rear openings capped whenever the camera is not actively shooting. A body cap and a rear lens cap cost nothing and they slow the exchange of air with the room. If your lens is capped and the fog is still appearing, the moisture is coming from inside the barrel or from the room air finding a leak, not from the open front element.
One more habit: in very cold weather, resting a bare palm on the front element for a few seconds can fog it on its own. A gloved hand or the fabric of your coat is far kinder to cold glass.
4. Use controlled drying if fog appears
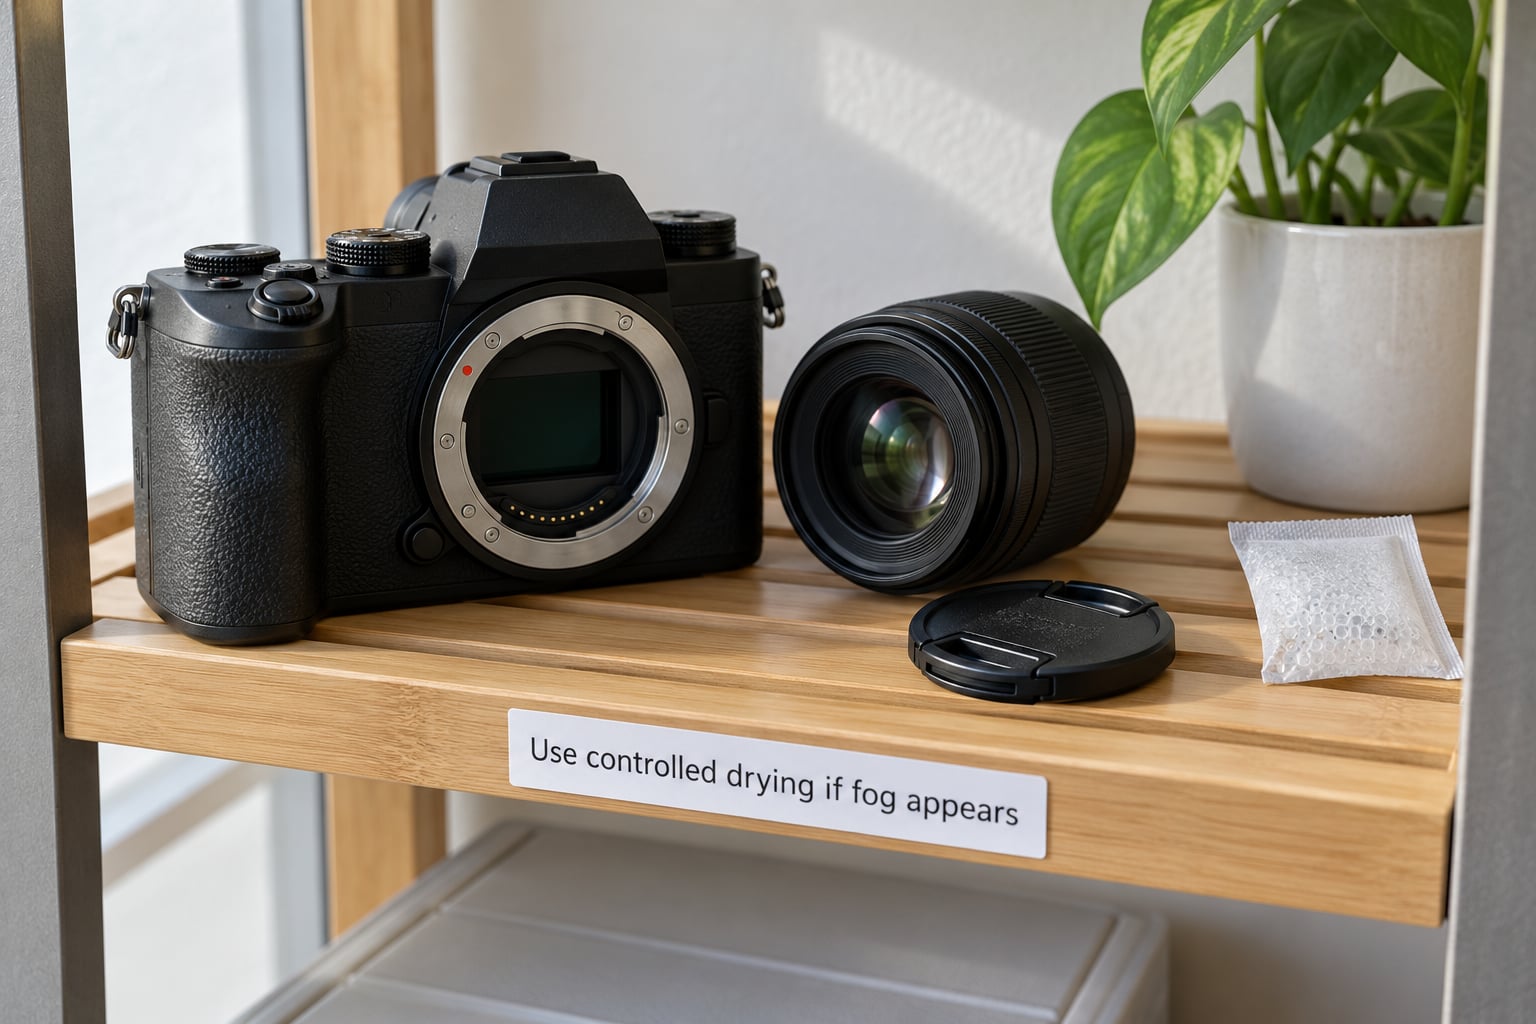
Fog is usually harmless. It clears on its own in 30 to 60 minutes in most cases, because the glass warms until the air at its surface can hold its vapour again. The rule is to help that happen slowly rather than to interfere with it.
- Stop shooting and power the camera off. Switching modes and menus generates heat, which is not dangerous, but fog plus a powered sensor plus a lens swap is where real problems start.
- Remove the battery and memory card. Leave those compartments open. Dry air moving through open compartments is the best thing you can offer a damp body.
- Do not change lenses. Opening the mount in a fogged or damp state is how water vapour reaches the sensor and the rear element, and it is how internal elements fog that you can never wipe.
- Let it sit in a dry, ventilated place at room temperature. Shelf, tabletop, closed bathroom after a hot shower has cleared, all fine. Add silica gel or a small rechargeable dehumidifier nearby if you have one.
- Wipe only the surfaces you can reach. A microfibre cloth on the front element, the rear element if the lens is off, and the viewfinder eyepiece. Use light pressure and clean cloth, and never rub a dry grit across the coating.
Heat is the tempting wrong answer. A hairdryer on high, a heater vent blast, a cup of hot water held over the lens, a towel in the oven: all of them warm the glass faster than the air around it, and all of them risk cracking coatings, softening barrel adhesive, or driving vapour further into the barrel. If you use external warmth at all, a hand warmer held near the barrel at arm’s length, moving, is a reasonable compromise. It is not a hairdryer.
Expect fog to come back. One commenter on a photography forum noted the pattern clearly: the haze clears, you think you are fine, and it returns an hour later. That is not a sign the wipe failed. It is the same dew point effect happening on a slower curve, because water trapped in the barrel padding and the foam around the viewfinder takes much longer to come out than the glass does.
5. Prevent recurring fog during outdoor sessions
Most people fog their gear repeatedly on the same shoot, not once. A night session means cycling between a cold car, a warm lodge, and 15 minutes outside every hour. Here is what makes the repeats cheap.
- Keep fresh desiccant in the bag. Saturated silica gel stops working quietly. Colour-changing beads tell you when to reactivate them.
- Use a bag that matches the weather. A padded bag in wet, cold conditions absorbs moisture through the fabric and holds it against your gear. A sealed dry bag or a weather cover keeps rain and snow vapour outside the bag where it belongs.
- Stage your transitions. Leave the sealed bag in the entryway and come back to it in 20 minutes. Waiting while you eat, sort cards, or argue about a shot is waiting with a purpose.
- Consider a heated strap. Dew-heater straps and similar low-warmth accessories keep a lens barrel just above the surrounding air temperature for the whole session, which removes the problem rather than managing it. They are genuinely useful on humid shoots, on hot springs, and near waterfalls.
- Keep the ten-second habit. Bag sealed, power off, cloth in the outer pocket, before you open the door. Not after. The order is the whole technique.
A useful side note on direction. The reverse problem is just as real in summer: a camera carried from an air-conditioned hotel into humid outdoor air fogs the same way, because warm humid room air is dumping vapour onto cooler glass. The tactic is identical, but the timing flips. Seal the bag while you are still inside and cool, then step out and open the bag only after the gear has warmed to outdoor temperature.
| Transition | When to seal the bag | When to open it | Worst moment |
|---|---|---|---|
| Cold outdoors to warm interior | Before you go in, outside | After 20 to 60 minutes, glass at room temperature | Stepping through the door |
| Warm interior to cold outdoors | Before you go out, while still indoors | After 20 to 60 minutes in the outside air | Stepping outside |
| Warm humid room to cooler room | Before leaving, door still shut | Once the body has cooled to match the new room | Opening the new room’s door |
| Car to lodge or cafe, both humid | In the car, before parking | After the acclimatisation wait, indoors | The car door opening |
Field situations each have their own trap. A car is the worst one, because it heats up fast and the air inside is often damp from breath and wet boots. A hotel room is usually the easiest, since the room is dry and stable once the air conditioning has settled. A ski lodge has the same problem as a car, with damp gear and a lot of warm bodies. A waterfall or hot spring can fog you from the front regardless of temperature, because the water vapour is right there at the lens, which is the case where a rain cover and a hood earn their keep.
Common Mistakes
Almost all gear damage stories that come up around this topic come from the same short list of mistakes. None of them fog your lens. All of them can hurt you.
Wiping too hard, or wiping grit. A condensation-fogged front element can have fine dust and salt on it that you cannot see. Dry microfibre dragged across dry grit will scratch the coating permanently, and the coating is not replaceable. If there is any chance of grit, blow first with a blower, then wipe.
Using a hairdryer, heater or hot water. Rapid heating is the problem, not the heat itself. Extreme temperature gradients across coated glass can craze or crack it, and hot water leaves mineral deposits that are harder to remove than the fog was. Warmth from a hand warmer held back is a different thing entirely.
Sealing damp gear into the bag. This is the mistake that gives the plastic bag trick a bad reputation. A closed bag that already contains moisture creates its own humidity, and the fog comes right back. Dry the gear, then seal it.
Opening the bag too early to check. Every peek resets the acclimatisation, because you dump the stable micro-climate you spent 20 minutes building. Give it the full wait time. It is the least satisfying and most important part of the routine.
Changing lenses or mounting filters while anything is damp. This is how fog reaches the sensor and the rear element, places you cannot wipe. Sealed mounts with a filter on the front are a reasonable trade in damp weather, precisely because the front surface is the one you can clean.
Using toothpaste or alcohol as anti-fog. These show up constantly in forums as home remedies and both are wrong for lens glass. Toothpaste is mildly abrasive and leaves a film that makes future fogging worse. Rubbing alcohol can attack coatings and the adhesives around the barrel, and the ammonia and solvents in household glass cleaners are harsher still. A clean microfibre cloth and patience is the safe method, and the surface coatings on lens glass are already hydrophobic enough to shed most of what does land on them.
Leaving the gear damp and packed away. One foggy session is harmless. Sealing a damp body into a padded case for a week in a warm cupboard is how you get mould inside the barrel, and internal mould is permanent haze and fungus that no cleaning service fully removes. When gear has been damp, air it out for a day before it goes into a case.
The short version: seal early, wait longer than you think, open slowly, and never use heat. That is the whole prevention strategy in four clauses, and it is the same strategy for a mirrorless body, a DSLR, a video camera, or a drone.
Frequently Asked Questions
How do I defog my camera lens?
Power the camera off, remove the battery and memory card, and leave the compartments open. Do not change lenses while anything is damp. Let the body sit at room temperature in a dry, ventilated place until the glass reaches room temperature, which usually takes 30 to 60 minutes. Wipe only the front element, rear element and viewfinder eyepiece with a clean microfibre cloth. Avoid hairdryers, heaters and hot water, because rapid heating can damage lens coatings.
How do I get moisture out from inside a lens?
You rarely can, which is why prevention matters more than recovery. Internal elements fog when humid air reaches them through an open mount or an unsealed barrel, and they cannot be wiped. Leave the camera powered off with the lens removed, battery out, and desiccant or a small dehumidifier nearby in a dry ventilated space. Expect the internal haze to take hours rather than minutes, and never put the camera back in a case until it is completely dry.
Why does my outdoor camera fogging up happen?
Because the air touching cold glass is holding more water vapour than it can carry. Warm air holds far more moisture than cold air, so when you bring cold gear into a warm, humid room the thin layer of air at the lens surface hits 100% relative humidity and the excess vapour condenses on the glass. The dew point is the temperature at which that happens, and condensation forms whenever a surface sits below it.
Can you remove haze from a camera lens?
External haze on the front element or viewfinder wipes away with a clean microfibre cloth once the glass is at room temperature. Internal haze between sealed lens elements is a different problem and usually does not clear at all. If fog is forming inside the barrel, stop using the lens, keep the mount capped, and let the body acclimatise slowly with desiccant nearby. Persistent internal fog is a service job, not a cleaning job.
Does rubbing alcohol or toothpaste work as anti-fog on lens glass?
No, and both can cause real damage. Alcohol and household glass-cleaner solvents can attack lens coatings and the adhesives that seal the barrel, while toothpaste is mildly abrasive and leaves a film that makes future fogging worse. Neither addresses the cause, which is a temperature difference between glass and air. Sealing the camera in a bag before you cross a threshold and letting it equilibrate is the reliable method. A clean microfibre cloth is the only safe surface treatment.
How do I stop a security camera or phone lens from fogging up?
The physics are identical, so the methods transfer. Seal the device in a zip-lock bag before you take it from a cold room to warm air, or before you take it from an air-conditioned room into humidity, and wait 20 to 60 minutes before opening it. For a fixed outdoor security camera, aim the housing slightly away from the sky, keep the viewing window shaded, and confirm the camera has a heater or lens wiper rated for the climate.
Conclusion
Three things, in this order. Seal the camera while it is still on the cold side of the door, give it 20 to 60 minutes to reach room temperature before you open the bag, and let any damp gear air out fully before you power it on or pack it away. That is how to prevent lens fog when moving between cold and warm air, and it works every time you follow the order rather than improvising it.