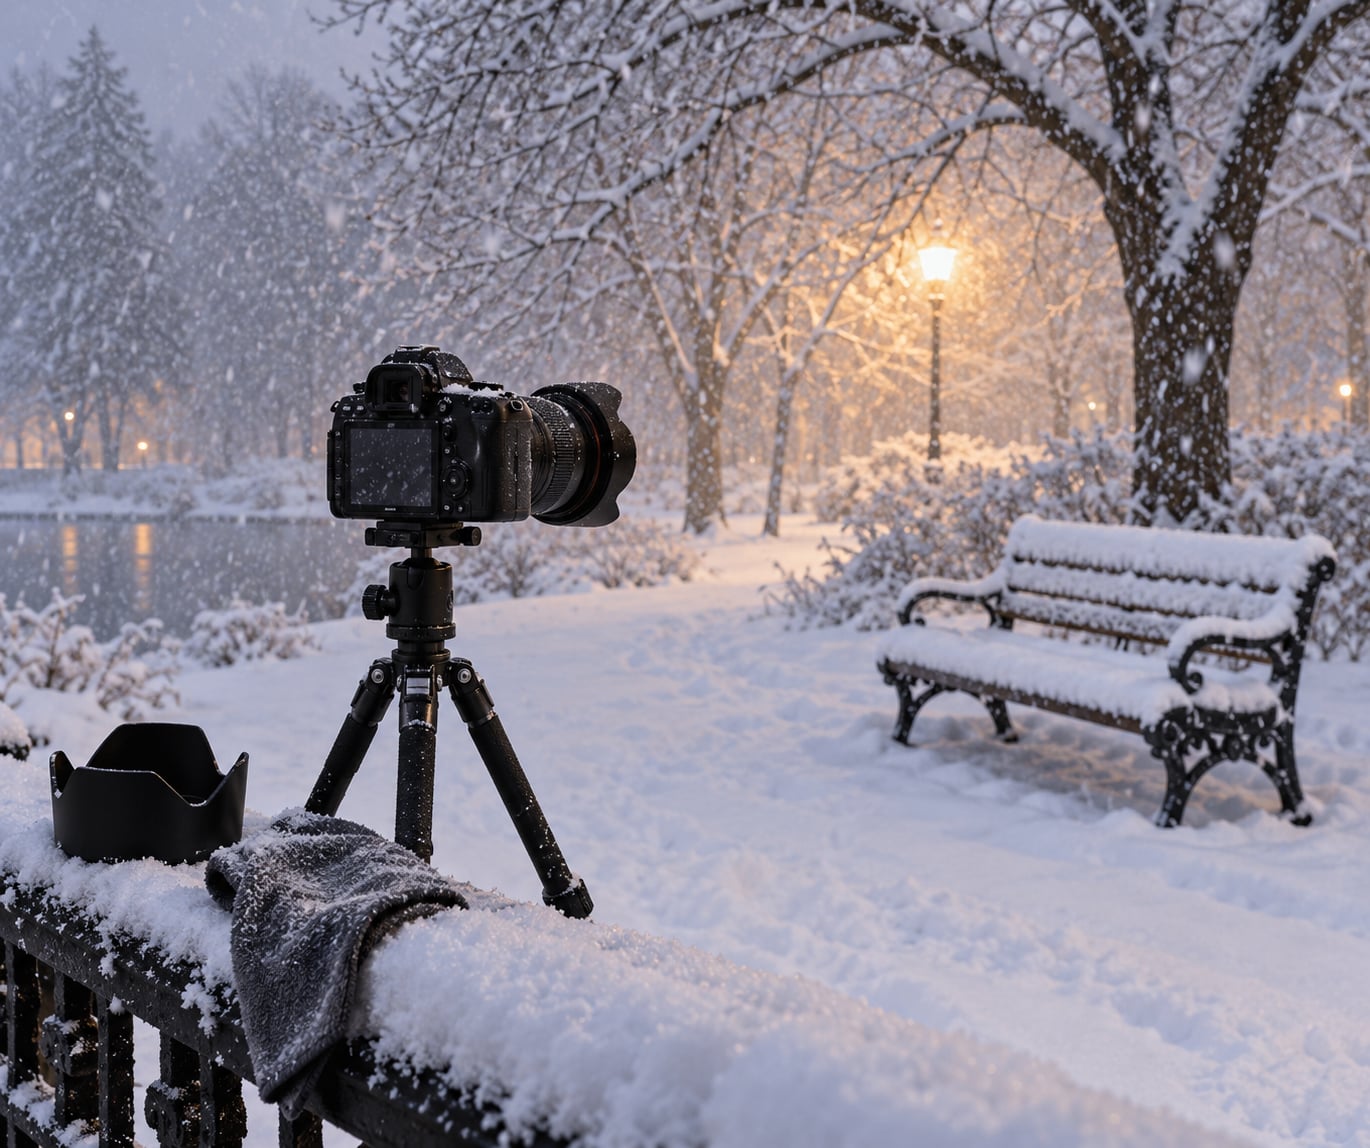
Yes, you can photograph a snowstorm safely, but the camera is the least of your concerns. The real work is checking travel advisories, picking a spot you can reach and escape from in poor visibility, dressing so your hands still work, and keeping snow and moisture out of your body before they reach the sensor. Most of a safe storm shoot is decided before you step outside.
Light snow is straightforward. A blizzard is three problems at once: flat, shadowless light; a bright subject that your camera will underexpose by roughly two stops; and gear and fingers that fail in the cold. This guide covers the eight steps, in order, plus the mistakes that cost people the most frames and the most fingers.
Table of Contents
- What You Need
- Step-by-Step
- 1. Check the forecast and local safety conditions
- 2. Choose a safe shooting location
- 3. Protect yourself and your equipment
- 4. Prepare the camera before the storm arrives
- 5. Set reliable camera settings
- 6. Look for visible depth and motion
- 7. Protect the camera while shooting
- 8. Return safely and protect your files
- Common Mistakes When Photographing a Snowstorm Safely
- Exposing too long for moving snow
- Standing in unsafe places to get a better view
- Changing lenses in blowing snow
- Bringing the camera inside while it is still cold
- Shooting until batteries and warmth run out
- Frequently Asked Questions
- Is it safe to photograph during a severe snowstorm?
- What is the best camera setting for falling snow?
- How do I keep snow and moisture out of my camera?
- Can I photograph a snowstorm from inside my home?
- How long should a camera acclimate when brought indoors?
- What should I do if my camera gets wet in the snow?
- Conclusion
What You Need
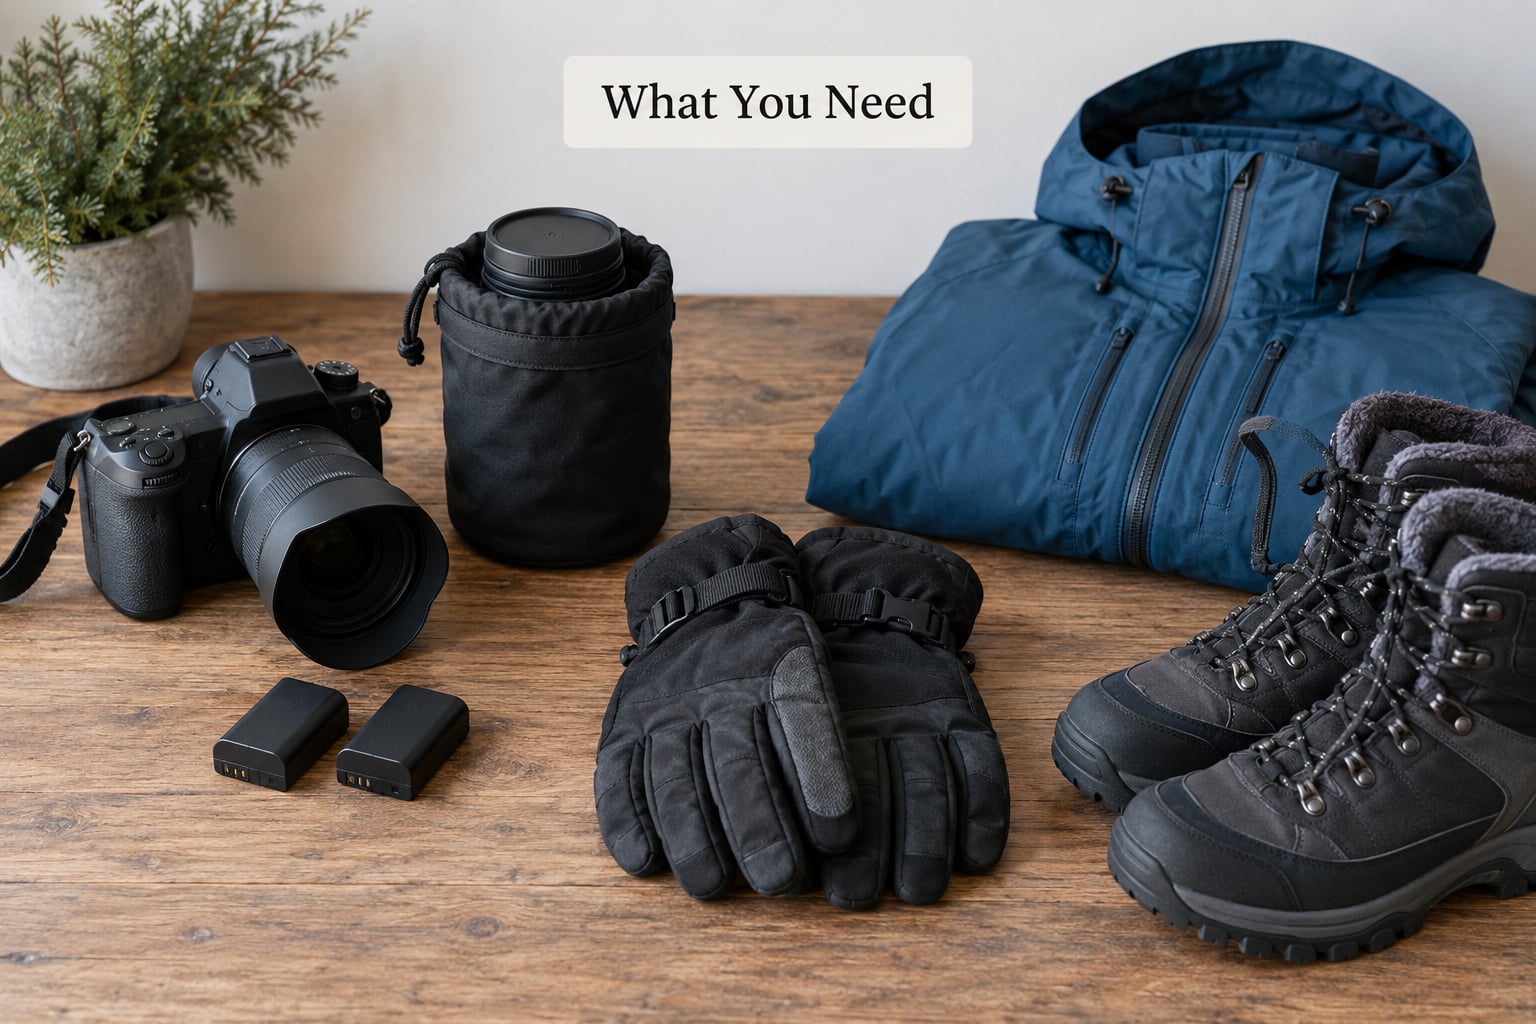
You do not need expensive gear. You need the right handful of things, and you need them on your person before the first flake.
- A camera and lens you can still operate. Anything with manual or aperture-priority mode will do. Weather sealing helps but is not essential, and no amount of sealing makes a soaked camera survive.
- Weather protection. A simple rain cover or hot-shoe canopy, a lens hood, and two or three microfiber cloths. The cloths are for the front element, and you will use them more than you expect.
- Spare batteries, kept warm. Cold cuts battery life hard. Two spares in an inside pocket is a reasonable starting point for a shoot of a couple of hours.
- Clothing that keeps you dry and still lets you work. Layered base, mid and shell; a waterproof jacket with a hood; gloves with partial finger access or glove liners so you can hit the shutter and dials without bare hands in the air.
- Traction and visibility gear. Microspikes or similar if you are on ice, sunglasses or goggles for snow glare, and a charged phone with a power bank.
- A planning tool. The forecast for snowfall rate, wind and visibility, plus any local travel or winter storm warning. A whistle is worth more than most accessories when visibility drops.
One more item that costs nothing: tell a specific person where you are going and when you expect to be back. In a whiteout, that is the difference between a bad evening and a serious one.
Step-by-Step
1. Check the forecast and local safety conditions
Before anything else, know the snowfall rate, the wind speed, the visibility forecast and how long the storm will last. Most weather services issue winter storm warnings that also carry travel guidance, and a blowing-snow advisory is a signal to rethink the location rather than to pick a better lens.
Then decide, honestly, whether to go at all. If visibility in your area is already poor, if roads are being plowed and refrozen, or if the wind is strong enough to take the cold out of your face in under ten minutes, stay in. A storm day indoors with a long lens is a completely legitimate shoot.
If you do go, set yourself a hard return time before you leave and treat it as non-negotiable. Write down eight things to check: warnings, visibility, wind, temperature and wind chill, daylight hours, the walk to your location, who knows your plan, and the time you will be home.
2. Choose a safe shooting location
The best storm locations are close to home, reachable on foot without crossing a road, and have somewhere to stand out of the wind with a clear view in at least one direction. A park bench under trees, a residential street you know well, a car park with a shelter on one side, or a front step will all give you usable frames.
Avoid anything that asks you to take a risk for the shot: roads and junctions, the edge of a frozen pond or river, steep banks, the base of trees shedding ice, and anything near overhead power lines. Fresh snow hides ice, and packed paths refreeze faster than you would expect.
Walk your route once in daylight and note your escape options. In a whiteout you can lose your bearings in a few dozen metres, and knowing which fence line leads back is worth more than any composition.
3. Protect yourself and your equipment
Dress for wind-driven snow, which is wetter and colder than falling snow and gets into seams within minutes. A hood beats a hat in real snowfall, and waterproof trousers stop you cold long before your jacket fails.
Plan your exposure in short bursts: 10 to 15 minutes outside, then a warm break. Keep your core temperature up and change wet gloves rather than pushing through. If you feel numbness in your fingers or face that does not return quickly indoors, that is your body telling you to stop for the day.
Gloves are where most shoots are lost. Bulky mitts mean bare hands in the air to press the shutter, and that is how you get a cold snap headache. Partial-finger gloves or thin liners worn under bigger gloves solve it.
4. Prepare the camera before the storm arrives
Format your card, clear old files, and confirm you know how to find a spare battery in gloves. Charge every battery and keep the spares in an inside pocket until you need them.
Clean the front element and check that the rain cover is with the camera, not in a bag at home. Fit the lens hood. Set the file type to RAW so you have latitude on the white balance later, and set continuous autofocus and a high burst rate if your camera allows it.
Decide your exposure strategy now. A meter aims for middle grey, so white snow will come out dull and flat unless you compensate. +1 to +2 EV is a sensible starting point, and the histogram is the honest judge rather than the screen on the back of the camera.
5. Set reliable camera settings
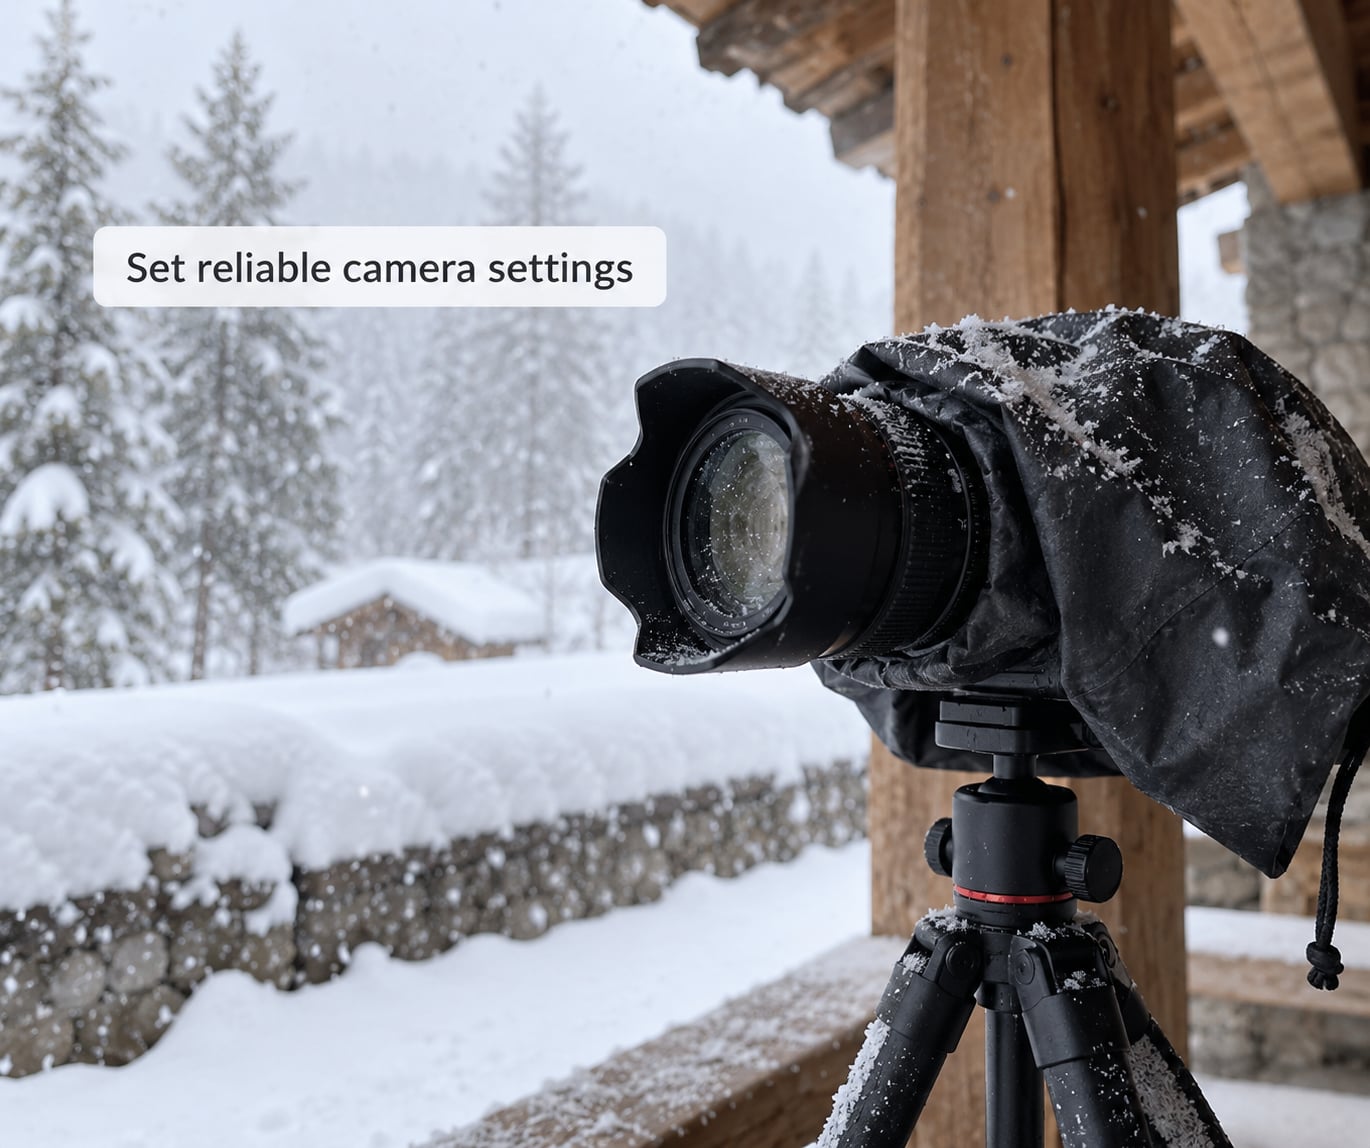
Falling snow and settled snow are different subjects that need opposite treatment. Falling snow is a moving element you either freeze or blur. Settled snow is a landscape that needs correct exposure, a polariser if you want to cut glare, and depth in the focus.
| Situation | Aperture | Shutter speed | ISO | Exposure compensation |
|---|---|---|---|---|
| Daytime blizzard, freezing flakes | f/8 | 1/500 s or faster | Auto, up to 1600 | +1 to +2 EV |
| Daytime, streaking motion | f/8 | 1/30 to 1/60 s | Auto, up to 1600 | +1 to +2 EV |
| Night snowfall, flakes lit by streetlights | f/2.8 | 1/125 s | 1600 to 3200 | 0 to +1 EV |
| Post-storm fresh snow, landscape | f/11 | 1/125 s | Auto, up to 400 | +1 to +2 EV |
| Falling-snow bokeh, backlit | f/2.8 or wider | 1/250 s | 400 to 800 | +1 EV |
Some practical notes on those numbers. Continuous autofocus beats single in heavy snowfall, because a single point may lock onto a near flake rather than your subject. Spot-meter the brightest part of the snow and add a stop or two if you are confident. Do not use flash for falling snow at night; nearby flakes reflect straight back as blown-out white circles and you will spend the shoot fixing it in software.
Set the white balance deliberately rather than leaving it on auto, which swings in flat storm light. A shade or cloudy preset is a good baseline, and taking a sheet of white paper into the same light for a custom reading fixes the blue cast completely. Shoot RAW either way so the decision can wait until you are warm.
6. Look for visible depth and motion
A whiteout reduces everything to flat grey mush, so work with whatever the storm gives you. Look for darker backgrounds, like a stand of conifers or a brick wall, and let the snow read bright against them. Backlighting is your friend: when snow falls between you and a low sun or a streetlight, every flake lights up.
Build depth with three layers: fresh snow in the foreground close to the camera, a middle distance of trees, fences or figures, and a soft background. A wide aperture turns the nearest flakes into large soft circles while the background stays sharp, which reads instantly as weather.
Shelter as a compositional tool too. Shoot from a doorway, a bus shelter, a porch or the lee side of a building. You get a dark frame edge, a place out of the wind, and a safe standing spot at the same time.
Keep your distance. Photographing people is a good way to show scale in a storm, but ask first, and never move closer than your own comfort margin to get the frame.
7. Protect the camera while shooting
Never change lenses in blowing snow. Wind drives flakes straight into the mount and the sensor, and a single wipe afterwards may not be enough. Change lenses in a car or a vestibule, or fit the new one before you leave.
Keep the camera close to your body between shots, and use your own back as a windshield. If snow lands on the front element, use the microfiber cloth and clear it before you shoot, not after ten more frames. A cloth slightly dampened with breath can shift frozen slush, though do not spray anything on the lens unless the manufacturer says it is safe.
Do not pocket the camera to warm it. The swing between body heat and freezing air is what drives condensation deep into the body, and it ends with fungus or corrosion inside the lens. If it gets cold, leave it cold and let it warm gradually later.
If the camera shuts down or the screen freezes in extreme cold, do not fight it. Get it into a sealed bag or a padded case, get yourself home, and let it warm up slowly before changing anything.
On a tripod, dig the feet into snow for grip and do not extend the centre column; a gust can tip a light tripod over, and the fall matters more to you than the frame.
8. Return safely and protect your files
Head home on schedule, and stay away from unfamiliar ground on the way back, when you are colder and more tired than you were on the way in. Charge a phone before the drive starts.
Then seal the camera. Put it in a dry plastic bag or zip-lock while it is still cold, and leave it closed for 30 to 60 minutes, ideally in a cool room rather than a warm one. The trapped air warms slowly and condensation forms on the outside of the bag instead of the inside of the lens. Opening it early is how people end up with a hazy lens they have to dry for days.
Back up your files to a second drive the same evening, then review the frames. Most sessions have two or three keepers out of a hundred, so the review is where you decide what to reshoot next time. Wipe the body and lens, let everything dry fully, and charge the batteries ready for the next storm.
Common Mistakes When Photographing a Snowstorm Safely
Exposing too long for moving snow
Slow speeds turn falling flakes into a white smear that covers the whole frame. Use 1/500 s or faster to freeze individual flakes, or deliberately drop to 1/30 to 1/60 s to streak them, and choose one on purpose. Half-speed shutter speeds give you a mix of both, which usually looks like an accident.
Standing in unsafe places to get a better view
Stepping onto a road, the edge of a frozen waterway, an unstable snowbank or a steep slope for a cleaner frame is a bad trade. Wind chill, reduced footing and falling ice are all harder to judge when you are concentrating on the viewfinder. Move sideways instead: the same scene from two metres further back usually works, and indoors through a window works too.
Changing lenses in blowing snow
Wind pushes flakes into the open mount and onto the sensor before you can close it again. Make lens changes in a car or a covered entrance, or carry a body cap and a blower so the sensor never sits open. A dry sensor brush and a blower will usually clear a light dusting; repeated soaking is what needs professional cleaning.
Bringing the camera inside while it is still cold
A frozen camera carried into a warm room condenses instantly, inside the body and between the lens elements. Seal it in a bag before it warms and wait 30 to 60 minutes. A cheap zip-lock and a little patience beat a repair bill, and the same routine protects against lens fungus growing in a damp interior element.
Shooting until batteries and warmth run out
You will get one or two warnings and then a dead body, and a dead body on an ice-covered path in failing light is exactly the situation nobody wants. Swap batteries at planned intervals, keep spares warm in an inside pocket, and set the return time you agreed with someone before you left. Finishing the last frame is never worth missing your window.
Frequently Asked Questions
Is it safe to photograph during a severe snowstorm?
It depends on visibility, wind and travel conditions, not on the snow itself. If warnings advise against travel, if visibility is poor enough to hide obstacles, or if the walk to your location crosses a road, stay in. Tell someone your route and return time, carry a charged phone, and work in short bursts close to shelter. A long lens from a window is a real option.
What is the best camera setting for falling snow?
For daytime blizzards where you want individual flakes sharp, use f/8, 1/500 s or faster, and +1 to +2 EV exposure compensation, shooting RAW. For streaks, drop to 1/30 to 1/60 s. At night, f/2.8 at 1/125 s and ISO 1600-3200 works with street lighting. Continuous autofocus is more reliable than single in heavy snowfall.
How do I keep snow and moisture out of my camera?
Use a lens hood, a rain cover or hot-shoe canopy, and two microfiber cloths in a reachable pocket. Keep the camera close to your body between shots and never change lenses in blowing snow. Do not warm the camera against your skin, because that temperature swing drives condensation deep into the body. Clear the front element before each frame rather than after ten.
Can I photograph a snowstorm from inside my home?
Yes, and it is often the smartest option during a severe storm. A telephoto lens from a window isolates falling flakes against a dark background and keeps you out of the wind. Shoot near a streetlight for backlit flakes, open the aperture wide, and watch for condensation forming on the glass from the room heat. Rearrange the shot rather than stepping outside.
How long should a camera acclimate when brought indoors?
Seal the camera in a dry plastic bag or zip-lock while it is still cold, then leave it closed for 30 to 60 minutes. The trapped air warms slowly, so condensation forms on the outside of the bag instead of inside the lens. A cooler room warms the camera more evenly than a warm one. Opening the bag too early is the most common cause of a hazy lens.
What should I do if my camera gets wet in the snow?
Do not switch it on and do not put it near a heater. Wipe off loose snow and slush with a microfiber cloth, remove the battery and memory card, and let the body air-dry in a cool, ventilated place for 24 to 48 hours with the lens hood off. If it was fully soaked, have it serviced before trusting it, especially in freezing conditions.
Conclusion
Start with the forecast, not the camera. If travel warnings, visibility or wind rule out the trip, shoot from a window with a long lens and put the gear away. If conditions are fine, pick a spot within a few minutes’ walk, tell someone when you will be back, and layer your clothing so your hands still work.
Then protect the camera from snow, cold and condensation, set +1 to +2 EV, and choose 1/500 s to freeze flakes or 1/30 to streak them. Seal the bag on the way home and give it 30 minutes before you open it. Personal safety beats every frame, and a cancelled storm still leaves you with a camera that works next week.