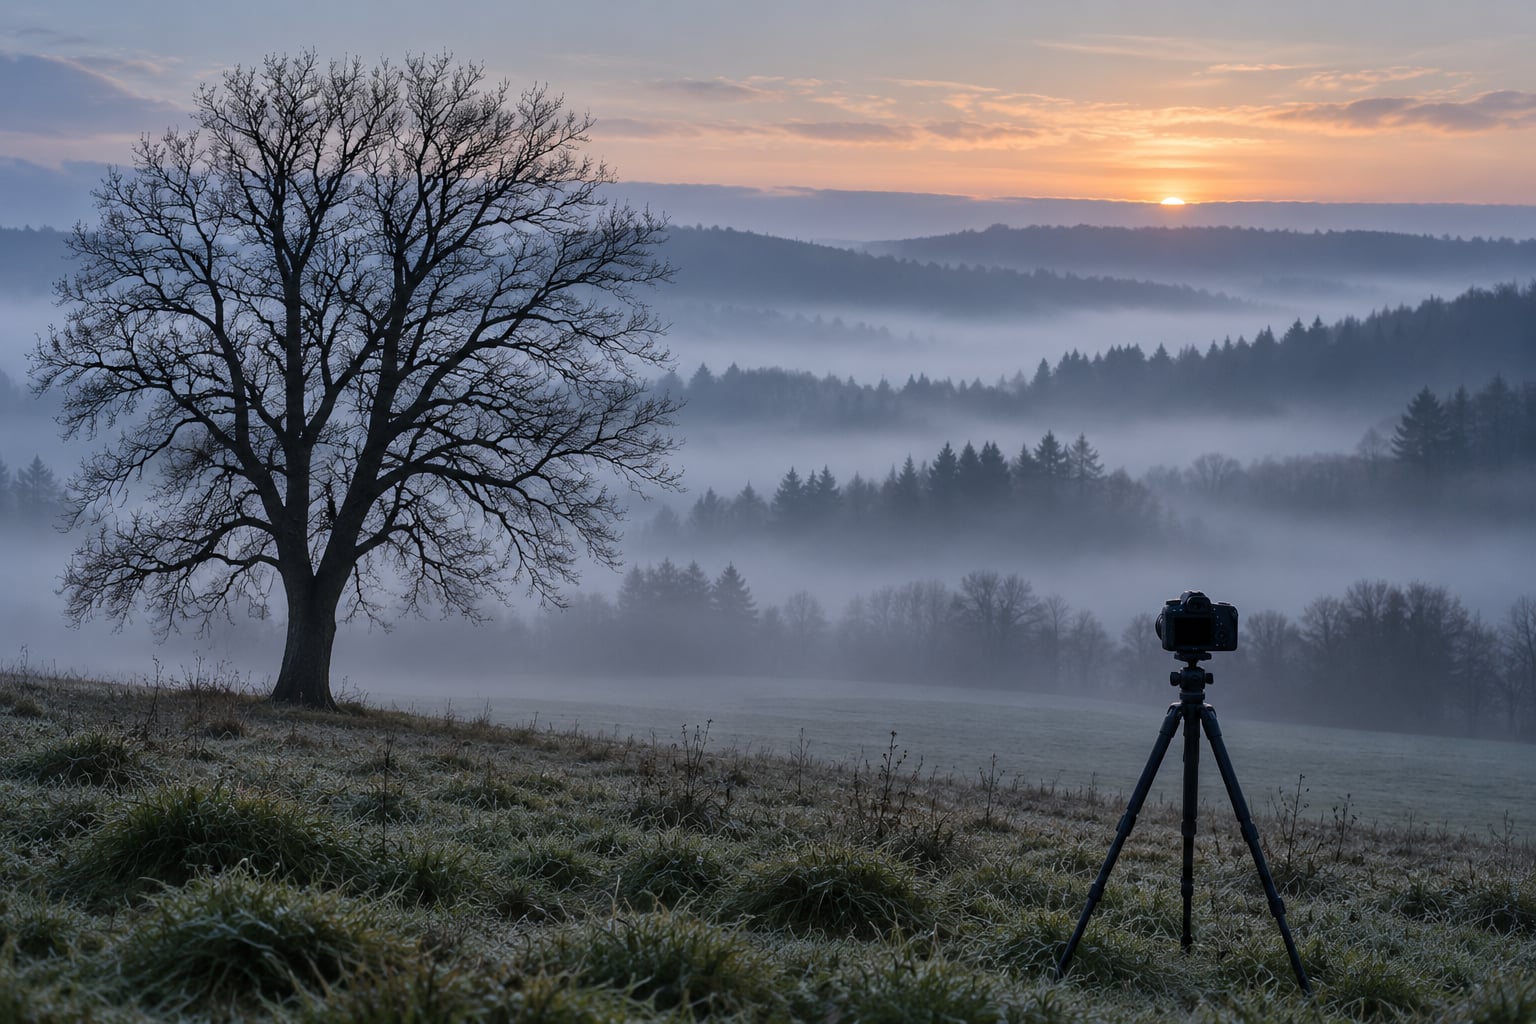
Morning fog is the cheapest atmosphere you will ever get, and it lasts about half an hour. Knowing how to photograph fog in the morning comes down to three things: arrive before the sun does, add roughly a stop of exposure because the meter reads fog as grey, and turn autofocus off because a white frame gives it nothing to lock onto. Ten minutes of scouting in the dark is enough to bring home layered frames instead of the flat grey ones most people complain about.
Fog photography is simply the practice of photographing a scene full of suspended water droplets. What makes it work is that fog diffuses light into soft, even illumination, scatters backlight into visible rays, and separates near and far objects into distinct tonal layers. What makes it hard is that fog also deletes the contrast your autofocus needs and tricks the light meter into underexposing the whole scene.
I have shot fog from the same valley road for years, and the same three failures show up every time: the meter stops down, autofocus hunts, and I end up with a white frame with a grey smudge in the middle. Here is the routine that fixed it for me.
Table of Contents
- What You Need
- Step-by-Step: How to Photograph Fog in the Morning
- Check When and Where the Fog Will Form
- Start With Deliberate Settings
- Focus on the Layer That Should Be Sharp
- Compose for Layers, Contrast, and Negative Space
- Expose for Highlights Without Losing the Fog
- Shoot Fog on a Phone
- Protect Your Gear From Moisture
- Make Several Varied Frames
- Common Mistakes
- Edit for Soft Contrast and Natural Atmosphere
- Frequently Asked Questions
- What camera settings should I use for fog?
- How do I pick up fog on an iPhone camera?
- What is the best way to predict fog for photography?
- Why are my fog photos dark, grey and flat?
- Is it better to overexpose or underexpose fog?
- Why does my camera struggle to focus in fog?
- Conclusion
What You Need
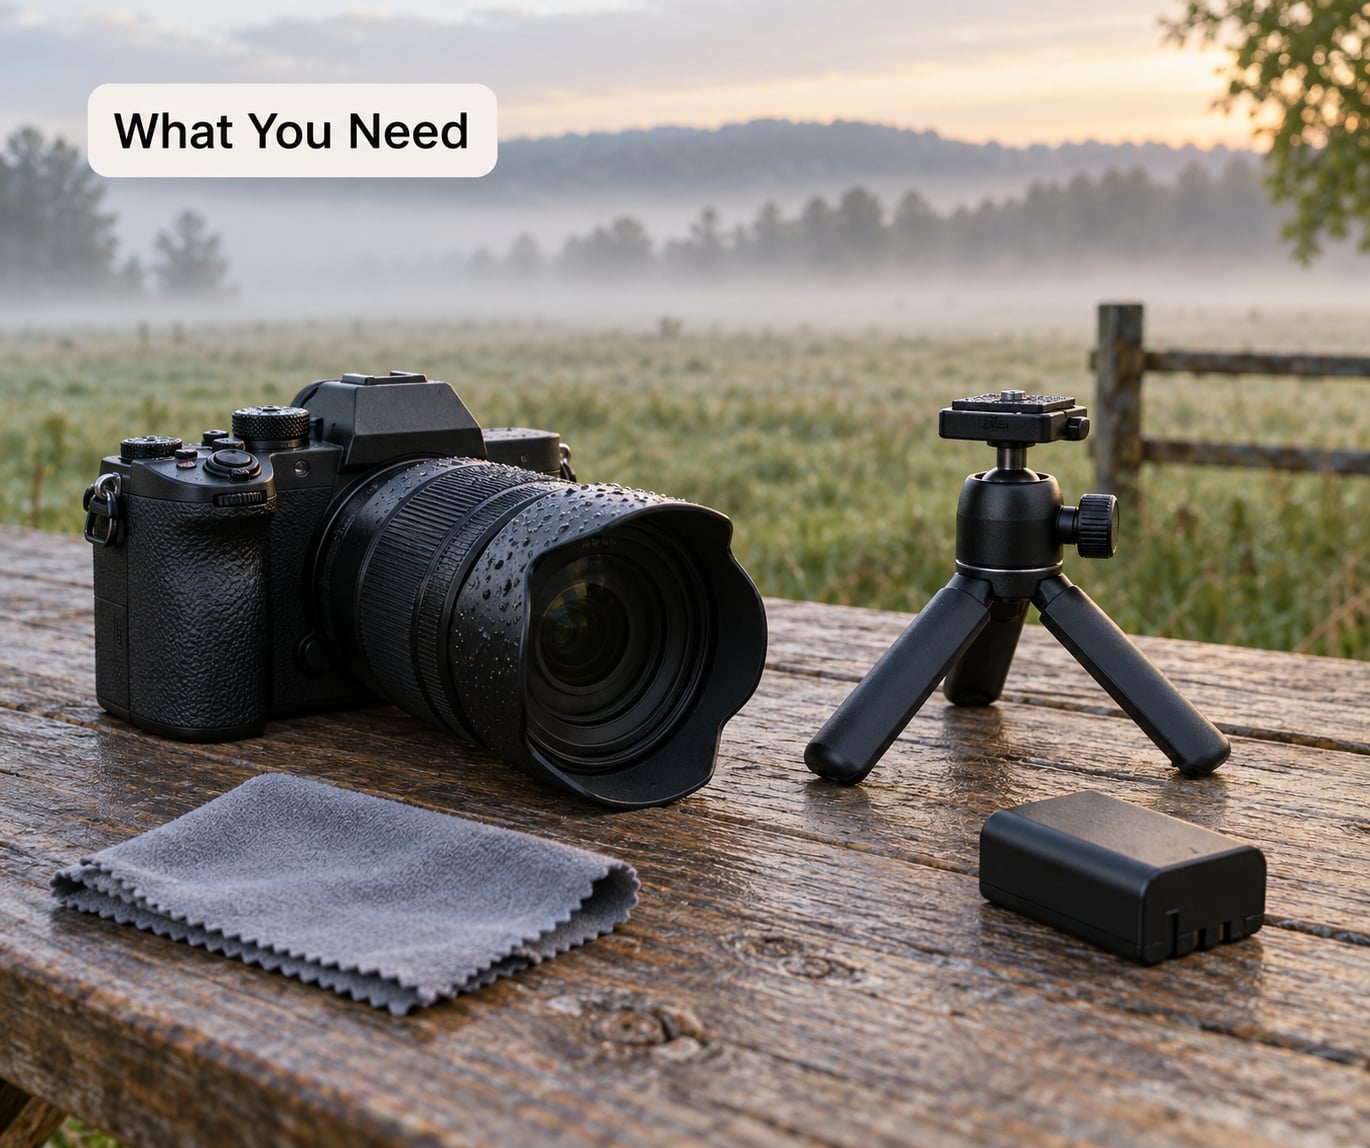
You need very little. Fog is soft light, so the expensive gear matters far less than being in the right place at the right time.
- A camera with manual mode. Any mirrorless or DSLR body works. A phone is a perfectly usable substitute when you cannot plan ahead.
- A lens with a manual or single-point focus mode. A 35mm to 200mm range covers almost everything, from a lone tree to a road disappearing into mist.
- A small tripod. Not for the landscapes. For the frames where you want a 4-second exposure and the fog to move as silk.
- A microfibre lens cloth and a lens hood. Damp air puts water on the front element within minutes.
- A spare battery. Cold mornings and long exposures drain them faster than you expect.
- A sealed bag or ziplock. More on why this matters below, but keep your camera sealed until you reach the shooting spot.
Before you leave, check two things: the dew point spread for your location, and whether any wind is forecast. Both decide whether the fog forms at all.
Step-by-Step: How to Photograph Fog in the Morning
Check When and Where the Fog Will Form
Fog forms when the air cools to its dew point, so you are really looking for a night with clear skies, light wind, and a temperature that dropped a lot after sunset. The number to watch is the dew point spread: the gap between the overnight low and the dew point. A spread of about 2 to 4°C gives radiation fog. A spread wider than roughly 6°C usually means no fog, or fog that burns off fast.
Not all fog behaves the same. Radiation fog pools in low ground on a still, clear night and settles thickest an hour after sunrise. Advection fog arrives with mild, moist air over cold ground or water, which is the classic sea fog that can sit in for hours.
| Where fog forms | Why | What it looks like at dawn |
|---|---|---|
| Valleys and low fields | Cold dense air drains downhill and pools | A flat white sea you can shoot from above |
| Creeks and river bends | Water holds heat, so fog thins above the surface | Wisps drifting low over dark water |
| Woodland and pine forest | Still, humid air under a canopy | Separate horizontal bands between the trunks |
| Coast and headlands | Warm moist air drawn over colder water | Distant land fading out in layers |
| Anywhere with wind | Mixing breaks fog apart | Nothing worth photographing |
Scouting takes five minutes on your phone. Open a weather app, look at the hourly temperature against the dew point, check wind speed, then drop a pin on a spot with elevation, water, or tree cover nearby. Arrive 45 to 60 minutes before sunrise. The best fog is usually in the first 30 to 40 minutes after the sun clears the horizon, and then it collapses.
Start With Deliberate Settings
Start in manual or aperture priority, ignore the camera’s own idea of a correct exposure, and protect the highlights. Fog is bright, and the standard meter will render it as middle grey, which is why your fog photos come home dark and lifeless.
| Setting | Start here | Why |
|---|---|---|
| Mode | Manual, or aperture priority plus compensation | Stops the meter chasing a moving fog bank |
| Aperture | f/8 for a layered scene, f/2.8-f/4 for one soft subject | Deep focus for layers, shallow for isolation |
| Shutter speed | 1/60 s or faster handheld, 2-4 s on the tripod | Sharp layers, or silky movement if you want it |
| ISO | ISO 100, raised only if the light demands it | Keeps the grey in the fog from going noisy |
| Exposure compensation | +0.7 to +1.7 EV | The meter under-reads fog by about a stop |
| Metering | Evaluative, or spot on the brightest fog | Stops the sky from clipping to white |
| Focus | Manual or single-point AF | Continuous AF hunts in low contrast |
| White balance | Daylight, or Auto with a RAW file | Keeps the dawn blue and pink honest |
| File type | RAW | A JPEG fog frame is very hard to rescue later |
Expose for the brightest part of the fog, not for the average. If the histogram piles up against the right-hand edge or your highlight warnings blink, drop compensation a third of a stop and check again. Misty highlights that clip turn into flat white holes with no texture at all.
Focus on the Layer That Should Be Sharp
Pick one layer to be sharp and make everything else fall away. In fog that is usually the nearest dark object, because the mist behind it does the softening for you.
Switch autofocus to single point or turn it off entirely. Tap or place the focus point on your subject, and if you have a focus ring, focus manually and re-check before every frame, because fog moves and your subject’s distance does not.
The classic mistake is focusing on nothing. Autofocus hunting across a white frame, or a lens focused on the empty mist right in front of your lens, gives you a soft frame where the only sharp thing is a patch of fog. Zoom in on the display at 100% and confirm the subject is genuinely sharp before you commit to a series.
Close the aperture to f/8 or f/11 when you want the foreground and the far ridge both readable. Open to f/2.8 when a single tree or a person in a coat is your subject and you want the rest to melt away.
Compose for Layers, Contrast, and Negative Space
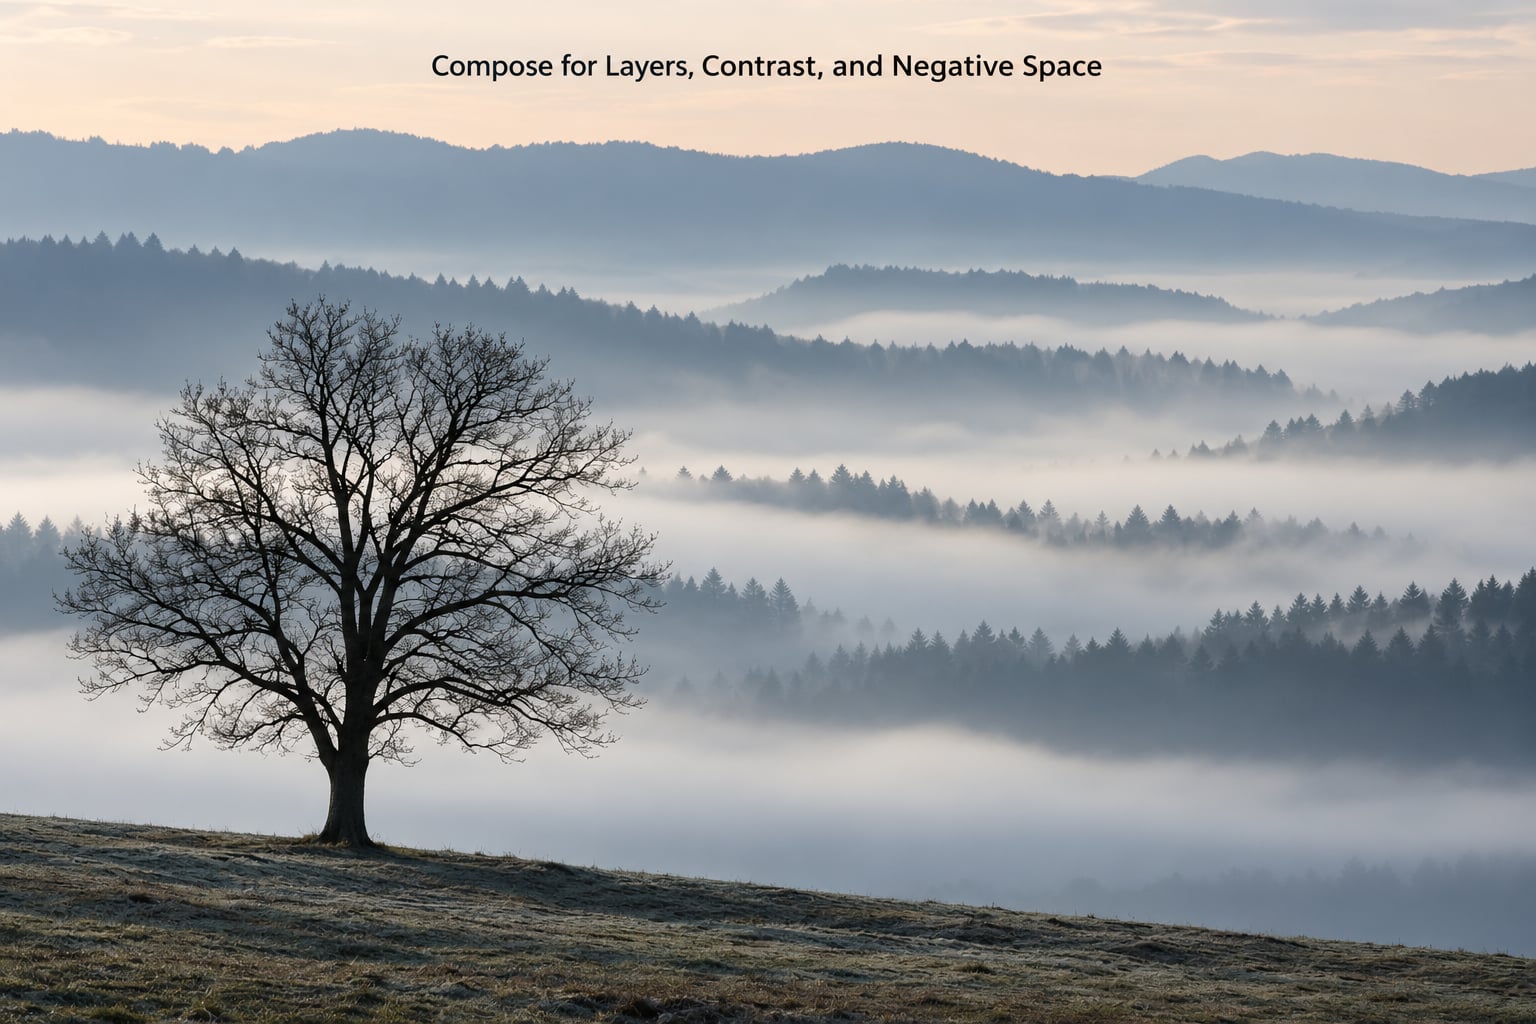
Fog separates a scene into horizontal layers, so build your frame in layers. Put something in the near foreground, something mid-distance, and let the far layer dissolve into white.
Leading lines do the heavy lifting. A road, fence, path or river disappearing into mist gives the eye somewhere to go and makes the frame feel larger than it is. A single dark trunk or bare tree in the foreground gives you contrast to measure everything else against.
Backlight beats front light. Stand slightly off-axis from the sun rather than directly behind it, and fog particles will catch the light as visible rays and halos. A polariser helps with exactly this scattering, and the flare you see in fog comes from light bouncing off the droplets themselves.
Lens choice changes the look more than settings do. A wide angle exaggerates the near layer and drains the distance. A telephoto compresses the bands into tight stripes, which is how you photograph layered fog without walking into it. Shoot both from the same spot and you will have two different pictures.
Leave some empty space above or beside your subject. Fog already simplifies the frame, and negative space is what keeps it from feeling cluttered.
Expose for Highlights Without Losing the Fog
Fog is a bright subject that looks like a dark subject to your camera. That gap is why your exposure dial is your most important tool on a fog morning.
Start at +1 EV and watch the histogram. Bright sky above the fog can still clip, and clipped mist has no gradation left to edit. When contrast between the sky and the fog is extreme, bracket two or three exposures a stop apart and blend them later, or let the camera do it with auto bracketing.
Shoot RAW. A fog frame captured as JPEG has already thrown away the shadow detail you will want back, and a large share of the recovery work below simply is not possible from a compressed file.
One more trick worth knowing: on some bodies, multi-second exposures deliberately smooth the moving vapour, then several frames can be blended together for detail. If you want fog to look like smoke rather than wool, a tripod and a two to four second exposure will get you there.
Shoot Fog on a Phone
Phones handle fog reasonably well if you compensate for the same reason a camera does. Shoot in the default camera app, not through the selfie camera, and never leave the lens cover on. A cap or film left over the lens is the single most common reason beginner fog shots look terrible.
Tap the bright fog in the frame to expose on it, then swipe the sun icon up. Most phone meters will still aim for grey, so raising exposure by roughly one tap of brightness is the phone equivalent of plus one EV.
Turn on HDR if your phone has it, but watch for the sky. If the sun area merges into a flat white blob, HDR has done nothing useful there.
Tap to focus directly on your sharp layer and hold it. Then clean the front lens with a cloth before you start, because a smear on a phone lens ruins fog shots faster than any bad setting.
If you want control over RAW or a manual shutter speed, a third-party capture app gives you those, but the built-in app plus tap-to-expose covers most fog mornings well enough.
Protect Your Gear From Moisture
The most expensive mistake on a fog morning happens before you press the shutter. Stepping from a warm car into cold, damp air can fog the front element and the rear element fast, and on a long morning the condensation can reach the sensor. Condensation on the sensor is the one outcome you do not want.
The simple fix is to seal the camera in a bag before the walk. Put it in a ziplock or leave it in a closed camera bag while the lens warms up to the outdoor temperature, then take it out. Fog gives you twenty minutes of shooting, and you do not want to spend it waiting for a lens to clear.
Keep the hood on. It sheds droplets that would otherwise sit on the front glass, and a damp meadow in fog has plenty of them. Have the cloth in the same pocket as the spare battery.
Make Several Varied Frames
One fog frame is a lucky accident. Shoot a short, deliberate series instead, changing one thing each time.
- Same spot, wider lens, for a bigger, emptier frame.
- Same spot, telephoto, for compressed layers.
- Stop down one third of a stop and watch the histogram.
- Turn around. Fog looks different when the sun is behind you, flatter but softer, and useful for detail you would otherwise lose.
- Walk ten paces sideways. The same bank of mist reads as a completely different shape.
- Go for the silhouette last, when the sun is highest and the fog is thickest.
Work fast once the sun is up. What looked like a white sea at 6am is often an ordinary field by half past seven.
Common Mistakes
Photographing a bright sky into a white frame. The brightest thing is not the subject. Meter on the fog itself, or spot meter, and protect the sky.
Trusting autofocus in a low-contrast frame. Continuous AF hunts badly here. Single point, then manual if you have a ring.
Stopping down too far. At f/16 the whole frame goes soft because the diffraction blur eats the detail fog never gave you. f/8 is plenty.
Raising ISO instead of opening up. Noise in a smooth, soft subject looks far worse than slight grain. Keep ISO low and use a tripod if you need the slow shutter.
Arriving after sunrise. The window is 45 to 60 minutes before sunrise through roughly 40 minutes after. After that you are photographing a normal morning.
Shooting through a windscreen. Glass flattens contrast, adds flare and adds a reflection of the dashboard. Walk to the outside, or at least press the lens to the glass and shade it with your hands.
Pushing dehaze and clarity in editing. Both look like an error on a frame that was meant to look soft. Save them for the frames that came out flat, not the ones that came out right.
Edit for Soft Contrast and Natural Atmosphere
A good fog frame needs less editing than most people give it credit for. The goal is to recover what the camera left on the floor and then stop.
- Raise exposure by a third to two-thirds of a stop if the fog reads grey. Do it before anything else.
- Pull shadows up gently to reveal the dark foreground layer. Fog hides detail in shadow, and this is where most of the mood lives.
- Lower highlights to recover any blown mist. Check the histogram rather than your eyes.
- Add a small amount of dehaze or texture if the frame is flat and lifeless. Stop the moment the fog stops looking soft.
- Correct the cast. Dawn fog reads blue in shadow and pink where the sun hits it, and a heavy blue cast is the most common complaint about a dawn frame. Nudge the temperature slider warmer in small steps rather than slamming it.
- Add contrast last, with a curve. A gentle S-curve works better than dragging the contrast slider.
Black and white suits fog more than almost any other subject. It removes the awkward colour cast entirely and leaves you with tone and shape.
If your frame is genuinely broken rather than flat, usually the cause is the file type or the exposure, not the fog. A JPEG shot two stops under will never come back. A RAW frame exposed correctly has plenty left.
Frequently Asked Questions
What camera settings should I use for fog?
Start in manual or aperture priority at f/8, 1/60 s or faster, and ISO 100, then add +0.7 to +1.7 EV because the meter reads bright fog as grey. Meter on the mist itself, check the histogram for clipped highlights, and shoot RAW so you can recover shadow detail later.
How do I pick up fog on an iPhone camera?
Clean the lens first, shoot with the main camera rather than the selfie lens, and leave the lens cover off. Tap the bright fog to expose on it, then swipe up one step on the sun icon to add roughly a stop. Hold the focus lock on your sharp layer and turn on HDR if the sky is holding detail.
What is the best way to predict fog for photography?
Watch the dew point spread. A gap of about 2 to 4°C between the overnight low and the dew point, with clear skies and light wind, is the recipe for radiation fog. Check the hourly forecast the night before, prefer low ground, water or tree cover, and skip the trip if wind is forecast above a light breeze.
Why are my fog photos dark, grey and flat?
Almost always the meter. Fog is bright, and cameras expose it for middle grey, so you lose about a stop. Add +0.7 to +1.7 EV and watch the histogram. A JPEG file makes it worse, since the shadow detail you need is already gone. Shoot RAW, then lift exposure and shadows gently in editing.
Is it better to overexpose or underexpose fog?
Overexpose, carefully. Underexposing fog produces muddy greys with no separation between the layers. Push up to about +1.7 EV, but stop before the mist clips, because blown highlights leave no texture to recover. Meter on the brightest fog rather than on the whole frame.
Why does my camera struggle to focus in fog?
Fog removes contrast, and autofocus needs an edge to lock onto. Switch to single-point autofocus or manual focus, place the point on your chosen sharp layer, and zoom in at 100% to confirm. If you can see nothing to focus on in the frame, move closer to your subject rather than trusting the camera.
Conclusion
Start with the conditions: a dew point spread of 2 to 4°C, clear skies, light wind, and low ground with something for the mist to settle behind. Arrive 45 to 60 minutes before sunrise and build one frame with three layers and a leading line in it.
Then set f/8, ISO 100, 1/60 s or faster, add about +1 EV, turn autofocus off, focus on the nearest dark object, and check the histogram before you take anything. Shoot a short series rather than one frame, keep the camera sealed until it has warmed up, and leave before the fog does. That is how to photograph fog in the morning without coming home with grey pictures and a vague feeling that the morning could have been better.