To clean a lens without scratching it, always work in this order: air, soft brush, barely damp microfiber cloth, wipe from the center outward. Dry grit is what scratches glass. It sits on the coating and turns into sandpaper the instant a cloth drags across it, and the anti-reflective coating on a modern lens is thinner than a fingerprint.
The whole job takes about five minutes and costs less thought than it does technique. If you have never cleaned a lens before, the fastest route to damage is wiping first and blowing second, which is what almost everyone does by reflex.
- Blow loose dust off with a hand air blower, lens pointing downward.
- Sweep remaining grit away with a soft-bristled lens brush, working outward from the center.
- Put two or three drops of lens cleaning fluid on a clean section of microfiber cloth, never on the glass.
- Wipe from the center outward in small circles with barely any pressure, using a fresh section for each pass.
- Inspect the front element under diffuse light before putting the camera back in the bag.
Everything below is the reasoning behind those five steps, plus what to do when you have no proper kit, a phone lens instead of a camera, or a lens that is already scratched.
Table of Contents
- What You Need for a Scratch-Free Cleaning Kit
- How to Clean a Lens Step by Step
- Check the Lens and Choose the Right Cleaning Method
- Remove Loose Dust with Air
- Apply a Small Amount of Cleaner
- Wipe from the Center Outward
- Inspect and Repeat Only If Needed
- How to Clean a Phone Camera Lens
- Cleaning Sand and Salt Spray
- What to Do Without Lens Cleaner or Microfiber Cloth
- Common Mistakes That Scratch Lenses
- How to Handle a Camera Lens That Already Has Scratches
- Frequently Asked Questions
- What is the safest way to clean a camera lens without scratching it?
- Can I use alcohol wipes to clean my camera lens?
- Is Windex good for cleaning camera lenses?
- Can you polish a scratch out of a camera lens?
- How do I clean fingerprints and smudges off a lens?
- How often should I clean a camera lens?
- Conclusion
What You Need for a Scratch-Free Cleaning Kit
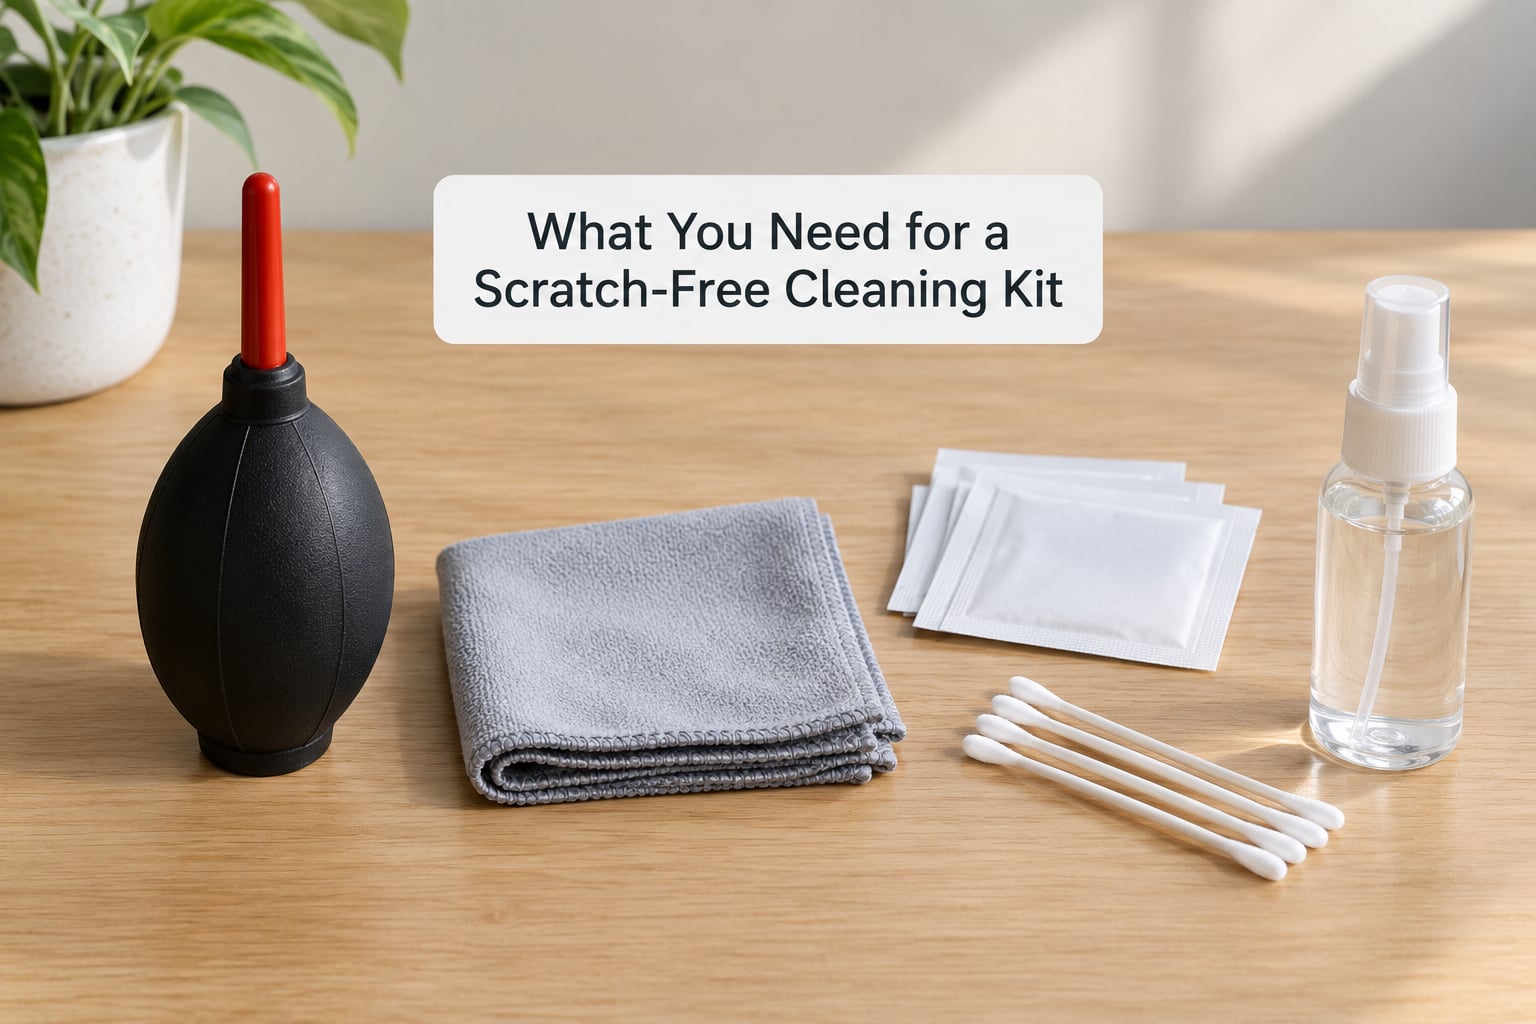
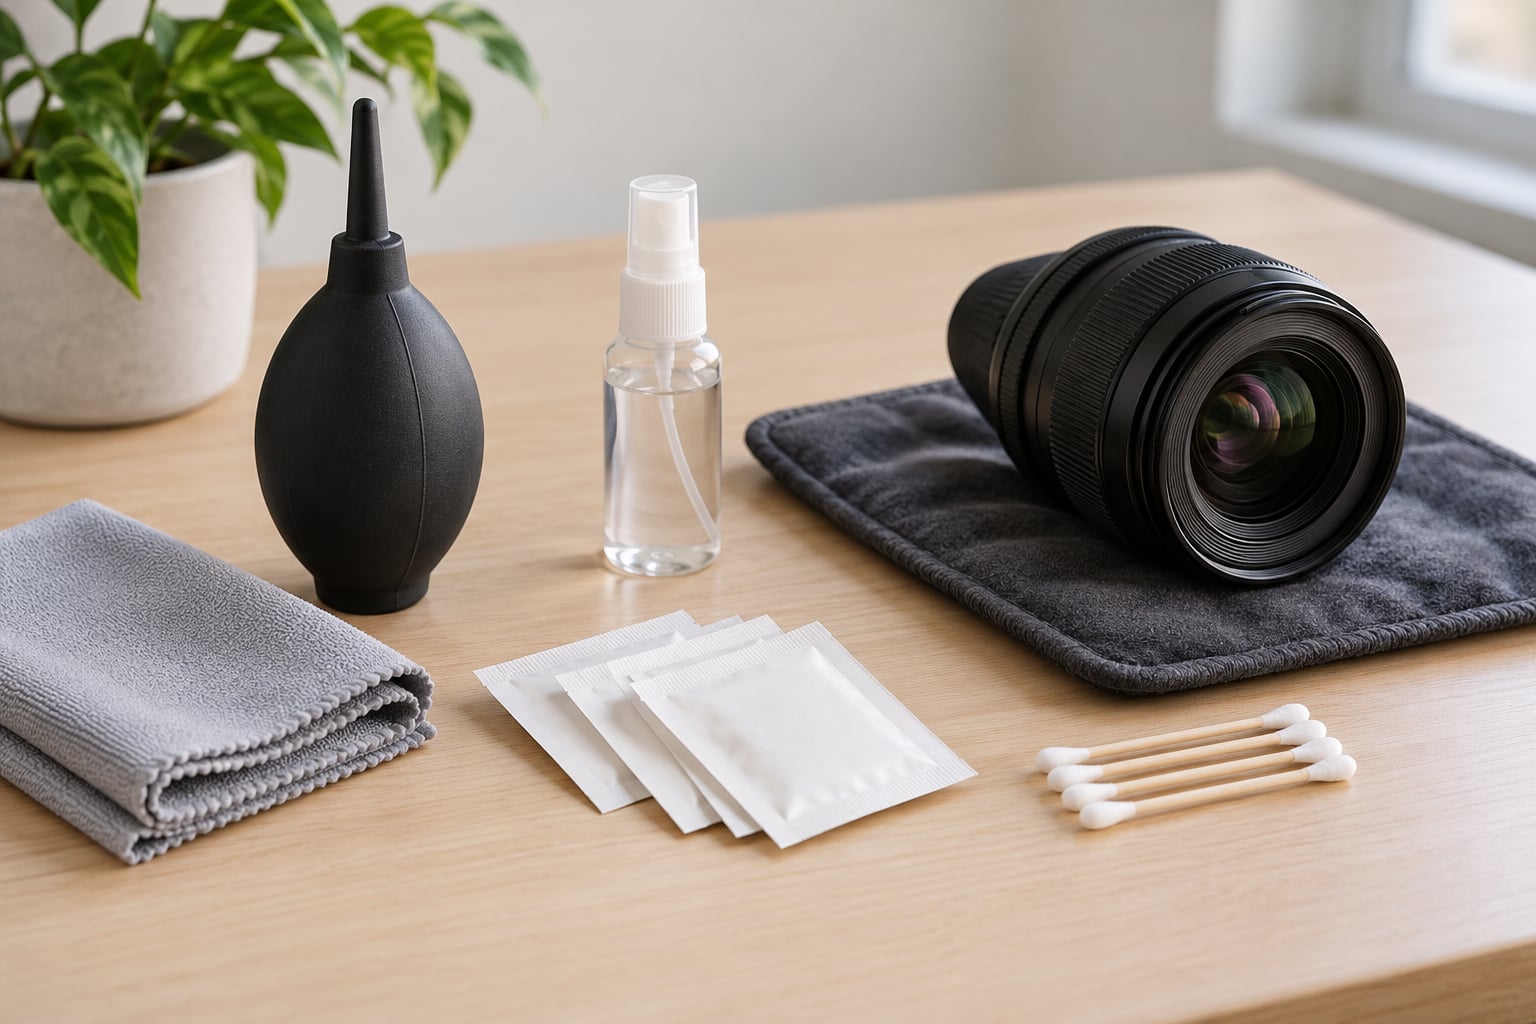
A scratch-free lens cleaning kit needs four things, and three of them cost very little. The hand air blower matters most, because it is the only tool that removes grit without touching the glass.
- Hand air blower bulb. The rubber bulb type with a nozzle, not a compressed air canister. Hold the lens pointed down while you work so any dislodged particle falls out of the barrel instead of settling on the rear element. Use it first, every single time.
- Soft-bristled lens brush. A small brush with fine, soft bristles takes care of what the blower leaves behind, including dust clinging to the edge of the filter ring. Rotate the brush as you sweep so you are not grinding one set of bristles into the coating.
- Microfiber cloth. Keep at least two, and keep one of them strictly for lenses. A cloth that has been wiping a workbench or a car dashboard is now an abrasive sheet, no matter how clean it looks.
- Lens cleaning fluid. Plain water works in a pinch, but a proper lens cleaning solution lifts fingerprints and oily residue far better. Two or three drops on the cloth is plenty.
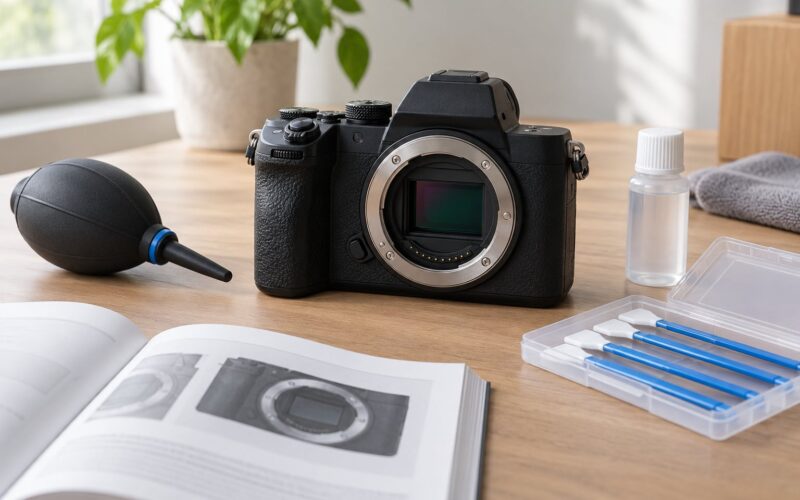
- Cotton swabs and lens wipes. Swabs are genuinely useful for the edges of the front element and around the barrel markings, where a cloth cannot reach. Pre-wipe tubes are a good field consumable for salt spray and fingerprints.
Wash microfiber cloths with bleach-free mild detergent and no fabric softener, and skip the dryer entirely. Fabric softener leaves an oily film that turns the cloth into a sanding sheet, and tumble-dry heat bakes grit into the fibres. Many experienced photographers on photography forums simply never wash them at all and rotate several instead.
| Scratch-safe | Scratch risk |
|---|---|
| Hand air blower | Compressed air canister |
| Soft lens brush | Any bristle brush from the car |
| Microfiber cloth | Shirt, sleeve, cotton handkerchief as a habit |
| Lens cleaning wipes | Facial tissue, paper towel, kitchen roll |
| Lens cleaning solution | Window cleaner, ammonia sprays, household glass cleaner |
| Distilled water for swabbing | Saliva |
Household glass cleaners are the trap most people fall into. Ammonia-based products fog acrylic and styrene elements permanently, and they can haze the anti-reflective coating in ways no amount of careful cleaning will undo.
How to Clean a Lens Step by Step
Check the Lens and Choose the Right Cleaning Method
Look at the front element in good light before you touch anything, because the right method depends entirely on what you are dealing with. Loose dust and airborne fluff need air only. Smudges, fingerprints, oily marks and salt residue need fluid.
Run a fingertip lightly over the barrel to spot oily areas, then look at the glass from an angle under a lamp. If you can see loose particles floating on the surface, stay dry. If the marks stay put when the lens is tilted, they are in the coating or the glass itself and need a damp cloth.
A useful rule from experienced shooters: when in doubt, do less. Most people clean far more often than necessary, and every unnecessary pass is another chance to grind something into the coating.
Remove Loose Dust with Air
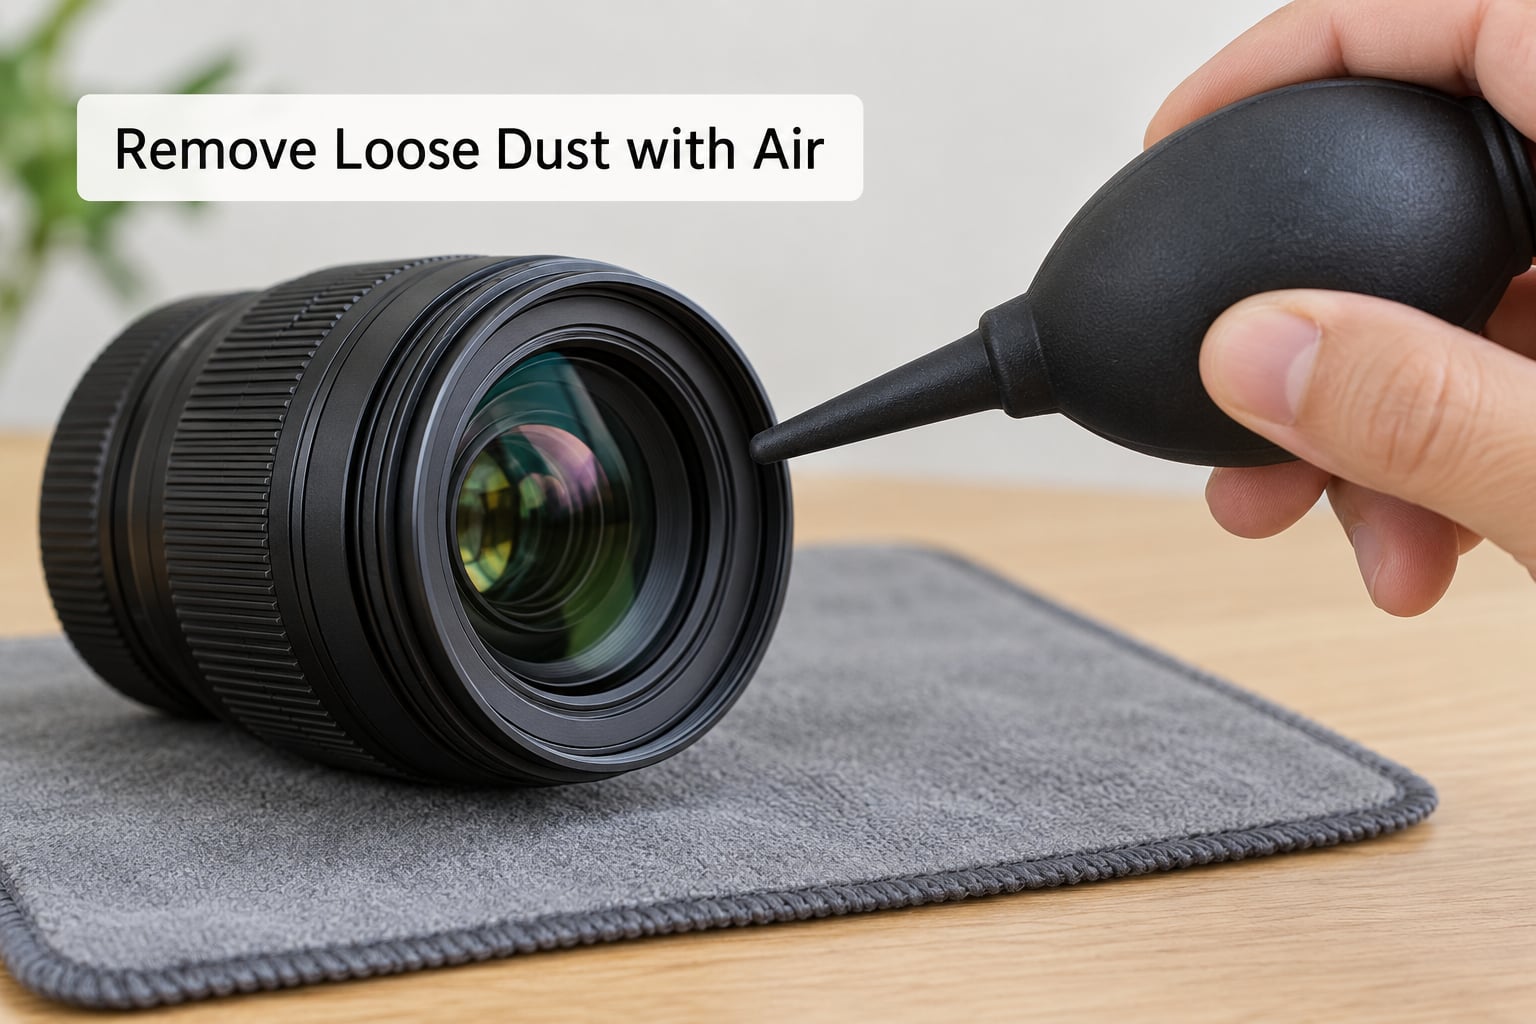
Point the lens downward, hold the blower nozzle a few centimetres away, and squeeze the bulb in short puffs rather than one long blast. The nozzle should never touch the glass, and you should never blow hard enough to feel the air hit your hand across the room.
The reason to blow downward is gravity. Dust that gets pushed deeper into the barrel settles on the rear element, where it will bounce around inside the lens and end up on the sensor or the back of your photos. Compressed air cans are worse for this, since propellant can condense into a fine oily residue and drive grit into the mechanism.
Apply a Small Amount of Cleaner
Put two or three drops of lens cleaning fluid on a clean section of microfiber cloth, then use the cloth. Never spray or pour liquid directly onto the lens.
Two reasons for that rule. First, fluid running toward the rim can wick between the element and the barrel by capillary action, and anything sitting under the coating will cause permanent haze that no amount of surface cleaning will remove. Second, a flooded lens focuses sunlight into a hotspot on the barrel, which can burn the paint around the front element in seconds on a bright day.
Wrinkle the cloth slightly so the fluid sits in the creases rather than dripping off. That wadded-cloth-with-a-half-drop method is the classic practitioner technique and it works well.
Wipe from the Center Outward
The safe motion is small circles working outward from the middle of the element, with the cloth flat against the glass and only as much pressure as it takes to move the whole film of fluid. You are guiding fluid, not scrubbing.
Rotate to a fresh section of cloth after every pass rather than going back over the same area with a dirty patch. That single habit is what separates a careful wipe from the hazy swirl pattern people worry about later.
Never wipe in straight lines across the center, and never use the corner of the cloth on the coating. When a cloth drags over one stubborn particle, that particle becomes the cutting tool.
Inspect and Repeat Only If Needed
Hold the lens under diffuse daylight or a soft indoor light and tilt it back and forth. Real scratches stay visible from most angles. A coating swirl, which is a tiny optical effect rather than a scratch, tends to fade out as you change the light.
If residue remains, use a fresh section of cloth with a little more fluid. If it still will not shift, stop. Repeated passes over the same spot do not remove anything, they just wear the coating thinner.
How to Clean a Phone Camera Lens
Phone lenses follow the same rules, but the glass is flat, small and sits close to a case. Blow out the pocket dust first, because grit falls straight out of a pocket onto that lens more often than anything else.
Never push a cloth or swab into the recess while the phone is in its case. Lift the lens guard or case first, hold the phone screen-down over a clean surface, and wipe with a barely damp cloth in a single straight pass. If the lens is recessed and you cannot see it clearly, a dry soft swab is safer than a damp one.
Cleaning Sand and Salt Spray
Sand needs the full dry sequence: blow, brush, blow again, and only then consider fluid. Mineral grit is the fastest way to scratch a front element, and a damp cloth on dry sand turns it into a lapping compound. If you can still see grit, keep blowing and brushing.
Salt spray is different because it is sticky. Let the surface go briefly damp, dab rather than smear with a clean cloth so the crystals dissolve instead of being pushed around, then run the normal damp wipe and finish with a dry section. Coastal photographers who do this report years of use without marks.
What to Do Without Lens Cleaner or Microfiber Cloth
If you have no proper kit, the order of preference is clear. A clean cotton handkerchief is the best emergency substitute experienced photographers accept, used with light pressure and only after air and brush. It is not a substitute for microfiber, but it beats a shirt sleeve.
A soft cotton swab dampened with plain water works on edge grime, with a dry swap straight after. For the main glass surface with nothing but water, a very slightly damp clean cloth and gentle circular motion is fine, though water alone will not lift fingerprints properly.
What not to do: tissue, paper towel, a dry cloth, or anything sprayed onto the lens. Dry-wiping grit is the single most reported way people damage coatings, and it is entirely avoidable.
Common Mistakes That Scratch Lenses
Almost every scratched coating traces back to one of a handful of habits, and each one has a simple correction.
- Wiping before blowing. The most common mistake by a wide margin. Dust and sand stay on the lens and become the abrasive. Correction: always air first, every time, even when the lens looks nearly clean.
- Using a shirt or sleeve. Cotton fibres are coarse compared with microfiber and carry whatever was on your clothes. Correction: keep a dedicated cloth in the camera bag.
- Using saliva. It is on every outdoor photographer’s kit by default and it is unnecessary. Correction: plain water from a bottle, or better, proper fluid.
- Spraying liquid onto the glass. It wicks under the coating and can scorch the barrel in sun. Correction: dampen the cloth, not the lens.
- Cleaning a hot lens. Thermal shock and warm fluid both raise the risk of coating damage, and warm glass holds oily fingerprints more readily. Correction: let the lens sit until it feels like room temperature.
- Scrubbing a persistent mark. When a smudge will not shift, people lean harder. Correction: change cloth section and add fluid instead of pressure.
- Using compressed air. It drives dust into the barrel and the mechanism, and the propellant can leave a film. Correction: a hand blower bulb, always.
- Reusing a dirty cloth. The cloth eventually becomes the scratch source rather than the cure. Correction: rotate two or three cloths and skip fabric softener when washing.
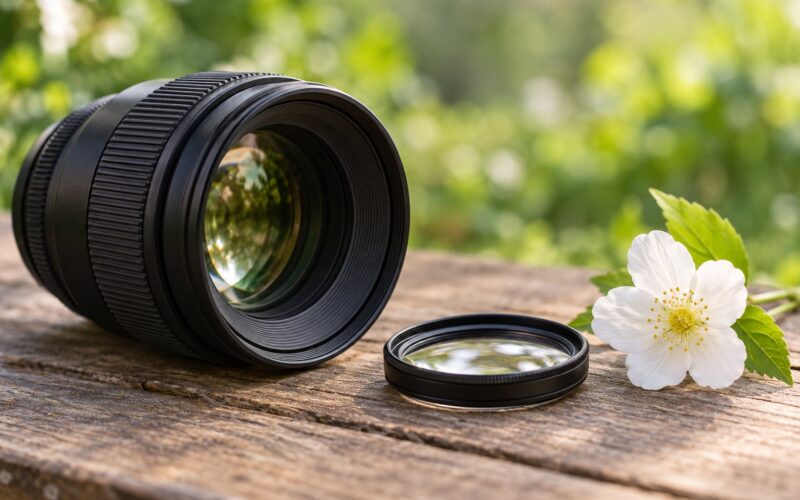
Two more worth naming. Dry-brushing grit with anything harder than a proper lens brush, and cleaning a front element while a UV filter is off with the lens exposed to a dusty work surface. Fit the filter back on before you set the lens down, and never lay a bare element face-down on anything.
How to Handle a Camera Lens That Already Has Scratches
Cleaning cannot repair a scratch. There is no honest way to polish one out of a coated camera lens, and anyone offering one is either talking about the outer glass of an old single-crystal lens or about to make it worse.
What you can do is stop them getting worse and reduce how visible they are. Stop dry-wiping over the mark, since scratches act as little scoops that collect dust. Use the air and brush steps as normal, keep the coating clean so the light scatter is not compounded by grime, and resist the urge to polish with a sleeve or a lens pen. On a heavily marked front element, the comparison between a careful clean and a neglected one is usually bigger than people expect.
Have a lens professionally inspected or serviced if the marks appeared suddenly, if they spread after one cleaning session, if they are on the rear element and visible in every shot, or if you notice haze that no cleaning removes. Internal haze, fungus between the elements or a damaged front coating are not field problems.
Frequently Asked Questions
What is the safest way to clean a camera lens without scratching it?
The safest order is air, brush, damp cloth, wipe from the center out. Use a hand blower first with the lens pointed down, sweep off anything left with a soft-bristled brush, then put two or three drops of lens cleaning fluid on a clean microfiber cloth rather than on the glass. Wipe in small circles working outward with barely any pressure, and rotate to a fresh section of cloth for each pass. Never dry-wipe, because loose grit is what causes most scratches.
Can I use alcohol wipes to clean my camera lens?
Plain alcohol wipes are not a good choice. They are pre-moistured to a level you cannot control, often contain additives, and the pad itself is coarser than the cloth a lens needs. If nothing else is available, a lint-free pad barely dampened with reagent-grade isopropyl alcohol is safer on bare glass, but keep it away from lens barrels and mount markings, where alcohol can lift printing. A proper lens cleaning fluid on a microfiber cloth is the better option every time.
Is Windex good for cleaning camera lenses?
No. Window cleaners are among the most damaging things you can put on a lens. Ammonia-based formulas permanently fog acrylic and styrene elements and can haze anti-reflective coatings, and dyes and surfactants leave their own film. Household glass cleaner and spritzing sprays fall into the same category. Use lens cleaning solution or, in an emergency, plain water on a clean microfiber cloth, applied to the cloth rather than sprayed onto the lens.
Can you polish a scratch out of a camera lens?
Not from home, and not on a coated lens. Scratch removal needs diamond polishing compounds and controlled flat-surface work, which is why it is a professional job. Attempting it yourself with a lens pen, a polishing compound or a cloth rubbed hard will remove the coating around the scratch and leave a much larger dull patch. Your realistic options are to keep the lens clean so the mark shows less, or to send it to a service centre if the damage affects your images.
How do I clean fingerprints and smudges off a lens?
Fingerprints need fluid, not friction, because the oil has to be dissolved rather than pushed around. Blow and brush first so no grit is on the surface, then put a couple of drops of lens cleaning fluid on a clean section of microfiber cloth. Wipe in small circles from the center outward and keep the fluid away from the rim so nothing wicks under the coating. Finish with a dry section of the cloth to lift any streaks the wet pass left behind.
How often should I clean a camera lens?
Less often than most advice articles suggest. Clean when you can see a mark in the viewfinder or on a photo, after working in sand, dust or salt spray, or before a shoot where image quality matters. Wiping a lens because it feels dirty puts cloth contact on coated glass for no reason. If you are unsure, a gentle hand check of the barrel and a look at the front element in daylight will tell you more than any fixed schedule.
Conclusion
To clean a lens without scratching it, blow loose dust off first with a hand blower while the lens points downward, brush off what remains, put a couple of drops of lens cleaning fluid on a clean microfiber cloth, and wipe gently from the center outward with almost no pressure. That order is the whole trick. Skip the air and brush steps and grit becomes your abrasive, and no cloth in your bag will save the coating.
Keep one cloth for lenses only, rotate rather than rewash, and leave existing scratches to a service centre. Updated for October 2026.