To recover a dark photo, work on the original file, lift the exposure in small steps until the shadows show detail, then open the shadows and trim the highlights so the picture does not go flat. Most dark shots are recoverable as long as you still have the RAW or the original JPEG, and most of the disappointing results come from brightening the whole frame at once instead of moving through the tonal range in order.
This is a workflow you can follow in Lightroom, Photoshop Camera Raw, a phone gallery app, or a free browser editor. The panel names differ slightly between them, but the order of operations does not. Give it ten minutes on a straightforward frame, longer on a badly underexposed one.
Table of Contents
- What You Need
- How to Recover a Dark Photo: Step-by-Step
- How to recover a dark photo: Check the original file
- Adjust exposure before anything else
- Open the shadows without flattening the image
- Use curves, levels, or targeted masks to balance the result
- Correct white balance and color after brightness
- Reduce noise, sharpen carefully, and export
- Common Mistakes
- Frequently Asked Questions
- Can a dark photo really be recovered?
- Should I edit the RAW file or the JPEG?
- How do I fix dark photos on iPhone?
- What if the shadows are permanently black?
- Does this work the same for black and white photos?
- When is it better to reshoot than to fix the photo?
- Conclusion
What You Need
Four things, and none of them are optional if you want a result you can trust later.
- The original file. A RAW file if your camera made one, otherwise the first JPEG straight off the card or phone. Files you have already edited and re-saved lose data every time.
- A photo editor. Lightroom Classic, Lightroom, Photoshop Camera Raw, GIMP, or any of the phone apps described further down.
- The editing history, if there is one. Either the original RAW beside the JPEG, or an XMP sidecar. Without it you are guessing at what your camera did.
- A way to compare. Most editors have a before-and-after view, and it is the fastest way to tell a genuine recovery from an image you have simply made brighter.
The same core steps work on a phone, a desktop, or in a browser-based editor. What changes is the vocabulary: brightness on an iPhone is exposure in Lightroom, which is tone in Photoshop.
How to Recover a Dark Photo: Step-by-Step
The sequence below is deliberate. Each step handles a different part of the tonal range, and doing them out of order means undoing work. The goal is to restore visible detail progressively, not to make every pixel brighter.
How to recover a dark photo: Check the original file
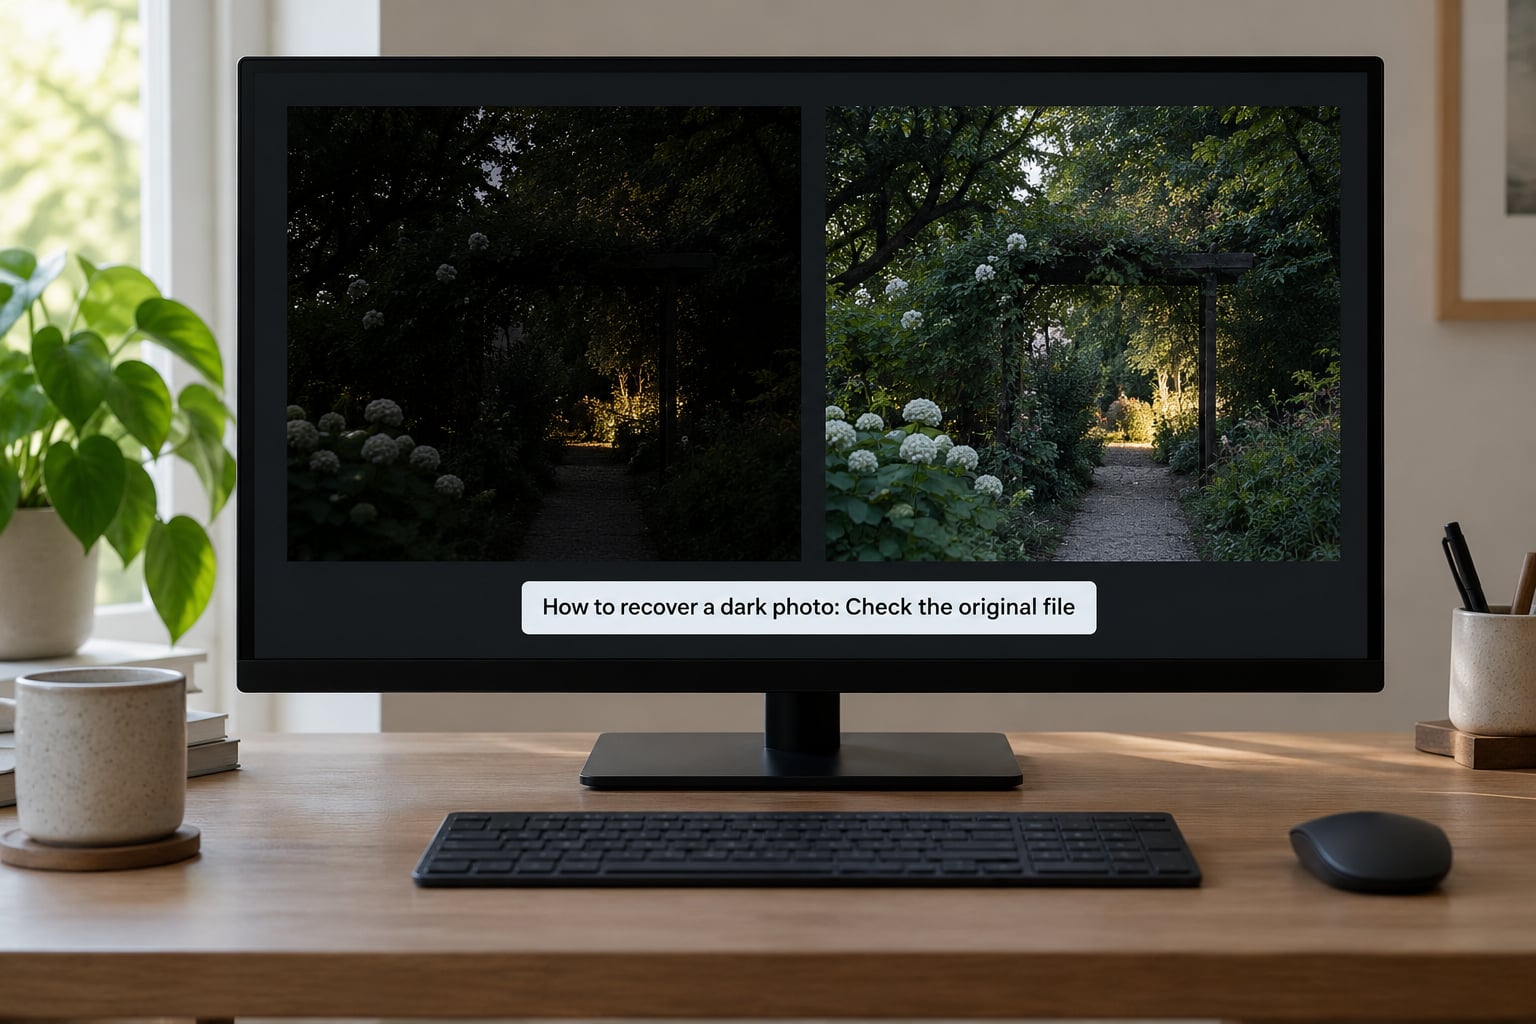
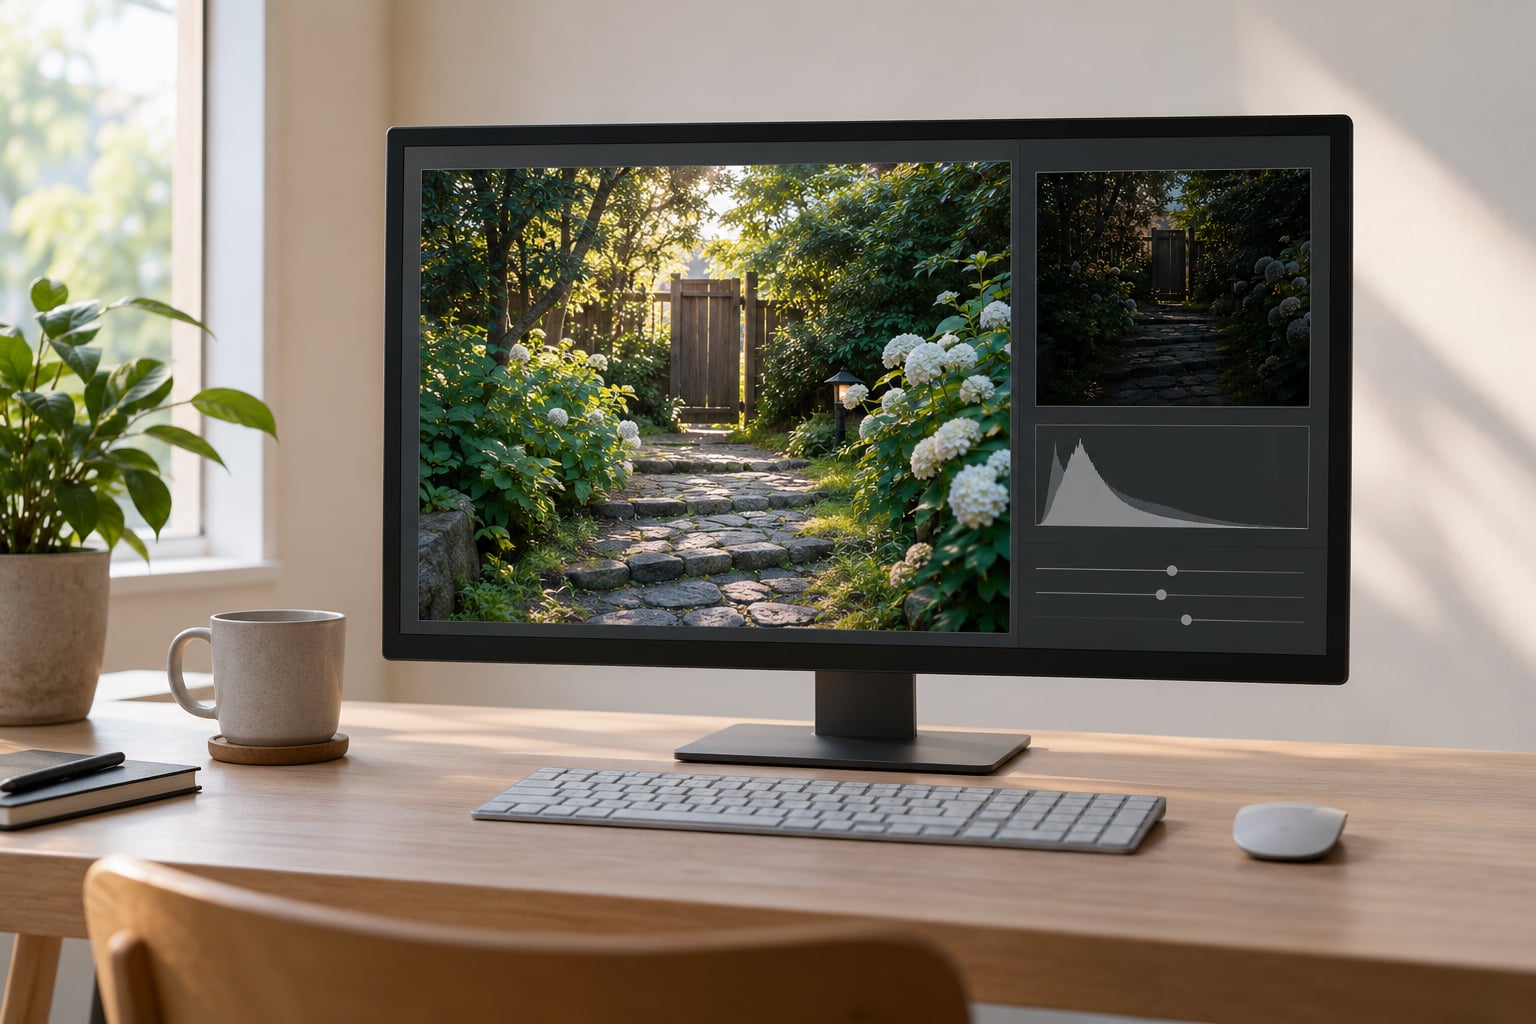
Start by looking at the histogram, not the picture. If every pixel is bunched against the left edge, the frame is underexposed and there is real information sitting in the shadows waiting to be pulled out. If the histogram stretches across the whole width and the image still looks dark to you, the problem is your screen or the intended mood, not the file.
That check saves a lot of wasted editing. Camera LCD brightness is adjustable, and a screen set too bright makes every frame look under-exposed, so plenty of people brighten images that were already correct. Calibrated displays differ from each other too, which is why one editor’s finished photo can look flat on someone else’s monitor.
Open the RAW file rather than the JPEG if both exist. A RAW file holds roughly twelve to fourteen bits per channel, so a JPEG that has already crushed the shadows to zero cannot be un-crushed by any amount of slider work. You can make a JPEG look better, but the missing data is genuinely gone.
Make a duplicate before the first adjustment, too. It takes five seconds and it is the only way to compare honestly at the end.
Adjust exposure before anything else
Set the overall exposure first, in increments of about a third of a stop. Open the clipping indicators, which show as two small triangles at the corners of the histogram, so any pixel that hits pure black or pure white flags up in a contrasting color.
Stop when the shadow areas begin to show texture and the highlights are still free of flagged pixels. On a typical indoor or backlit frame, somewhere between half a stop and a stop and a half is the honest range. Portrait shooters who deliberately underexpose to protect a bright window often find they have three stops of room, and forum discussion among Lightroom users converges on two to three stops as the practical ceiling before the noise becomes hard to live with.
If the histogram hits the right wall as you brighten, you have found the ceiling for global adjustment. Move on to the next step rather than pushing harder.
Open the shadows without flattening the image
Now raise the shadows slider, which affects the dark end of the range far more than the midtones. This is the control that rescues a face lit only by window light or a foreground that went black under a bright sky.
Add contrast or lower the blacks at the same time, because lifting shadows on their own pulls everything toward a hazy gray. Push shadows up and blacks down in near-matching amounts and the depth comes straight back. If the highlights started clipping during the exposure step, pull the highlights slider down until they clear the right wall of the histogram.
Watch skin tones as you go. Shadows lifted aggressively tend to push faces toward orange, and the fix is usually to mask the adjustment rather than to back the slider off globally.
Use curves, levels, or targeted masks to balance the result
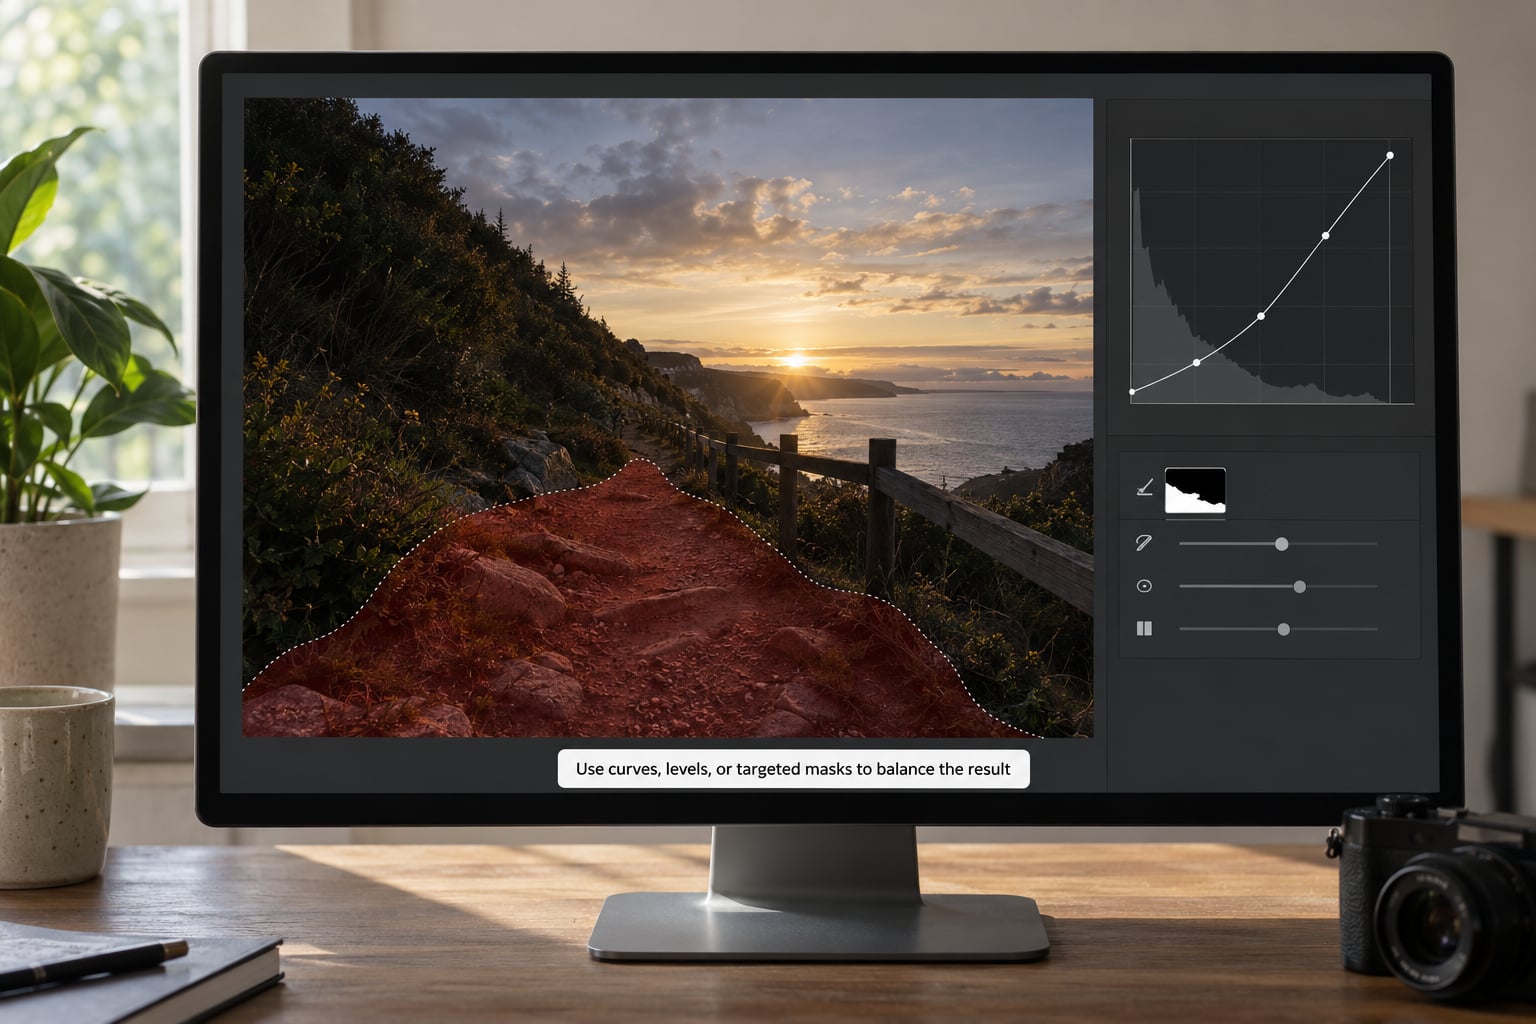
Levels is the fastest diagnostic: place a black point at the left edge of the histogram and a white point at the right, then drag the middle slider to set the midtone brightness. It is blunt, repeatable, and it tells you quickly whether the frame has enough range to work with.
Curves give finer control. Raising the bottom of the curve lifts shadows without flattening midtones, and pulling the very bottom-left point down restores the deepest blacks so the image keeps its density.
Masks handle the cases a global slider cannot. A brush mask lets you lift one corner of a room. A radial mask darkens an edge that is distracting. An object or subject mask, available in most current editors, lets you brighten a person and leave the background alone, which is the fix for the backlit portrait that photographs so often. When you apply any masked adjustment, turn the mask overlay on so you can see exactly which pixels it touches.
The point of a mask is that the rest of the frame never changed, so you cannot break the highlights somewhere you cannot see.
Correct white balance and color after brightness
Brightening a cool, blue image usually leaves it looking lifeless, because the color did not move with the brightness. Fix the white balance next using the eyedropper on something you know should be neutral, such as a white wall or a grey shirt, then nudge the temperature and tint sliders until skin looks right.
Use vibrance before saturation. Vibrance lifts the colors that have been muted by the exposure change while leaving the ones already in line alone, so skin tones stay believable. Saturation is for a deliberate push at the end, if you want one.
If a color has gone flat while you opened the shadows, the HSL panel is the tool for it. Drop the luminance value for a single hue, orange or blue for example, and only that color darkens.
Reduce noise, sharpen carefully, and export
Noise is the price of lifting shadows, because you are amplifying the signal and the grain together. Work on color first, then luminance, and only where you need to: raise the color noise reduction amount and take the detail slider up toward 50 so you reduce the blotches without smearing color. Then add a small amount of luminance reduction, usually under 20, and leave it there. Raising luminance reduction much further is what turns skin into plastic.
Color banding often shows up next, as visible bands in skies or walls that were near black. A small touch of luminance noise reduction usually dissolves it, since the bands and the noise sit in the same tonal range.
Use denoising before sharpening, never after, or you will sharpen the grain you just removed. Sharpen with restraint and check it at 100 percent, which is where sharpening problems actually live. Zoom into a shadow, a face, and an edge at full size before you decide you are finished.
Then export. For screens, sRGB and a quality setting of 80 to 90 is plenty. For prints, work in 16-bit and remember that most people want a print roughly half a stop brighter than their monitor shows, so preview it before committing.
Common Mistakes
Almost every disappointing recovery traces back to one of these.
- Raising brightness until it looks right, then stopping. Use the histogram and the clipping indicators instead of your impression of the screen. Check: no flagged pixels at either end.
- Moving every slider by the same amount. Exposure, shadows and blacks do different jobs. Move them separately and check the histogram after each one. Check: the histogram shape changes instead of shifting sideways as a block.
- Editing a compressed JPEG over and over. Each save throws away more shadow information. Check: you are working from the card original or the RAW.
- Using a heavy global sharpen at the end. Brightened shadows magnify grain, and sharpening makes it obvious. Check: zoom to 100 percent on a shadowed area.
- Ignoring a color cast after brightening. Fix white balance before you judge any color. Check: a neutral object in the frame still looks neutral.
- Pushing luminance noise reduction too far. Faces go waxy and textures vanish. Check: texture at full size still has detail rather than blur.
- Forgetting the sky. Brightening a dark foreground without pulling highlights back leaves a blown white background. Check: histogram on both sides, not just the left.
One more habit pays off: step back from the monitor for a minute after the big adjustments, then look again. Tired eyes accept the first version, and the second look is where you catch the haze.
Frequently Asked Questions
Can a dark photo really be recovered?
Most of the time, yes, as long as the shadows were not clipped to pure black at capture. That is what the histogram is for: if there is data sitting on the left edge, raising the exposure and shadows sliders will reveal it. Where the histogram runs hard against zero with no gap, that information was never recorded, and no editor can invent it.
Should I edit the RAW file or the JPEG?
Edit the RAW file whenever one exists. It stores far more tonal information, so highlights that look blown in a JPEG often turn out to have recoverable detail. A JPEG only holds about eight bits per channel, and anything already crushed to black stays black. Start from the card original and export a new JPEG when you are done.
How do I fix dark photos on iPhone?
Open the photo in the Photos app, tap Edit, then choose the brightness curve or shadow controls in the Adjust menu. Move brightness in small taps and watch the preview rather than the value. For finer control, Lightroom Mobile and Snapseed both give you exposure, shadows, highlights and masking tools on the same screen. Export a copy so the original stays intact.
What if the shadows are permanently black?
If the histogram is pressed flat against zero, those pixels carry no data and cannot be restored by any slider. You can still lift them slightly, which often gives enough for the image to read, but expect visible noise and soft texture in those areas. Masked adjustments limited to that region help, since noise lifted everywhere looks far worse than noise confined to one corner.
Does this work the same for black and white photos?
Yes, and the workflow is simpler because there is no white balance to correct. Skip the color sections entirely and focus on exposure, shadows, blacks and the tone curve. Set black and white points first so the full range is used, then open the shadows. Because the eye reads contrast more than brightness in monochrome, use the curve more than you would in colour.
When is it better to reshoot than to fix the photo?
Reshoot when you still have the scene and the light. Fix it in post when the moment is gone, or when the subject is simply dark and the background is fine. A quick test: mask the subject, lift it a few stops, and see whether detail appears. If it looks believable, the frame is recoverable. If faces turn to mush, no amount of editing will invent what the sensor never caught.
Conclusion
Duplicate the original first, then work on the RAW rather than a flattened JPEG. Set exposure in small steps with the clipping indicators visible, open the shadows and pull the blacks back down so the picture keeps its depth, and use a mask whenever the correction only belongs in one place. Finish with color noise reduction, then a light touch of luminance reduction, then restrained sharpening, and inspect the result at full size before you export.
That order is what turns a recovery into a photo that still looks like the moment you actually shot, rather than a brightened version of it. And if you shoot often in difficult light, remember that recovering what you can is far less work than capturing it correctly in the first place.