Golden hour is the short window after sunrise and before sunset when the sun sits low, roughly between 6 degrees above and 4 degrees below the horizon. The light then travels through far more atmosphere, so it arrives soft, warm and directional. Use it by timing your arrival to the sun angle, not the clock, and shooting toward, away from or across the light deliberately.
This guide is for hobbyist photographers using any camera, including a phone. The whole idea is more useful than it first sounds, because the hour is not really about having better gear. It is about knowing when the light turns and being ready when it does.
Table of Contents
- What You Need
- Step-by-Step
- 1. Check the Golden-Hour Time
- 2. Scout the Location in Advance
- 3. Watch the Light Change
- 4. Compose Around the Directional Light
- 5. Expose for the Highlights
- 6. Photograph Several Exposures and Subjects
- 7. Review and Refine the Results
- Common Mistakes
- Practical Golden-Hour Tips
- Frequently Asked Questions
- Is golden hour the same as sunrise and sunset?
- How long does golden hour last?
- Which is better for photography, sunrise or sunset?
- Can you photograph people during golden hour?
- Do filters make golden-hour photos look better?
- What time should I arrive for golden-hour photography?
- Start With the Light, Not the Camera
What You Need
You need a camera and your own eyes. Everything below makes the hour easier to catch, not possible to catch.
- A camera or phone that shoots RAW if it can, since RAW files hold the most colour and shadow detail for editing later.
- A sunrise and sunset time source for your exact date and coordinates. A NOAA solar calculator or any reputable golden hour app will show sun elevation rather than just a clock time.
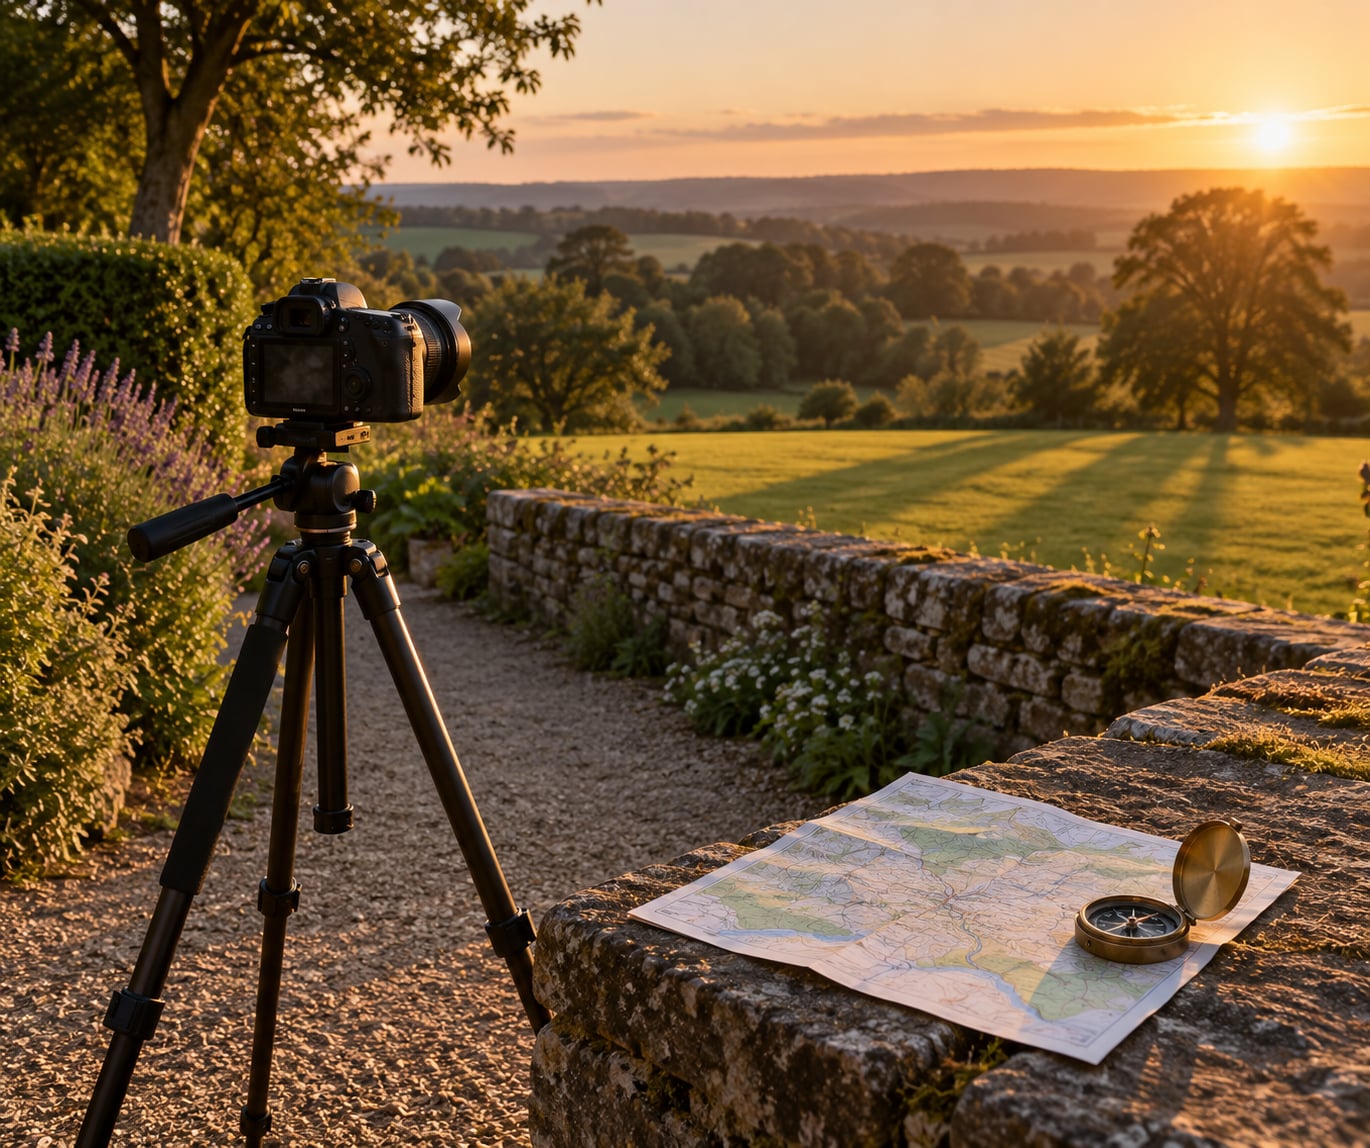
- A compass or a map app, so you know which way the sun rises and sets relative to where you are standing.
- A spare battery and a clear card. Phones especially will drop power in cold air, and you do not want the buffer full during the best twenty minutes.
- A reflector or a small flash if people are in the frame. Backlit subjects go dark fast without a little fill.
- A cloth or small towel. Golden hour means dust, insects and long grass, all of which end up on a front element.
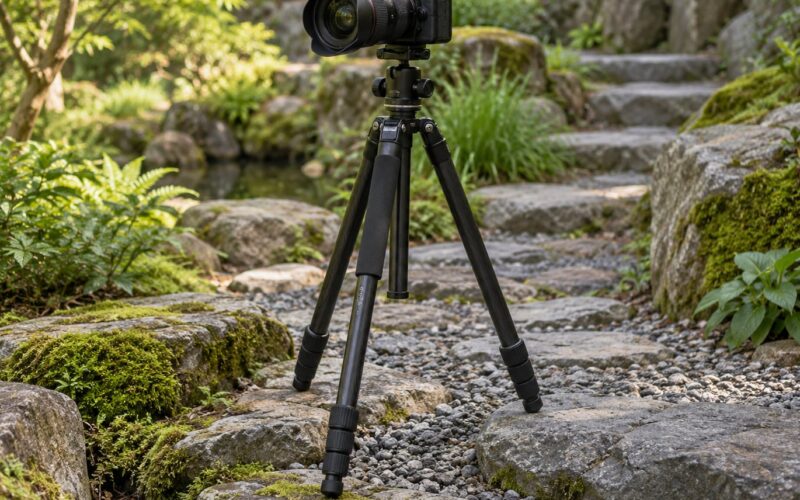
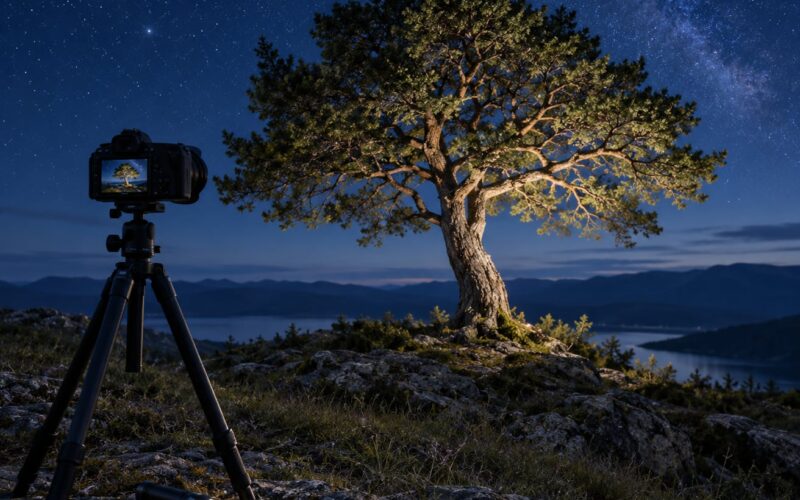
A tripod is optional. Light drops fast near the horizon, so a tripod makes longer exposures easier to keep steady, but hand-held frames are perfectly fine if you are alert.
Step-by-Step
1. Check the Golden-Hour Time
Golden hour is defined by the sun’s angle, not by a clock. Look up sunrise and sunset for your location, then work backwards and forwards from those times to catch the sun sitting between roughly 6 degrees up and 4 degrees down.
The familiar version of this advice, roughly one hour after sunrise and one hour before sunset, is a good starting point. It is not a rule. How long the window actually lasts changes with season, latitude, weather and terrain, and a ridge to the west can cut it in half.
If you want a precise figure, search for sun elevation rather than golden hour time. Several apps will show the sun’s angle at a given minute, which is more honest than a fixed 60 minutes.
2. Scout the Location in Advance
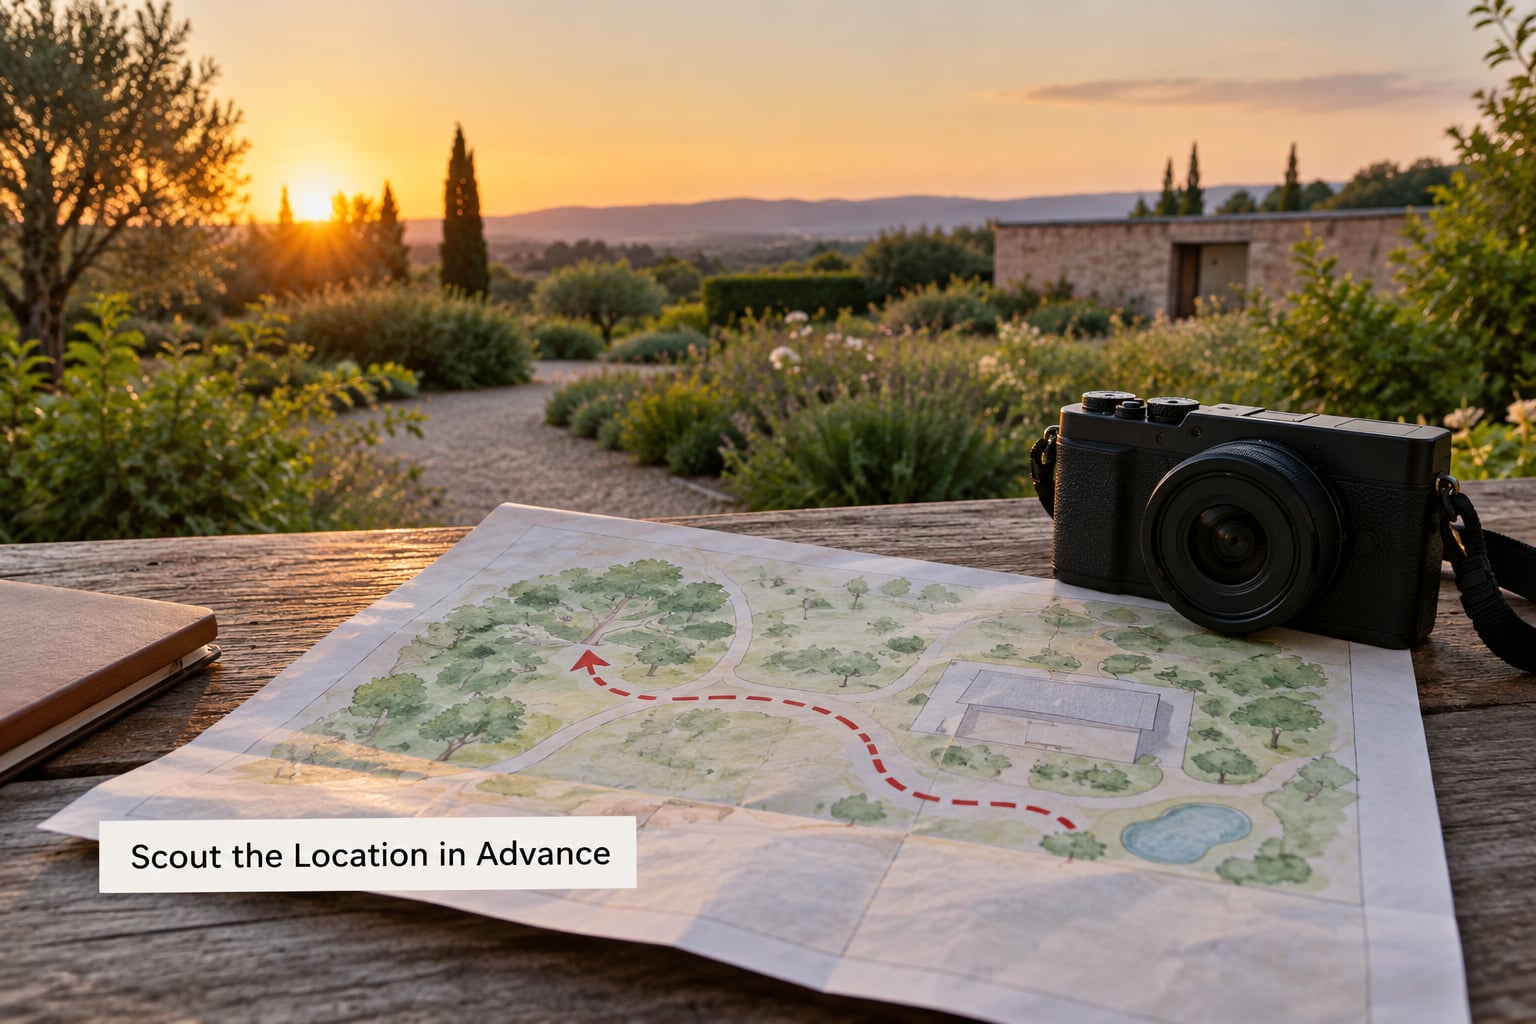
Know which way the light will travel. For sunrise, look for subjects facing east. For sunset, look for subjects facing west, ideally with open space in that direction and something tall enough to cast a long shadow.
Visit in flat light if you can. Midday is the only time you get to judge a composition without the sun hiding half of it, and a frame that works at noon will usually work at golden hour too.
On the day, arrive 30 to 60 minutes early. Several photographers on r/photography anchor their start to about two hours before sunset, which gives real time to set up, make test frames and let your eyes adjust to the changing contrast.
3. Watch the Light Change
The hour has a rhythm. First a warm glow before the sun clears the horizon, then long shadows and glowing edges as it rises, then a narrower, harsher source as it climbs.
That narrowing is the thing to watch. A larger apparent sun means softer, more forgiving light. Once the disc climbs, edges sharpen, shadows shorten and the easy part is over.
Keep shooting through the transition rather than stopping once the frame looks right. The best frame of a session is often the one after you thought you had yours.
4. Compose Around the Directional Light
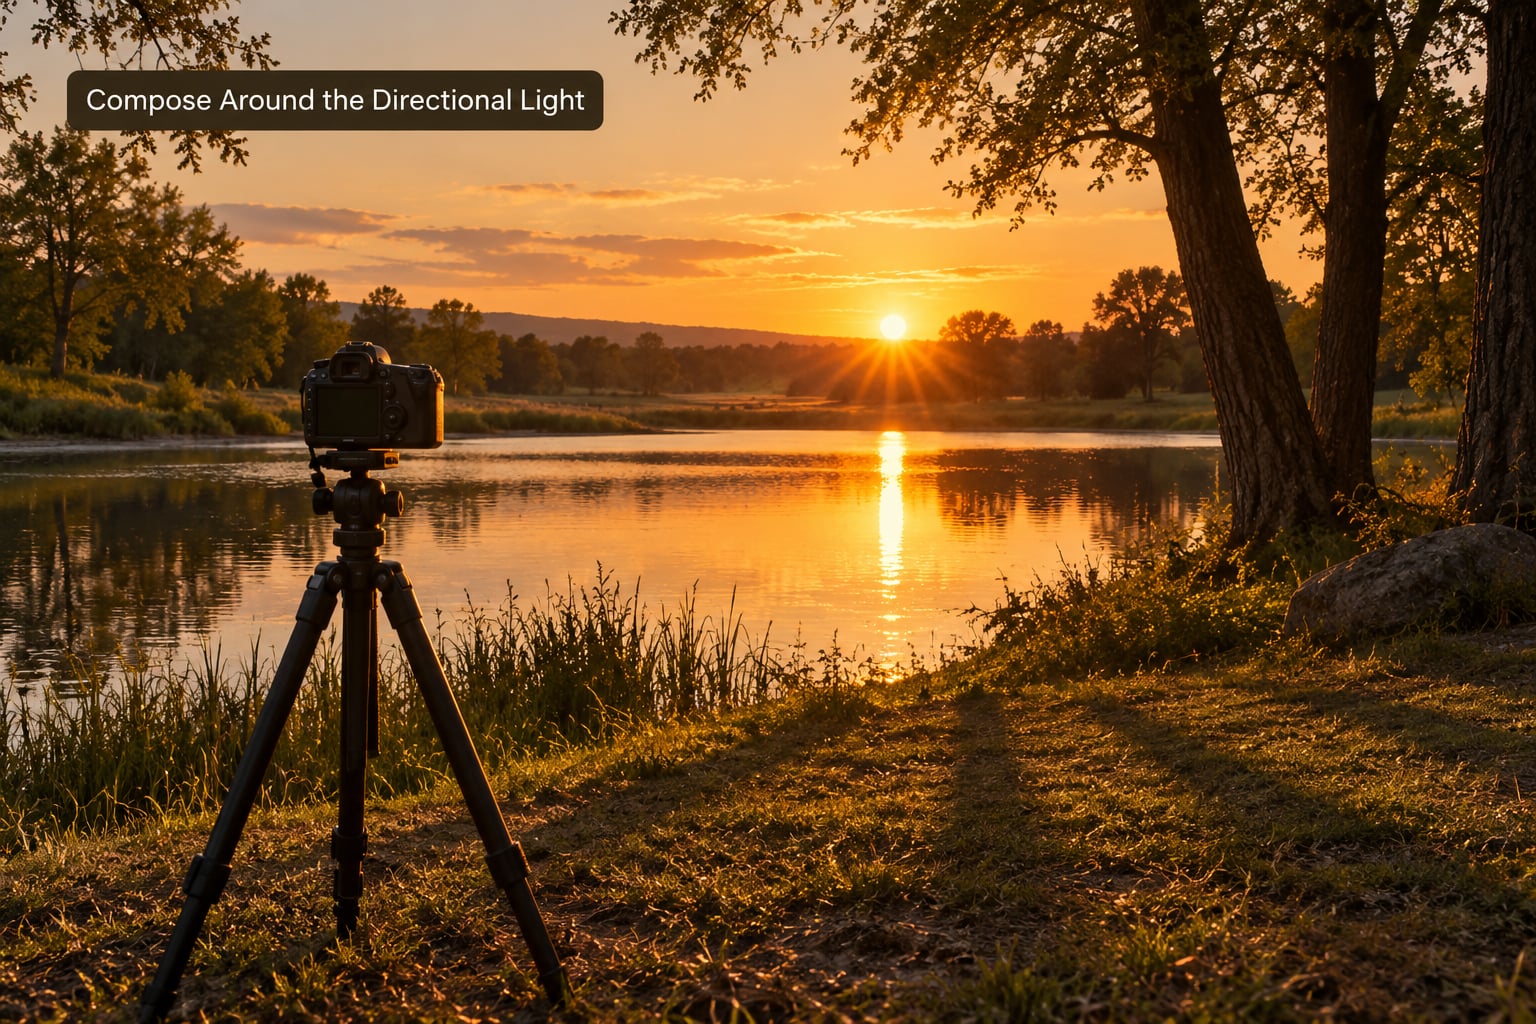
The main difference from midday is that the sun is near eye level, so you choose the lighting by turning rather than by waiting. Point the camera with the sun behind you and the subject is lit evenly. Put the sun 90 degrees to one side and the subject gets shape, texture and shadow across one cheek.
Put the sun behind the subject and you get rim light along the hair and shoulders, a glowing edge on foliage, and a face that needs fill. Shoot into it directly and you get silhouette, sunburst and flare.
The most repeated piece of advice on r/AskPhotography for backlit portraits: keep the sun between 60 and 120 degrees to the side and out of frame. Putting the sun inside the picture is what flattens a golden hour shot.
Use the long shadows as structure. Across a lawn or a bare field, they read as leading lines that pull the eye through the frame, and they give scale to a wide view.
5. Expose for the Highlights
A low sun near a bright sky will outrun your camera’s dynamic range every time. Decide what matters in the frame and expose for it.
For a backlit subject, either meter on the person and let the sky go white, or meter on the sky and commit to a silhouette. Do not split the difference and hope. Automatic metering cannot make that decision for you, which is why so many disappointing golden hour shots look flat rather than dramatic.
Switch to manual, turn on highlight warnings or the histogram, and dial in negative exposure compensation of about minus one third to one stop while you work with the sun in frame. Shoot RAW so you have room to bring shadows back later.
You are not trying to keep every bright pixel. A clean sky gradient with a dark silhouette is a better photograph than a frame where half the sky is clipped to flat white.
6. Photograph Several Exposures and Subjects
Treat the window as a sequence, not a single frame. Start wide, then move in.
- A wide view to establish where the light is falling.
- An environmental portrait or subject placed against the glow.
- A detail or texture frame: backlit grass, leaves, dust, water.
- A deliberate silhouette with a clean shape against the sky.
- One frame at a lower exposure than feels right, just to compare.
Shoot more than you think you need. The light changes every minute, and the frame you wanted twenty minutes ago is not coming back.
7. Review and Refine the Results
Editing should rescue what light gave you, not replace it. Work in this order.
- Set white balance first. Warm it to around 6000K to 6500K for a natural golden tone, or use a raw preview and stop before it looks sickly.
- Recover shadows in the RAW file, keeping some noise rather than pushing them flat.
- Pull orange out of skin with the HSL panel, lowering orange saturation and sometimes orange luminance slightly so faces stop looking sunburned.
- Cool the shadows slightly if the whole frame is one warm note. Warm highlights against cooler shadows give depth.
- Add halation as a final flourish: a faint glow around backlit edges, matching the way light actually scatters inside a lens.
Stop there. The most common editing failure at golden hour is a photo that is orange all the way through with no neutral left anywhere.
Common Mistakes
Arriving late. The light is already climbing and shadows are shortening. Fix: set an alarm for 60 minutes before sunset and treat the last twenty minutes as the target, not the whole plan.
Only shooting toward the sun. Every frame gets a silhouette and the set becomes repetitive. Fix: rotate through front, side and back light at one location instead of walking in one direction.
Blowing out the sky. The camera metered for the subject and lost everything above it. Fix: switch to manual, watch the histogram and underexpose while the sun is in frame.
Leaving faces too dark. A backlit subject against a bright sky goes murky. Fix: use a reflector held just out of frame, bounce fill flash, or move the person 10 to 15 degrees so the sun lands on the face rather than behind it. Off-camera flash is the standard answer in the r/AskPhotography threads.
Everything turns orange. This happens when auto white balance is left to neutralise the warmth, then warmth is added back in editing. Fix: shoot RAW, set the white balance deliberately in camera, and adjust the orange channel in HSL rather than pushing global warmth.
Putting the sun in the middle of the frame. Flat light and a blown blob. Fix: move the sun to the edge, hide it behind a branch or post, or shoot through an opening.
Staying after the light is gone. Sunset timetables are misleading at the end of the window. Fix: stay fifteen minutes past sunset for blue hour and the warm glow on buildings, which many photographers on r/photography prefer to the last hot frames.
Trusting the app blindly. A calculated window assumes a clear horizon. Fix: check the skyline for hills or buildings on the west side and shorten your expectation accordingly.
Practical Golden-Hour Tips
- Sunrise usually means fewer people, more dew on the grass and cleaner air. Sunset gives warmer colour and busier ground. Pick on the day, not in advance.
- Write a short list of five frames before you arrive, do the hardest ones first, and leave room for the unexpected.
- Expose a bracket: the same frame at minus one third, minus two thirds and minus one stop. You will use one, and the rest cost nothing.
- Re-frame without changing the subject. Rotate a step left or right and the same person moves from flat front light to shadow and rim.
- Open shade is the underrated option while the sun is still up. Even, cool shade gives you the same session without a blown sky.
- Prioritise atmosphere over perfection. Mist, dust and backlit haze are what people remember about a golden hour photograph years later.
- On an overcast day, look for a break in the cloud. A small opening in grey cloud produces a narrow beam of warm light worth waiting ten minutes for.
Frequently Asked Questions
Is golden hour the same as sunrise and sunset?
No. Sunrise and sunset are single moments. Golden hour is the window on either side, lasting roughly from 20 minutes before the sun clears the horizon to 20 minutes after it starts setting. Because it is defined by sun angle rather than a clock time, its length changes with latitude, season, weather and any hills or buildings on the horizon.
How long does golden hour last?
It can last twenty minutes or several hours. Near the equator the sun climbs quickly, so the window is short, sometimes under half an hour. At high latitudes in summer the sun barely rises, so warm low-angle light can persist for a couple of hours. Mountains and tall buildings on the horizon shorten the practical window too, so treat any app figure as a starting point.
Which is better for photography, sunrise or sunset?
Sunrise is usually the easier session. There is less foot traffic, the air is often cleaner and cool, and the ground is damp with dew, which adds texture to wide shots. Sunset gives stronger colour and warmer tones, and it fits naturally into an evening walk. Pick whichever time you can genuinely commit to, because arriving tired and late beats a better window you miss.
Can you photograph people during golden hour?
Yes, and it is one of the better uses of the hour. Turn the subject so the sun is behind them for rim light along the hair and shoulders, then add fill with a reflector held just out of frame or a bounced flash. Keep the sun 60 to 120 degrees to the side and out of the picture. The same advice comes up constantly on photography forums.
Do filters make golden-hour photos look better?
A graduated neutral density filter can help by darkening a bright sky so the foreground does not have to be exposed so low, and it keeps long exposures smooth. Beyond that, filters are not the point. Shoot RAW, set white balance deliberately in camera, and do the sky and skin corrections in editing, where you can see what you are changing.
What time should I arrive for golden-hour photography?
Arrive 30 to 60 minutes before the start of the window, which is roughly an hour before sunset or just after sunrise. Plenty of photographers prefer the two hours before sunset because the light keeps improving. Use the spare time to set up your frame, take test shots and make a short list of the images you want, so the good minutes are not spent choosing.
Start With the Light, Not the Camera
Pick a date and a spot, look up the sun’s elevation for that morning or evening, and arrive an hour early. Stand with the sun 90 degrees to the side for your first frame, then turn to backlight the subject and add a reflector.
Shoot three exposures of the same scene while the light is still soft. You will walk away with a usable frame, and you will have started learning how the hour behaves in your own area.