Short answer: back up your photos, confirm the backup is complete, then let the phone keep small screen-sized copies while the full-resolution originals sit in the cloud. The single most useful trick is that cloud optimization does not delete anything. It uploads first, then removes only the copy stored on the device.
Most people asking how do I free up phone storage without losing photos are not short of ideas, they are short of trust. Someone in a r/minimalism thread described it better than I can: they want a rule, not a tutorial, because deleting a photo of their kid feels different from deleting a broken app. So this guide puts the boring, verifiable safety work first and the cleanup second.
The whole job usually takes 20 to 30 minutes once the backup is done. Menu labels move around between iPhone models, Samsung Galaxy handsets and stock Android, so I have written the paths as they read in current versions and flagged where the wording differs.
Table of Contents
- What You Need to Free Up Phone Storage Without Losing Photos
- Step-by-Step: Free Up Phone Storage Safely
- 1. Check what is using the most storage
- 2. Confirm that your photos are backed up
- 3. Make an extra copy before major cleanup
- 4. Remove duplicates and screenshots
- 5. Reduce storage used by photos and videos
- 6. Clean up large videos, downloads, and app data
- 7. Verify the photos before deleting anything else
- Common Mistakes That Can Put Photos at Risk
- Frequently Asked Questions
- Does deleting photos from Recently Deleted free storage immediately?
- Does iPhone Optimize Storage delete my original photos?
- Does Android storage saver delete original photos?
- How much phone storage should photos and videos use?
- What should I do if iCloud or Google Photos is not backing up?
- Conclusion
What You Need to Free Up Phone Storage Without Losing Photos
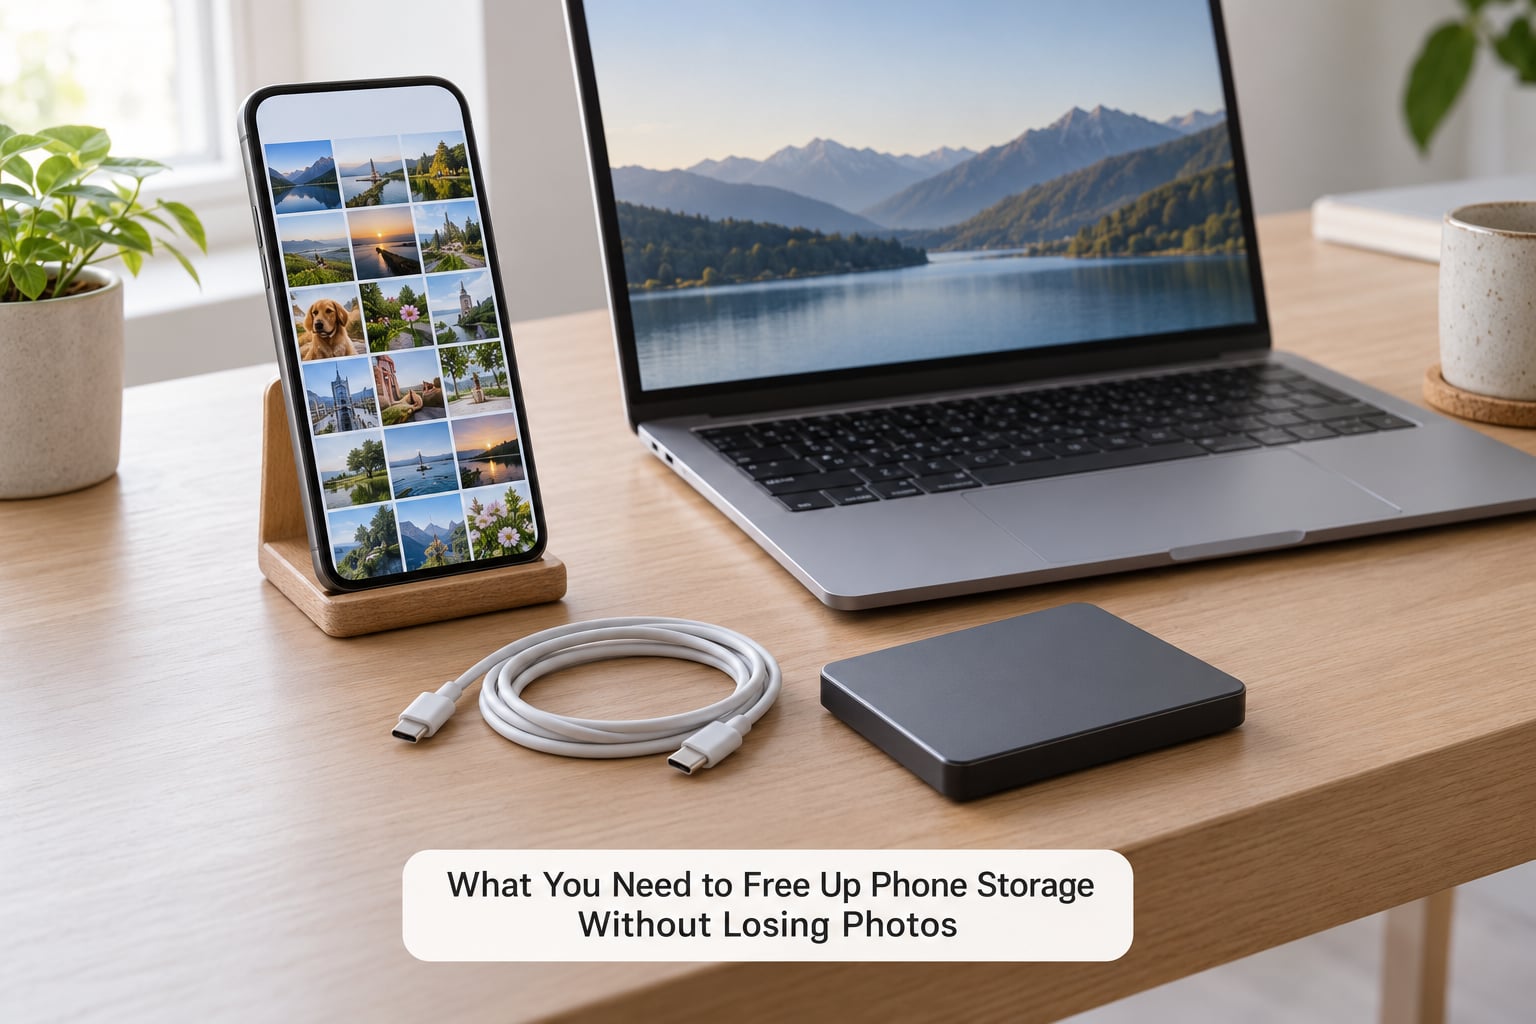
You need four things, and only one of them is optional.
- A completed backup you have actually looked at. Not a cloud icon you have seen before. A backup you opened, scrolled through, and spot-checked at full resolution.
- Access to your photo library so you can find and open individual files later, not just the most recent ones.
- A computer or external drive for the highest-safety route. This is optional, but if your library holds irreplaceable photos, this is the part I would not skip.
- Around 10 GB of free space as working room, so a half-finished backup or a failed transfer does not leave you stuck mid-cleanup.
Two honest warnings before you start. Cloud optimization needs a working internet connection every time you open a photo you have not viewed recently, which matters if you travel or rely on a weak signal. And Google Photos gives you 15 GB free across Photos, Gmail and Drive combined, so a large library can run into that ceiling quickly.
What you should not do is delete first and back up afterwards. The whole point of the ordering below is that every step is reversible until you hit a genuine delete.
Step-by-Step: Free Up Phone Storage Safely
1. Check what is using the most storage
Open the storage screen before you touch anything. It takes thirty seconds and it tells you which job is actually worth doing.
On iPhone: Settings > General > iPhone Storage. The bar chart at the top breaks your storage into Apps, Photos, Messages, iCloud, Files and System Data. Tap a row to see the individual offenders inside it.
On stock Android and Google Pixel: Settings > Storage, or Settings > Apps > See all apps for a per-app breakdown. On a Samsung Galaxy the path is Settings > Battery and device care > Storage, which also has a Clean now button that clears temporary files without touching your photos.
Look for four things: photos and videos taking the largest share, messages holding large attachments, a downloads or documents folder full of old PDFs and installers, and an app cache figure that seems absurd. That last one is usually free money.
2. Confirm that your photos are backed up
Confirm the backup, do not assume it. Most of the fear in this query comes from not knowing whether the upload finished, and the cloud icon in the corner is not proof.
On iPhone, open Settings > [your name] > iCloud > Photos. If iCloud Photos is on, tap it and choose Back Up Now. Keep the phone on power and Wi-Fi, then check back in a while. Under Manage Storage at the bottom you can see how much space iCloud is using and when the last successful backup happened.
On Android, open the Google Photos app, tap your avatar, and check that Backup is switched on with the wording showing when it last completed. You can tap Back up now to force a run.
Then actually open the backup. Scroll back through the cloud library to the oldest album you care about, open one photo, and confirm it renders sharply rather than as a grey placeholder. In r/applehelp the most common advice for a full phone is to turn on iCloud Photos first, and the most common follow-up mistake is doing that without waiting for the upload to finish before starting to clean up.
3. Make an extra copy before major cleanup
If any photo in that library would genuinely hurt to lose, copy the originals to a computer or drive before you change any sync setting. This is the step that turns a stressful cleanup into a boring one.
On iPhone, connect by cable and choose File Transfer in the Finder or iTunes prompt. The photos land in a folder inside DCIM, named with the app that created them, such as IMG_1001.JPG or IMG_2345.MOV. Copy the whole DCIM folder rather than picking files, because picking files is how you miss the ones you forgot you had.
On Android, connect over USB and choose File Transfer or MTP. Look in DCIM and in the Pictures folder, plus the vendor folders Samsung and some other makers add. Some Android versions hide internal files behind the view toggle in the top corner, so switch that on before concluding a folder is empty.
Two precautions. If you import from a Mac, an iCloud Photos library can re-download items as duplicates because the timestamps do not match, so turn off iCloud Photos and Sync this iPhone first. And leave that copy alone, untouched, until you have scrolled the phone library in step 7.
4. Remove duplicates and screenshots
Duplicates are the safest thing on the list to delete, because you already have another copy of the same frame. Most phones accumulate three to five versions of the same burst shot and a screenshot folder that is quietly several gigabytes.
On iOS, open Photos, tap Select at the top right, then tap Duplicates near the bottom. iOS groups exact matches and lets you delete the redundant copies in one pass. On Google Photos, open the app, tap your avatar, choose Clean up, then Free up space or Review duplicates depending on your version.
Screenshots are usually stored in Photos > Albums > Screenshots on iPhone, and in a Screenshots album on Android. For burst shots, keep the sharpest frame, since the later frames of a burst often have the subject mid-blink or partly occluded by a hand. A quick zoom on the eyes is the fastest way to pick a winner.
5. Reduce storage used by photos and videos
This is where most of the space comes from, and it is where the reversible wins sit. Nothing in this step deletes an original.
iPhone: Optimize iPhone Storage. Go to Settings > Photos > Optimize iPhone Storage and switch it on. Full-resolution originals stay in iCloud, and the phone keeps smaller versions that look identical on screen. Switching back to Download and Keep Originals restores everything, though it will then re-download the full library and you may need extra iCloud room.
Android: the storage manager’s own option. Pixel devices run Smart Storage, which can automatically delete backed-up photos and videos once they are 60 days old. Useful, and a surprise if you did not know. Turn it off in Settings > Storage > Storage manager if you would rather choose what goes. Other Android builds offer similar compressed or storage-saver toggles in their camera or gallery settings.
Google Photos: Free up space on this device. Open the app, tap your avatar, tap Free up space. It backs up to Google first, then deletes the local copy. On iPhone, Google Photos cannot free up iCloud Photos originals, so use one system or the other rather than both at once.
The megapixel-versus-resolution argument comes up constantly here, and it holds. A phone screen resolves far fewer pixels than a 12-megapixel camera captures, so a screen-sized copy looks sharp on the device. You notice the difference when you print large, and only then.
| Method | iPhone path | Android path | Typical space freed | Photos kept? |
|---|---|---|---|---|
| Optimize iPhone Storage | Settings > Photos > Optimize iPhone Storage | Not available on iOS for Android; use Google Photos on Android | Often 10 to 30 GB on a 128 GB phone | Yes, originals in iCloud |
| Google Photos free up space | Works, but not with iCloud Photos switched on | Photos app > avatar > Free up space | Varies with library, usually several GB at a time | Yes, originals in Google Photos |
| Duplicate cleanup | Photos > Select > Duplicates | Photos app > avatar > Clean up | 1 to 5 GB on most libraries | Yes, one copy survives |
| Offload an app | Settings > General > iPhone Storage > app > Offload App | Settings > Apps > app > Clear data or uninstall and reinstall | Anything from a few hundred MB to several GB | Yes, but app data is kept on iPhone only |
| Clear app cache | Not exposed per app on iPhone; delete and reinstall the app | Settings > Apps > app > Clear cache | Often 0.5 to 3 GB in total | Yes, no photo impact |
| Move photos to an SD card or drive | Requires a Lightning or USB-C reader; limited app support | Camera setting for save location, then move folders in My Files | Whatever you move | Yes, files move rather than delete |
For scale, a one-minute video clip runs roughly 40 MB at the lowest quality setting and roughly 400 MB at the highest, before you even reach ProRes on an iPhone that supports it. Video is where the real weight sits, which is why step 6 matters more than most people expect.
6. Clean up large videos, downloads, and app data
Now clear the non-photo data, which is where the free space is hiding when the camera roll already looks trimmed.
Start with messages. Open Settings > General > iPhone Storage > Messages on iPhone, or the Messages app settings on Android, and check how long attachments are kept. Shortening the retention period to 30 days or a year discards old media from threads. On Android, WhatsApp alone often holds gigabytes, and its Storage settings show the biggest chats by media size.
Next, downloads and files. On iPhone look in the Files app and the Downloads folder, which is where Safari puts anything you tapped twice. On Samsung, My Files sorts by size and shows large files as a filter. On stock Android, Files by Google does the same job.
Then app caches. On Android, go through Settings > Apps and clear the cache on messaging apps, browsers and streaming services. On iPhone there is no per-app cache button, so the equivalent is deleting the app and reinstalling it. On both platforms, clearing a browser’s data removes cached pages, and you will be asked to sign in again on some sites.
If an iPhone update failed halfway, Settings > General > iPhone Storage > iOS > Delete Update removes orphaned update files that can run to several gigabytes and serve no purpose. Restart the phone afterwards.
7. Verify the photos before deleting anything else
Do not stop at step 6 and assume. Verification is the difference between a clean phone and a clean phone with a hole in your library.
Open the albums you care about: the one with the most recent shots, the oldest one that matters, and any album holding edited versions. Play a few videos full screen rather than as thumbnails, and scroll backwards through the timeline because cloud-optimized libraries load oldest first. Check that dates, favourites and album membership all still read correctly.
One more trap worth knowing about, because it is the loudest complaint in forums. Deleted photos do not return the space straight away. On iPhone they sit in Recently Deleted for 30 days, and in Google Photos they sit in Trash for the same period. Empty both when you want the space back, and understand that emptying is the point of no return.
If you deleted something you now want back, look in Recently Deleted or Trash first. And if anything looks wrong, stop and restore rather than continuing to clean up. On iOS, switching Optimize iPhone Storage back to Download and Keep Originals will pull the full-resolution files down again.
Common Mistakes That Can Put Photos at Risk
These five mistakes account for nearly every story I have read about photos disappearing during a cleanup.
Deleting before confirming the backup. The single biggest one. A cloud icon means the feature is on, not that the upload finished. Open the cloud library and look at the oldest photo you care about.
Assuming free cloud storage is unlimited. Google gives 15 GB across Photos, Gmail and Drive, and iCloud storage plans start small. If your library passes that ceiling, the oldest photos can stop backing up entirely, which is how people delete something assuming it is safe. If you stop paying for extra iCloud or Google storage, your library stays visible but you lose the ability to add anything new, and you should download your photos before letting a plan lapse.
Uninstalling an app before checking where its photos live. Offloading is not the same as deleting. On iPhone, Offload App keeps your documents and data and removes only the app itself, so reinstalling restores everything. Plain delete removes the data too, and for a gallery or editing app that may be the only copy of edits that were never synced anywhere.
Clearing all app data indiscriminately. On Android, Clear storage wipes logins, drafts and offline maps. Clear cache is the safer button, and it is the one that reclaims the space most people actually want.
Confusing optimized media with deleted originals. Optimize iPhone Storage and Google Photos free up space both keep every original in the cloud. The honest limitation is offline access, not safety. In r/degoogle the recurring worry is about being locked into a provider, and the reasonable answer is to keep that extra local copy from step 3 so you always have an exit.
Before any future cleanup, run this short photo-preservation checklist: the backup finished and was spot-checked at full resolution; an extra copy exists for anything irreplaceable; Recently Deleted and Trash are understood as a 30-day holding pen; cloud optimization is on rather than a manual delete spree; and the phone library was scrolled through after every change.
One habit stops the whole problem returning within a month. Change your camera defaults once: turn Live Photos off if you never use them, drop video from 4K to 1080p, and disable HDR if you are not printing. On Android, set the camera save location to your SD card while you are in Settings > Camera > Pictures. This is the step that keeps your camera roll from filling the phone again next season.
Frequently Asked Questions
Does deleting photos from Recently Deleted free storage immediately?
No. Items in Recently Deleted on iPhone, or Trash in Google Photos, still occupy space on the device until you empty the bin. Apple and Google both hold deleted media for about 30 days so you can change your mind. If your storage bar has not moved after a big delete, this is the first thing to check. Emptying the bin is permanent, so spot-check your library before you do it.
Does iPhone Optimize Storage delete my original photos?
No. Optimize iPhone Storage uploads full-resolution originals to iCloud and keeps smaller screen-sized copies on the phone. Nothing is deleted, and you can switch back to Download and Keep Originals at any time, though the full library will re-download and may need extra iCloud room. The real trade-off is that opening an older photo needs an internet connection.
Does Android storage saver delete original photos?
It depends on the maker, which is why the label matters. Google Photos free up space removes the local copy only after the original is uploaded. Pixel Smart Storage goes further: it can automatically delete backed-up photos and videos once they are 60 days old. Check Settings Storage Storage manager first if you would rather choose what goes yourself.
How much phone storage should photos and videos use?
A useful rule of thumb is to keep photos under about 20 percent of your total capacity. On a 128 GB phone that is roughly 25 GB, with headroom left for updates and apps. Video is the heavy item: a one-minute clip runs roughly 40 MB at the lowest quality setting and roughly 400 MB at the highest. Check your storage screen monthly rather than waiting for the full warning.
What should I do if iCloud or Google Photos is not backing up?
Check that the phone is on power and connected to Wi-Fi, then start the backup manually rather than waiting. On iPhone, open Settings your name iCloud Photos and look under Manage Storage for the last successful time. In Google Photos, tap your avatar and confirm Backup is on. If the library exceeds your free 15 GB Google allowance, the oldest photos can silently stop uploading.
Conclusion
Start with the storage screen, because the biggest category decides everything after it. Verify the backup, make an extra copy for anything irreplaceable, clear duplicates, switch on Optimize iPhone Storage or Google Photos free up space, then clear videos, downloads and caches. Scroll the library once at the end, and if the bar still has not moved, empty Recently Deleted or Trash and check System Data.