Most photographers run out of ideas long before they run out of places. To find a new perspective in a familiar place, change one variable at a time: where you stand, how close you get, what you point the lens at, or when you show up. A camera records only what it sees from one spot at one moment, so a place looks finished only from the angles you have already tried.
That is the whole method. Walk a route you already know, treat it as a study rather than a destination, and work through the eight steps below in order. None of it costs money, needs a permit, or requires a sunrise alarm. Give yourself ninety minutes and the photographs you bring home will not look like the ones you have taken there before.
Table of Contents
- What You Need
- Step-by-Step: How to Find a New Perspective in a Place You Know
- 1. Define what feels familiar
- 2. Look for overlooked details
- 3. Change your position – the fastest way to find a new perspective
- 4. Use a different scale
- 5. Alter the light or time
- 6. Walk an unfamiliar route
- 7. Build deliberate compositions
- 8. Make a small photo study
- Common Mistakes
- Frequently Asked Questions
- How can I find creative photo ideas without traveling far?
- Is it necessary to visit a familiar place at a different time?
- Can this method work with a smartphone camera?
- How long should I spend exploring one familiar location?
- What if I keep photographing the same subject in the same way?
- How do I stay safe while exploring overlooked or secluded areas?
- Conclusion
What You Need
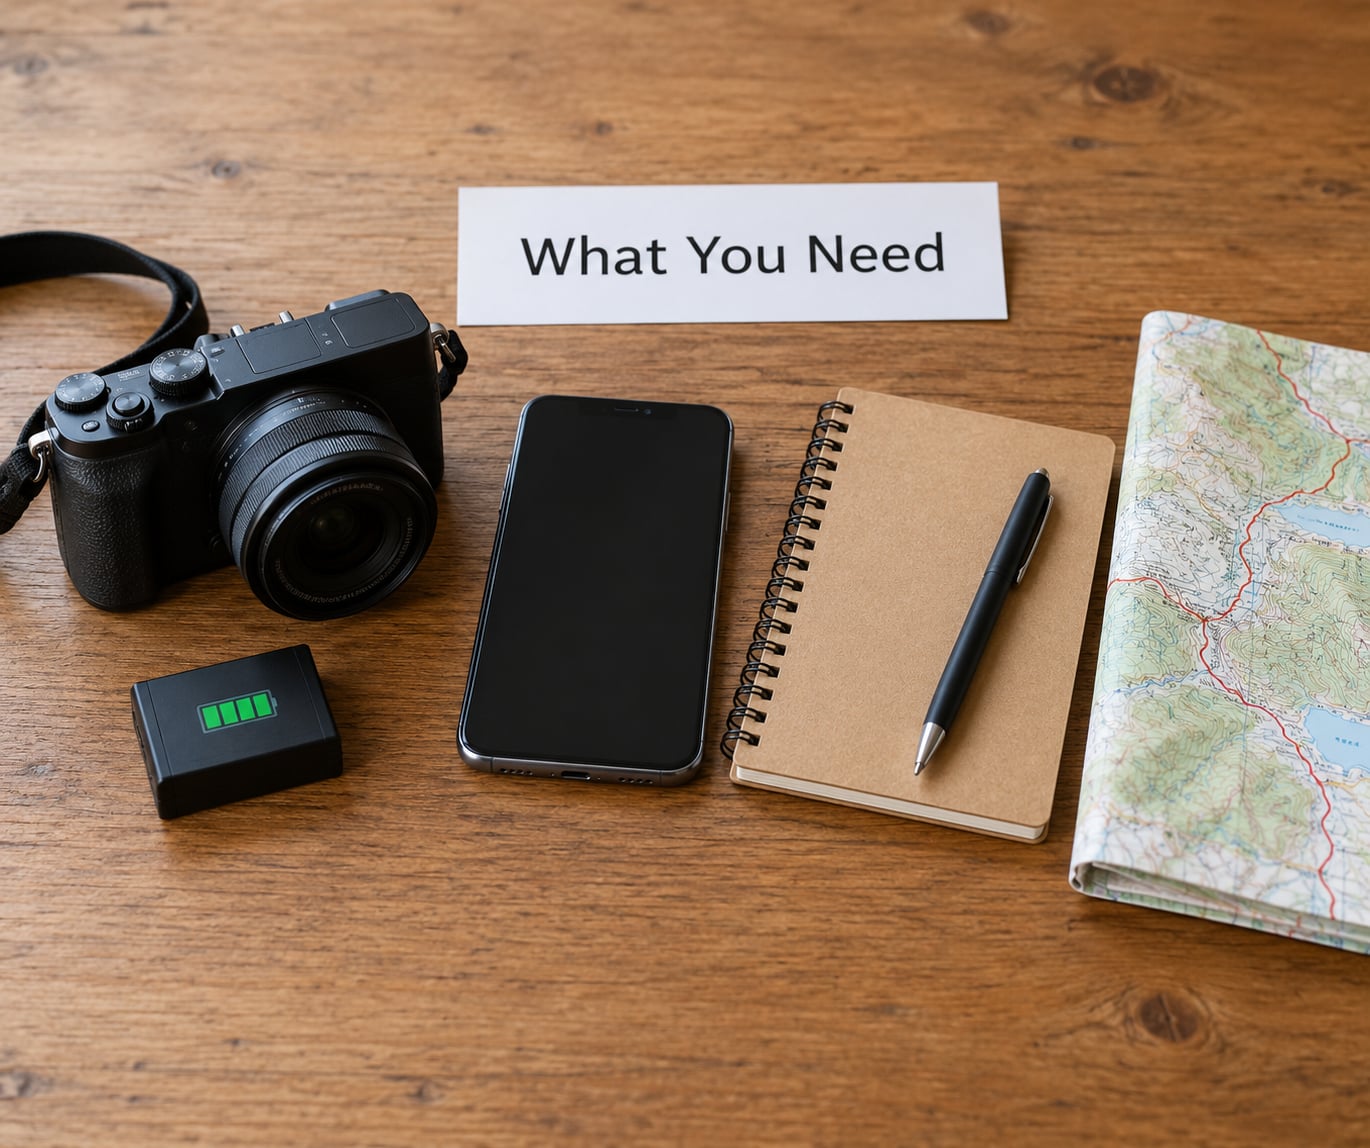
Specialized equipment is not the bottleneck. The gap between the shot you made last year and the shot you want this year is almost never a lens, a filter, or a strap.
- A camera or a phone. Whatever you already shoot with. Every technique below works on a phone camera, and a phone is easier to carry on a long walk, which means you will actually take it.
- One familiar location. Your route to work, the park three streets away, the block you grew up on. Small is fine. A single corner with good light beats a whole city you never look at properly.
- Comfortable shoes. Several of these steps put you on the ground, in a hedge line, at the base of a wall, or crouched behind a bollard. Your feet decide how long you can stay.
- A charged battery and cleared card. A dead phone at the one moment the light turns is the most avoidable way to waste a walk. Check it before you leave the house.
- Somewhere to take notes. A phone memo or a paper notebook. Thirty seconds of writing about what you saw is what turns a random walk into a repeatable study.
- Time to observe before you shoot. This is the item people skip. Fifteen minutes of walking without lifting the camera will do more for your photographs than an hour of snapping on autopilot.
One optional addition: if you have access to a second focal length, even an inexpensive one, steps four and five get much easier to test. A phone’s 1x and 2x lenses cover the same ground in a pinch. Nothing else on this list is worth buying.
Step-by-Step: How to Find a New Perspective in a Place You Know
The eight steps below are ordered on purpose. Steps one and two change what you notice, steps three to five change what the camera records, and steps six to eight turn a good session into something you can repeat and grow from.
1. Define what feels familiar
Before you go anywhere, write down the parts of this place that have gone automatic: the route you always take, the view you always stop at, the subjects you always photograph. Naming them takes five minutes and does the real work, because boredom starts where attention ends.
Then pick a small area inside that place and commit to it. A single junction, one side of a building, forty metres of riverbank. Small areas get looked at properly; large ones get crossed.
2. Look for overlooked details
Familiarity trains your eye to skip. The gate you have opened a thousand times is not a subject, so you walk past it. The fix is to aim your attention at the scale of the hand and the surface: peeling paint, worn stone, a drain cover, moss at a wall base, tape residue on a lamp post, cracks in paving where weeds have taken hold.
On a recent walk through a stretch of town I have photographed more than a hundred times, the pictures that survived were of things I would have described as nothing: a shoeprint worn into a step, a ladder leaning where it had clearly been leaning for years, reflections in a bus shelter that doubled the whole scene.
Make a rule for the first ten minutes: no wide shots at all. Details first, and let the wider frames come later once you know what the place is actually offering.
3. Change your position – the fastest way to find a new perspective
Move about ninety degrees from wherever you first stood. It sounds trivial and it is the single most effective thing on this list, because position decides what overlaps what. From one spot a lamp post sits beside a doorway; from ninety degrees left, the same lamp post sits in front of the doorway and the two shapes interact.
Then work through the rest of the position list: crouch until the camera is at knee or ground height, step closer until the background is a blur, step back until the building is small in the frame, put something between you and the subject and shoot past it, or find any elevated position within reach such as a bridge, a stair landing, a low wall, a car park deck, or a slope at the edge of a field.
Low angles give you reflections in puddles and a cleaner horizon. High angles give you pattern, layout, and the shape of a place. Neither is available from the standing position that produced your old photographs.
4. Use a different scale
Alternate deliberately between three scales on the same subject: wide, which establishes the place and its context; medium, which shows the subject in relation to something; and close, which lets a single texture or shape carry the whole frame.
Most of us are stuck in wide. The frame that fails as a landscape often works as a close-up, because the information a photo needs is not the same at both scales. A worn market hall is unremarkable as a wide shot and full of character photographed at arm’s length.
Pick one subject, then take exactly three frames: the whole thing, the middle, and one detail. That trio is the most useful test in this guide.
5. Alter the light or time
Same place, same position, completely different photograph, just by changing when you are there. Side light early or late rakes across surfaces and reveals texture that flat overhead light erases. Backlight separates an object from its background and turns mist or dust visible. Open shade gives you even, low-contrast colour to work with when the sun is brutal.
Time is the cheapest variable you have. Photograph the same corner at mid-morning, at the last twenty minutes before sunset, and once at blue hour when the sky is still bright and every lamp has come on.
Weather counts too. Fog, mist, rain, and haze push the background back and pull the foreground forward, which is depth for free. A flat grey day is a gift for trees, fences, and geometry, because colour stops competing with shape.
6. Walk an unfamiliar route
Most of what makes a place feel known is that you only ever use a corridor through it. Walk the edges instead: the back lane behind the shops, the service path beside the river, the side entrance to the park, the boundary wall, the corner you always drive past.
Slow down further than feels natural. Stand still for sixty seconds somewhere you have only ever walked through, and look at what is at eye level, below eye level, and behind you. Write three lines in your phone before you move on. Over an hour you will have more material than the same hour spent hunting for subjects.
Walking with one other local photographer is the fastest shortcut I know. People who shoot a place every week know where the light falls and who will talk to a camera.
7. Build deliberate compositions
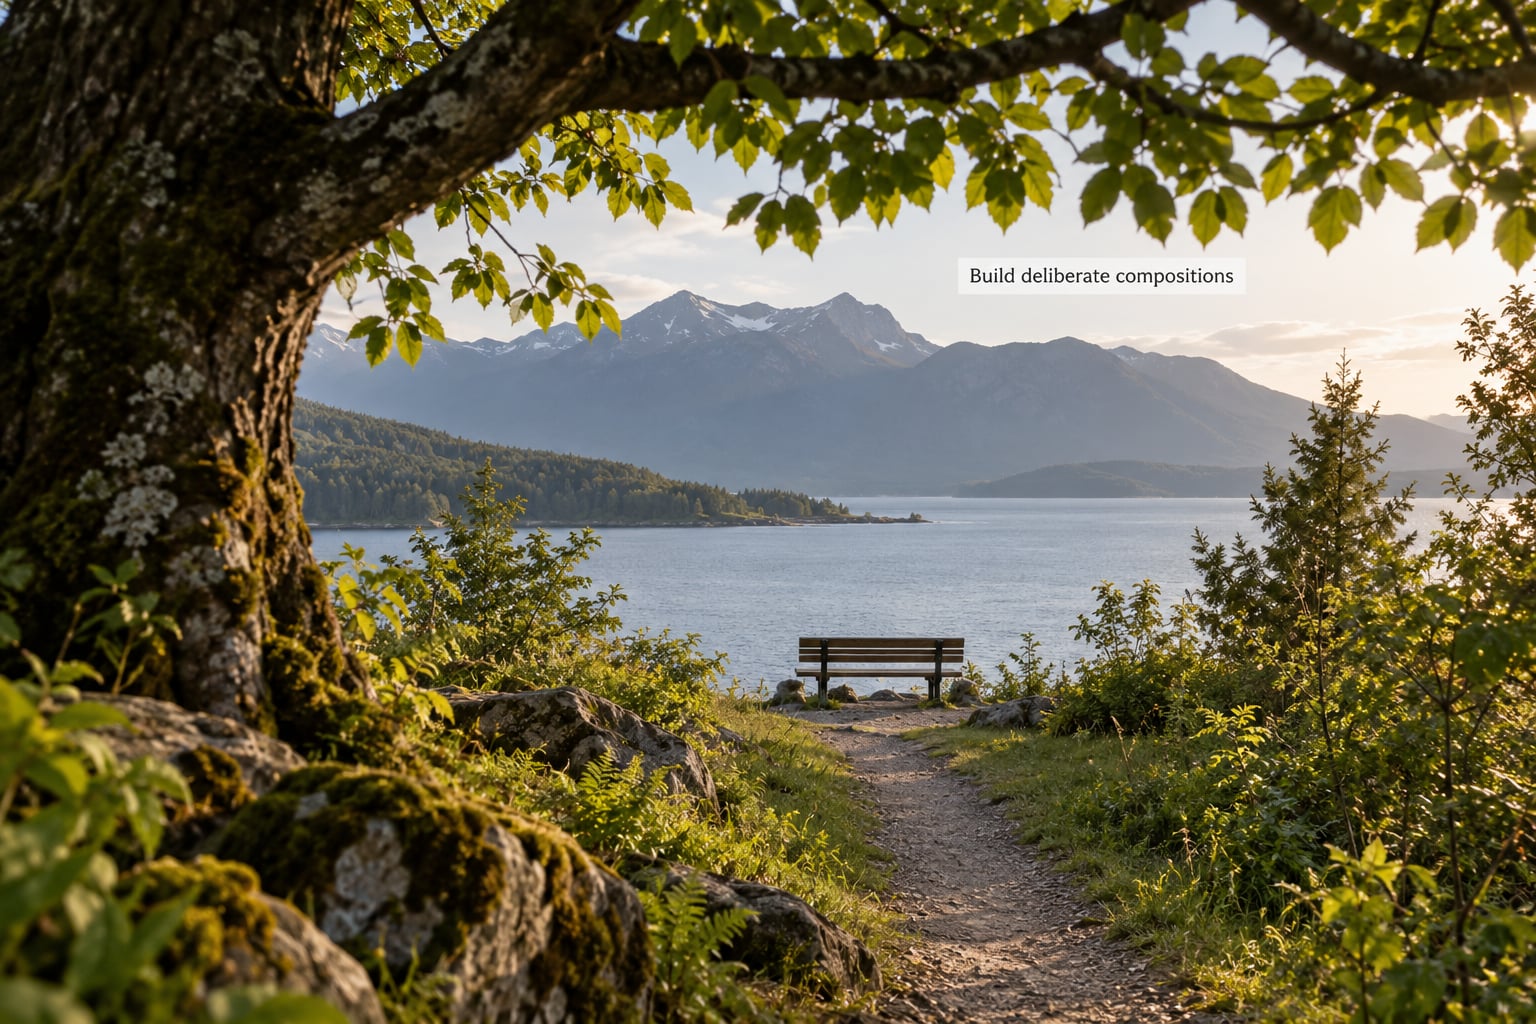
Once you have something worth framing, use the frame deliberately: leading lines that pull the eye into the picture, foreground elements that create depth, negative space that gives a subject room, repetition of a shape or colour, and overlapping layers that separate near from far.
Test it with a rule. Take the same subject five times in a row without changing anything, then walk ten steps left and take it five more. Compare the two strips. The second one is almost always better, and the comparison teaches you what you did not know you were doing in the first strip.
Cut the versions where two things are competing in the same part of the frame. Every extra element in a composition is a decision you have to keep making.
8. Make a small photo study
One familiar subject, five to eight frames, with a variable you change on purpose in each one. Angle first, then scale, then light, then time. Choosing the variable in advance is what makes it a study rather than another walk.
Then evaluate the set honestly. Line the frames in order and ask two questions: does each one add something the others do not, and could I tell them apart from an unrelated shoot? If the answer to the second question is no, change your variable earlier and shoot again.
Keep the best three in a folder named for the place and the date. Reviewing that folder once a month is the fastest way to see your own habits, including the ones you keep repeating without noticing.
Common Mistakes
Forcing novelty. If every frame has to be surprising, nothing gets made. Some quiet frames are just records, and they are still useful in a set. Let some pictures be ordinary and take the pressure off the rest.
Walking without a focus. Aimless wandering produces accidental frames and no learning. Give yourself one subject and one variable, even if the subject is as small as a fire hydrant. The constraint is what turns a walk into practice.
Copying the view everyone takes. If a spot has one famous angle, the famous angle is the one to avoid. Use the approach path, the reflection, the far end, or the detail at the base. The postcard version is rarely interesting precisely because it is so well documented.
Changing everything at once. Moving, changing lens, and shooting at a different hour together give you one frame and no information. Change one variable per frame so that you learn which change did the work.
Not writing anything down. Memory is unkind to the details that matter. Jot the time, the position, and the light for the frames you liked. Without that, a good result cannot be repeated and a bad one cannot be diagnosed.
Judging the set the same day. Tiredness and disappointment both distort. Look at what you made the next morning, with a coffee, before you decide whether the afternoon was wasted. Usually some of it is better than you thought and some of it is clearly worth repeating differently.
Three closing tips. Look longer than is comfortable; the frame that interests you usually arrives about twenty seconds after the urge to leave. Stay out of the way: if photographing people makes you or them uneasy, work on buildings, light, and objects instead, and never obstruct a walkway, a doorway, or a private view. And check local rules before you go, since parks, rail land, and some building exteriors have photography restrictions that are easy to hit without meaning to.
Frequently Asked Questions
How can I find creative photo ideas without traveling far?
Stay with one location you already know and change a single variable per frame: position, distance, focal length, or time of day. Most photographers have walked the same routes for years without ever crouching, looking behind them, or photographing at a different hour. Making a short list of three subjects near your home and working through them at three scales gives you nine frames from a single walk, with no travel cost and no permission required.
Is it necessary to visit a familiar place at a different time?
Not always, but it is the cheapest way to get a different picture. The same corner at mid-morning, the last twenty minutes before sunset, and blue hour will give you three different sets of shadows, colour and contrast. Time works on texture and shape, while position works on layout, so the two are worth alternating. If you can only manage one visit, go at the hour you have never shot that place before.
Can this method work with a smartphone camera?
Yes, and for this work a phone has real advantages. It is light enough to carry all day, it starts instantly, and the 1x and 2x lenses give you two different framings without carrying anything. Use the wide and telephoto options as a stand-in for changing focal length, turn on the exposure lock so tapping to focus does not also change the brightness, and shoot in the highest resolution the phone offers. Detail shots in particular are where phones are at their best.
How long should I spend exploring one familiar location?
Ninety minutes is a good target, and forty-five works if you are short on time. The first fifteen minutes should be spent walking without lifting the camera, because the photographs you make after that come from noticing rather than hunting. Most of the value comes from the last half hour, when you stop looking for subjects and start working with the one subject you have already found.
What if I keep photographing the same subject in the same way?
That repetition is data, not failure. Line your best frames in order and look for the constant: always the same angle, always the same distance, always the same hour. Then change that one thing in the next session and nothing else. To find a new perspective in a familiar place deliberately, build a small photo study of five to eight frames where angle, scale, light, and time each vary, and compare the set before you shoot again.
How do I stay safe while exploring overlooked or secluded areas?
Treat back lanes, boundary paths, and riverbanks the way you would any unfamiliar spot. Go in daylight where possible, stay on public or clearly accessible land, and avoid places that need climbing, trespass, or entering a structure to get the shot. Tell someone the area and the hour you expect back, keep your phone charged, and carry the kit you need in one hand. If an area feels wrong, leave it; the photograph is not worth the risk.
Conclusion
Start smaller than feels useful. Go back to one place within ten minutes of your front door, list three details you would normally walk past, move ninety degrees from your first position, and shoot that one subject at three scales before you leave. Keep the best three frames, write down the time and the position, and compare the set the next morning.
That loop is enough. Repeat it a dozen times and you will have a year of work from a neighbourhood you thought you knew.