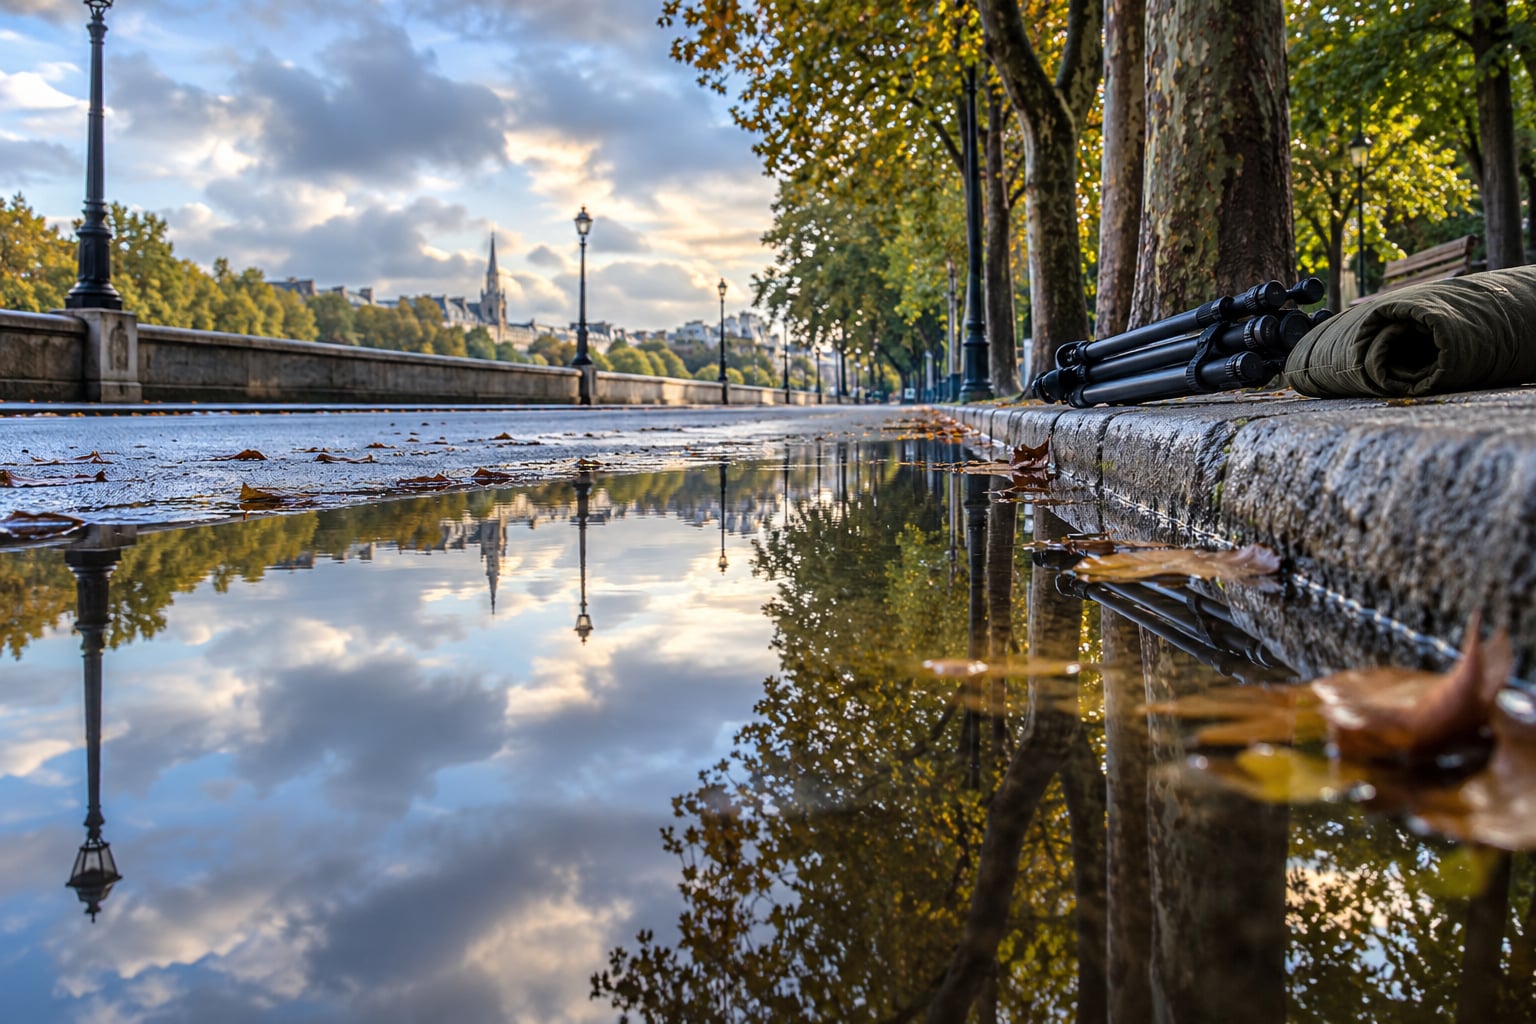
To photograph puddle reflections, get the camera down close to the water and keep it level, then focus on the surface rather than the scene above it. Position does most of the work here. Aperture and shutter speed just clean up what the low angle already set up. Most people shoot these scenes standing up, which is why their reflections look like grey smears instead of mirrors.
A puddle is a flat, calm water surface, so light from the scene above strikes it at a shallow angle and bounces almost straight back. The closer and more level your camera sits to that surface, the larger and more complete the inverted image becomes. Any ripple or any tilt of the camera breaks the effect, and no amount of editing puts it back.
The whole thing takes five minutes once you know where to stand. It also needs no expensive kit, which makes it one of the best returns available to anyone with a camera and a rainy afternoon.
Table of Contents
- What You Need to Photograph Puddle Reflections
- How to Photograph Puddle Reflections: Step by Step
- Step 1: Find a Reflection Worth Photographing
- Step 2: Read the Weather and the Water Before You Shoot
- Step 3: Choose Full, Half or Reflection-Only Composition
- Step 4: Get the Camera Low and Keep It Level
- Step 5: Focus on the Detail That Matters
- Step 6: Control Exposure on Wet Pavement
- Step 7: Take Several Variations
- Common Mistakes and How to Fix Them
- Frequently Asked Questions
- How low should the camera be for a puddle reflection?
- Should I use a polarizing filter for puddle reflections?
- How do I focus on a reflection in a puddle?
- Why is my puddle reflection blurry or upside down?
- How do I photograph puddle reflections with a phone?
- How do I make a puddle for photography when it is not raining?
- Conclusion
What You Need to Photograph Puddle Reflections
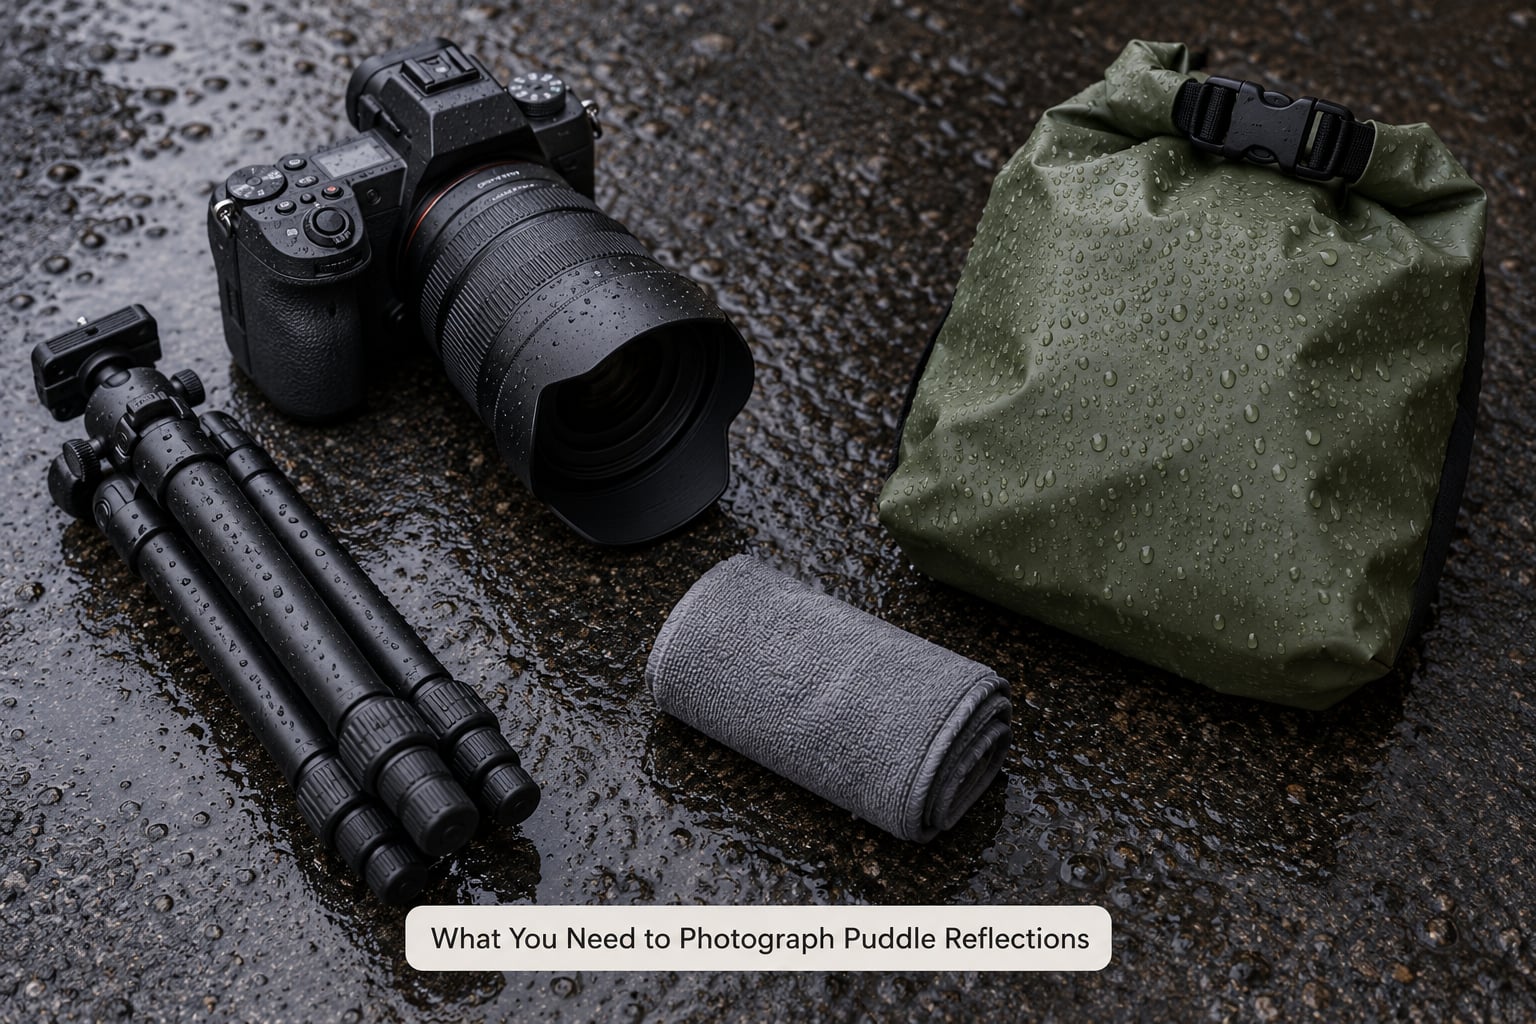
Almost anything will photograph a puddle. A phone, a compact camera and an old DSLR all produce usable results, and the technique matters far more than the body.
One piece of gear genuinely earns its space: a small tabletop or travel tripod. Getting the lens down to the height of a puddle means holding the camera at knee level or lower, and hand-holding at that angle is where shaky, slightly tilted frames come from. A short tripod that sits a few centimetres off the ground gives you a level, steady frame every time.
The rest is about staying dry rather than taking pictures. A microfibre cloth matters more than it sounds, because fine drizzle leaves a film on the front element that only shows up in the final wide-angle corners. A dry bag or a sealed camera bag keeps dust and grit out of a body that spends the afternoon on wet ground. Wellingtons or waterproof shoes save your knees, and a kneeling pad or a folded jacket makes a long puddle session bearable.
Bring a lens cloth you can actually reach, and check that you can replace the tripod foot quickly. A tripod leg pushed into soft mud beside a puddle will sink and tilt the whole setup, so set up on a hard edge instead.
How to Photograph Puddle Reflections: Step by Step
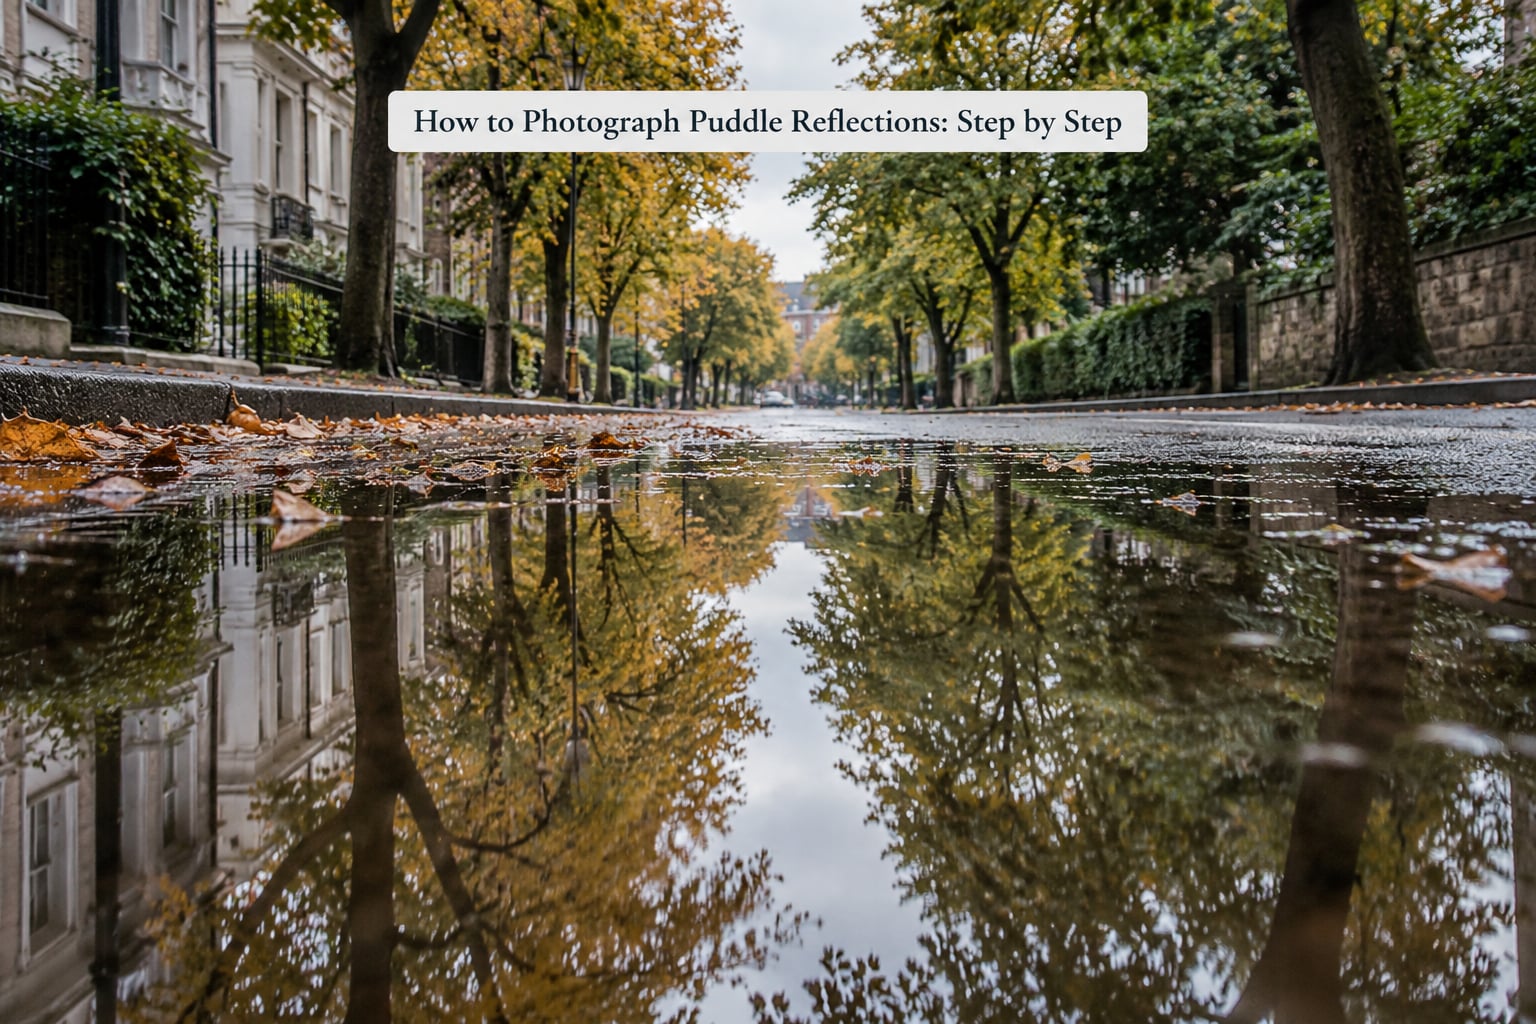
These seven steps are the order that works in practice. Start at the top, get low before you touch any dial, and change one thing at a time so you know what fixed the frame.
Starting settings, matched to the situation:
- Still puddle, tripod, daylight: f/8 to f/11, 1/4 sec or slower, ISO 100. The tripod is essential here.
- Light ripple, tripod: f/8, 1/8 to 1/30 sec, ISO 100 to 400. Tripod.
- Abstract ripple pattern: f/5.6, 1/4 to 1 sec, ISO 100. Tripod.
- Handheld, overcast: f/5.6, 1/125 sec, ISO 400 to 800. Brace against a wall.
- Someone walking through the frame: f/5.6, 1/500 sec or faster, ISO 800 to 1600. Monopod or a firm brace.
- Night puddle, city lights: f/8, 2 to 15 sec, ISO 400 to 1600. Tripod.
Treat these as starting points rather than rules. Cloud cover, water depth and how much sky the puddle holds will all move the numbers, and you will end up adjusting from here rather than defending the list.
Step 1: Find a Reflection Worth Photographing
Scan the wet ground for strong colour, a clean shape and something worth mirroring overhead. A puddle in front of a red brick wall, a bare tree against a bright sky, or a shopfront with warm light will all give you more than a puddle reflecting grey asphalt.
Depth matters more than size. A few centimetres of water is enough to hold a full reflection, and a shallow puddle lets you get the lens much closer to the surface without losing the whole frame. Watch the shoreline too: a puddle with a curved, irregular edge makes a more interesting frame than a rectangle, and a floating leaf or a stray twig gives the composition an anchor.
Walk on before you commit. A puddle that looks like a mirror from six steps away is often half mud from two steps away, and no crop rescues a reflection full of grit.
Step 2: Read the Weather and the Water Before You Shoot
What is falling and what the wind is doing decide whether you are shooting a mirror or an abstract pattern. Light rain over a puddle gives you a soft, slightly broken reflection. Active rain dimples the surface, and once the impacts overlap the reflection is gone.
Wind is the bigger enemy. A breeze that you cannot feel on your face will still roughen the surface enough to blur the inverted image, and it usually arrives in gusts. A backpack or a jacket held low works as a windbreak and often buys you the two calm seconds you need for a long exposure.
Check how the puddle is drying, too. A puddle in full sun shrinks and clouds with dust at exactly the rate you need it, so have your frame composed before you start shooting rather than after.
Step 3: Choose Full, Half or Reflection-Only Composition
Pick one of three frames before you lower the camera: the whole scene with its reflection, a split frame with the horizon down the middle, or the reflection alone with the real subject left out.
A full frame tells the viewer what the place is, and it suits wide-angle lenses on open streets. The classic split frame puts the horizon dead centre and needs the camera perfectly level, which is where a tripod earns its keep. A reflection-only frame is the boldest option: crop out the subject, fill the frame with the inverted image, and the viewer has to work out what they are looking at. Rotate one in editing and it becomes a completely different picture.
Make the decision early. Cropping a reflection-only frame out of a wide shot later usually leaves you with a thin strip of water and a horizon sitting awkwardly in the middle.
Step 4: Get the Camera Low and Keep It Level
Camera height changes the geometry of the shot more than any other control. Standing up, you see the surface at a steep angle and the reflection collapses to a few centimetres of distorted colour. Kneel, then sit, then lie on your side if the puddle allows it, and the reflected image grows with every drop in height.
Lower also means a smaller patch of water, so it is easier to find a still area inside a rough puddle. Move a few centimetres left and right as you go down. Small lateral changes can swap a cloudy patch of water for a clean mirrored one, and a wide-angle lens only holds a full reflection across the frame if it is level.
Keep the camera level rather than tilting it down to fill the frame with water. A tilted camera bends the reflection at the edges and pushes the horizon somewhere you did not choose. Get low, then pan, and resist the urge to angle down.
You will also fight your own shadow and legs at this height. Work with the sun behind you where you can, and check the near corners of the frame before you shoot rather than after.
Step 5: Focus on the Detail That Matters
Focus on the reflection, not on the building it shows. This is the part that catches people out, because the geometry works against the obvious choice: focusing on the real subject, then swinging the lens down to fill the frame with the water, sets focus for the wrong distance entirely.
Switch to manual focus, put the lens in single-point autofocus to find the distance once, then switch to manual and make small adjustments as you drop the camera lower. The focus distance barely changes until you are very close to the water, and it changes again the moment you do, so keep re-checking.
Magnify to inspect the surface, or use focus peaking if your camera has it. If a subject is moving through the frame, continuous autofocus with subject tracking will hold the person in the reflection better than you can manage by hand. Deliberate softness also works: pre-focus a little in front of the water and the reflected shapes turn into an abstract smear, which is a good look if that is what you are after.
On a phone, tap the reflection itself in the screen to set focus, and hold the phone further away than feels natural. Most phone lenses will not focus at the extreme near distance needed to fill the frame with water from six centimetres up.
Step 6: Control Exposure on Wet Pavement
Wet pavement traps light in a way dry ground does not, so highlights clip and the reflection disappears first. Shoot RAW and watch the histogram rather than the screen, and pull exposure compensation down by two-thirds of a stop to protect the bright sky that the puddle is mirroring.
Use manual exposure so the settings stay fixed while you move around, and dial the shutter speed to match how fast the water is settling. Still water holds a slow exposure. Ripples in a breeze need something fast enough to freeze the pattern, usually 1/8 second or better, and that is exactly where a tripod stops being optional.
Check for your own reflection in the frame before you shoot, and remember that a polarising filter is a dial, not a switch.
Step 7: Take Several Variations
Stay with the puddle. Make a wide frame, then a tighter one on the reflected detail, then turn the camera vertical and do it again from a slightly different side.
Change one thing per frame and you learn what matters. Move left, change the height, then the exposure, then the aperture, and keep notes of the settings that worked. Within twenty minutes you will have a usable set from what looked like one accidental puddle, and the best frame is rarely the first one you composed.
Common Mistakes and How to Fix Them
Almost every failed puddle photo is one of a small number of problems. Each has a quick fix once you know which one you are looking at.
- The reflection looks upside down or the wrong way round. That is correct behaviour, not a fault. Either include the real scene so the brain reassembles it, or commit to a reflection-only frame where the inverted image is the point.
- The reflection is blurry. You were too high, the water was rippling, or you focused on the subject instead of the surface. Drop lower, wait for a lull in the wind, and focus manually on the water.
- There is no reflection at all. The water is too shallow, too dirty, or you shot from too high an angle. Try a deeper part of the puddle, clean the surface, and get the lens nearly level with it.
- The reflection falls apart at the edges of the frame. A wide-angle lens plus a tilted camera. Level the camera on a tripod and it holds across the whole frame.
- Autofocus locks onto the puddle edge or the pavement. Switch to manual focus after finding the distance once with a single point, or use continuous autofocus with tracking on a moving subject.
- The bright sky blows out and the water goes black. Underexpose by a stop or two, shoot RAW, and lift the shadows later. The histogram tells you this faster than the screen does.
- Your own legs, shadow or reflection appear in the frame. Move the camera a hand’s width sideways, or shoot with the sun behind you and check the near corners before firing.
- Droplets and grit on the front element. Wipe the lens with the cloth between shots. It only shows on wide frames, and it always shows on the corners you cannot see while shooting.
Two extras worth knowing. If it is not raining, you can make the puddle yourself: pour water from a bottle or hose onto a flat dark surface such as a paved path or a smooth concrete slab, and you have a controllable reflection on demand. At night, the same technique works with longer exposures and street lighting, which is when a tripod does the real work and the water goes almost black except for the lights hanging in it.
Finally, stay safe on wet ground. Roadside puddles mean traffic, so never stand in a live lane and never step backwards towards a car while looking down at the water. Get down on a pavement, a kerb or a quiet court rather than in a road, and keep your kit off the wet surface. Rain makes metal slippery and puts grit where you will not expect it.
Frequently Asked Questions
How low should the camera be for a puddle reflection?
Get the lens as close to the water as you can without wetting it. In practice that means kneeling or sitting, with the lens an inch or two above the surface. Every drop in height enlarges the reflected image and reduces the surface you need to be still. A short tripod makes the position repeatable, and pan the camera rather than tilting it down.
Should I use a polarizing filter for puddle reflections?
Only if you treat it as a dial rather than a switch. Rotating a circular polarizer cuts glare from wet surfaces and deepens colour, which can make a dull puddle look excellent. Turn it too far, though, and it removes the reflected light at the shallow angles a puddle depends on, leaving you with dark, flat water. Rotate it and compare.
How do I focus on a reflection in a puddle?
Focus on the water, not on the building it shows. Focus on the real subject, swing down to fill the frame with the puddle, and focus is set for the wrong distance. Use single-point autofocus once to find that distance, switch to manual, and re-check as you lower the camera. For moving subjects, continuous autofocus with tracking is more reliable than hand focusing.
Why is my puddle reflection blurry or upside down?
Blurry usually means you were too high, the water was rippling, or focus was set on the subject instead of the surface. Drop lower, wait for the wind to drop, and focus manually on the water. Upside down is not a mistake. Water inverts what it reflects by design, so either include the real scene so the viewer reassembles it, or crop it out and commit to an abstract frame.
How do I photograph puddle reflections with a phone?
Phone cameras handle this well once you work around their minimum focusing distance. Lie on the ground, hold the phone further out than feels natural, and tap the reflection on screen to set focus. Turn the phone upside down to get the lens closer to the water. For still puddles, night scenes and long exposures, a small tripod is what makes the difference between a photo and a blurred guess.
How do I make a puddle for photography when it is not raining?
Pour water onto a flat, dark, non-porous surface. A paved path, a smooth concrete slab or even a painted metal lid all hold a reflection well, and a spray bottle gives you fine control over the shape and size. A hose gives you a deeper pool for a bigger mirror effect. Choose a surface with a clear view above it, and you have a reflection on a dry day.
Conclusion
On your next walk after rain, find one puddle with a good shape and a strong subject above it. Get low, keep the camera level, focus on the water, and start at f/8 with a slow shutter on a tripod. Take ten frames from slightly different heights and pick one, then go and find the next puddle.