To photograph rain on leaves you need a close-focusing setup, a shutter speed fast enough to freeze the water, and light that makes each droplet read clearly against the leaf. Photographing raindrops on leaves is really macro work, and it usually takes 20 minutes at the plant plus an hour of setup and focus fiddling.
The hard part isn’t the camera. It’s the timing. Droplets merge, run to the leaf tip and disappear within minutes, so most of this comes down to being ready before the rain starts.
Below is the workflow I actually use: scout, protect, set, focus on one droplet, light it, compose, then check the frames before you pack up.
Table of Contents
- What You Need to Photograph Rain on Leaves
- Step-by-Step: How to Photograph Rain on Leaves
- 1. Scout for Leaves with Interesting Texture
- 2. Protect the Camera Without Missing the Moment
- 3. Choose Settings That Preserve Water Droplets
- 4. Focus on the Main Droplet
- 5. Use Light to Reveal the Rain
- 6. Compose Around Shape, Contrast, and Repetition
- 7. Shoot Several Frames and Review the Results
- Common Mistakes When Photographing Rain on Leaves
- Frequently Asked Questions
- What camera settings are best for photographing rain on leaves?
- How do I keep raindrops in focus when they are moving?
- Is natural light better than flash for rain-on-leaves photography?
- What lens is best for close-up photos of wet leaves?
- How do I stop raindrops from disappearing before the photo is taken?
- Can I photograph rain on leaves without getting my camera wet?
- Conclusion
What You Need to Photograph Rain on Leaves
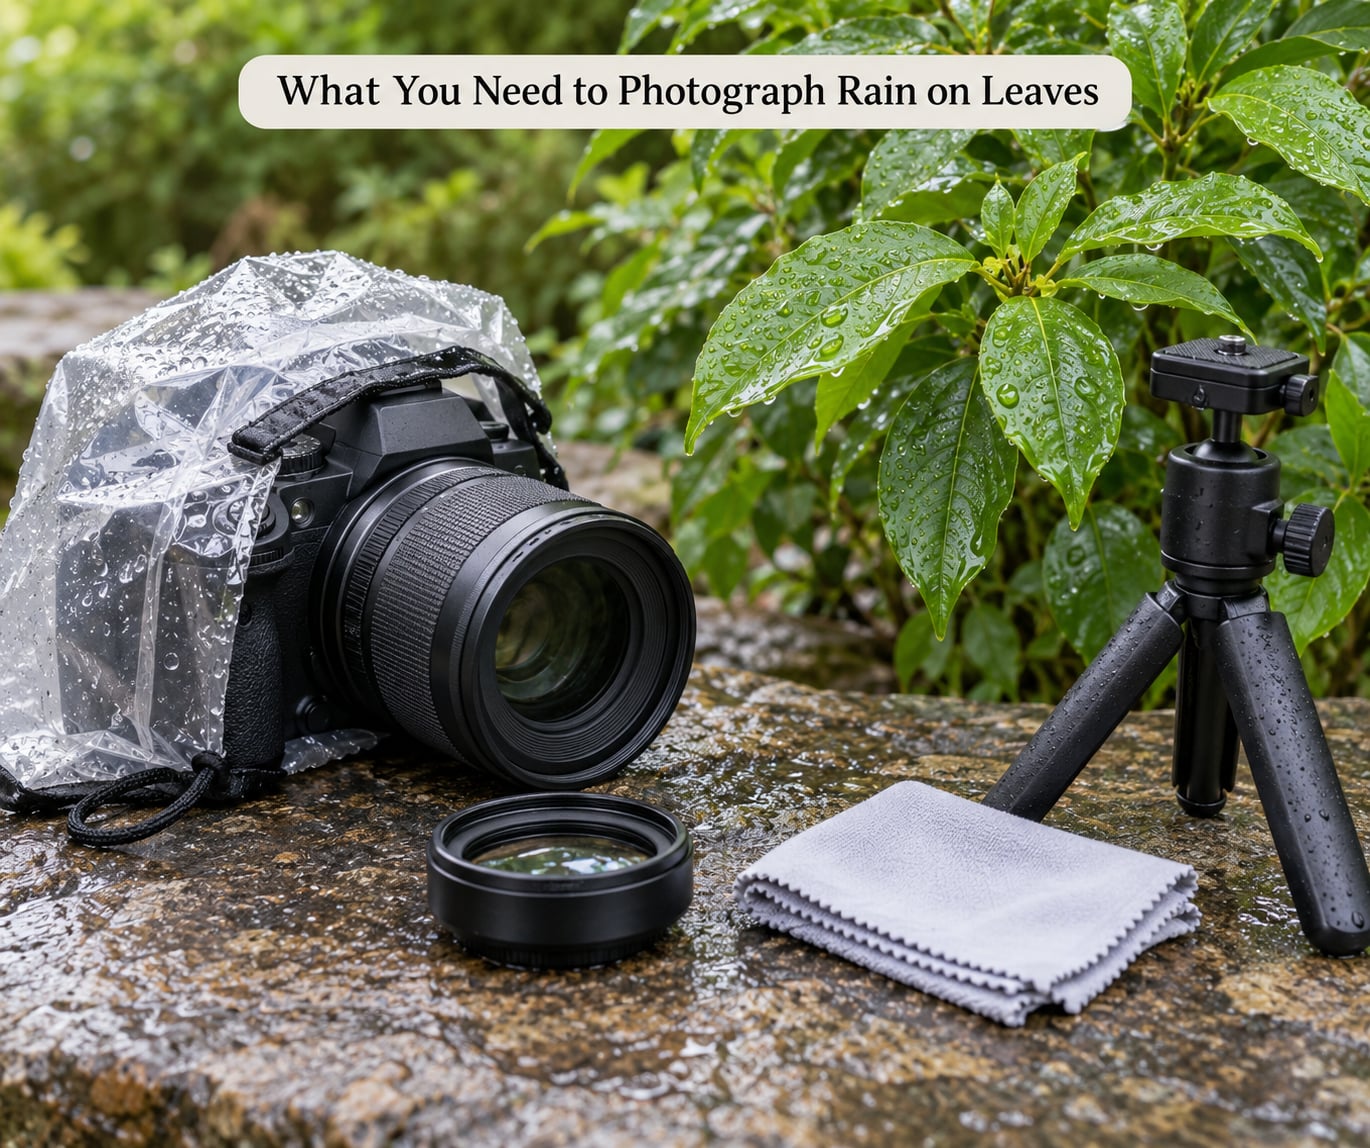
You need four things to shoot rain on leaves: something that focuses close, a way to keep the camera dry, a way to hold it still, and light that shows the water off. Everything else is optional.
- A camera that focuses close. A dedicated macro lens reaching 1:1 is ideal. A 90mm or 105mm lens that focuses to about 0.3m works on most subjects. Extension tubes are the cheap route: ones that let you change the aperture give you real control, and mid-priced tubes are widely reported to perform as well as expensive ones, while cheap fixed-aperture tubes leave depth of field stuck.
- A tripod. A small tabletop or travel tripod is enough. You’ll use it more than you expect, because at macro distances your elbows are never steady enough.
- A microfiber cloth and a rain cover. Both, kept in the same pocket. Water on the front element is the single most common reason these shots come out soft.
- Light. A reflector or a piece of white card for shadow detail, and ideally an off-camera flash with a radio trigger for freezing a drop in mid-air.
- Optional: a circular polarizer, a spray bottle or garden mister, and a syringe with no needle. More on those below.
You do not need a macro lens to start. Plenty of good rain-on-leaves frames come from a phone, and extension tubes plus a kit lens will get you further than you expect.
Step-by-Step: How to Photograph Rain on Leaves
1. Scout for Leaves with Interesting Texture
Look for leaves with visible vein structure, curled edges or a waxy surface. The veins catch light along their length and give the frame a direction to read.
Droplet behaviour varies by leaf, and that matters more than most guides admit. Waxy leaves like camellia hold tight round beads. Softer, hairy leaves drink the water in and end up looking merely damp rather than sparkly.
Check the background before you commit. Bright sky directly behind a leaf will silhouette it and kill the droplet detail. A shaded wall, dark soil or deeper foliage gives you the contrast that makes drops visible.
2. Protect the Camera Without Missing the Moment
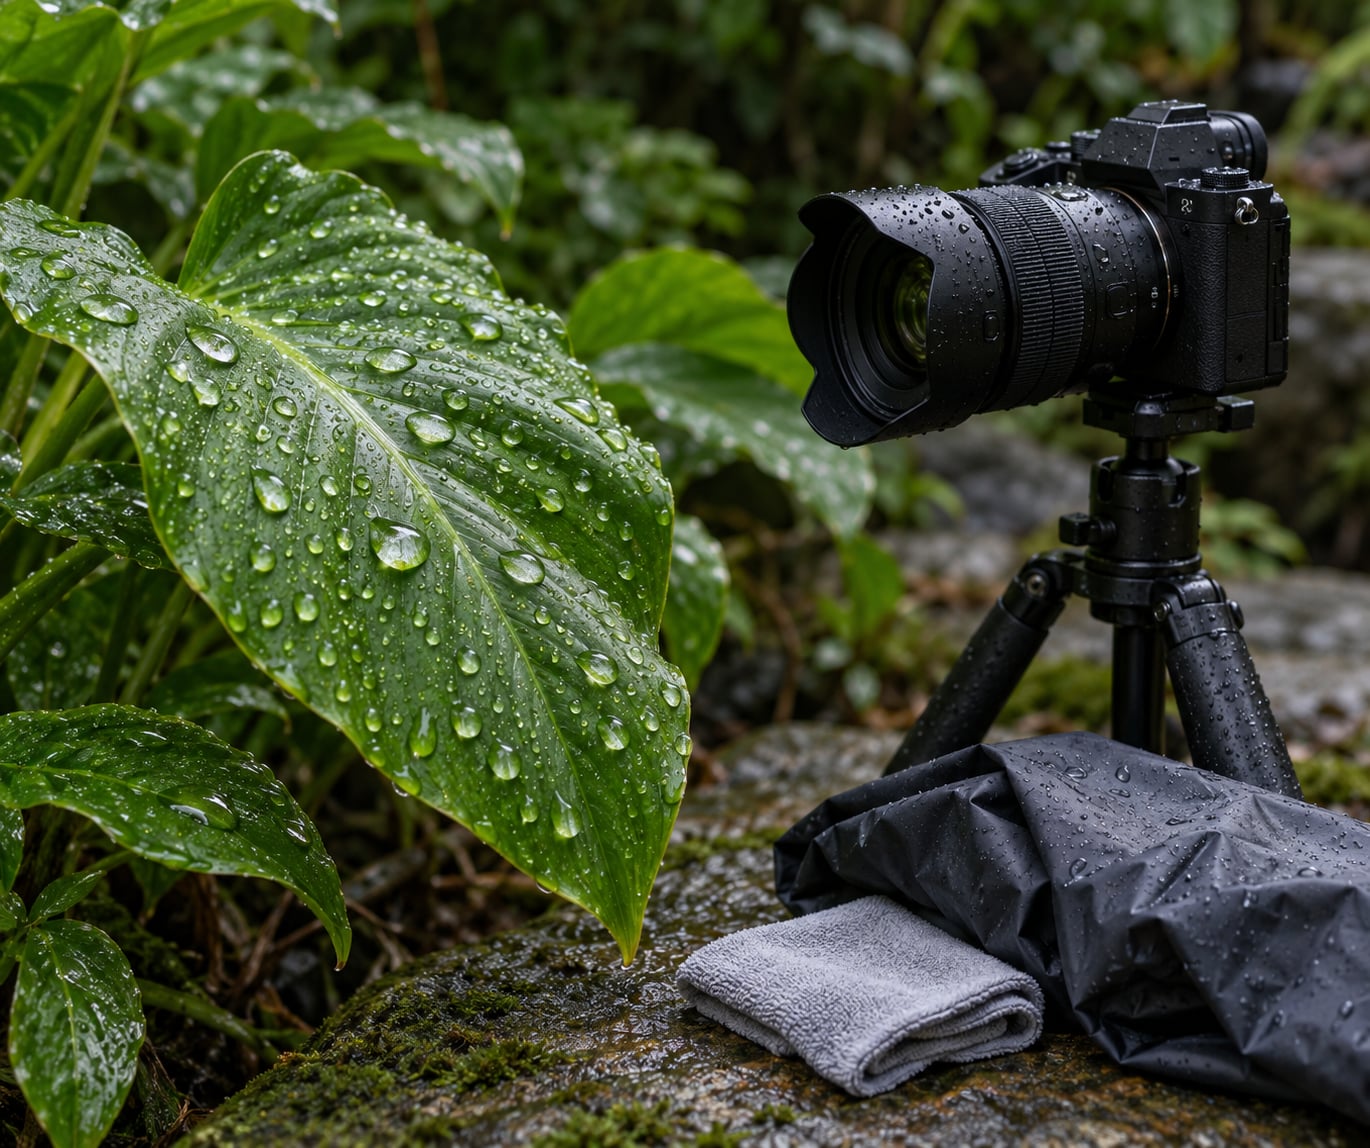
Work under cover whenever you can. A porch, an overhang, a large umbrella held by a friend or a car door all keep water off the body while still letting you point at a wet plant.
Set up fully before the rain arrives. Mount the camera, compose, dial in your settings and make a test exposure, then wait. That way you are never assembling gear in the downpour, which is when cameras get dropped and covers get left half on.
Keep a microfiber cloth accessible and wipe the front element between shots. Some shooters angle a transparent shower curtain or cling film over the camera, which sounds like overkill until the first gust. Do not seal the camera in a bag while it’s on, since you’ll trap condensation on the sensor instead.
3. Choose Settings That Preserve Water Droplets
Start in aperture priority with a fast shutter speed, and let the camera pick ISO. For stationary beads, anything from 1/250s upward is safe. For drops running or bouncing off a leaf, you need 1/1000s or faster, and that means raising ISO or opening up the aperture to keep the exposure honest.
| Scene | Shutter | Aperture | ISO | Focus | Light |
|---|---|---|---|---|---|
| Static beads on a leaf | 1/250s | f/4 to f/8 | ISO 100 to 400 | Manual, single point | Overcast or backlight |
| Drops running to the tip | 1/1000s | f/2.8 to f/4 | ISO 400 to 1600 | Manual plus burst | Backlight or flash |
| One drop frozen mid-air | 1/250s (flash duration freezes it) | f/14 | ISO 200 | Manual, pre-set | Off-camera flash at 1/16 power |
| Phone, daylight | Auto or 1/120s | Auto | Auto | Tap to focus on the drop | Natural light |
Depth of field collapses at close focus. At 1:1 magnification on a full-frame body, f/8 can leave a few millimetres sharp. Stop down further and you trade that for diffraction, so stacking frames usually beats f/16.
A polarizer helps more than most people expect. Wet foliage is full of specular glare from flat sky, and rotating the filter darkens the leaf surface and cuts those reflections so the droplets carry the contrast instead of the leaf. The cost is about two stops of light, so compensate by opening up or raising ISO.
4. Focus on the Main Droplet
Autofocus will hunt on a wet leaf, because the contrast it looks for keeps moving and changing. Switch to single-point AF to slow it down, or switch to manual focus and drive it yourself.
Manual focus is faster than it sounds. Set the focus point on the nearest large droplet, use magnification or focus peaking to confirm it’s tack sharp, then switch to manual and stop touching it. If the leaf moves in the wind, re-peak once and hold.
For more than one droplet in focus, focus stack. Take three to seven frames, shifting focus a hair between each, and merge them in focus stacking software. Anything that does not move, such as a wet leaf under an overhang, stacks cleanly. Spraying the leaf first helps, since merged frames of shifting water never align.
Shot on burst, you’ll get a usable frame in a short burst even when the drop slips. If you’re outdoors with a helper, the usual advice is to have them squirt drops onto the leaf with a syringe on cue, so you’re waiting on the shutter instead of on the weather.
5. Use Light to Reveal the Rain
A flat grey sky is your enemy for sparkle and your friend for detail. Soft overcast light gives you an even, low-contrast rendering of veins and edges, which makes it a good time to shoot texture.
To make droplets glow, put the light behind them. Experienced shooters keep coming back to the same point: light is the key to getting raindrops to show in the shot, whether that’s sun or an artificial source. Backlit drops act as tiny lenses and show an inverted, miniature image of whatever is behind the camera.
For a single drop in mid-air, use the classic studio recipe in a real garden: manual mode at f/14, 1/250s, ISO 200, with an off-camera flash bounced or aimed through a dark background at roughly 1/16 power. The flash’s short duration freezes the drop while the ambient light keeps the background dark. Run shots get the same result on natural light, at settings such as ISO 200, 1/250s and f/9, if you spray the leaf until the beads are heavy enough to travel.
Watch your highlights. Each droplet has a tiny specular hotspot, and when several catch the same light source they clip to pure white and stay that way. Dial in negative exposure compensation of a third to a full stop and lose a little sparkle rather than a stop of detail.
6. Compose Around Shape, Contrast, and Repetition
Fill the frame. A tight crop on a few beads tells the viewer they’re looking at something small and rare, and it gives you the bokeh that separates your subject from the background.
Use veins as diagonals. A leaf running corner to corner gives the eye a path, and droplets sitting along the vein line read as a deliberate arrangement rather than an accident.
Look for repetition and negative space. A scatter of similar beads on one leaf is a pattern; one bead alone with clean dark space beside it is a portrait. Both work, but they’re different pictures.
Seasonally, autumn leaves after rain are the easiest frames to find because the color separates from the background on its own. Spring growth is trickier since everything is the same green, so lean on backlight and shallow depth of field to do the separating for you.
7. Shoot Several Frames and Review the Results
Do not shoot one frame and pack up. Vary the angle by a few degrees, try a second focus point, and give yourself a range of exposures from -1 stop to +1 stop in thirds.
Then check at full size. Look at the near droplet first, then check whether the specular highlights are white or faintly coloured. If they’re clipped, drop exposure further.
Write down or check the EXIF on the frame you like. Other photographers ask for exactly this: camera, lens, focal length, aperture, shutter speed and ISO. Keeping your own notes is how you get faster, because you stop rebuilding the settings from scratch next time.
Common Mistakes When Photographing Rain on Leaves
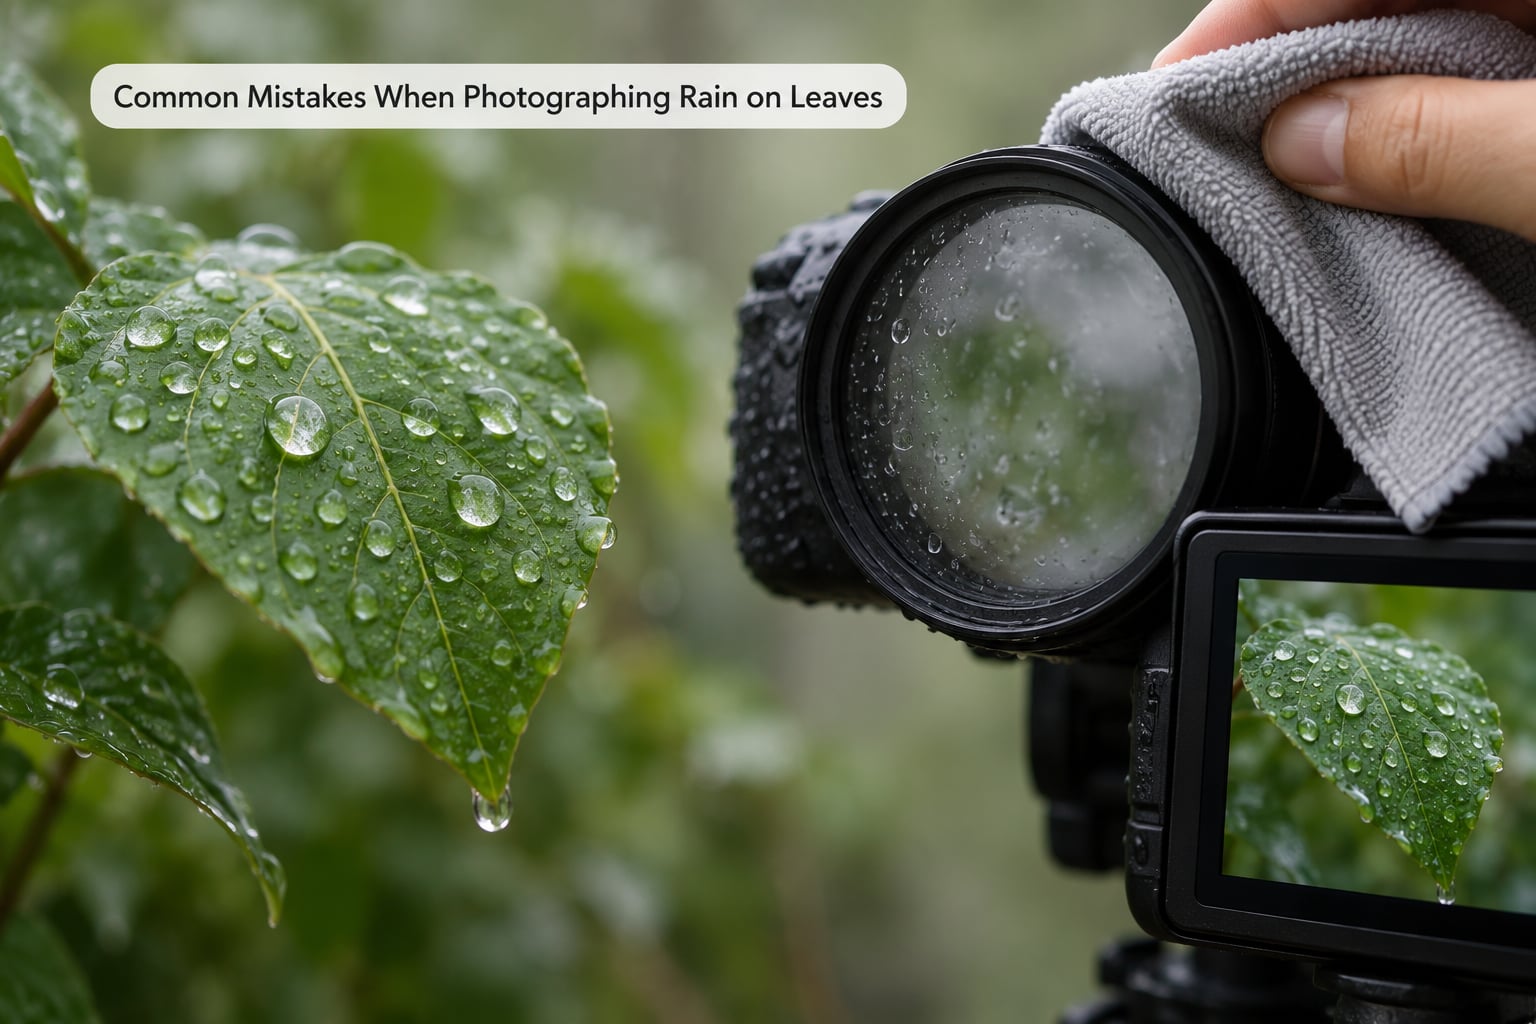
Most disappointing rain-on-leaves shots fail in a handful of repeatable ways, and each has a specific fix.
- A wet front element. Soft, low-contrast, slightly hazy results. Fix: wipe the glass before every burst and between setups, and don’t breathe on the lens while composing.
- Missed focus. Autofocus locked onto the leaf edge instead of the drop. Fix: manual focus on the nearest bead, confirmed with magnification or focus peaking.
- Blown highlights. The tiny specular hotspots clip to pure white with no recoverable detail. Fix: -1/3 to -1 stop exposure compensation.
- A background that gives nothing. Sky or pale wall behind the leaf removes all separation. Fix: move to a shaded position or wait for a dark background.
- Camera shake. Everything is soft, not just the droplet. Fix: tripod plus a 2-second timer or a remote release, and turn image stabilisation off once the camera is on legs.
- Droplets gone before the shutter fires. You set up too late. Fix: set up first and shoot second, or bring your own rain.
- Noise in low light. Raising ISO for a fast shutter leaves soft macro detail. Fix: add light, use a tripod, or accept a slower shutter and freeze motion with flash instead.
When the rain isn’t cooperating, make it yourself. A spray bottle or garden mister gives fine mist for surface beading, a syringe with no needle places one heavy drop where you want it, and a watering can dripped from above gives you a run down a leaf. Avoid anything with soap or oil in it, since it leaves a film that kills the sparkle later.
On a phone, tap to focus directly on the droplet, then drag exposure down half a stop to protect the highlights. Macro mode gets you closer but often at the cost of shutter speed, so prop the phone against something and use burst or a Live Photo long exposure for moving drops.
Editing a droplet shot is mostly restraint. A small amount of dehaze or clarity on the leaf texture helps, a gentle curve keeps the specular highlights from looking dull, and lifting shadows a little opens up the darker side of the leaf. If the highlight dots are pure white, no slider brings them back.
Frequently Asked Questions
What camera settings are best for photographing rain on leaves?
Start at 1/250s, f/4 to f/8 and ISO 100 to 400 for stationary beads on a leaf. For drops running or bouncing, use 1/1000s or faster at f/2.8 to f/4 and raise ISO to compensate. Manual focus on the nearest droplet works better than autofocus, which hunts on moving water. Shoot burst and check the highlights at full size before you pack up.
How do I keep raindrops in focus when they are moving?
You rarely keep a moving drop sharp with exposure alone. Pre-focus manually on the spot where the drop will pass, set a fast shutter, and use burst so one frame lands at the right instant. If you need a guaranteed result, add an off-camera flash fired by a radio trigger, since the flash duration freezes motion independently of the ambient shutter speed.
Is natural light better than flash for rain-on-leaves photography?
Natural light wins for texture. Overcast skies render veins and leaf edges evenly and reward a polarizer for cutting surface glare. Flash wins for sparkle and for stopping motion, and it lets you darken the background so the drops stand out. Plenty of photographers carry both and choose per shot: natural light first, flash when the droplets would otherwise disappear.
What lens is best for close-up photos of wet leaves?
A dedicated 1:1 macro lens gives the most working distance and the steadiest results. A 90mm or 105mm lens that focuses to roughly 0.3m is a cheaper option, and a longer focal length is generally easier to get in focus than a shorter one. Extension tubes work too, but pick ones that let you change the aperture so depth of field stays controllable.
How do I stop raindrops from disappearing before the photo is taken?
Set the camera up before the rain arrives. Mount it, compose, choose your settings and take a test exposure, then wait for good drops. When a shower beats you to it, make your own: a spray bottle for fine mist and a needle-free syringe for one heavy bead that will run. Wet a leaf, then re-spray as you shoot to keep it topped up.
Can I photograph rain on leaves without getting my camera wet?
Yes, and you should. Shoot from under a porch, an overhang, a large umbrella or an open car door, with the camera on a tripod set back from the plant. Keep a rain cover and a microfiber cloth in the same pocket and wipe the front element between shots. Avoid zipping the camera into a bag while powered on, since trapped condensation is worse than a few drops.
Conclusion
Start with the setup, not the shot. Pick a dark background, get the camera on a tripod and pre-focused under cover, then let the rain come to you. If the rain does not come, a spray bottle and a syringe will do it in five minutes. Review the frames at full size before you leave, and write down the settings you liked.