Photographing lavender fields comes down to three things: shoot in the hour after sunrise or before sunset, aim a mid-to-long lens down the rows rather than across them, and set white balance by hand so violet stays violet. Get those right and most of the difficulty is handled. The rest is knowing when the bloom actually happens.
Lavender is awkward to photograph for reasons that are specific to the plant. The flower spikes are thin, so at close range you see individual stalks and gaps instead of a mass of colour. The colour sits in the violet range, which most cameras neutralise toward grey-blue. And the whole season is short, so a badly chosen afternoon can cost you the trip.
The bloom window moves. Valensole in Provence typically runs from mid-June to the end of July, higher plateaux like Sault hold colour into August, Cotswolds farms run roughly June through August, and Door County in Wisconsin tends to peak in July and early August. Heatwaves push harvest earlier every year, so check the farm’s own updates the week you travel. This guide covers what to do once you are standing in the field, and it works for any flowering crop row, from sunflowers to lupins.
Table of Contents
- What You Need
- How to Photograph Lavender Fields Step by Step
- 1. Check the Bloom and Choose a Responsible Location
- 2. Time the Visit for Favorable Light
- 3. Look for Strong Foreground and Background Layers
- 4. Choose a Composition That Conveys Scale
- 5. How to Photograph Lavender Fields Without Losing Depth
- 6. Focus on the Flowering Stems
- 7. Expose for the Purple Flowers and Bright Sky
- 8. Review the Scene Before Leaving
- Common Mistakes
- Make Color Look Natural in Editing
- Tips for Different Conditions
- Frequently Asked Questions
- What is the best time of day to photograph lavender fields?
- Are smartphone cameras good enough for lavender field photos?
- What lens is best for photographing lavender rows?
- Should I use a tripod when photographing lavender fields?
- How do I stop lavender photos from looking too purple or too grey?
- Start with the Best Light and One Clear Composition
What You Need
A dedicated camera and a telephoto lens make life easier, but neither is required. Most of the useful frames in a lavender field come from position and timing, not from gear. If you have a phone, skip to the tips for different conditions further down; a phone held low with the exposure pulled down a third of a stop will out-perform a camera with the wrong white balance.
What genuinely helps:
- Any camera with manual exposure. Automatic white balance is the single biggest cause of grey lavender, and you cannot switch it off on most phone cameras.
- A 70-200mm or 100-400mm lens, if you own one. This compresses the repeating stalks into continuous violet bands. A 24-70mm at the long end is perfectly usable.
- A wide lens (16-35mm). Useful for a low viewpoint with big foreground flowers, less useful for the classic row shot.
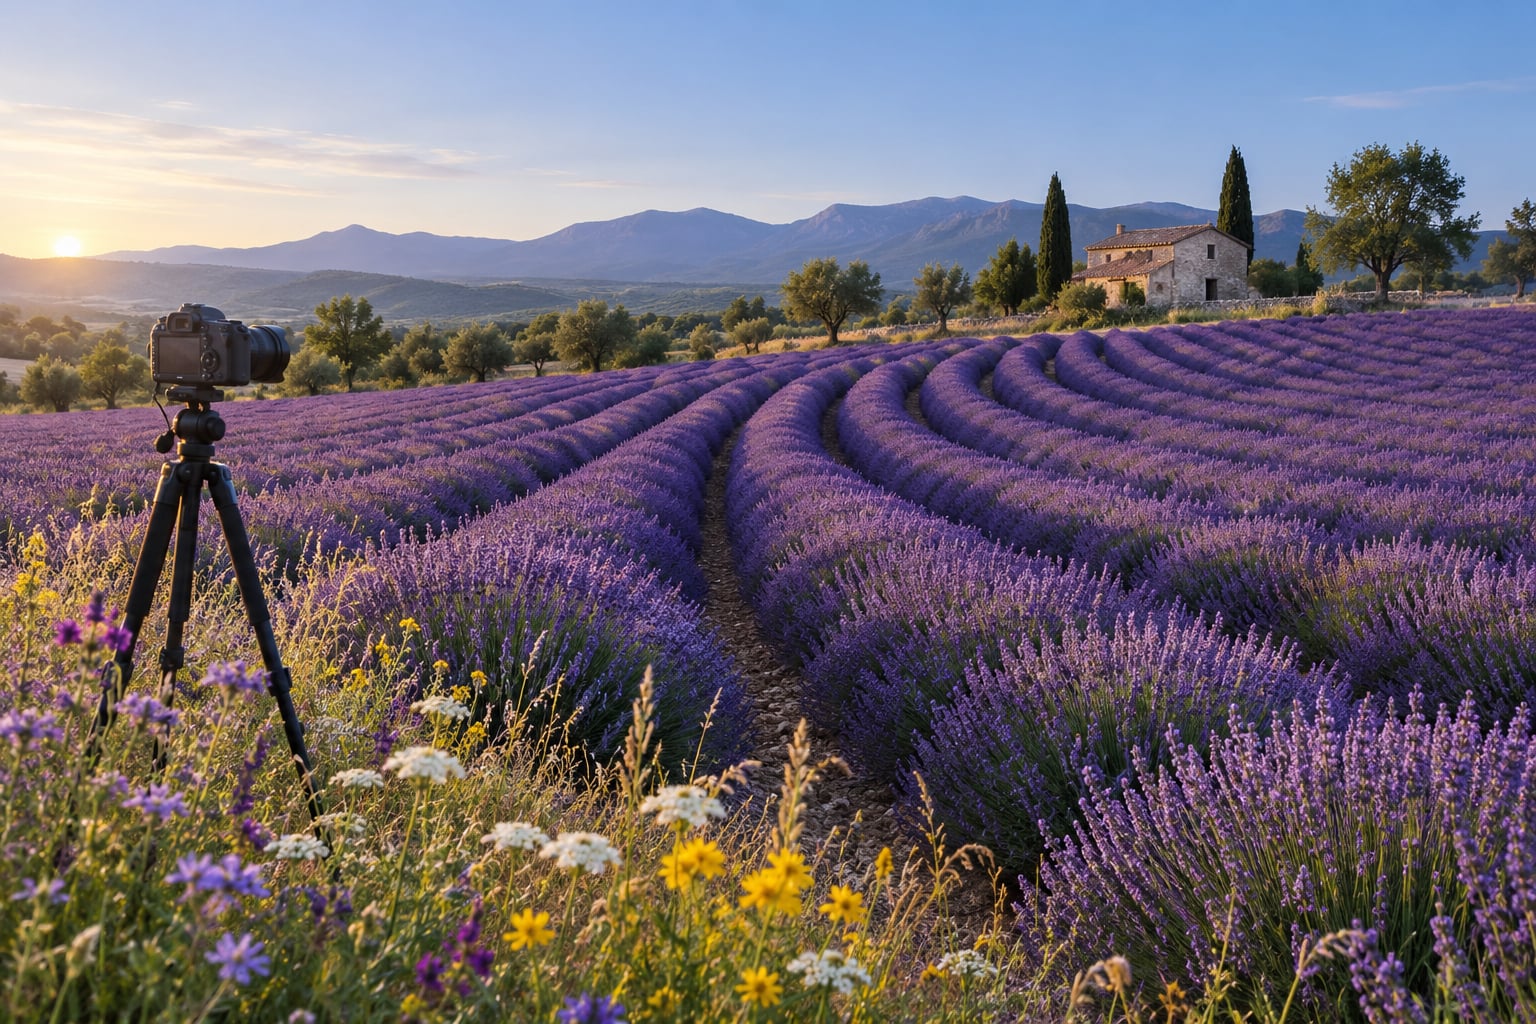
- A tripod. Only needed for blue hour and long exposures, but it turns a blurry frame into a sharp one.
- A circular polarizer. Cuts surface glare on waxy flower spikes and, more usefully, deepens the blue of a sky at dawn.
- Spare battery and a card. Cold dawn air and long screen sessions drain batteries faster than you expect.
- A small reflector or white card. Lifts a face in a portrait session without dragging another person across the rows.
Leave the bag behind if the walk is uneven. Lavender fields sit on rolling ground, and a heavy kit bag gets tiring faster than the shooting does.
How to Photograph Lavender Fields Step by Step
1. Check the Bloom and Choose a Responsible Location
Confirm the bloom before you drive. Farms post updates on their own sites and social accounts, and harvest crews move through a region over a couple of weeks, not all at once. Signs the window has closed: cut stubble in neat parallel lines, cut lavender bunched in trailers, a distillery running at full tilt, or a much weaker smell than you remember.
On the ground, walk the field edge before committing. Well-maintained fields have clear, weed-free rows and evenly spaced plants. A neglected plot with weeds between the stalks photographs as a muddy mix of green and purple no matter how good the light is. Check whether you may enter: some farms charge a fee, some provide a guided route, and most have a rule about staying on the track or working between rows.
2. Time the Visit for Favorable Light
Early morning and late afternoon are the reliable windows, and they are reliable for two separate reasons. The light is low and directional, which sculpts the rows with long shadows and stops the purple from flattening. The fields are also near-empty, which means clean frames and a path you can actually stand in.
Midday is the one to avoid. Overhead sun burns out the brightest spikes, throws hard shadows into the gaps, and drives the camera to expose for a sky that is far brighter than the flowers. You end up with greyish lavender under a white sky. If midday is all you have, wait for the sun to move off the field or find a patch of open shade at the treeline, and shoot wide with the sky underexposed on purpose.
3. Look for Strong Foreground and Background Layers
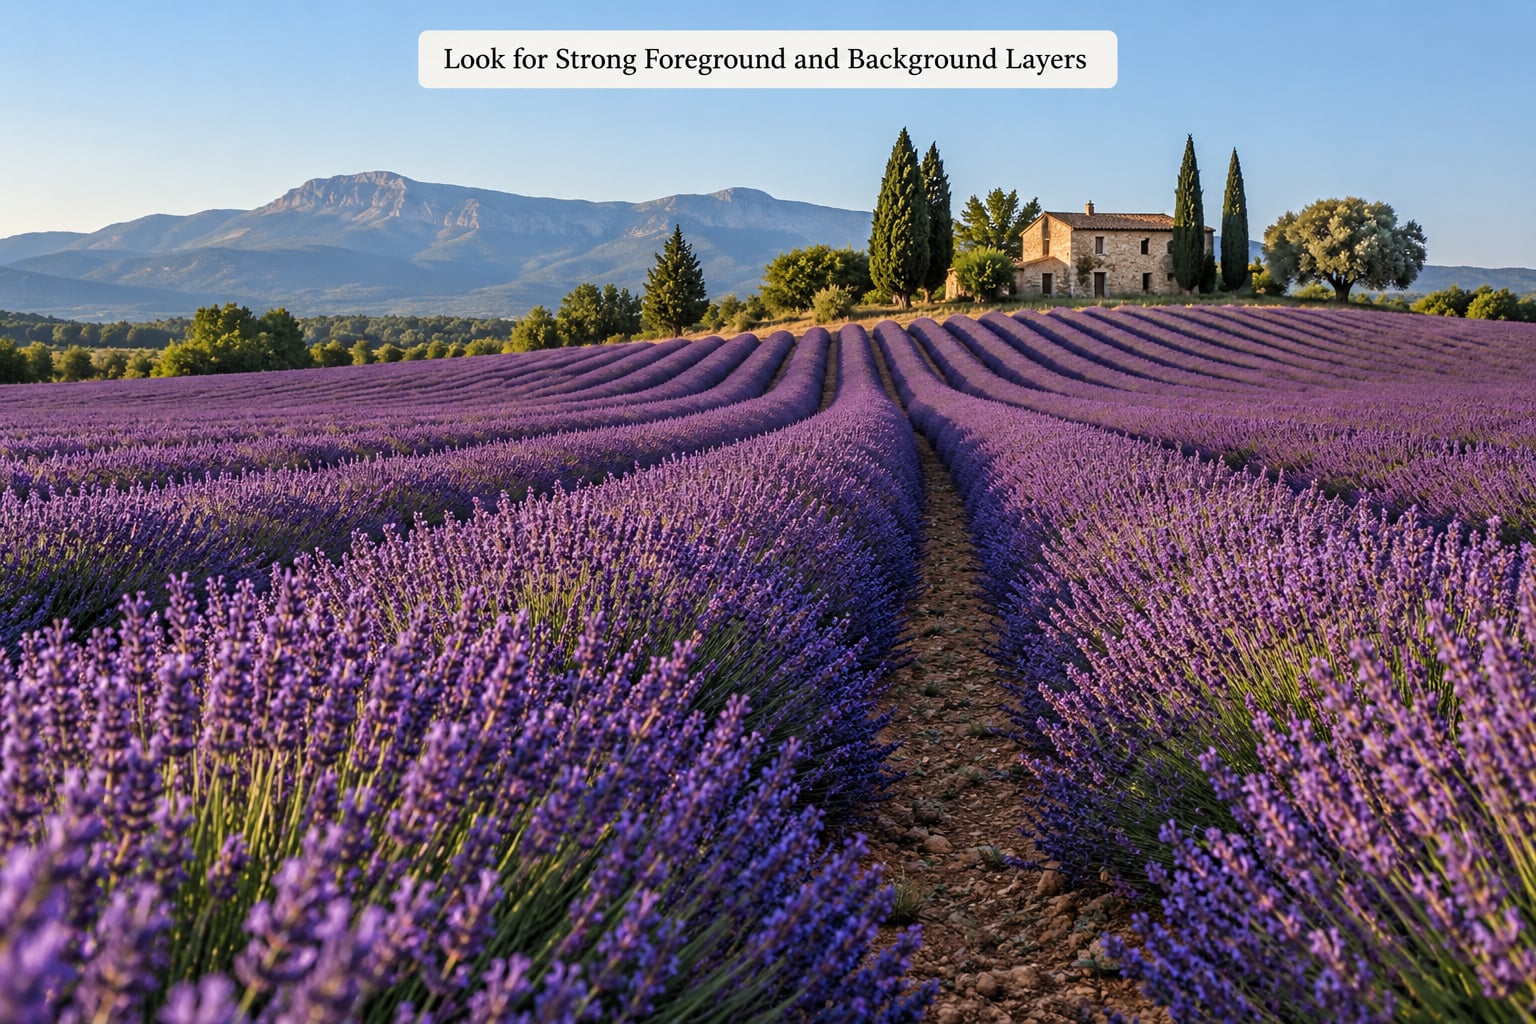
A lavender photograph needs something in front of the flowers and something behind them. Without a foreground the frame starts on the subject, and without a background the eye has nowhere to travel. Look for a stand of wildflowers, grasses or a low stone wall close to the lens, and for a treeline, farmhouse, church tower or distant ridge behind the rows.
Then find the row direction. Stand where the rows run away from you and they become leading lines, narrowing toward a vanishing point. Stand across them and you get stripes, which read as flat bands. This one change of position does more for a lavender frame than any lens or filter.
4. Choose a Composition That Conveys Scale
Five compositions cover almost everything, and they are not interchangeable.
- Wide establishing view. Camera low, wide lens, a few foreground flowers soft at the bottom edge. Best when the field is huge and the sky does the work.
- Compressed telephoto pattern. Long lens, rows stacked on top of each other, no horizon. This is the shot that makes a field look endless.
- Human-scale frame with no people. Show a boot in the row, a hat on a fence post, a forgotten basket. It tells the viewer how big the field is without a face in it.
- Close flower study. One spike sharp, everything behind it a wash of violet bokeh. The classic lavender close-up.
- Abstract. Straight down, filling the frame with spikes at an angle so they overlap into a texture. Works on an overcast day when nothing else will.
Pick two and shoot both. You rarely get the better composition on the first attempt.
5. How to Photograph Lavender Fields Without Losing Depth
Start at f/8. Wide open looks tempting because the background melts away, but it leaves only one spike sharp and the rest of the row unreadable. Stopping down costs nothing at f/8 and buys you depth across the row, so treat it as the sensible default; f/2.8 is for close studies where blur is the point.
Pair that with a shutter speed fast enough to freeze a breeze, usually 1/250s or 1/500s in daylight, and let Auto ISO cap out around 400 so the sky stays clean. A 70-200mm at f/8 and 1/250s is the workhorse combination for most of what you will shoot in a field.
6. Focus on the Flowering Stems
Find the stem that carries the frame, then focus on that, not on the brightest edge in the picture. Contrast edges at the far end of a field, a pale sky boundary or a white building will fool single-point autofocus into focusing at infinity while your subject sits a metre away. Move closer until the gap closes.
Check sharpness before you move. Take one frame at a low ISO, zoom in on the near spikes at 100%, and if the subject is soft, re-focus rather than blaming the lens. Overcast days in particular need a manual focus check, because there is less light for the autofocus system to work with.
7. Expose for the Purple Flowers and Bright Sky
Photograph lavender fields by exposing for the flowers and letting the sky go slightly bright. A frame with a blown strip of sky survives; a frame with a blown strip of lavender does not. Set the exposure compensation between -0.3 and -0.7 EV, watch the histogram so the spike highlights stay left of the right edge, and keep the brightest tops of the flowers from clipping.
Shoot RAW if the camera allows it. The violet sits in a narrow slice of the colour space, and RAW gives you room to bring it back in editing where a compressed JPEG gives you nothing. Turn off any in-camera vividness or saturation boost; the plant is already saturated enough.
8. Review the Scene Before Leaving
Before you pack up, run a short check while you still have light. Is the focus where you meant it to be? Did the highlights clip? Is the horizon straight, or is it running downhill because you were standing on a slope? Is there a bin bag, a sign, a parked car or a footpath cutting through the frame?
Then move twenty metres in one direction and take the same shot again. Fields change enormously over a short distance, and the second position is often the one that works. I usually leave with a top-three list rather than a single keeper, because the sun drops fast once you start shooting.
Common Mistakes
Almost every disappointing lavender photograph comes down to one of a handful of avoidable moves.
- Walking off the marked path. The fix is not a better excuse but a better vantage point: shoot from the track, from the road, from the gate. If you must step in, stay in one row and keep your feet flat rather than dragging them.
- Using an ultra-wide lens for the main shot. At 14mm you are close enough to see gaps between stalks, and the field turns into a confusing mass. The fix is to step back and zoom in, not to open up wider.
- Photographing across the rows. Fix: walk to the end of the field, turn around, and shoot down the row.
- Stopping down past f/11. You gain a sliver of depth and lose sharpness to diffraction. f/8 is the ceiling for most field work.
- Filling the frame with sky. Aiming above the horizon throws away the pattern that makes the field interesting. Fix: put the horizon in the upper third or drop it out entirely.
- Oversharpening and over-saturating in editing. Lavender gains a false, plastic edge fast. Fix: dial the sharpening down until it looks slightly soft, then pull saturation back until the flowers read as purple rather than magenta.
Make Color Look Natural in Editing
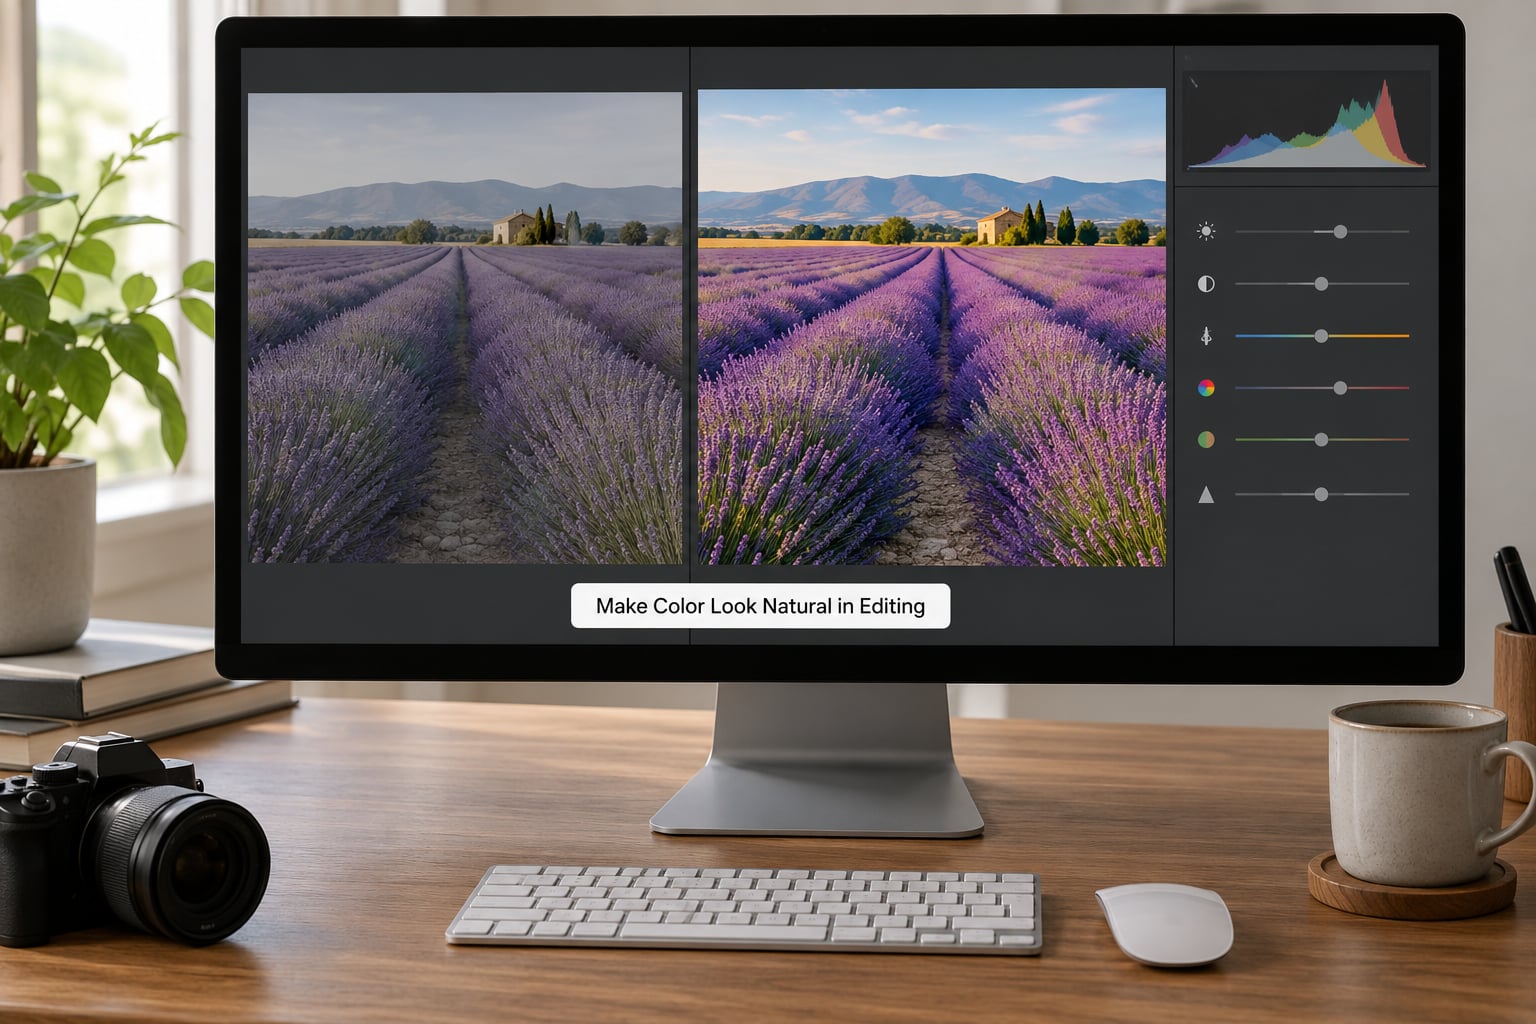
Start with the white balance. If you shot RAW, set it by hand rather than leaving it on As Shot, because the camera’s automatic violet correction is what pushed the flowers toward grey in the first place. Move the temperature slider a touch warmer and add a small amount of magenta tint until the flowers look like the plant rather than like a bruise.
Then work in this order:
- Pull the highlights down until no spike is flat white, and lift the shadows slightly to open the gaps between rows.
- Use the HSL panel on the violet and blue sliders. Reduce blue luminance a little and raise violet saturation by a small amount, not a large one.
- Add a gentle S-curve for contrast, then add a touch of texture rather than extra clarity, which makes flower edges look crunchy.
- Check the result on a phone screen as well as a monitor. Colours that look right on a bright screen often read as dull on the one most people use.
On a phone, the same fix takes about a minute: set the tone curve, lower the highlights, add a small amount of warmth, and keep the purple slider alone unless it is obviously too flat.
Tips for Different Conditions
Wind. A breeze is the enemy of the close study. Raise the shutter to 1/500s or wait for a lull and watch the spikes from ten metres away before committing. Long lenses make wind more obvious because they compress the movement.
Bright sun. Work in the shadow of a building or tree line, use a polarizer to control glare on the waxy spikes, and expose for the highlights. Photographs of a sunlit field can look flat, and a graduated filter is optional here; a downward exposure adjustment usually does the same job.
Overcast. This is good news, not bad. Soft light means even colour across the frame and no blown highlights, so you can shoot closer to midday. Push ISO higher, focus manually, and lean toward the abstract and texture compositions.
Narrow spaces between buildings or hedgerows. A tight location gives you repeating vertical rows and fewer distractions. Shoot upward along a row with a wide lens, or use a longer lens down a single corridor between two walls of flowers.
Portraits among the flowers. Keep outfits to neutrals, pastels, cream or sage, and coordinate rather than match, so nobody looks like they came from the same uniform. Shoot at f/2.8 with the subject a stride in front of a long row so the background falls into violet blur. A reflector lifted from below solves the shadow the hat brim creates.
The field has already been cut. Work with it rather than leaving. Cut rows create a striped pattern of light and stubble, harvest trailers and bunches give you a story, and the exposed soil of a worked field is a different picture entirely. The same morning that flattens the purple rows can produce the best frame of the trip.
Frequently Asked Questions
What is the best time of day to photograph lavender fields?
The hour after sunrise is the best choice, with the hour before sunset a close second. Low directional light sculpts the rows with long shadows, keeps the violet from washing out, and gives you empty paths before the crowds arrive. Midday sun is the worst option: it blows out the brightest flower spikes and turns the field flat. If you can only shoot at midday, find open shade and underexpose by a third of a stop.
Are smartphone cameras good enough for lavender field photos?
Yes, for most lavender field work a phone is enough. The two things to change are exposure and focus: tap the flowers to focus, then pull the exposure slider down a third of a stop so the sky stays bright but the purple keeps its colour. Shoot in the RAW or Pro mode if your phone has one. Avoid the wide lens and digital zoom, since both destroy detail in the repeating rows.
What lens is best for photographing lavender rows?
A 70-200mm is the best lens for lavender rows because it compresses the repeating stalks into continuous violet bands. A 24-70mm at 70mm works nearly as well. Ultra-wide lenses are the wrong tool for the main shot: at 14mm you see individual stalks and gaps, and the field turns into an indistinct mass. A wide lens is still useful for a low viewpoint with large flowers near the lens.
Should I use a tripod when photographing lavender fields?
Only when you need it. A tripod matters for blue hour, starburst or long-exposure work, where anything under 1/30s will blur, and for the narrow aperture shots some people attempt. In bright daylight a tripod mostly gets in the way of moving between compositions quickly. If your field is on rolling ground, a monopod or simply bracing the camera against your own weight is often more practical.
How do I stop lavender photos from looking too purple or too grey?
Shoot RAW and set the white balance by hand. Automatic white balance neutralises violet toward grey-blue, which is why phone photos of lavender often look washed out. Set the temperature slightly warmer, add a small amount of magenta tint, reduce the blue luminance in the HSL panel and raise violet saturation only a little. Heavy saturation pushes the flowers into an artificial magenta that no real field matches.
Start with the Best Light and One Clear Composition
If you do only three things, do these. Check the bloom and the access rules before you travel, arrive an hour before sunrise, and find one composition with a foreground, rows running away from you and a background layer. Then set white balance manually, expose for the flowers at f/8, and check the focus before you move on.
Everything after that is refinement. Do the same three things well and you will come home with the shot, regardless of the camera you brought.