To photograph houseplants indoors, set the plant near a window, turn it so light falls across the leaves at an angle instead of straight down the lens, then shoot one steady test frame focused on a single leaf edge. Soft window light, a reflector card and a handful of test shots fix most flat, blotchy results.
The whole routine takes about ten minutes per plant once you have it. The three things that ruin most indoor plant shots are overhead light, a busy background, and autofocus landing on the wall behind the pot. None of those need equipment to fix.
The steps below follow the order that actually matters. Clean the plant first, then find the light, then set the camera for the dimness of a room, then compose, then edit. Skipping ahead usually costs you an afternoon.
Table of Contents
- What You Need
- Step-by-Step: How to Photograph Houseplants Indoors
- How to Photograph Houseplants Indoors: Prepare the Plant
- Choose Soft, Directional Light
- Set Up the Camera for Sharp Detail
- Compose Around One Clear Subject
- Shoot Several Variations and Refine the Image
- Common Mistakes
- Frequently Asked Questions
- What is the best light for photographing houseplants indoors?
- Can I take good plant photos with just my phone?
- How do I photograph houseplants without a macro lens?
- Should I backlight houseplants or shoot them from the front?
- How do I get a clean background behind a houseplant?
- How do I photograph houseplants in a dim room?
- Conclusion
What You Need
You can do everything in this guide with what is already in a drawer. Here is what each item solves, and which ones are optional.
- A camera or a phone. A phone with a rear main lens and a 2x telephoto option covers everything here. A mirrorless or DSLR body gives you manual control over aperture, ISO and white balance, which matters most for close-up work.
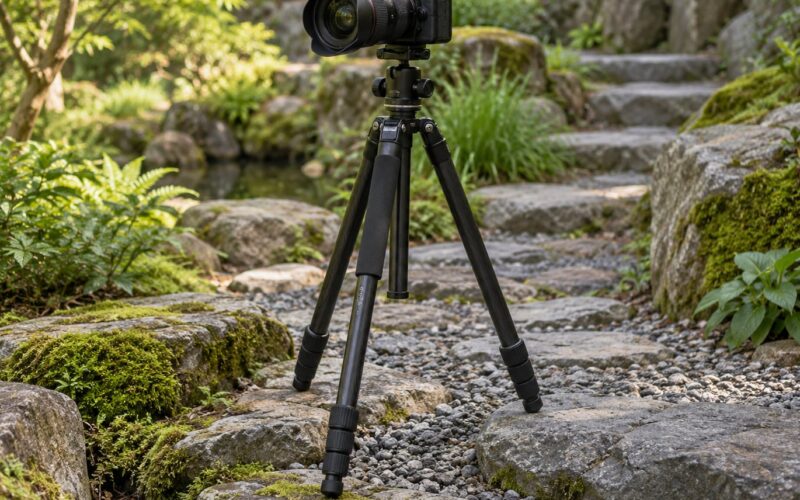
- Something to steady the camera. A small tripod is ideal, but a stack of books, a windowsill edge or a braced elbow works. Indoors the light is dim enough that hand-holding at 1/30s or slower usually means blur.
- A sheer curtain or a diffuser. A single layer of fabric between the plant and the window turns hard sunbeams into a soft, wraparound glow. This one item does more for your photos than any camera setting.
- A small white reflector. A piece of foam board, a sheet of white card or even a piece of printer paper fills the shadow side of a plant so the leaves do not go black.
- A neutral background. A plain wall, a sheet of paper or a piece of fabric a metre or so behind the pot. Neutral means no colour that fights with green.
- Cleaning materials. A soft cloth, a soft brush and lukewarm water. Dust on a leaf kills the light and the colour you are trying to capture.
- Optional props. A neutral pot, a small watering can, a hand trowel or a stack of two or three books to lift the plant to eye level.
If you own only one extra thing, make it the tripod. Steady shots let you use slower shutter speeds and lower ISO, which is the cleanest route to a sharp, low-noise image of a dark green leaf indoors.
Step-by-Step: How to Photograph Houseplants Indoors
Seven tips, in order:
- Clean the leaves and remove anything damaged.
- Turn the healthiest, fullest side of the plant toward the camera.
- Work with soft, directional window light rather than overhead or direct sun.
- Fill the shadow side with a reflector.
- Set exposure and focus for a dim room.
- Compose around one clear subject.
- Shoot several variations, then correct the colour in editing.
How to Photograph Houseplants Indoors: Prepare the Plant
Wipe the leaves with a barely damp soft cloth, leaf by leaf, and brush dust out of the leaf axils where it collects. Hold each leaf between two fingers and wipe from the base toward the tip, rather than across, so you do not scratch the surface.
Pull off yellowed, brown or damaged leaves and any dead flower stalks. That is genuinely better for the plant as well as the photo, so it is not a compromise you are making for the camera.
Check the undersides of leaves for pests before you bring the plant to a window you use every day. Quarantine anything suspicious on a table away from the rest of the collection while you deal with it.
Now turn the plant. Look at it from across the room and pick the side with the best leaf coverage, the fewest bare stems and the most interesting silhouette. Give the pot a quarter turn until the widest part of the plant is angled away from the lens and there is room for the plant to fill the frame without touching the edges.
You will know the preparation worked when the leaves show a clear sheen rather than a dusty haze, and the pot looks intentional rather than shoved into a corner.
Choose Soft, Directional Light
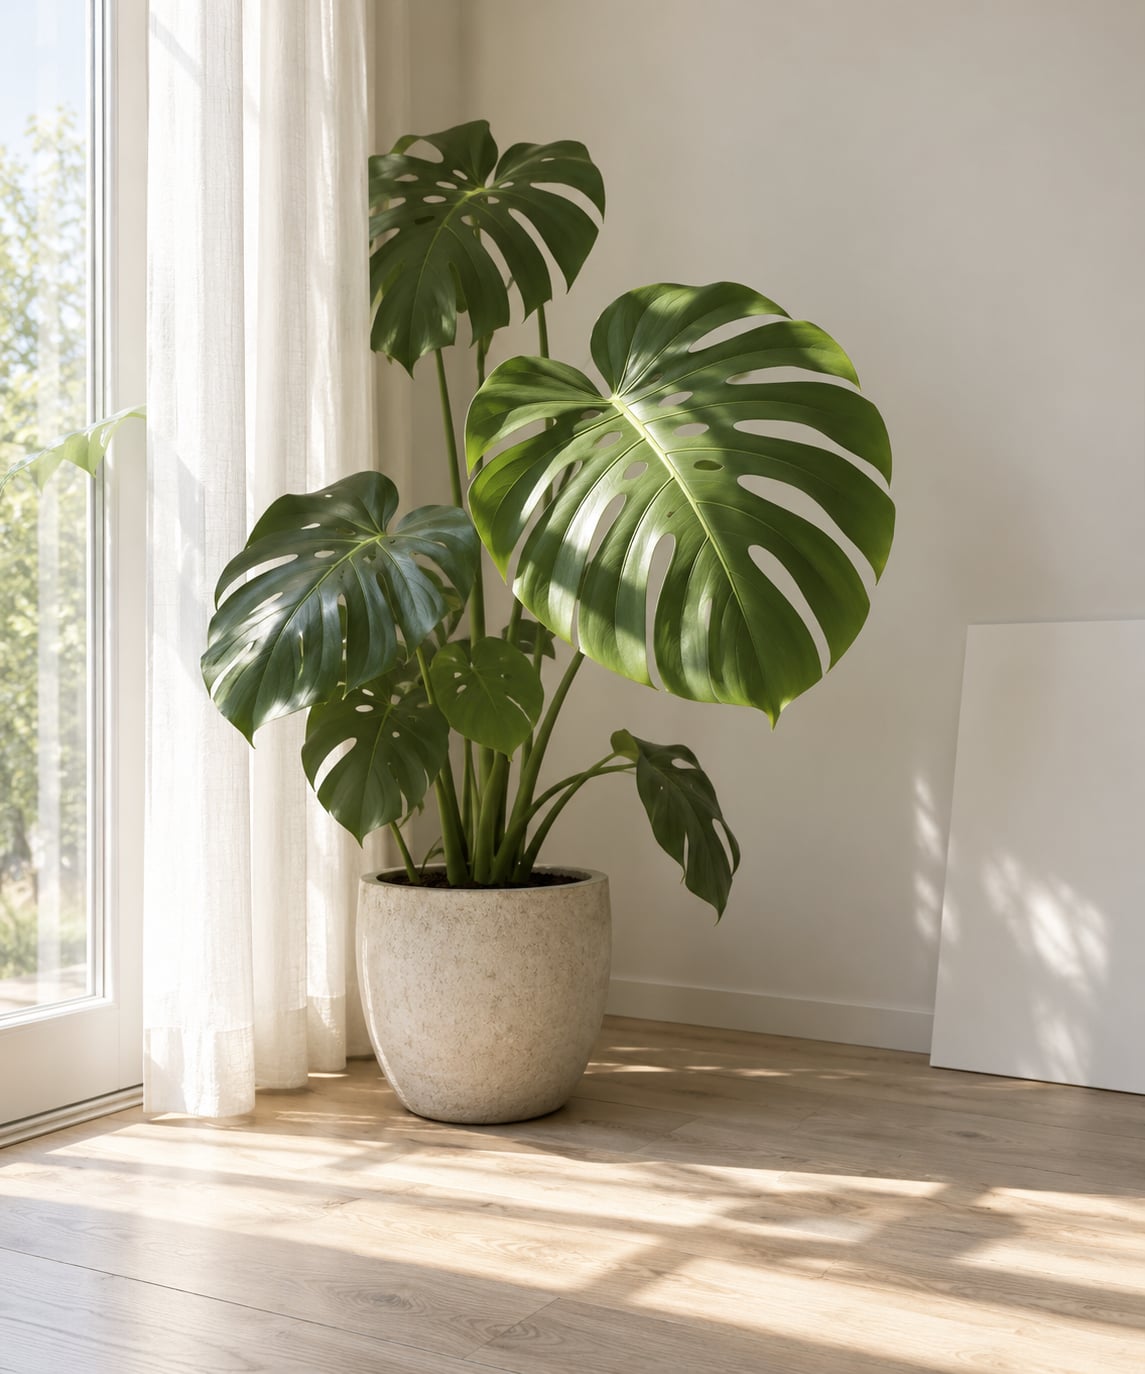
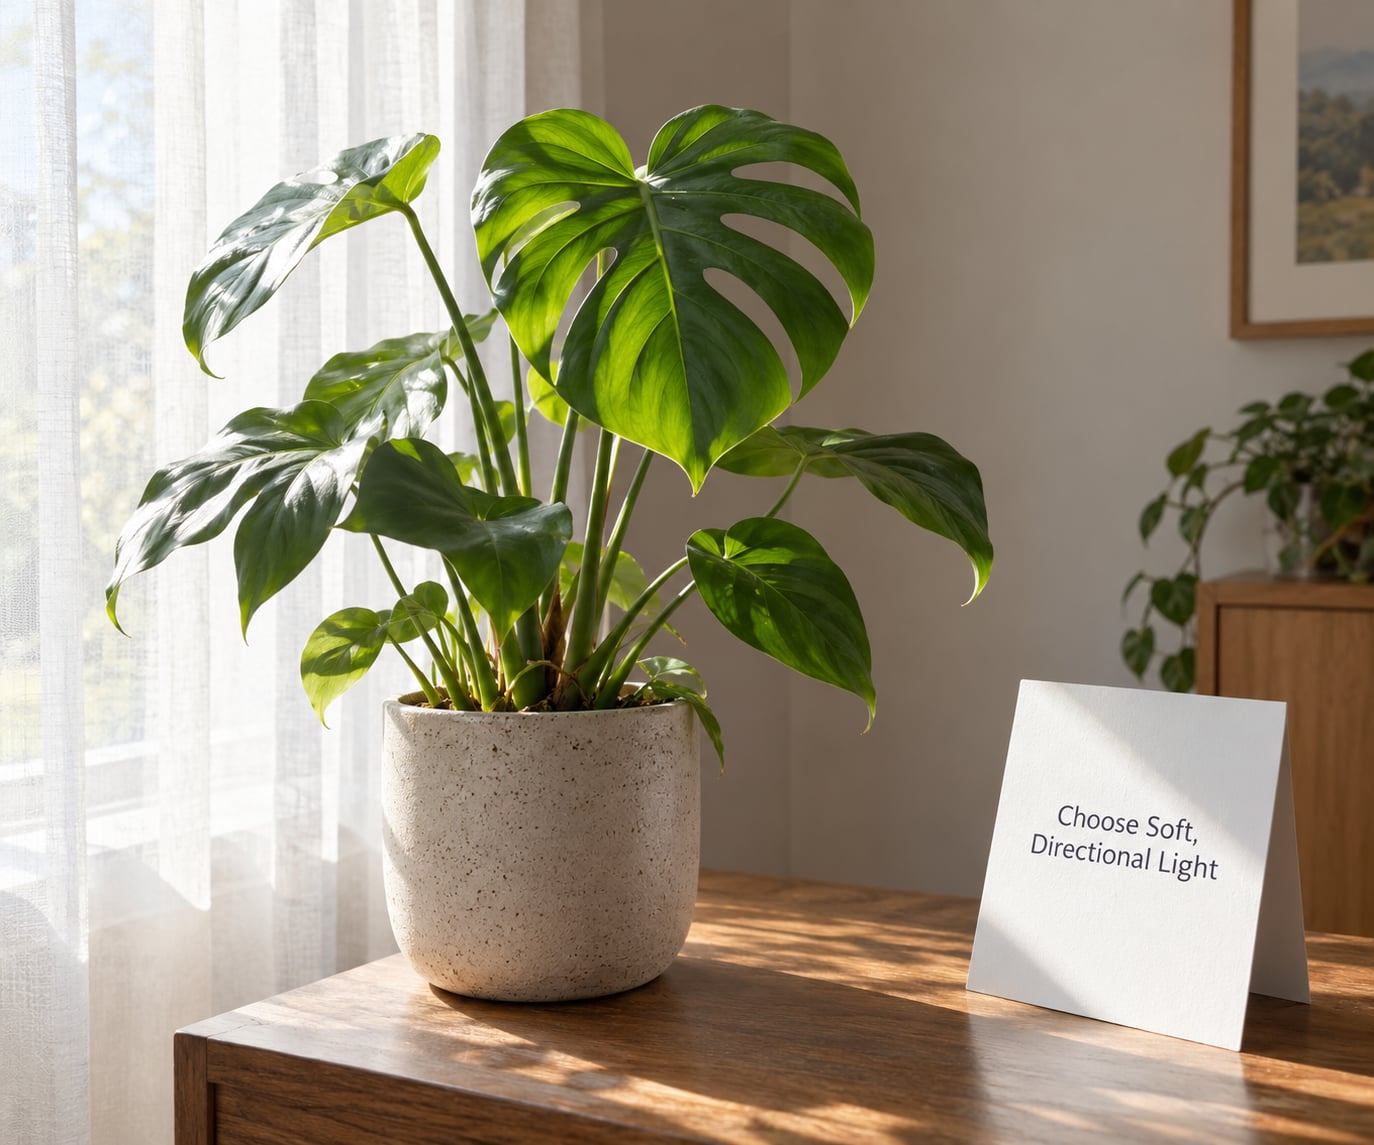
Directional light means the light comes from one side and falls across the plant at an angle. That angle is what gives leaves their shape, because each leaf throws a small shadow onto the one behind it. Light straight down the lens flattens everything.
Position the plant so the window is roughly 45 degrees to one side of the camera, not behind the plant and not behind the camera. Then put a sheer curtain between the plant and the glass. Overcast daylight and window-filtered sun both give you the soft, even quality that studio photographers spend money on lights to imitate.
Harsh midday sun straight through glass is the one thing to avoid. It burns out highlights on glossy leaves within seconds and drops everything else into deep shadow. If that is the only light you have, hang two layers of sheers and wait until the sun moves or take the shot the next morning.
Window direction matters more than most guides admit:
- North-facing: steady, cool, indirect light all day. The easiest room to work in for consistent results.
- East-facing: bright and warm in the morning, fading quickly. Good for green foliage, which reads warmer and richer in early light.
- South-facing: the strongest light, so it needs sheers or a step back from the glass. Best for succulents and cacti, which tolerate and enjoy direct sun.
- West-facing: warm afternoon light with long shadows. Beautiful for texture shots, but watch the specular hotspots on waxy leaves.
Once the light is placed, put your reflector on the camera side. A white card a hand’s width from the shadowed leaves lifts them back to a readable green instead of near-black.
Light from a grow lamp needs a caveat. Most produce a strong magenta or yellow cast that no white balance setting fully removes. Shoot beside the lamp rather than under it, or wait until the lamp is off, and correct what is left in editing.
Set Up the Camera for Sharp Detail
Indoors you are working with a fraction of the light outdoors, so the trade-off is always the same: open the aperture, raise the ISO, and keep the shutter fast enough to freeze any movement. These are starting points, not rules:
- Full plant portrait: f/2.8 to f/4, 1/60s, ISO 200 to 800. Use a tripod and shoot RAW.
- Single leaf detail: f/4 to f/5.6, 1/125s, ISO 400 to 1600. Focus on the nearest leaf edge.
- Backlit silhouette: f/5.6, 1/250s, ISO 100 to 400. Meter for the background, not the plant.
- Evening, dim room: f/1.8, 1/30s, ISO up to 3200. Brace the camera and use the two-second timer.
- Vertical phone frame: f/1.8 native, 1/120s, auto ISO up to 3200. Switch to the 2x lens for detail shots.
Set white balance to Daylight or Shade rather than Auto. Auto white balance reacts to the green in the frame and drifts, and mixed window and lamp light will never settle on a colour you would have chosen yourself.
Focus on a leaf edge closest to the lens. Depth of field, the zone that is actually sharp, is only a few millimetres deep at close range, and a leaf edge gives autofocus something definite to grab. Switch to single-servo or single-point AF and stop down a stop if the whole leaf is not sharp.
Check the histogram before you shoot the next frame. Right-skewed means blown highlights on a glossy leaf. Slight under-exposure is safer indoors, because clipped green detail cannot be recovered in editing.
On a phone: wipe the lens with a cloth first, tap the leaf you want sharp, then press and hold to lock exposure and focus. Drag the sun icon down a little to protect highlights. The 2x telephoto gives you a workable close-up, and portrait mode blurs the background on full-plant shots, though it fakes the blur and can misfire on leaf edges. Skip portrait mode for detail shots.
Compose Around One Clear Subject
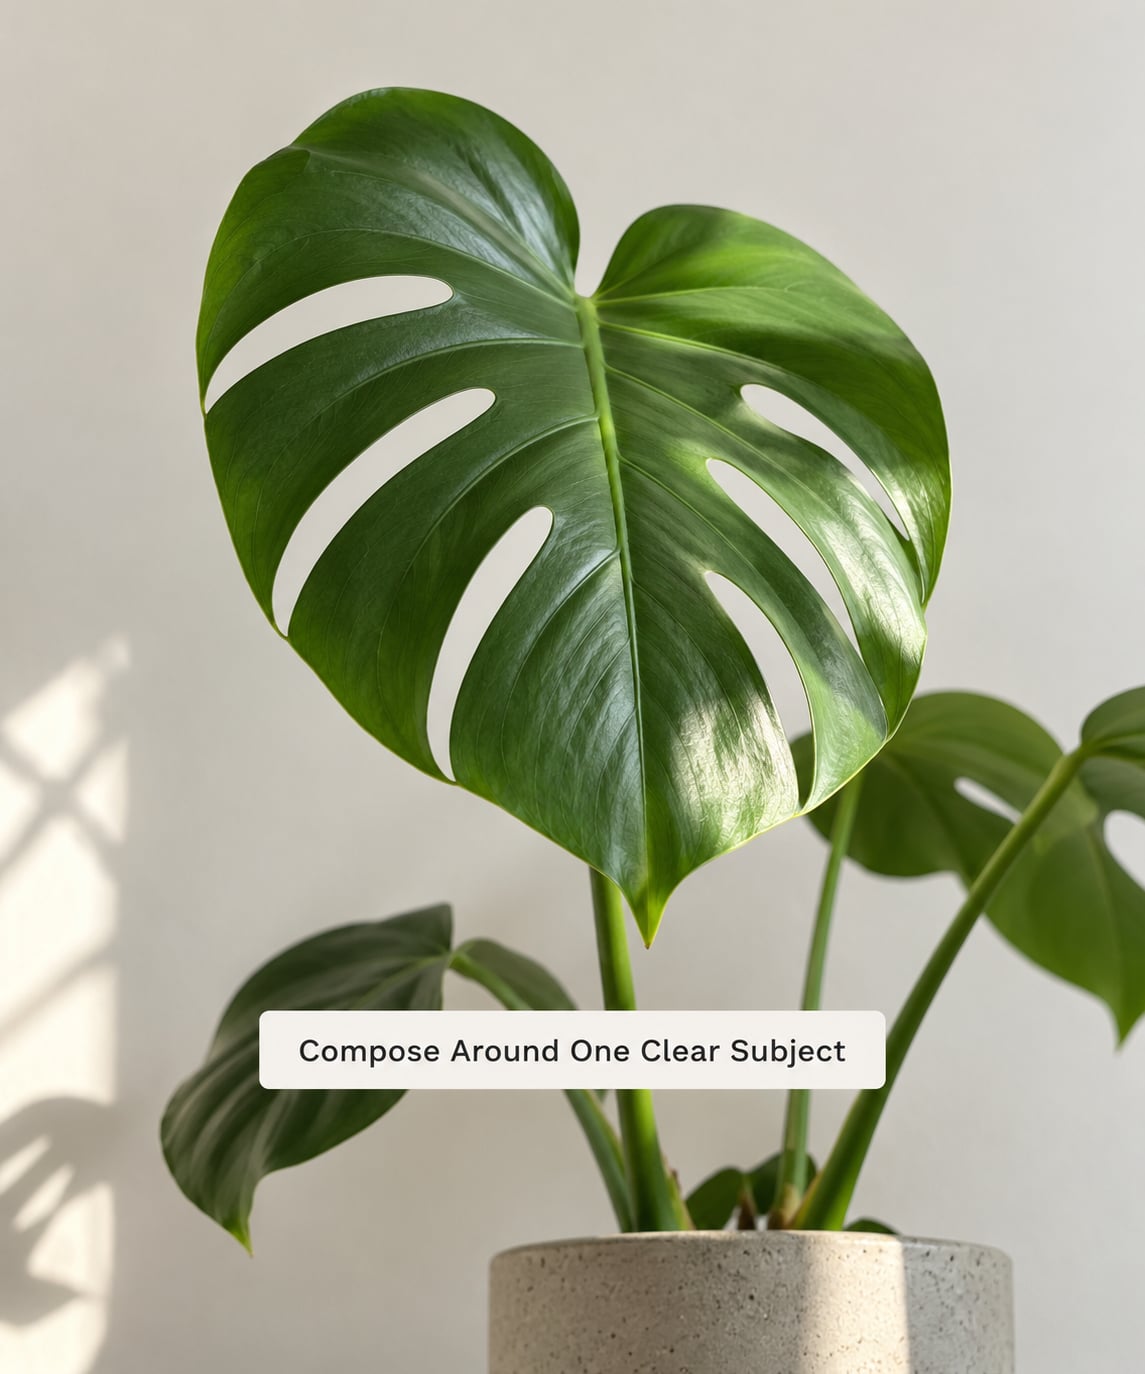
Decide what the photo is about before you raise the camera. A single hero leaf with visible veins, one plant as a silhouette, or the whole pot as a still life are three different photographs. Trying to show all of them at once gives you a cluttered frame that says nothing.
Put your subject on a third rather than dead centre. Leave negative space, the empty area around your subject, on the side the plant leans toward so the frame has somewhere to breathe. Shoot slightly below leaf level, looking gently upward, because that is the angle most people never try and it makes the plant feel taller.
Isolate it from the room. Move the plant a metre or more from a busy wall, or push the background further away with a longer focal length. A 35mm lens close to the subject or an 85mm from further back does a better job than any amount of editing. Depth of field wide open throws the shelf behind into soft bokeh.
Check the pot before you shoot. A chipped, stained or plastic-looking pot undermines the whole frame more than a slightly imperfect leaf. Swap it for something plain if the plant is in a nursery pot.
Shoot Several Variations and Refine the Image
Take a horizontal frame, a vertical one, a full-plant shot, a close-up, a backlit one and one straight-on record shot. Most photographers describe shooting dozens of frames for a plant rather than trusting a single exposure, and indoors that is true because the light shifts as clouds pass.
Review each frame at full size for sharpness, exposure, colour cast, background distractions and separation from the background. Keep the sharpest frame per idea rather than the most dramatic one.
Editing should be restrained:
- Set white balance first, until the leaves and the neutral background agree.
- Pull highlights down and lift shadows a little for the window-lit look.
- Lower green saturation slightly. Over-saturated foliage reads as artificial and destroys the texture you worked for.
- Add texture or clarity to the leaf, not to the whole frame.
- Crop to a vertical frame if the shot is going to a feed, and check nothing important sits in a corner.
Save a corrected version next to the original. Comparing the pair teaches you faster than any settings list, because you see exactly what the camera got wrong.
Common Mistakes
- Harsh sunbeam through the glass. Add a sheer curtain, move the plant back a metre from the window, or shoot in overcast conditions.
- Yellow or green cast. Set white balance manually instead of auto, and shoot beside a grow lamp rather than under it.
- Muddy background. Move the plant away from the clutter and open the aperture, or use the 2x lens on a phone.
- Autofocus hunting. Use single-point AF on a foreground leaf edge, then hold the phone steady or use a tripod.
- Blown highlights on glossy leaves. Watch for a specular highlight, a mirror-like reflection of the window on a waxy leaf. Expose for the highlights or turn the leaf so it faces away from the glass.
- Reflections of you in the window. Step the camera away from the glass and shoot at an angle, or press a dark cloth or jacket against the pane beside the lens.
- Blur from indoor air currents. Close a fan, move off an air vent and use the two-second timer instead of pressing the shutter.
- Over-edited greens. Drop saturation and add a touch of texture instead. Real foliage has variation between leaves, and a flat vivid green gives it away.
Two habits make the results repeatable: shoot at the same time of day so the light matches across your set, and write down the settings for any frame you like. A note that reads f/4, 1/125s, ISO 800, Daylight WB will reproduce the look on another plant in another room.
Frequently Asked Questions
What is the best light for photographing houseplants indoors?
Soft, indirect daylight from a window is the best and cheapest light. Put the plant at roughly 45 degrees to the window so light rakes across the leaves, and hang a sheer curtain to soften direct sun. North-facing windows give steady light all day, east and west windows are warmer and change quickly, and south-facing light needs diffusing or stepping back from the glass.
Can I take good plant photos with just my phone?
Yes. Wipe the lens, tap the leaf you want sharp and press and hold to lock exposure and focus, then drop exposure slightly to protect highlights on glossy leaves. Use the 2x telephoto for detail and portrait mode for full-plant shots so the background softens. A tripod or a stack of books helps most indoors, since rooms are dim and hand-holding slows the shutter.
How do I photograph houseplants without a macro lens?
Move closer and use a narrower field of view instead of a macro lens. On a phone, the 2x telephoto gives enough magnification for leaf veins and texture, and a small clip-on or ring light adds even illumination at close range. On a camera, a kit zoom at its telephoto end works, and stopping down to f/8 with focus stacking can keep a whole leaf sharp.
Should I backlight houseplants or shoot them from the front?
Both work for different pictures. Front or side light shows colour, texture and leaf detail, which suits most plant photos. Backlighting, with the window behind the plant, turns leaves into translucent shapes and makes a strong silhouette, especially on thin or variegated foliage. Expose for the bright background in that case or the leaves will burn out to white.
How do I get a clean background behind a houseplant?
Give the plant distance. Move it a metre or more from a busy wall, shelf or radiator, then shoot with a wider aperture such as f/2.8 or use the 2x lens on a phone so the background falls out of focus. If you cannot move the plant, hang a plain sheet of paper or fabric behind it. Editing cannot rescue a background full of cables and clutter.
How do I photograph houseplants in a dim room?
Open the aperture as far as it goes, raise ISO to 1600 or 3200, and keep the shutter at 1/30s or faster using a tripod or a braced elbow. Shoot in RAW so you can lift shadows without noise appearing in the greens. Turning on a lamp helps the camera focus but adds a mixed colour cast, so aim to use one light source, preferably window daylight.
Conclusion
Start with the three moves that matter most: clean the leaves and turn the best side of the plant toward the camera, set it beside a window with the light raking across at an angle, and take one steady test frame focused on a foreground leaf edge before touching anything else.
Then repeat the whole routine for each plant and each lighting condition. Most rooms settle after two or three attempts, and after that the good frame takes seconds rather than an afternoon.