To photograph birds in the backyard you need three things: a long lens, a supported camera aimed at a predictable perch, and a shutter speed fast enough to stop a wingbeat. Set it up once, hide it, and wait, because most backyard birds return to the same feeder within the hour. Fifteen minutes of setup buys you a whole morning of shooting.
The honest part is that nine out of ten frames are rubbish. Every bird photographer I know deletes far more than they keep, and the only way past that early wall is repetition from a fixed spot rather than chasing birds around the yard. Nothing here needs a mirrorless body or a five-thousand-dollar lens.
Quick answers
- Best camera: any camera with manual shutter speed and a 200mm or longer lens, which most bridge and DSLR bodies from the last decade already have.
- Best lens: a 200-500mm telephoto zoom gives you framing flexibility in a small yard without swapping glass.
- Best autofocus mode: continuous autofocus with animal or bird subject detection, or manual pre-focusing on the perch for small fast birds.
- Best ISO: whatever keeps the shutter speed at 1/2000s or faster, often ISO 800 to 3200, then denoised in editing.
- Will birds fly off? they usually do if you move suddenly or stand in the open, and they usually settle again after ten or fifteen minutes of stillness.
- Can a phone work? yes, if you prop it, tap to lock focus on the bird, and shoot short video clips to pull stills from.
Table of Contents
- What You Need
- A camera with real shutter control
- A 200mm or longer lens
- Something to hold the camera steady
- Attractants: seed, water and perches
- A place to sit with shade and a clear line of sight
- Step-by-Step
- Step 1: Get birds using one predictable perch
- Step 2: Pick a position and disappear from view
- Step 3: Support the camera instead of holding it
- Step 4: Set the exposure for a perched bird or a flying one
- Step 5: Put the focus point on the eye
- Step 6: Fire the burst before the bird lands
- Step 7: Review on a big screen and edit honestly
- Common Mistakes
- Frequently Asked Questions
- What is the best autofocus mode for backyard bird photography?
- Do I need a telephoto lens, or will my phone work?
- What time of day gives the best light for backyard birds?
- How do I attract birds without frightening them away?
- How should I edit backyard bird photos?
- Why do my bird photos come out blurry?
- Conclusion
What You Need
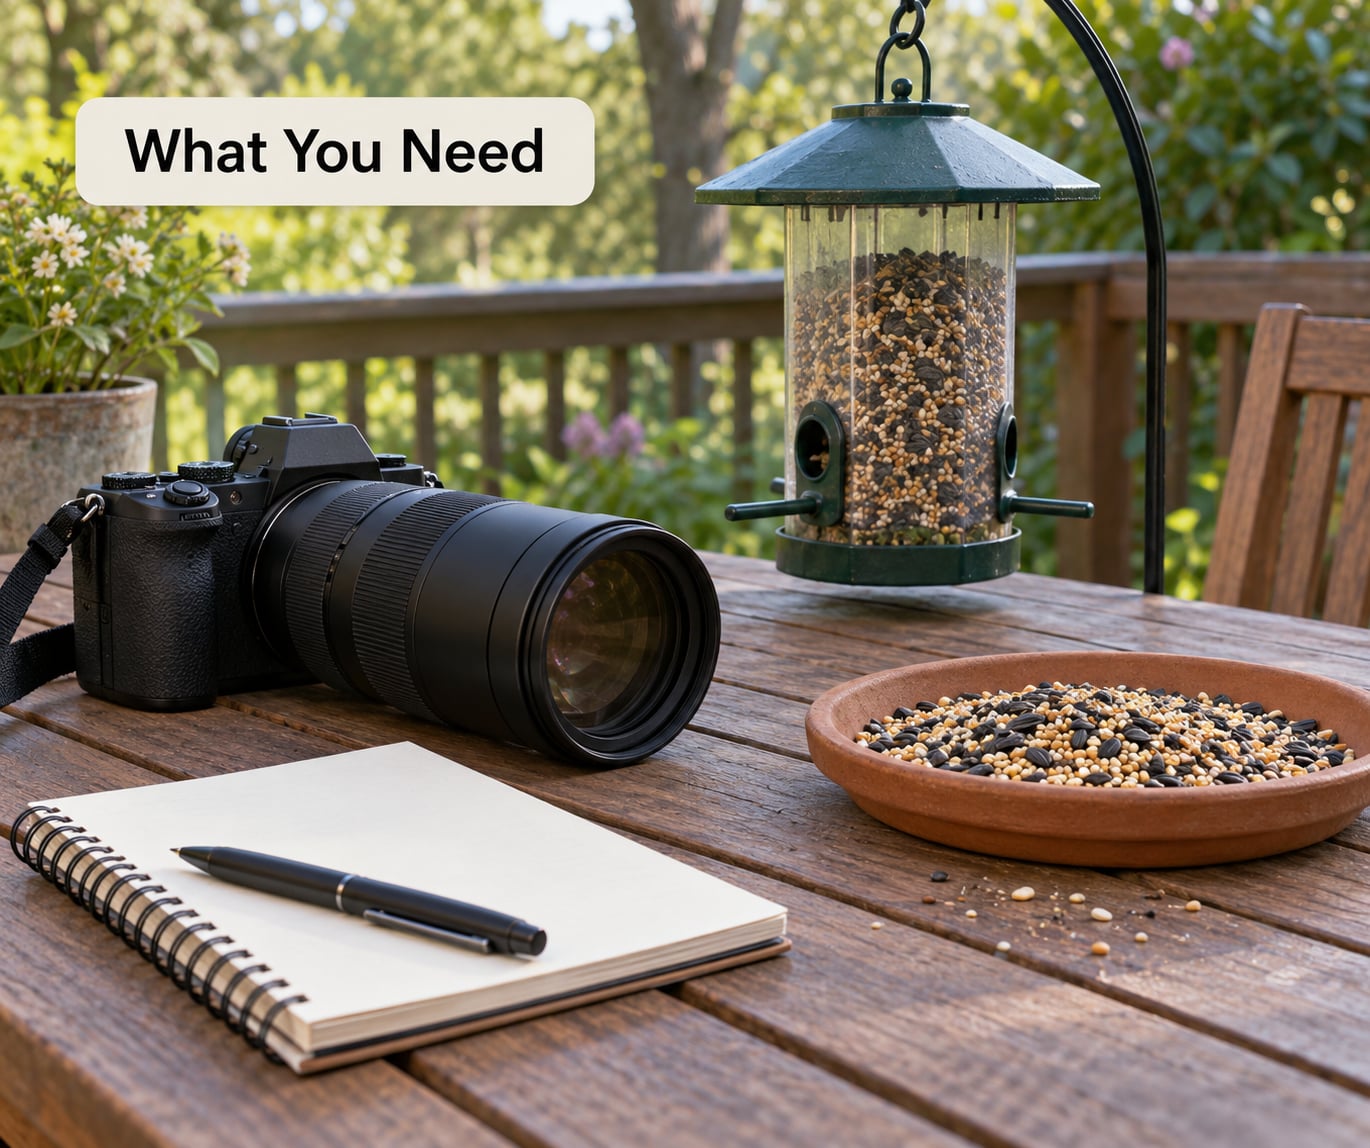
You do not need new gear to start, and the version of this hobby that costs the least money is often the one that produces the most keepers. What you do need is a way to reach a bird without walking toward it.
A camera with real shutter control
A point-and-shoot with no manual shutter speed is the one piece of gear that genuinely holds you back. Everything else can be worked around. A bridge camera, an older DSLR, or any recent phone with a telephoto lens will put usable frames on the card.
A 200mm or longer lens
200mm is the practical floor for backyard work. A 200-500mm zoom is the sweet spot, because birds land at different distances and swapping lenses in a garden is how you miss the moment. A fixed 300mm prime gives sharper results but only one framing.
Something to hold the camera steady
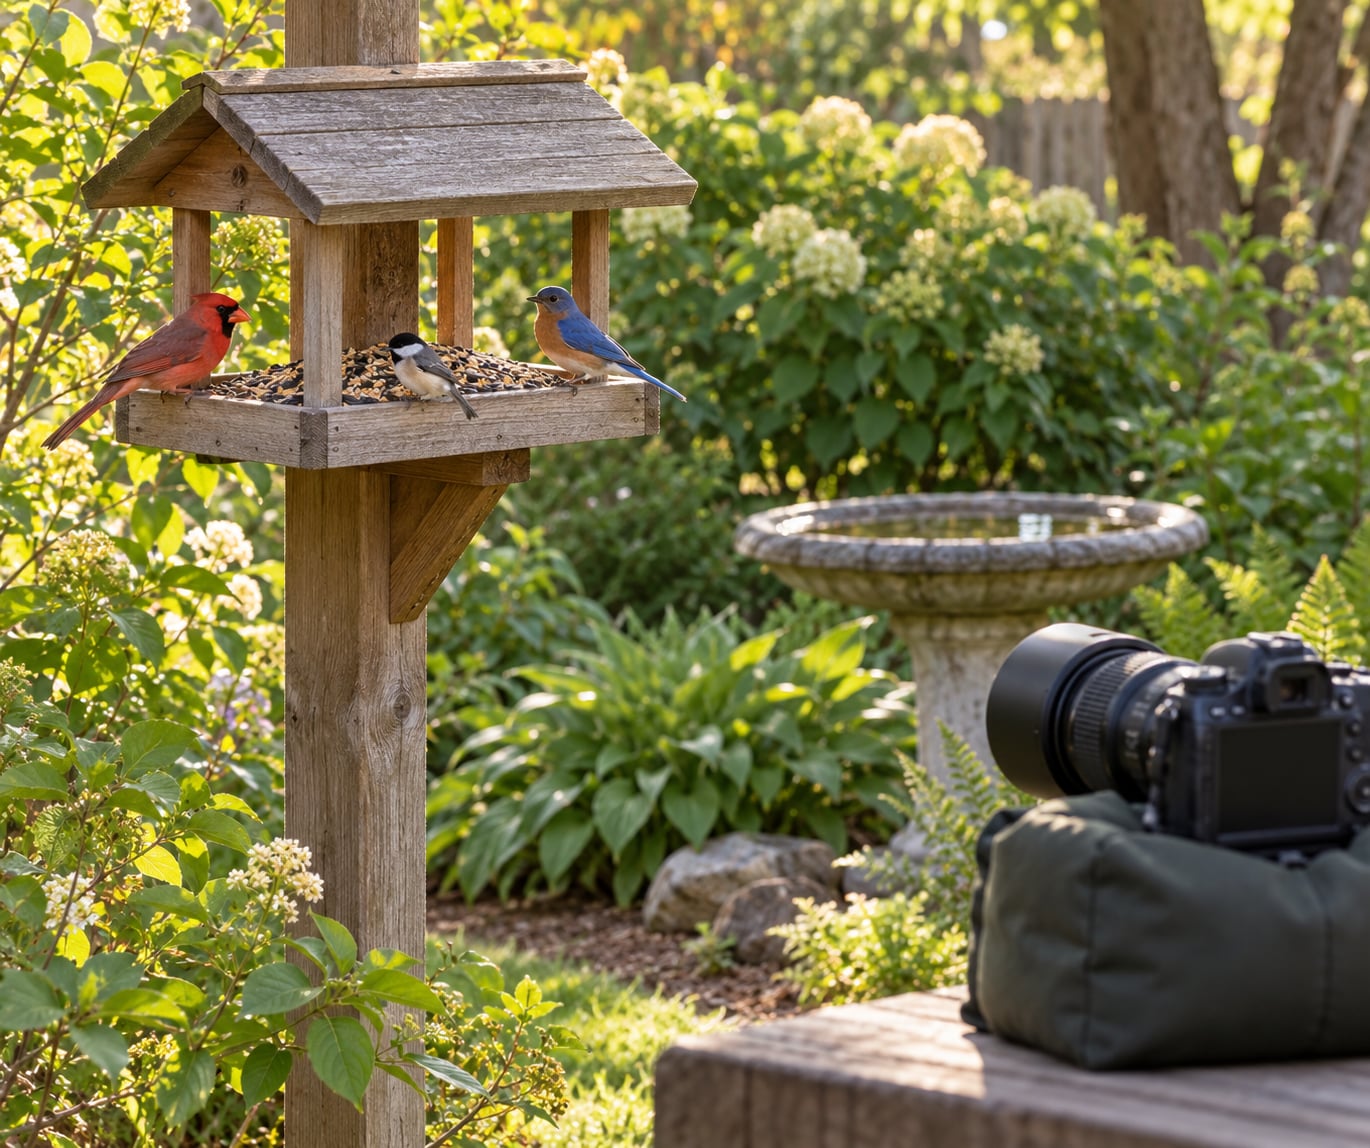
A beanbag, a monopod, or a small tripod wrapped in cloth does more for your hit rate than any setting. Your elbows braced against a railing at 1/2000s is the amateur version of the same idea.
Attractants: seed, water and perches
A tube feeder of black oil sunflower seed is the single most reliable bird magnet in a suburban yard. Add a shallow bird bath with fresh water and a few native shrubs or berries, and clean all three every few days in warm weather. Cleanliness matters more than volume; a grimy feeder is one a bird will avoid.
A place to sit with shade and a clear line of sight
Best light means soft early or late sun, which also means shooting from a shaded spot and pointing at the light. A lawn chair, a window seat, or the passenger seat of a parked car all work. The layout, not the equipment, decides how good the morning goes.
Step-by-Step
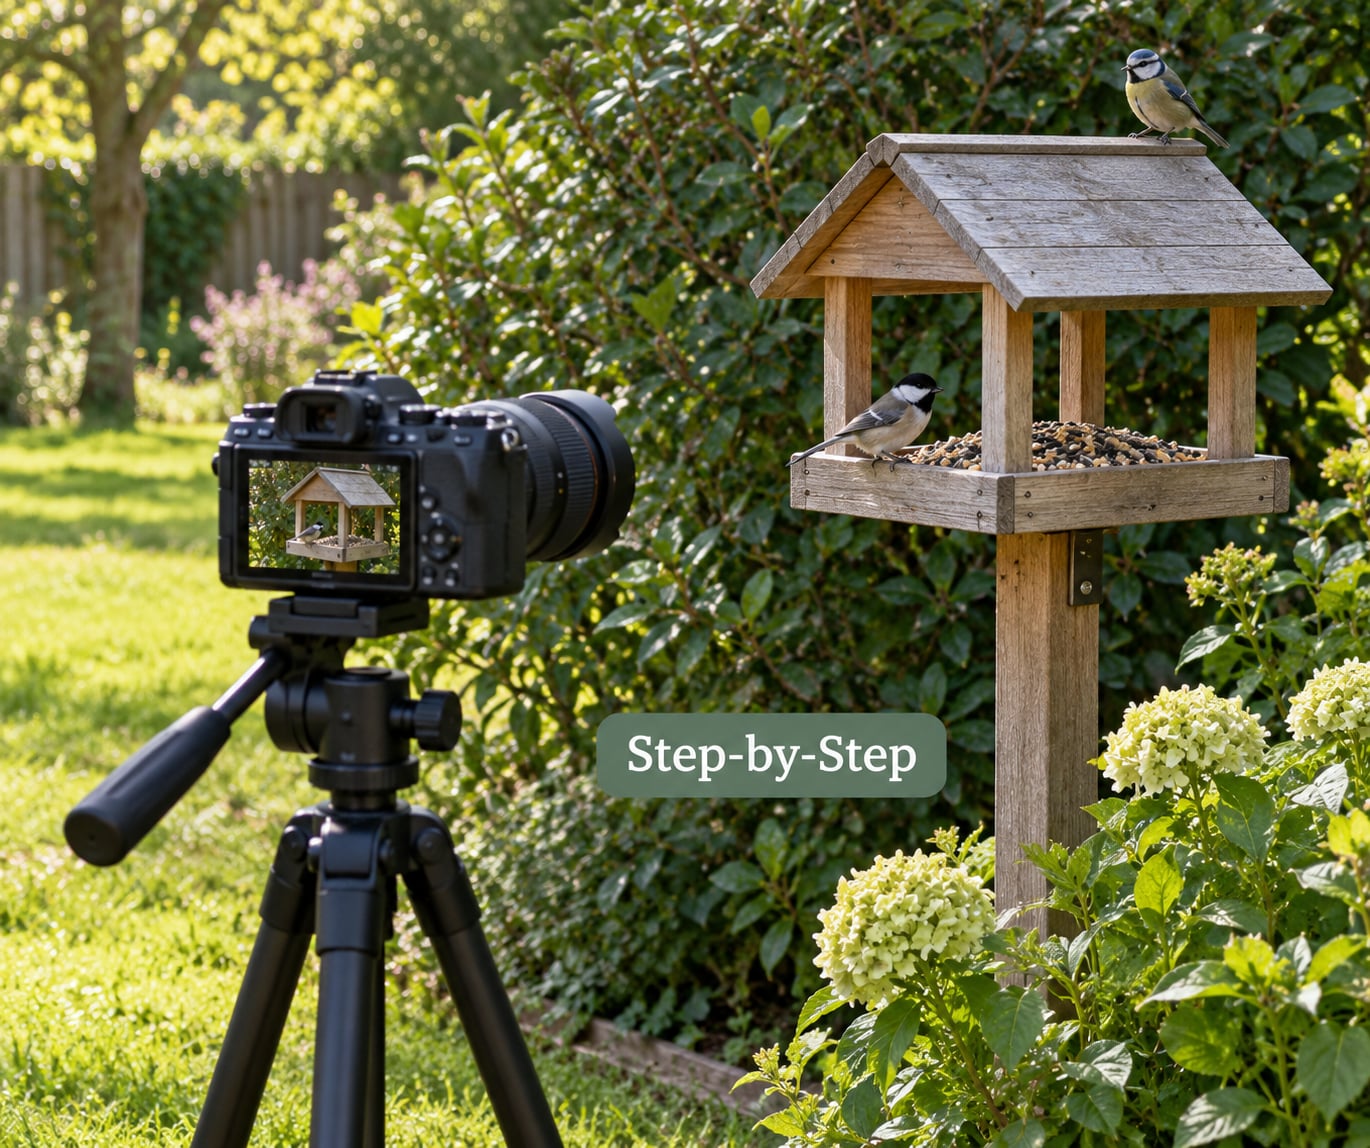
Work through these in order over the first week. The first three steps are about birds and position, and the last four are about the camera.
Step 1: Get birds using one predictable perch
Watch the yard for a few days before you set up anything. You are looking for two things: which feeder the birds use most, and the four or five spots where they land first. Backyard birds are creatures of habit, and a bird that always lands on the same bare branch is a far better subject than one that only appears for two seconds in mid-air.
How you know it worked: you can name the perch without looking, and you know roughly what time of day the activity starts. Most feeders peak in the first hour after sunrise and again an hour before sunset.
Step 2: Pick a position and disappear from view
Set up at least 20 feet from the feeder, more if the birds are nervous, and shoot through something: a window with the lights off, deck lattice, a shrub, or a parked car. Stay still and let the birds acclimate to the camera. If they bolt, freeze, wait, and shoot from the same spot again the next morning.
How you know it worked: birds land while you are in position and stay for more than a few seconds. Species that bolt constantly usually need the car or a proper hide, and a hide made from a dark sheet over a garden chair is enough for a backyard.
Step 3: Support the camera instead of holding it
Rest the lens on the beanbag, mount the camera, and set it pointing at the perch before the birds arrive. Use a two-second timer or a remote release so you are not touching the body when a bird lands. If your camera supports it, turn image stabilization off when the camera is firmly supported; on some long lenses the stabilization hunt can soften an otherwise sharp frame.
How you know it worked: you can frame, focus and fire without moving your feet.
Step 4: Set the exposure for a perched bird or a flying one
Run manual exposure and pick a starting point. Perched birds in good light tolerate 1/1000s; anything with wings in motion needs 1/2000s or faster. Open up to f/5.6 or f/8 for depth of field, because at 400mm the plane of sharp focus is a couple of inches deep, and raise ISO to protect the shutter speed instead of letting it drop.
| Setting | Perched bird | Bird in flight | Hummingbird |
|---|---|---|---|
| Shutter speed | 1/1000s | 1/2500s or faster | 1/4000s |
| Aperture | f/5.6 | f/5.6 to f/8 | f/8 |
| ISO | ISO 400 to 1600 | ISO 1600 to 3200 | ISO 800 to 3200 |
| Autofocus | Subject detection or single point | Continuous AF | Continuous AF |
| Drive mode | Single or low burst | High burst | High burst |
| Image stabilization | Off when supported | Off when supported | Off when supported |
A few things that catch beginners out. Turn off Auto ISO if your camera lets you, because a darker background will convince the meter that the scene needs more sensitivity and the bird ends up a silhouette. Shoot RAW so a backlit bird can be recovered in editing. If a bird is lit from behind, add positive exposure compensation until the feathers are not pure black, then deal with the bright sky afterwards.
How you know it worked: you can read the histogram on the back screen and see feathers, not a black shape.
Step 5: Put the focus point on the eye
For a perched bird, turn on animal or bird subject detection if you have it, and place the point on the eye rather than the body. For small fast birds, manual pre-focusing often wins: focus on the bare branch or the feeder pole, switch autofocus off, and fire. Continuous AF tracking tends to hunt back and forth on a bird the size of your fist, and that hunting is where the frames go.
How you know it worked: a burst of ten frames produces at least one sharp eye at 100 percent zoom.
Step 6: Fire the burst before the bird lands
This is the single biggest improvement in the whole process. A bird’s approach is two to three seconds of flapping followed by a half-second of stillness, and that stillness is your window. Start the high-speed burst as the bird enters the frame, not after it stops, and keep your eye off the viewfinder so you can see it coming.
How you know it worked: a session of twenty minutes produces two or three keepers, not zero.
Step 7: Review on a big screen and edit honestly
Judge focus and noise on a monitor or tablet rather than the camera’s rear screen, where everything looks fine. Learn to tell the two failures apart: if the whole bird is soft, including a stationary branch, you missed focus; if only the head and wings smear while the perch stays sharp, your shutter speed was too slow.
In editing, lift the shadows on the bird, drop highlights in the sky, and pull back the saturation a little. Over-saturated edits turn a grey squirrel into a neon cartoon and stop the photo being believable.
Common Mistakes
- Standing too close, then zooming harder. A 500mm shot from ten feet is a blur and a confrontation. Back up and let the lens do the work, which also keeps the birds coming back.
- Shutter speed below 1/1000s. Anything slower and a head turn smears. Raise ISO rather than sacrificing the shutter speed, then clean up noise in post.
- Letting autofocus hunt. Back-and-forth focusing on a small subject wastes the whole burst. Use pre-focusing or a wider detection area.
- Shooting in flat, harsh light. Midday sun makes squinting poses and ugly shadows. Work early or late, or put the sun behind the bird and expose for the feathers.
- Leaving Auto ISO on. A dark background tricks the meter into overexposing the bird. Cap Auto ISO or shoot manual.
- Ignoring the background. A telephone wire, a fence post or the neighbour’s car through the bird’s head ruins the frame. Change your angle, or move the feeder a few feet.
- Starting the burst too late. By the time you react, the bird is already gone. Track it with your eyes and fire as it crosses the frame.
- Moving around and disturbing the birds. Every time you shift, the yard resets. Commit to one spot and be boring for fifteen minutes.
Frequently Asked Questions
What is the best autofocus mode for backyard bird photography?
For perched birds, bird or animal subject detection with the focus point on the eye is the easiest and most accurate choice. For small fast birds, manual pre-focusing on the feeder pole or perch branch and then switching autofocus off often beats continuous AF, which hunts back and forth on a subject that tiny. Keep continuous AF on for anything in flight.
Do I need a telephoto lens, or will my phone work?
A 200mm or longer lens is the practical floor, because that is what lets you stay far enough back that birds keep coming. A 200-500mm zoom covers most backyard framings. Phones work too: prop the phone, tap and hold to lock focus on the bird, and shoot short video so you can pull a sharp still from a frame. Expect more deleted files.
What time of day gives the best light for backyard birds?
The first hour after sunrise and the last hour before sunset. Low sun gives you soft, warm, directional light, and birds are most active then because feeding is busiest. Position yourself in shade and point toward the light. Shooting from a window with the interior lights off also works, and the hood of the lens pressed close to the glass cuts reflections.
How do I attract birds without frightening them away?
Use feeders, water and native plants, and clean them every few days in warm weather. Place the feeder in open sight with cover nearby, not pressed against a wall. Keep the camera on a support at least 20 feet back, move slowly, and freeze if a bird alarms. Most birds that bolt once will come back after ten or fifteen minutes of you standing completely still.
How should I edit backyard bird photos?
Shoot RAW, then recover the shadows on the bird, pull the highlights down if the sky blew out, and apply noise reduction to the high ISO frames. Check the eyes at 100 percent and discard anything that missed focus. Keep colour honest: heavy saturation turns natural plumage into something the species never was.
Why do my bird photos come out blurry?
There are only two causes. If the branch or feeder pole is sharp and the bird is smeared, your shutter speed was too slow. If everything in the frame is soft, autofocus missed or the camera moved. Zoom in to 100 percent to tell them apart, then raise the shutter speed and use a support if the whole frame is soft.
Conclusion
Start this week by watching the yard for a few days with no camera at all, and note the perch the birds use and the time they show up. Then set a supported camera at least 20 feet back, aimed at that perch, and dial in 1/2000s at f/5.6 with the ISO raised until the meter is happy and Auto ISO capped so the background does not turn the bird black.
Turn on bird subject detection, or pre-focus on the perch if your bird is small. Start the burst as the bird crosses the frame rather than after it stops, review the results on a big screen, and keep two or three keepers out of every hundred frames. That is the whole method. The birds do the performing, your job is to be quiet, steady and early.