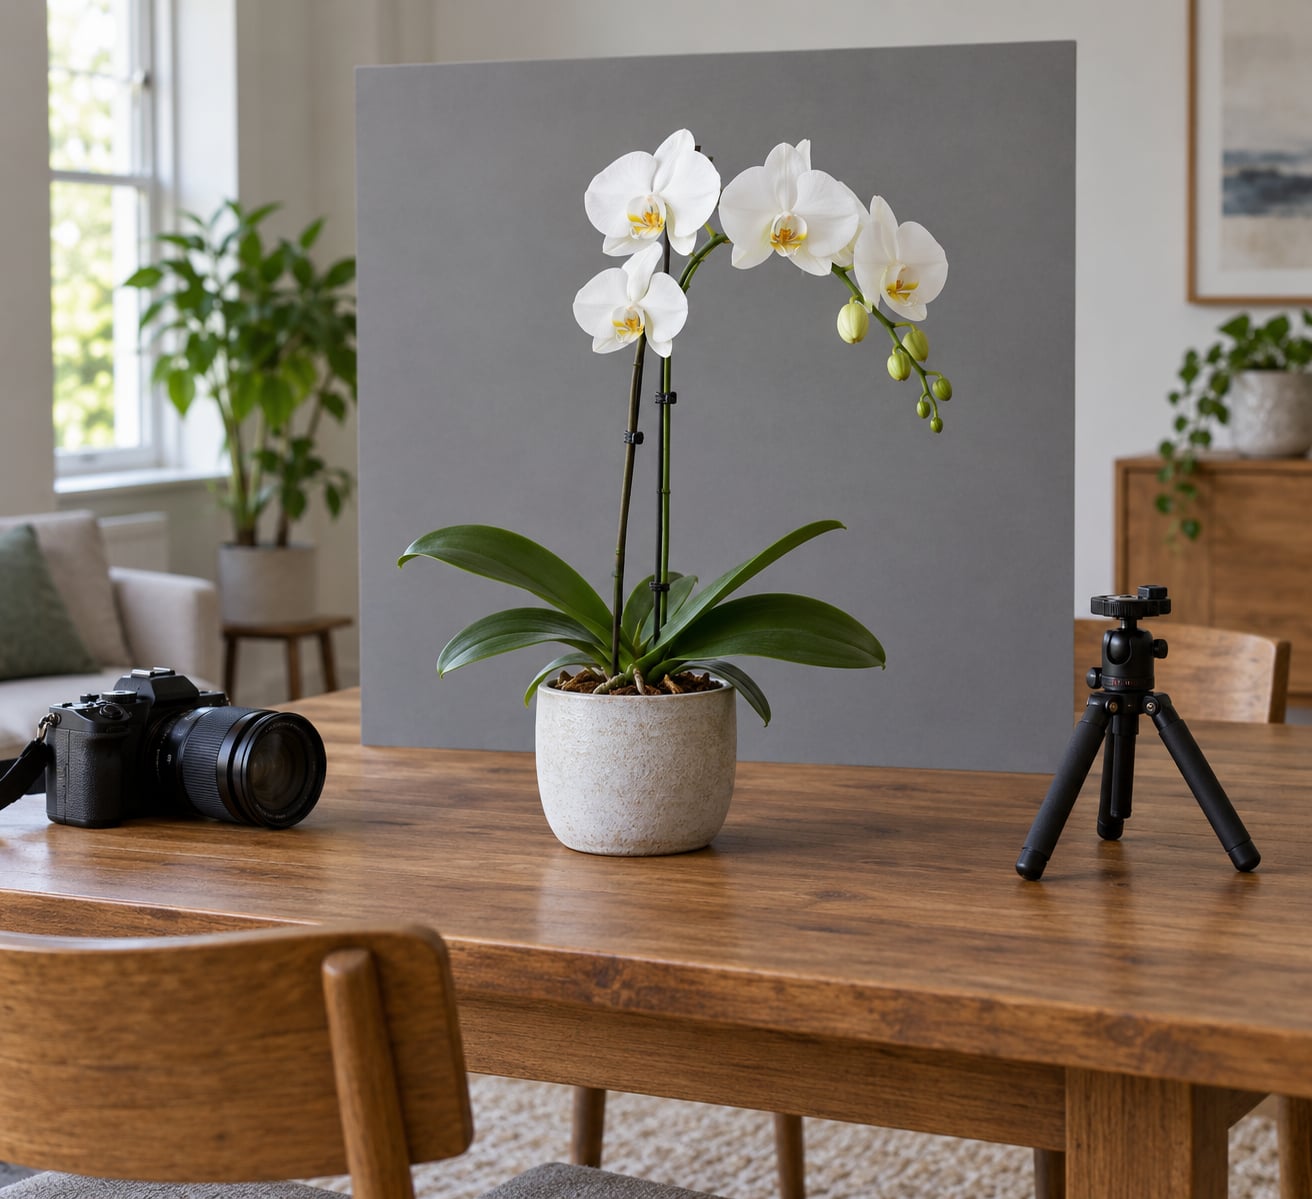
Photographing orchids at home comes down to three things: soft light from one side, a background you have already cleared, and manual focus on the center of the bloom rather than the petal edge. Set the flower beside a bright window, dial in roughly f/5.6 to f/8 at 1/125s and ISO 100 to 400, focus on the column in the middle of the flower, and shoot a short burst of frames from several angles. Ten minutes on a kitchen table is enough to get a sharp, well-lit close-up.
I shoot most of my orchid pictures exactly that way, on a table by the kitchen window, and the same setup works for a moth orchid, a cattleya or a dendrobium. The only real difference between a flat photo and a good one is whether you control the light and the background before you worry about the camera.
Table of Contents
- What You Need
- Step-by-Step: How to Photograph Orchids at Home
- 1. Pick the window and check the light before you unpot anything
- 2. Clear the background before you bring the flower closer
- 3. Turn the pot, not the spike
- 4. Set the exposure on the camera
- 5. Focus on the column, not the petal edge
- 6. Light the bloom from more than one angle
- 7. Shoot a set, then shoot it again from lower
- 8. Review the frame while the flower is still open
- How to photograph orchids with a phone
- Editing workflow for orchid photos
- Common Mistakes and How to Fix Them
- The bloom is blurry and autofocus locked onto the wrong thing
- The white petals are blown out
- The whole photo is too dark and noisy
- Everything has a green or magenta color cast
- The background is cluttered
- There is a hot spot on the petal
- The frame is trying to show everything
- Frequently Asked Questions
- What are the best camera settings for flower photography?
- How can I take good flower photos with my smartphone?
- Do you need a macro lens to photograph an orchid?
- How do I get a blurry background on a flower photo at home?
- Is flash good for flower photography?
- How do I photograph white orchids without blowing out the petals?
What You Need
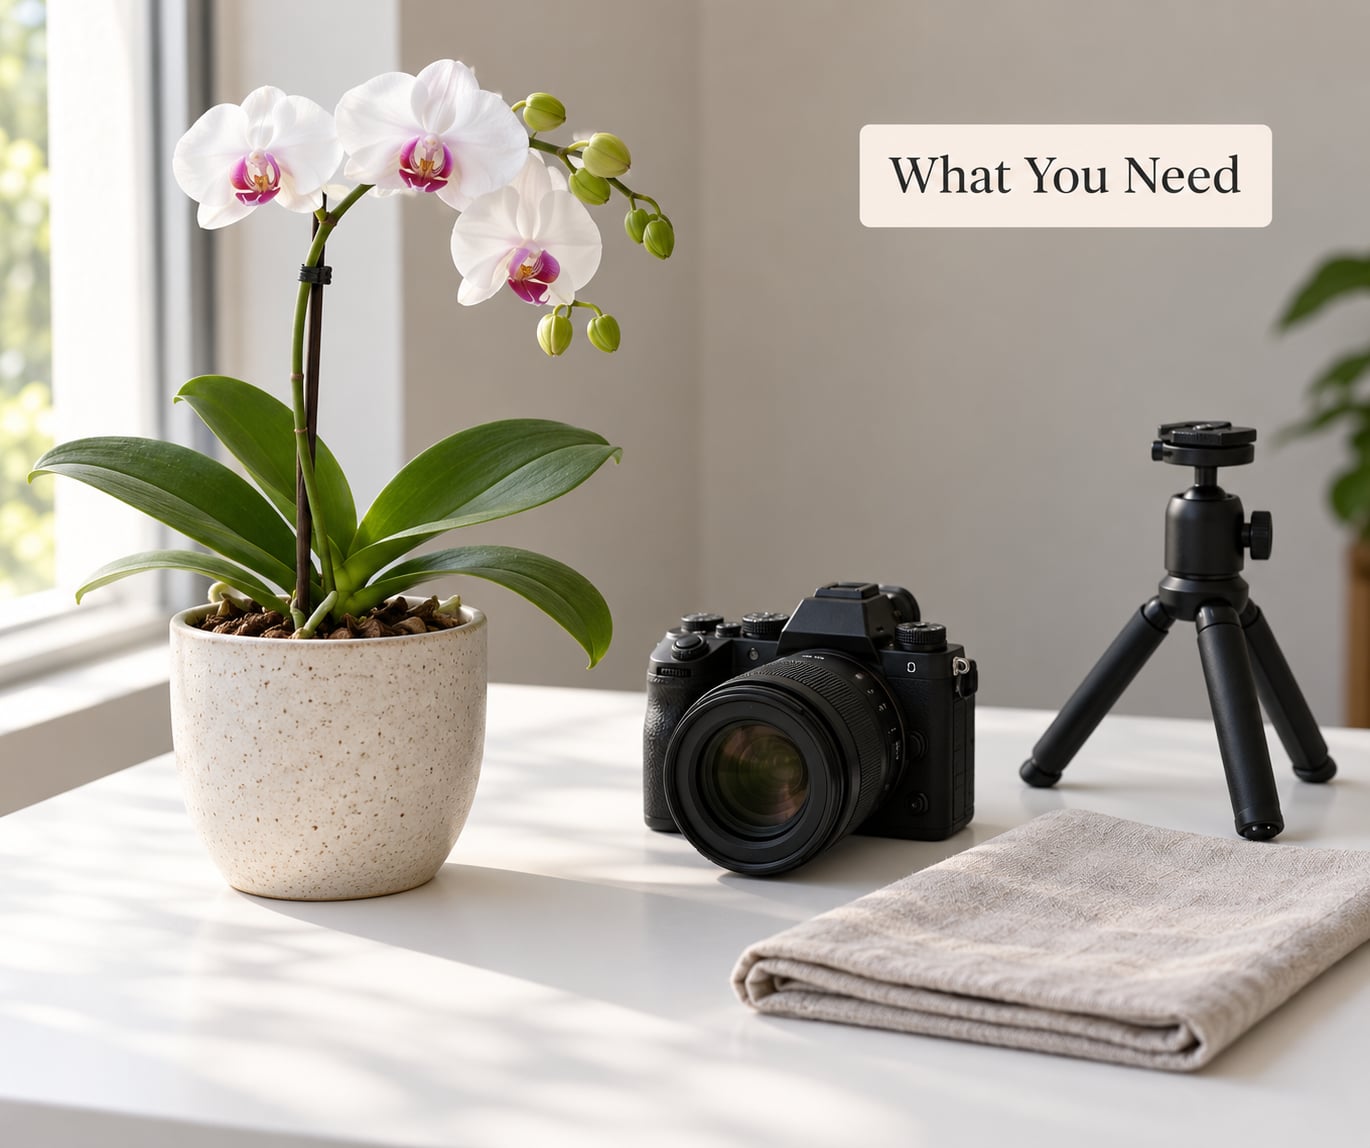
You need very little. Anything that holds a flower still, gives you soft light from one side, and lets you get your eye level with the bloom will do the job.
- A camera or a phone. A DSLR or mirrorless with any lens that focuses to about 15-20 cm will shoot a single bloom. A phone works too, and the phone section below covers that path properly.
- A flowering orchid. Phalaenopsis are the easiest because the flowers sit still and face outward. Cattleyas, dendrobiums and miniature orchids all work, they just need a different angle.
- Something to steady the camera. A small tabletop tripod, a stack of books, a bag of rice, or your forearm. At 1/125s in dim window light the frame will drift if you hold the camera with two hands and press the shutter with one.
- A neutral background. A sheet of black, white or grey card, a plain sheet of paper, or a bedsheet. Nothing else.
- A soft light source. A window with no direct sun on it is the best one you will ever get. A white curtain or a sheet of baking paper over the glass makes it softer still.
- Three cheap extras. A piece of white card to bounce fill light, a small LED panel or desk lamp for when the sky is grey, and a black card to flag the light hitting one side of the bloom.
Step-by-Step: How to Photograph Orchids at Home
1. Pick the window and check the light before you unpot anything
Stand at your chosen window for a minute before you move the plant. If you see hard-edged shadows of the window frame on the table, the sun is coming straight in and that is the wrong spot. Face the window and look at the pot: a lit pot means the flower will be lit too.
Overcast light and north-facing windows are the best indoor light there is. Direct midday sun is the worst, because it blows out white and pale petals to flat white while leaving the shaded side of the flower nearly black.
2. Clear the background before you bring the flower closer
Most bad indoor flower photos fail in the background, not on the flower. A windowsill with a watering can, three other houseplants and a radiator behind it will swallow any bloom you photograph, no matter how good the light is.
Slide a card behind the pot first, before the orchid is in frame. Black card makes white and pale pink flowers glow and gives you a clean low key look. White card bounces light back into the shaded petals and works well for dark purple or nearly black orchids, which lose all their detail against a dark background.
3. Turn the pot, not the spike
A freshly opened spike is brittle. Never bend or tie a spike to make it face the camera. Instead, turn the whole pot a few degrees on its saucer or turn the entire pot, then prop the pot with a cork, a folded paper wedge or a couple of coins so it holds.
Also deal with the stake. Most windowsill phalaenopsis are clipped to a thin cane for support, and the cane plus its clip sits right where you want a clean background. Work around it, or shoot from an angle where it falls outside the frame.
4. Set the exposure on the camera
Here are the baseline flower photography settings for an orchid on a windowsill. Shoot in aperture priority or manual, turn off the flash, and check the histogram before you trust a single frame.
| Light source | Aperture | Shutter | ISO | White balance |
|---|---|---|---|---|
| Window, overcast or north-facing | f/5.6 to f/8 | 1/125s | 100 | Daylight, about 5500K |
| Window, bright or hazy sun | f/8 | 1/250s | 100 | Daylight, about 5500K |
| Overcast late afternoon | f/5.6 | 1/125s | 400 | Cloudy, about 6500K |
| Warm LED or desk lamp | f/5.6 | 1/160s | 400 to 800 | Tungsten, about 3000K, or shoot RAW |
| Orchid grow light after dark | f/4 to f/5.6 | 1/80s | 800 to 1600 | Shoot RAW, fix in editing |
If you are starting from scratch, use the quick answer version: f/5.6 to f/8, 1/125s, ISO 100 to 400, manual focus, tripod, daylight white balance. That single line covers most home setups, and you can adjust from there.
Widen the aperture to f/2.8 or f/4 when you want the background to melt away and you are shooting in bright light. Stop down to f/8 or f/11 when you want a whole flowering spike sharp from the first bud to the top, because depth of field is the thing you are buying with the smaller f-number. If you go past f/11 on a phone or a kit zoom, diffraction softens the whole frame and you have made it worse.
5. Focus on the column, not the petal edge
This is the single most common orchid photo mistake. Autofocus sees the bright petal edge, locks onto it, and the middle of the flower, where all the detail lives, goes soft. It is the first thing beginners ask about, and it explains most of the soft-centered flower photos I see.
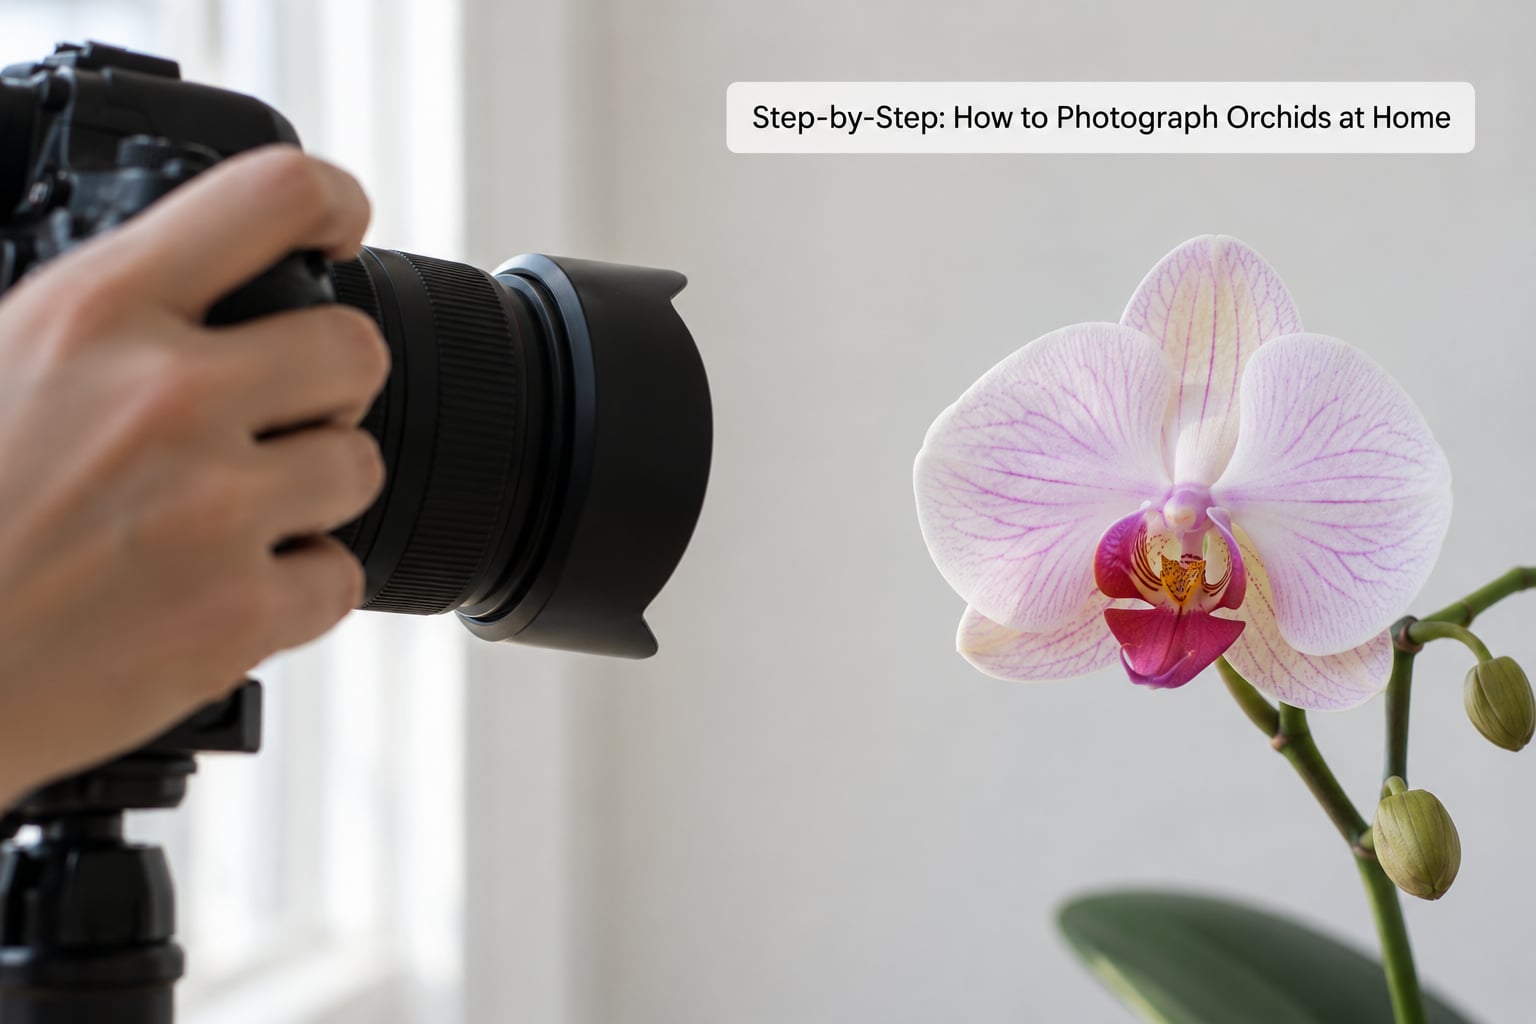
Turn on live view and switch to manual focus. Zoom the live view image in until the flower fills the screen, then turn the focus ring until the center is crisp. The middle of an orchid bloom is the column, a small hooded structure at the top, and the labellum or lip below it, often fringed with fimbriations. Those are the details worth a macro shot.
At very close focus, depth of field can be thinner than the flower is deep. Take three or four frames in a row and pick the sharpest, which is standard practice rather than cheating. If you want the entire spike sharp in one frame, focus at f/8 and shoot a focus stack: one frame sharp at the front bud, then move the focus point a few millimetres at a time toward the top of the spike, overlapping each frame. Blend them in editing.
One limit worth knowing before you try: many kit zooms will not focus closer than about 30 cm. That is fine for a whole plant, useless for a single bloom macro. Cropping a wider shot to get closer does not add detail back, it just enlarges pixels.
6. Light the bloom from more than one angle
Orchid photography is portraiture. A flower is a three-dimensional object, and one light source can only show you the side that light hits. Put the window at 35 to 45 degrees above and to one side of the flower, not straight on.
Then fill the shadow side with a white card a hand’s width away, set two to three stops below the key light. A rim or back light, placed opposite the window and three to four stops under the key, separates the flower from a dark background and lights up the translucent edges of the petals. Hold the card and the rim light steady, or prop them.
If the window is not giving you enough, add a small LED panel or a speedlight with a diffuser as the key. A speedlight with a diffuser or softbox is genuinely enough for close-up flower work indoors, and it is what most people reach for when daylight runs out. Ordinary bare flash is the one thing to avoid: it burns a white spot into the waxy surface of the petal that no amount of editing will fully hide.
7. Shoot a set, then shoot it again from lower
Rule of thirds works on flowers the same way it works on people. Put the bloom off center and leave the spike or the leaves leading into the frame, rather than centering everything in the middle.
Then change your height, not just your left and right. Most orchids are photographed from above by default because that is where the camera already is. Drop it to bloom level and the flower looks like a flower instead of a shape. Gongora and Stanhopea type blooms hang downward and are almost always best shot from below or from the side.
Dark purple and black orchids want a low key treatment, which just means a dark background and a bright subject. White orchids want high key, a bright background, which needs a second light or a reflector to keep the petals from going grey.
8. Review the frame while the flower is still open
Do not save the review for later. While the orchid is still on the table, zoom into the live view image and check the center of the bloom for focus, the brightest petal for clipping, and the edges of the frame for clutter. Fix what is wrong and reshoot.
Save in RAW if your camera offers it. Window light changes color through the day and RAW keeps enough room in the highlights to rescue a petal you overexposed. Once you are done, thank the plant: return it to its spot, away from the window and away from any lamp you brought in.
How to photograph orchids with a phone
A phone can do the whole job if you work around two limits: minimum focus distance and very thin depth of field in the close-up mode.
- Turn off the flash and the auto HDR. Auto HDR merges two exposures and gives you a soft, flat, grey flower.
- Tap to focus on the column, then drag the exposure slider down a little. Phones protect the highlights and otherwise render pale petals as white paper.
- Lock focus and exposure with a long press on the screen so the plant does not re-hunt every time you move.
- Use the widest aperture you have, usually the main camera rather than the ultra-wide, and step back slightly to avoid the digital zoom blur.
- Clean the lens. A smeary camera lens is the most common reason home flower photos look hazy, and it costs nothing to fix.
- Brace your elbows on the table and shoot several frames. Phone sensors are noisier at the shutter speeds window light needs, so a still frame beats a fast one.
If you want true macro reach, a clip-on macro lens is cheap and does work, with one caveat: at that magnification the depth of field is measured in millimeters. Most photographers shoot a stack of frames and merge them for exactly that reason.
Editing workflow for orchid photos
Editing is where the shiny, waxy surface of an orchid really gets handled. The request I get most often is for the highlights pulled down in the middle of the flower so the detail comes back, and that single adjustment does more than anything else.
- Crop first and only after. Get the composition right before you start pulling pixels around.
- Set white balance so the white parts of the flower look white, not green. Window light is blue, LED and lamp light is orange.
- Pull the highlights down until the white petals hold detail, then open the shadows slightly to bring back the column and the lip.
- Dodge the specular hot spots on the waxy petals and leaves individually, at low opacity.
- Add contrast and a touch of sharpening to the bloom only. Less is more; heavy sharpening on a fine subject like an orchid shows every sensor defect and dust spot.
- Push saturation last, and gently. Orchids already have strong color and oversaturated purples turn into flat purple patches.
Common Mistakes and How to Fix Them
Almost every disappointing orchid photo comes from one of seven fixable problems.
The bloom is blurry and autofocus locked onto the wrong thing
Switch to manual focus with live view, zoom in on the column, and shoot a burst of frames. A 2-second self-timer or a remote release also removes your own movement from the equation.
The white petals are blown out
That is direct sun. Move the flower out of the sunbeam or hang a white sheet over the window, then re-shoot. If it is still clipped, stop down to f/8 or pull exposure down two-thirds of a stop in manual.
The whole photo is too dark and noisy
Window light on a cloudy day at f/5.6 and 1/125s will push ISO up fast. Add fill from a white card, move the orchid 20-30 cm closer to the glass, or add a small LED panel as key. Keep ISO under 1600 and accept the slower shutter with a tripod.
Everything has a green or magenta color cast
That is the mixed light in a room, typically a cool window plus a warm lamp. Turn off the lamp, or decide which one is the key and kill the other. If the cast persists, fix it in RAW with the white balance eyedropper set to a petal.
The background is cluttered
Slide a card behind the pot before the flower is in frame, and get the camera low enough or high enough that windowsills and radiators fall outside the frame. Moving the backdrop card costs nothing and fixes most backgrounds instantly.
There is a hot spot on the petal
That is specular glare from a bare flash or an uncovered lamp reflecting off the wax. Diffuse it with a sheet of baking paper or a thin white cloth, bounce it off a ceiling instead, and dodge the remaining spot at low opacity in editing.
The frame is trying to show everything
Pick one subject. A single bloom sharp with a soft background beats a whole plant where nothing is sharp. Decide whether this frame is a portrait of the flower or a record of the plant, and shoot it that way.
Frequently Asked Questions
What are the best camera settings for flower photography?
Start at f/5.6 to f/8, 1/125s and ISO 100 to 400 with manual focus on a tripod, and set white balance to daylight for window light. Widen to f/2.8 to f/4 when you want a blurred background, and stop down to f/8 or f/11 when you want a whole flowering spike sharp. Shoot RAW if you can, and check the histogram before you trust the frame.
How can I take good flower photos with my smartphone?
Turn off the flash and auto HDR, clean the lens, and tap to focus on the center of the flower, then drag exposure down slightly so pale petals keep detail. Lock focus and exposure with a long press, brace your elbows on the table, and shoot several frames to pick the sharpest. Use the main camera rather than the digital zoom for cleaner close-ups.
Do you need a macro lens to photograph an orchid?
No. Most orchids, especially phalaenopsis, can be photographed from 20 to 30 cm with a standard kit zoom, which is enough for a whole spike and a good single bloom. A macro lens helps for the column, labellum and fimbriations, and a cheap clip-on phone lens adds reach with very thin depth of field. Check your lens minimum focus distance before you start.
How do I get a blurry background on a flower photo at home?
Use the widest aperture your light allows, usually f/2.8 to f/4, and get the camera as close to the flower as your lens will focus. Then move the background further away with a plain card so nothing distracting sits near the bloom. Depth of field is shallowest at macro distances, so expect the front and back petals to blur and focus on the center.
Is flash good for flower photography?
Bare flash is not, because it creates a hard specular hot spot on waxy petals that editing cannot fully remove. A speedlight or small LED with a diffuser or softbox, bounced off a wall or ceiling, works well as a key light indoors, and it is what most people use once daylight runs out. Always turn off the automatic flash your camera fires.
How do I photograph white orchids without blowing out the petals?
Move the plant out of direct sun and use a north-facing window or an overcast sky, which gives softer and cooler light. Shoot at f/8 or darker, watch the histogram so the brightest petal sits just under clipping, and use a white card to lift the shaded side. In editing, pull the highlights down before opening the shadows to reveal the column.
Start with one bloom, one window and one plain card behind it. Put the pot at bloom level, set f/5.6 at 1/125s and ISO 100, turn off the flash, focus manually on the column in live view, and shoot ten frames before you change anything. Once that one frame is sharp and well lit, add the second light and the lower angle.