Learning how to photograph cherry blossoms comes down to one problem: pale, translucent petals that blow out to flat white long before the rest of the frame is bright enough. Shoot in soft early-morning or overcast light, open the aperture wide, pull about two-thirds of a stop of light off the meter, and put single-point autofocus on one blossom or cluster. A good session takes 30 to 60 minutes at a single tree, and any camera you already own will do the job.
Table of Contents
- What You Need
- Step-by-Step: How to Photograph Cherry Blossoms
- Choose a location and blossom stage
- Visit during favorable light
- Set exposure for the blossoms
- Focus on the most important blossom
- Build varied compositions
- Make a short blossom sequence
- Review and edit the results
- Common Mistakes
- Frequently Asked Questions
- What is the best time of day to photograph cherry blossoms?
- What camera settings work best for cherry blossoms in bright light?
- How can I photograph cherry blossoms with a smartphone?
- How do I keep flower petals sharp when the branches are moving?
- Is soft or overcast light better for cherry blossom photos?
- Should I photograph cherry blossoms after rain?
- Conclusion
What You Need
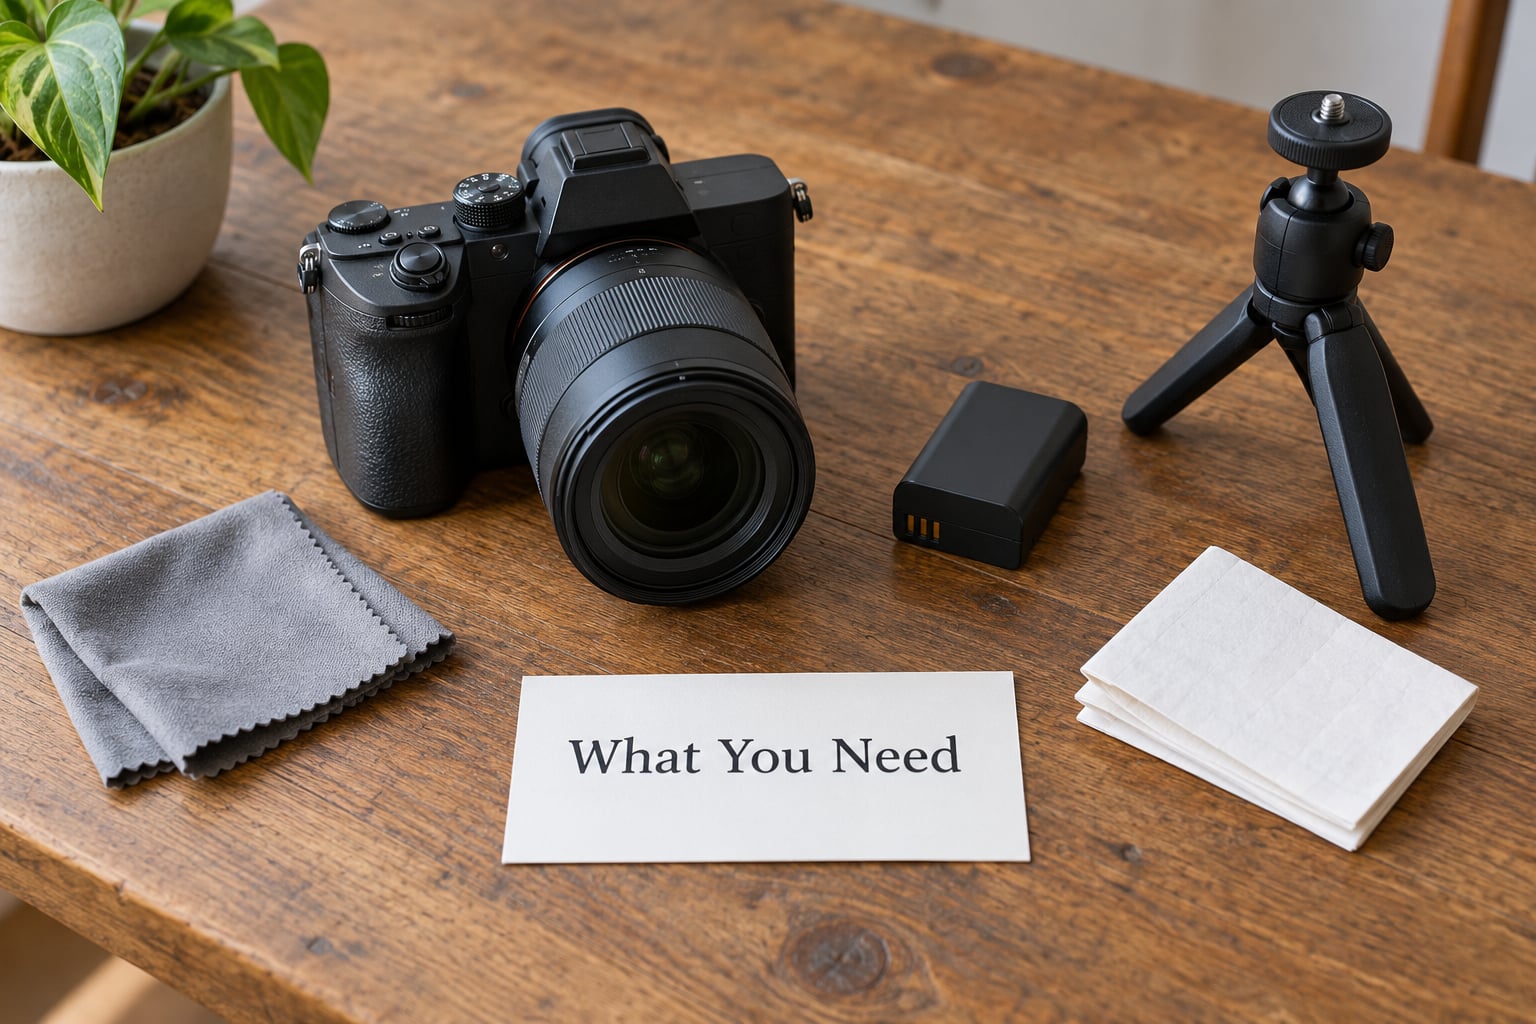
You need a camera, a lens that matches your subject, and about an hour. The gear list below is short because blossom photography is a light, forgiving subject. A phone, a kit zoom, or a borrowed body all produce good frames.
- Camera body. Any interchangeable-lens camera or phone. RAW capture helps most when the sky behind the flowers is much brighter than the flowers themselves.
- Wide lens (16-35mm). For the tree-lined avenue shot, the whole canopy, and low angles shooting up into a clear sky.
- Standard prime or short zoom (around 50mm). The everyday choice for separating one cluster from its background at f/1.8 to f/2.8.
- Telephoto (70-200mm). For compression along a row of trees, portraits, and working from across a pond or road without disturbing anyone.
- Macro or close-focusing option (100mm and up). Only if you want pistils, stamens and petal texture filling the frame.
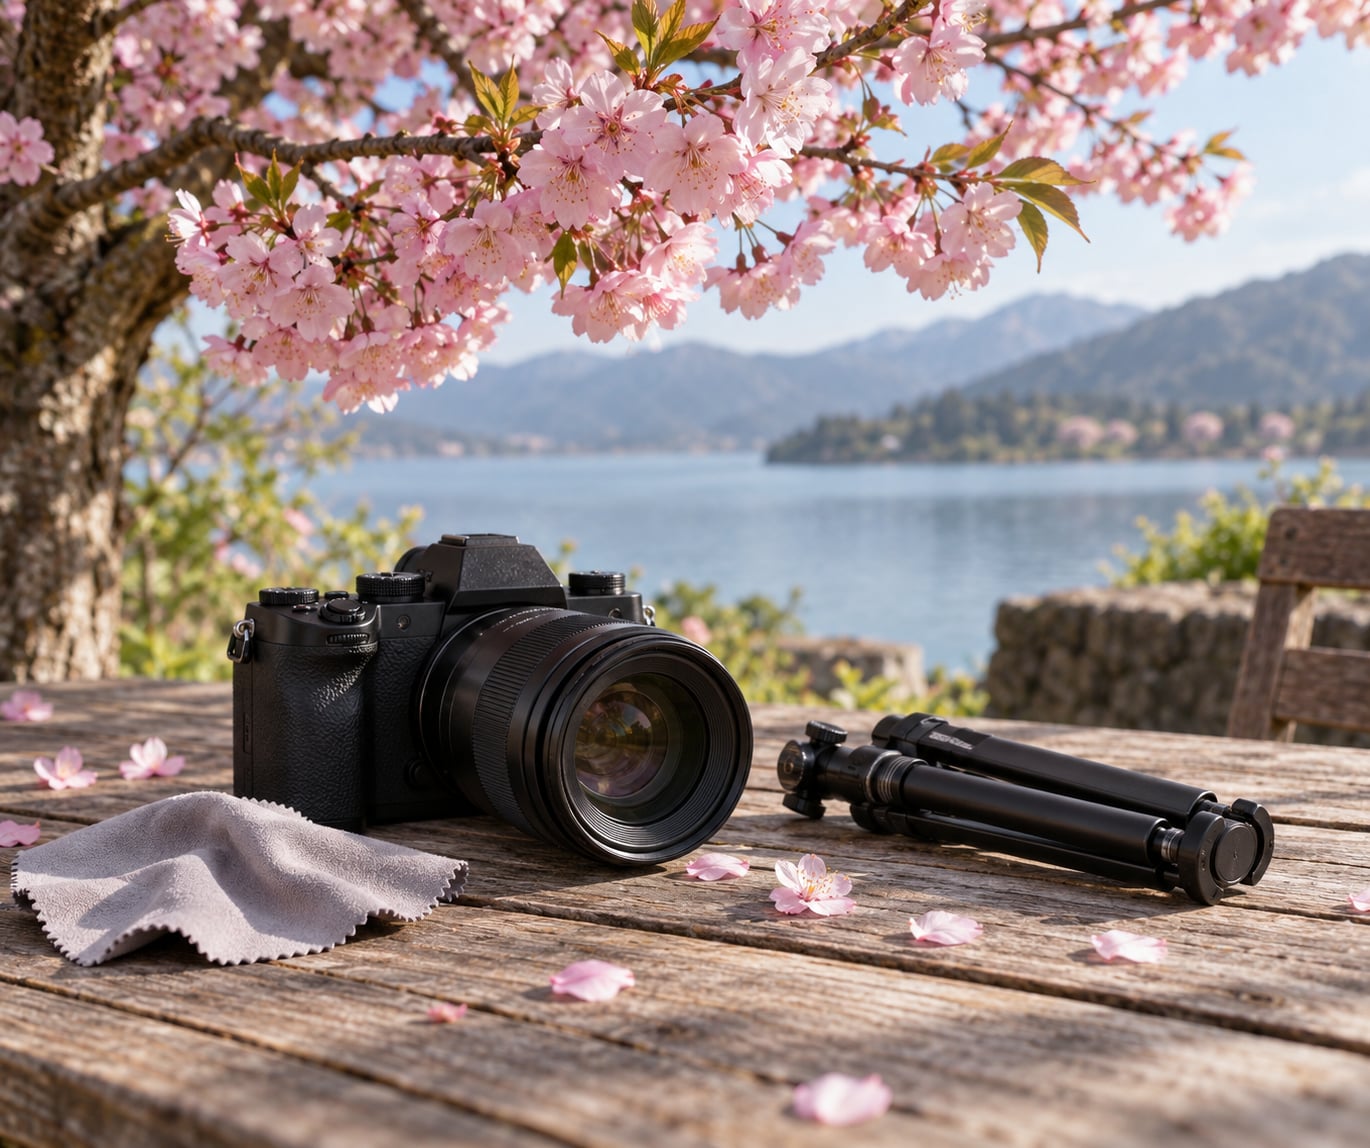
- Small tripod or beanbag. Useful for dawn light, long exposures on petal fall, and steadying a long lens at slow shutter speeds.
- Spare battery and card. Cold morning air and long bursts eat batteries faster than you expect.
- Lens cloth and a circular polarizer if you own one. A polarizer deepens blue sky and adds bite to blossom colour, at the cost of a little light and some odd reflections on glass.
- A note with your starting settings. Write them on your phone so you are not dialling them in cold-handed each time.
Step-by-Step: How to Photograph Cherry Blossoms
Choose a location and blossom stage
Pick a tree before you pick a camera setting. Walk the site first and look up close: blossoms go from tight buds to fully open to brown-edged and dropping in about a week, so the same tree gives you three different subjects.
Look for open flowers still attached to dark branches, clusters with fresh buds behind them for depth, and petals lying on the ground once peak bloom passes. Blossoms on the north side of a building or under a dense canopy stay tight days longer than ones in full sun, which gives you a natural second location if your main tree opens early.
Also check two things while you scout: what is behind the branch from your intended position, and how much wind is moving it. A bare wall, a stand of evergreens, or open sky is what you want. Tangled branches, parked cars, fences, and signs are what spoil most beginner frames.
Check the shot before you commit by turning on live view and zooming in at 100 percent. If a light pole sits behind the blossom you want, walk ten paces sideways and look again.
Visit during favorable light
Overcast light and early morning are the two conditions worth planning around. A bright overcast sky acts like a giant softbox, so pale petals render evenly with no harsh shadows, and it is far easier on a phone than direct sun.
Direct sun is not forbidden, but it is harsher. Midday light makes bright petals read as white patches surrounded by dark shadows. Side or front light, which photographers on photography forums recommend most often, keeps the texture of the petals visible and the colour natural.
Backlight is the one to try deliberately. At sunrise and sunset the sun shining through a translucent petal lights it from behind, and you add one to two stops of exposure compensation to hold the detail. Watch the histogram: if the petals pin to the far right, you have gone too far.
Arrive 30 minutes before sunrise and stay an hour after sunset. Those are also the only two windows with an empty background at the famous sites, since almost everyone else shoots from mid-morning onward.
You know the light worked when you can see colour and texture in the petals rather than a flat white blob, and when no shadow falls across the flower in the frame.
Set exposure for the blossoms
Start in aperture priority, set your widest useful aperture, and apply minus two-thirds of a stop of exposure compensation. That single step is what keeps the pink-to-white gradient in the petals instead of clipping it into one flat shape.
- Single blossom or cluster: f/1.8 to f/2.8, 1/500s, ISO 400, minus 0.7 EV.
- Wide view along a path of trees: f/5.6 to f/8, 1/250s, ISO 200, minus 0.3 EV.
- Macro detail: f/8, 1/200s, ISO 400, minus 0.3 EV, and shoot on a tripod.
- Backlit petals: f/2.8, 1/500s, ISO 400, plus 1 EV to plus 2 EV.
- Illuminated trees after dark: f/1.8, 1/60s, ISO 1600, plus 1 EV, stabilised.
Turn on your highlight warning, which flashes or blinks on any pixel that is about to clip. Petals go pure white first, so that warning is your earliest and most reliable cue. The histogram’s right edge tells you the same thing in less obvious form.
If you are on a phone, tap the blossom on screen, drag the little sun down a few notches, and use the exposure slider instead of a stop scale. Most phone cameras also have a RAW or Pro mode with manual shutter and ISO if you want the same control.
Check the result on the back of the camera at full size. Zoom to 100 percent on a petal edge and look for texture: if the pinks are flat with no detail, drop another third of a stop.
Focus on the most important blossom
Choose one blossom and put a single autofocus point on it. Switch to spot AF or single-point AF rather than zone or auto, because a small pale flower against a background of similar pinks is exactly the situation where wide-area autofocus hunts.
Focus on the stamens or the edge where the petals meet the branch rather than on the middle of the flower. Focus-and-recompose works well when the branch is still: half-press to focus, reframe, then shoot.
When branches move, speed up the shutter. A safe handheld floor is roughly one over the focal length, so 1/200s with a 200mm lens and 1/50s with a 50mm lens. Anything slower and camera shake is as much a problem as petal movement.
Turn on burst or continuous high shooting speed in wind, fire a short series rather than single frames, and pick the sharp one later. On a phone, hold the shutter for burst or shoot a short video and pull a still frame from it.
You have got focus when the stamens show a hard edge at 100 percent magnification while the background falls into soft bokeh.
Build varied compositions
Move from the widest view to the tightest. Start with an establishing frame that shows the whole tree in its setting, then walk closer for a single branch, then closer still for one flower. If you photograph cherry blossoms from one spot the whole session, you will come home with near-identical frames.
Work through a few positions deliberately:
- Low angle upward against a deep blue sky, which separates the pale petals cleanly and gives the most saturated colour.
- Leading lines along a path, railing or row of trunks carrying the eye into the frame.
- A blurry foreground branch at one edge, which frames the sharp subject behind it.
- Negative space with the branch in one corner and open sky or grass filling the rest.
- Reflections in puddles after rain, or in a car bonnet or a shop window.
- Vertical frames, which suit tall trees far better than the landscape orientation most people default to.
On colour: blue sky, fresh green grass, grey stone and dark water all set pink off nicely. Yellow, orange and hot pink do not, and neither does any background the same shade as the blossom.
Check each composition by reading it as a whole at thumbnail size. If something grabs your eye that is not the flower, move or reframe before you take the shot.
Make a short blossom sequence
Shoot one tree properly instead of racing between five. Start with the widest view, then a branch portrait, then two or three details, and finish with a ground-level frame of fallen petals or buds for the following season.
That sequence gives you a set with a beginning and an end, which is far easier to edit and far more interesting to scroll through than thirty variations of the same angle.
Stay roughly ten minutes at each tree after you think you are done. The light changes that fast, and a gust that clears a busy background is worth waiting for.
Review and edit the results
Check focus first, at 100 percent, on every frame you intend to keep. Delete the soft ones now rather than later; it saves time and stops you editing an image that cannot be rescued.
Next look at the highlights. If the pink channel clipped, that detail is gone for good in the file, but the surrounding colour is usually still adjustable. Pull the highlights down, lift the shadows slightly, and hold back on contrast.
Fix white balance with a reference. Before you shoot, frame a sheet of plain white paper in the blossom light and take a frame of it. Set that frame as a custom white balance value and every photo from the same light matches it.
Work selectively rather than globally. A small adjustment to magenta saturation and a touch of clarity on the blossom only, with everything else left alone, looks far better than one heavy preset across the whole frame.
Crop with restraint. Tighten the frame a little around the subject and straighten the horizon, but keep enough of the frame that you have not cut into the natural softness of the edges. Finish with no more than a small amount of sharpening.
Common Mistakes
Blown-out white petals. This is the most common failure and the most complained about on photography forums: the flower goes flat and every trace of texture disappears. Pull exposure compensation down by two-thirds of a stop, watch the highlight warning, and accept a slightly darker frame. Light is easier to add back in editing than texture is to recover.
Missed focus. Wide-area autofocus locks onto the background instead of the blossom. Switch to spot AF or single-point AF, put the point on a stamen, and shoot a short burst instead of single frames.
A cluttered background. Signs, fences, cars and bright buildings behind the flowers. Change your position rather than your settings: step ten paces sideways or lower your viewpoint until the background is sky, grass or a plain wall.
Wind blur. Branches move faster than people expect, so every frame comes out slightly soft. Shoot at one over the focal length or faster and use continuous high-speed burst, then pick the sharp frame.
Flat, overexposed midday light. Bright sun overhead makes petals read as white patches and throws hard shadows through the canopy. Come back at dawn or dusk, or wait for the next overcast day.
Editing that erases the softness. Heavy contrast, heavy saturation and strong clarity make blossoms look plastic. Keep adjustments small and let the pale colour stay pale.
A few further tips. Bring a reflector or a small flash for shaded blossoms under a dense canopy, since a bench portrait under branches is usually several stops darker than the background. Leave space in the frame when you shoot people with blossoms, so the crop has room later. If crowds are unavoidable, treat it as a choice: a slow shutter at 1/15s blurs pedestrians into colour while the blossoms stay sharp. And check the local bloom forecast before you drive out, since peak bloom shifts year to year and lasts a week or two at best.
Frequently Asked Questions
What is the best time of day to photograph cherry blossoms?
Early morning and the last hour before sunset. Low light is softer, the colours in the petals stay true instead of washing out, and the big blossom sites are usually empty before about 8 a.m. Backlit shots at sunrise and sunset are worth waiting for, because the sun shines through the translucent petals and lights them from behind. Midday sun gives you harsh contrast and crowds.
What camera settings work best for cherry blossoms in bright light?
For a single blossom, start at f/1.8 to f/2.8, 1/500s, ISO 400 and minus two-thirds of a stop of exposure compensation. For a wide view of several trees, f/5.6 to f/8, 1/250s, ISO 200 and minus one-third of a stop. Turn on the highlight warning and keep the pale petals off the right edge of the histogram, since clipped pinks cannot be recovered later.
How can I photograph cherry blossoms with a smartphone?
Tap the blossom on screen to set focus and exposure, then drag the brightness slider down a few notches so the petals keep their texture. Use portrait mode for background blur, though check the edges because it sometimes fakes blur badly around fine detail. In wind, hold the shutter for burst or shoot short video and extract a still frame. Low light and RAW or Pro mode are the two biggest upgrades available on a phone.
How do I keep flower petals sharp when the branches are moving?
Raise the shutter speed and shoot in bursts. A safe handheld floor is roughly one over the focal length, so 1/200s with a 200mm lens. Switch to continuous high-speed shooting, hold down for two or three seconds as the branch swings through the sharp zone, then review at 100 percent and keep one frame. Stabilisation helps with your own movement but will not freeze a moving branch.
Is soft or overcast light better for cherry blossom photos?
Overcast light is the easier and safer choice. A bright overcast sky behaves like a huge softbox, so pale petals render evenly without harsh shadows, colours stay natural, and exposure is far less difficult. Bright direct sun is workable but harsh, and it often blows out petals while leaving shadows too dark. Overcast also works well on a phone, where metering is much less capable.
Should I photograph cherry blossoms after rain?
Yes. Wet petals are darker and more saturated, raindrops sit clearly on the flowers, and overcast conditions keep exposure gentle. Look for reflections in puddles, wet paths and dark water, which give you abstract shots you cannot get on a dry day. Misty rain also softens busy backgrounds, so you can get closer than you would in clear weather. Keep a cloth in your pocket and change lenses inside a bag.
Conclusion
Pick one tree that is properly open, check what is behind it and how much wind is moving it, then work a single blossom rather than the whole canopy. Set your aperture wide, take two-thirds of a stop off the meter, focus on one stamen and make several deliberate compositions before you move on.
That is the whole method behind how to photograph cherry blossoms: pick the subject, protect the highlights, and change your position more often than your settings. The camera matters far less than the hour you show up.