To photograph tulips, shoot close with a macro or telephoto lens in soft morning or overcast light, meter for the brightest petal, and focus on the front curve of the bloom at around f/4. Tulips move in wind and blow out easily, so stability and exposure control matter more than fancy gear.
Most of it takes 20 minutes of setup and about an hour in the garden. Beginners can get a strong result in a single visit; the fiddly part is patience with a flower that never holds still.
Tulip petals are thin enough to glow when light passes through them from behind, and the cup shape bounces light around inside the bloom. That combination is why tulips are such forgiving flower subjects and also why they punish harsh midday sun. Get the light right and a plain kit lens will carry you further than an expensive macro setup used badly.
Table of Contents
- What You Need
- Step-by-Step: How to Photograph Tulips in Six Steps
- 1. Choose the right time and location
- 2. Set up the camera for close-up flower images
- 3. Use light to reveal tulip color and texture
- 4. Compose a strong tulip photograph
- 5. Focus carefully and capture multiple details
- 6. Review and edit the images
- Common Mistakes
- Frequently Asked Questions
- What time of day is best for photographing tulips?
- How do you photograph tulips with a smartphone?
- How do you deal with wind when photographing tulips?
- How do I get a clean background in a crowded flower bed?
- How should I edit tulip photos in Lightroom?
- Conclusion
What You Need
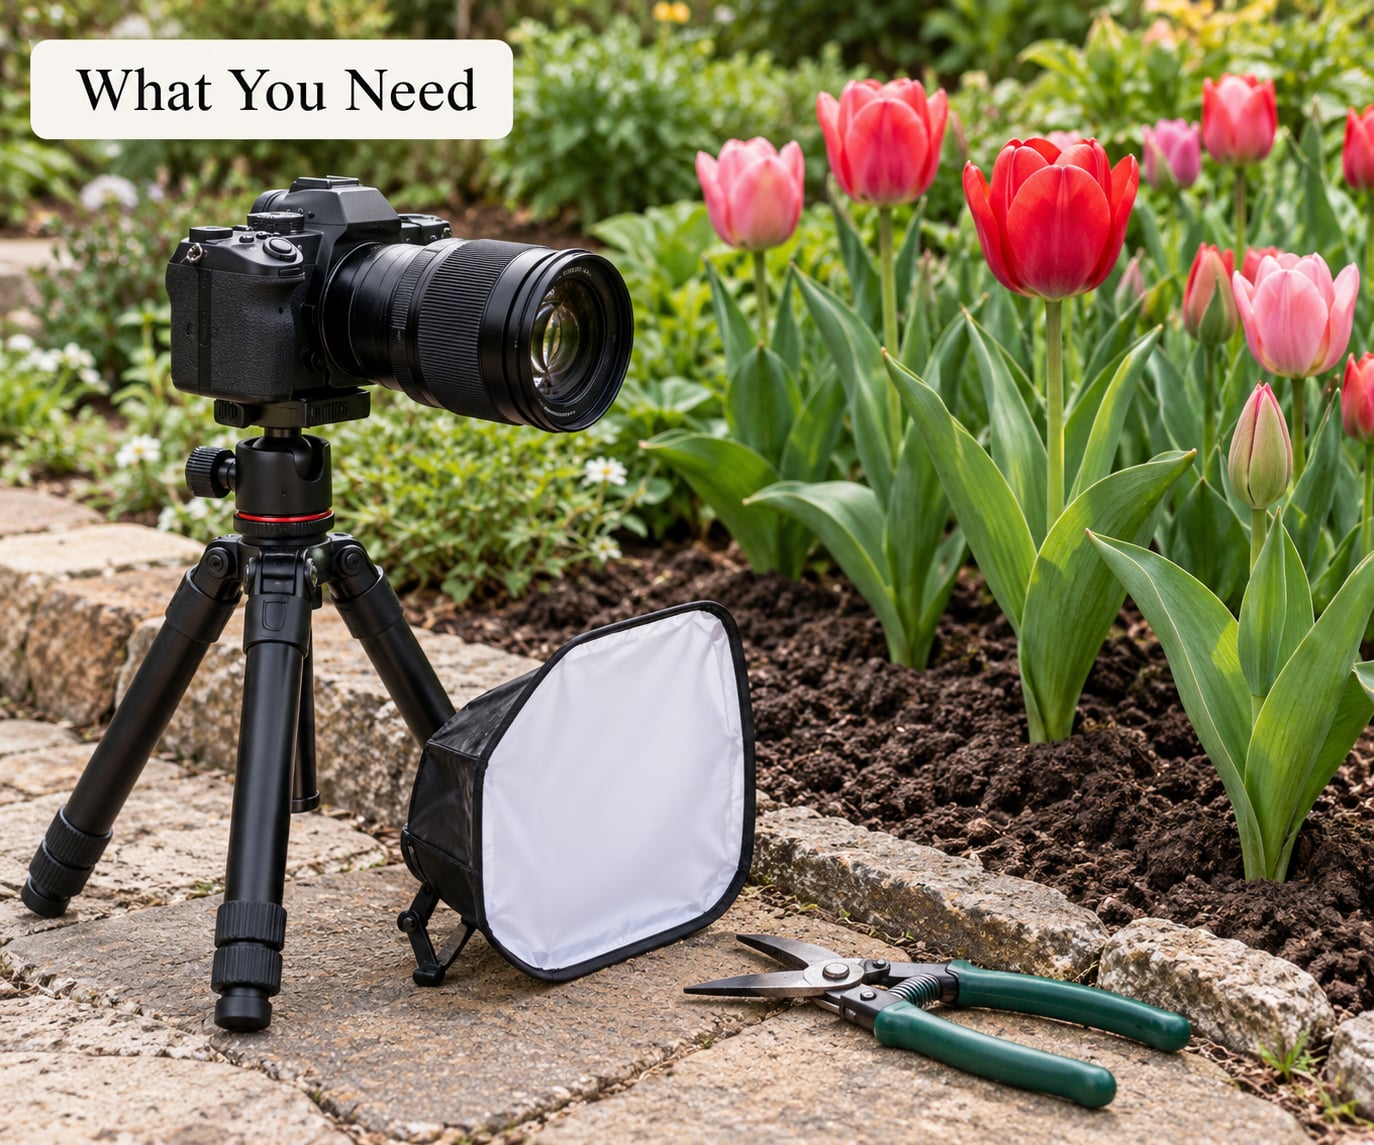
You do not need a dedicated macro kit. Here is the honest shortlist, in the order it matters.
- Any camera with a close-focusing lens. A 90mm to 105mm macro gives comfortable working distance and a shallow enough background to separate a bloom. A 70-200mm telephoto zoom is the better all-rounder because you can frame tight rows from a path and back off when other visitors step into the shot.
- A kit lens as a fallback. Push it to maximum zoom and move your feet. Closer framing beats a longer lens you have to stand far back for, and it keeps you out of the next bed someone else is shooting.
- A wide angle for beds and fields. A 16-35mm turns rows of colour into a graphic pattern with strong leading lines, which is the shot people actually plan a trip for.
- A smartphone with a 2x telephoto camera. The second lens on most modern phones gives you a working close-up without any adapter. Portrait mode plus the exposure slider covers most of what a dedicated lens does here.
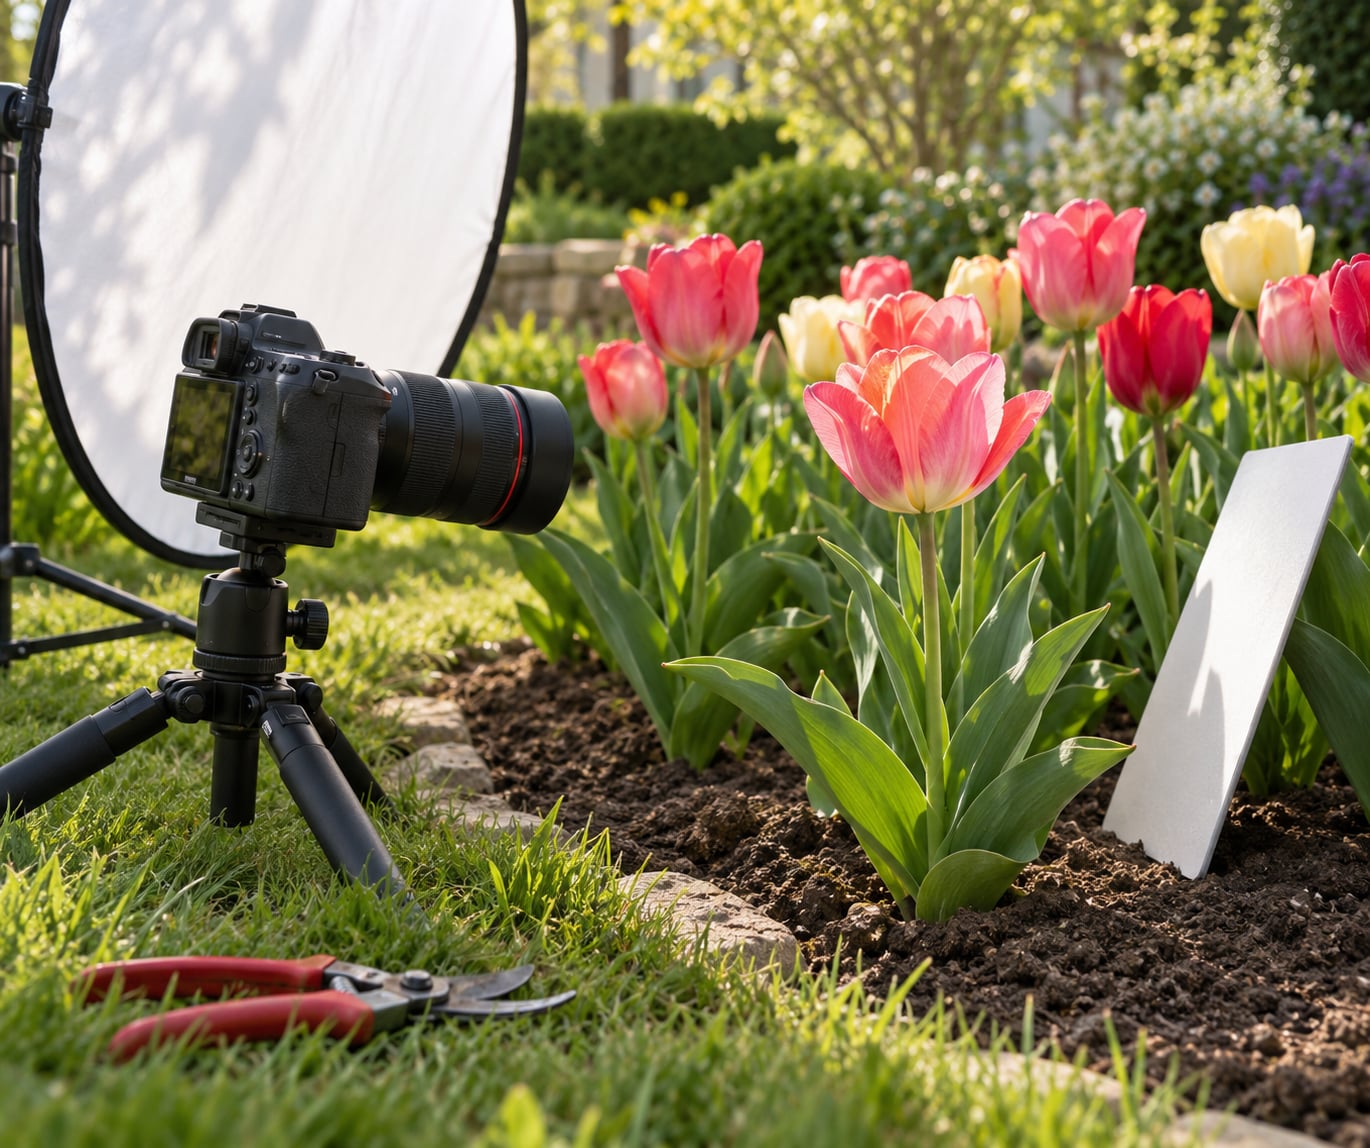
- A small diffuser. A white shower curtain or a thin bedsheet over a light stand turns hard sun into the soft light the petals prefer. It is the cheapest item on this list by a wide margin.
- A white reflector or a sheet of white card. It fills the shadow side of the cup so a backlit bloom does not go half black.
- A tripod with a tilting or centre column. You will want to shoot level with a flower and then lower the camera underneath it. A Platypod or a beanbag works almost as well on soft ground.
- A lens cloth and a small rain cover. In a tulip bed you will be kneeling in wet soil within twenty minutes.
Step-by-Step: How to Photograph Tulips in Six Steps
1. Choose the right time and location
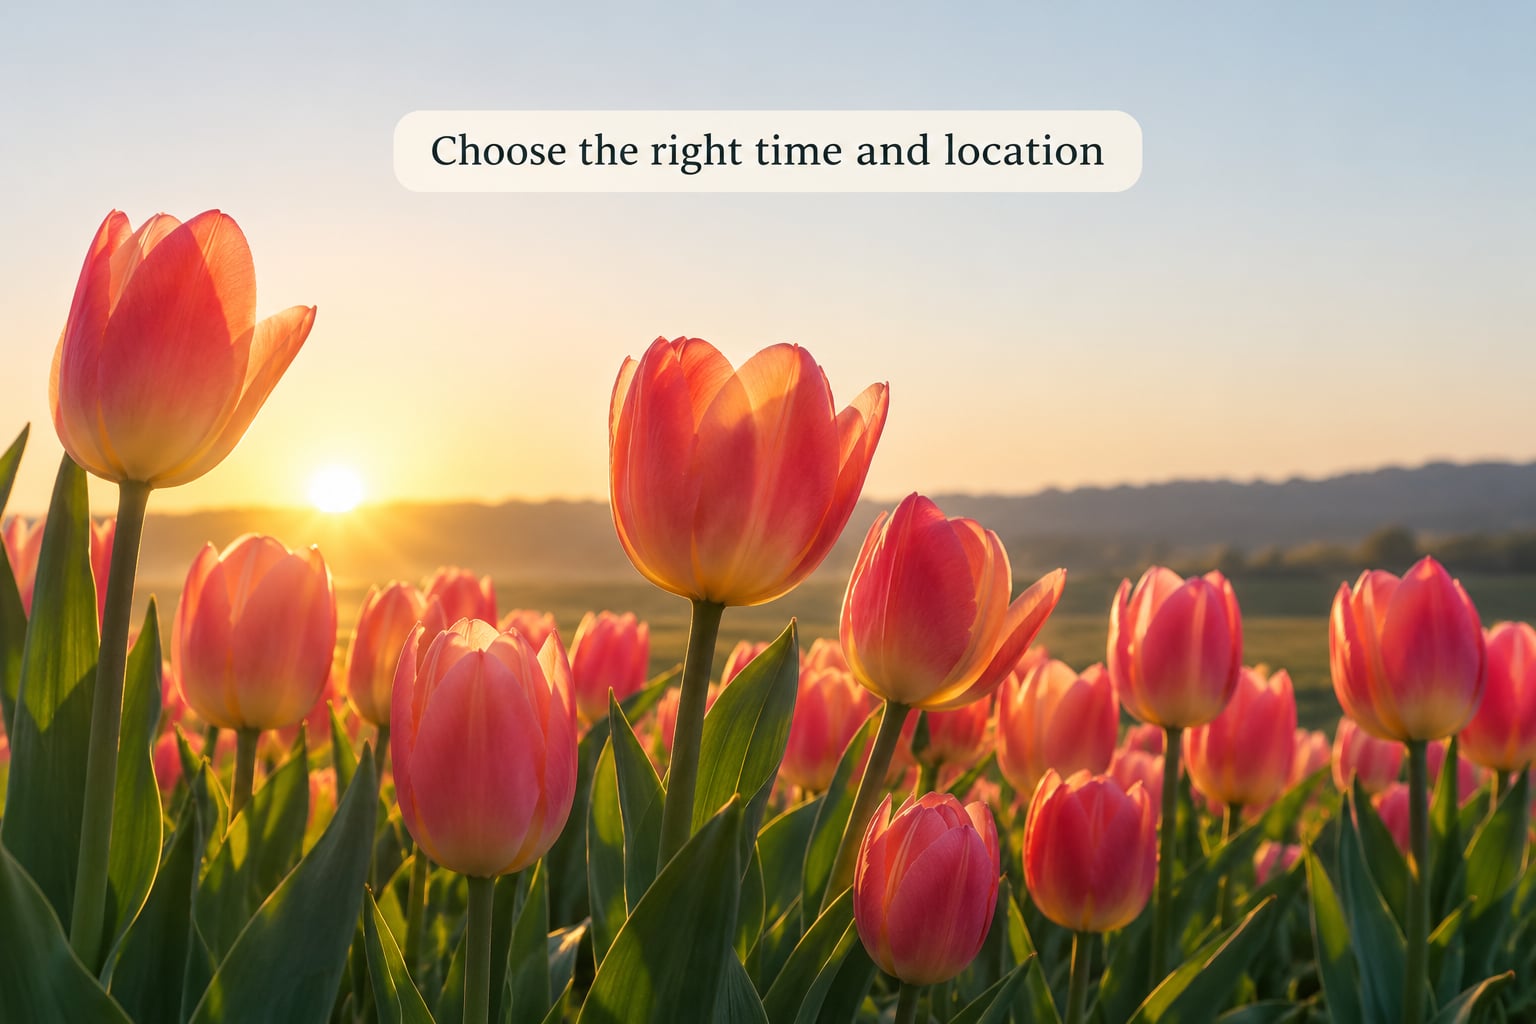
Go early, before the crowd and before the wind picks up. The best light is the hour after sunrise, when the sun is low, the air is usually calm and dew is still on the beds. If you only have late afternoon, the same idea applies in reverse: shoot the hour before sunset with the sun behind the flowers.
Stand at the edge of a bed and look before you shoot. What is behind the flower that you do not want? A white sign, a hose, a bin or a neighbour’s jacket will ruin more frames than bad settings. Walk sideways until the background is soil, foliage or plain shadow.
Check the bloom stage too. Tight, upright buds give you clean graphic shapes. Half-open cups show the stamens and the colour inside the flower. Fully open, slightly blown blooms are at their most interesting, and they photograph best with light coming through them from behind.
I have shot the same beds for years and I still come home with a folder of soft frames from wind. What fixes it every time is treating the air, not the flower, as the thing to plan around: I check a flag or a windsock, and I pick the hour the beds are sheltered.
On windy mornings, do not head home. Work a sheltered bed, or come back later. The same flower that moves constantly at 11am is often still by late afternoon, because the air near the ground changes through the day.
2. Set up the camera for close-up flower images
Start here and adjust from there. Tulip close-ups rarely need more than f/4, and going wider mainly buys you a thinner slice of focus.
| Scenario | Aperture | Shutter | ISO | Focal length | Focus |
|---|---|---|---|---|---|
| Single bloom close-up | f/4 | 1/250s | 100-200 | 90-105mm macro | Single-point AF on front petal |
| Selective focus, one curve sharp | f/2.8-f/4 | 1/250s | 100-400 | 100mm macro | Single-point AF on the edge |
| Full plant, stem and leaves sharp | f/8 | 1/125s | 200-400 | 100mm macro | Single-area AF |
| Crowded bed, clean background | f/2.8 | 1/500s | 400-800 | 200mm telephoto | Single-point AF |
| Backlit glow | f/5.6 | 1/500s | 200-400 | 100-200mm | Manual, set on the petal |
| Rows and colour patterns | f/8-f/11 | 1/125s | 100 | 16-35mm wide angle | Hyperfocal or single-shot AF |
| Smartphone | f/1.8-f/2.2 | 1/1000s | Auto up to 800 | 1x and 2x lenses | Tap to focus, exposure slider down |
Two things catch everyone out. First, meters aim for grey, and a saturated red or yellow tulip reflects less light than the meter expects, so the camera over-exposes and clips the petal edges to flat white. If your histogram shows spikes touching the right edge, pull the exposure compensation down by two thirds of a stop and shoot again.
Second, you need speed for the wind, not for the light. Anything slower than 1/125s handheld is a gamble with a moving subject. If the light forces you below that, mount the camera and use a two-second timer, and hold a hand near the stem to steady the flower when the gusts die.
3. Use light to reveal tulip color and texture
Soft light is the safe default. Overcast skies and open shade give an even, low-contrast light that renders the truest colour and keeps detail in both the front petals and the shadowed interior of the cup.
Backlighting is where tulips beat every other spring flower. Put the sun behind the bloom, drop the exposure so the background holds, and the thin petals light up from within with the vein structure showing through. Shoot this in the morning or late afternoon, never at noon, when the sun is too high to pass cleanly through a level bloom.
Four things make backlit shots work:
- Put the sun behind the flower and slightly to one side, so one edge of the cup catches a hot rim of light.
- Drop exposure compensation by one to one and a half stops so the background does not blow out.
- Keep the lens hood on. A wide open aperture plus a bare front element against the sun gives you flare and ghost circles across the frame.
- Hold a reflector below or beside the flower to bring the front petals out of black.
For side light, position yourself so the sun crosses the bloom at 90 degrees. That is what makes petal edges and the veining on the outside of the flower read as texture rather than flat colour.
If the sky is bright blue and the sun is out, hang the diffuser between the sun and the flower. It takes thirty seconds and it is the difference between a petal that looks like paper and one that looks like a petal.
4. Compose a strong tulip photograph
Pick one subject and give it the frame. Beginners tend to shoot straight down into every bloom, which produces a set of near-identical flat images. Turn the camera instead. Put it at the height of the flower and shoot horizontally, then kneel and shoot up into the cup from below.
The low view is the good one. Looking up at a tulip against a clean patch of sky shows the stamens, the curve of the outer petal and the stem running out of the bottom of the frame. Repeating this across a few blooms with the rule of thirds grid switched on keeps the rows from leaning.
Other moves worth trying:
- Fill the frame. One petal edge, sharp and full width, is a stronger photograph than a whole flower at half the size.
- Leave room. Put the bloom off to one side and let the soil or foliage occupy the rest. Negative space is what stops a close-up from feeling crowded.
- Use the rows. For beds and fields, stand so the lines of flowers run diagonally through the frame. The row itself becomes the leading line.
- Use longer glass for a clean background. Moving from 50mm to 200mm blurs a crowded bed of competing stems into a smooth wash of colour behind your subject.
- Change height and angle often. The same flower photographed from high, low and side level is three different pictures.
5. Focus carefully and capture multiple details
Focus on the nearest part of the bloom, usually the front outer petal where it curves away. Everything behind it falls soft, and that gradient is the whole look. Single-point or single-area autofocus is what you want here; wide-area or tracking modes will hunt every time a gust hits.
Switch to single-shot autofocus, half-press to focus, and take the frame. If the flower will not hold still enough for that, hold the camera steady on the tripod, set focus manually once, and use a timer. Focus hunting from a moving subject is the single most common reason tulip photos come out soft.
Shoot more frames than you think you need. Macro photographers who post a lot of single-bloom work talk about shooting many variations of one flower rather than one decisive shot, and that is good advice. Vary the aperture, then the height, then the background. Ten frames at one setting teaches you less than two frames at five settings.
For wide close-ups where you want the flower, stem and leaves all sharp, stop down to f/8 or focus stack: take one frame with focus on the petal, one on the middle of the stem, one on the leaves, then blend them in software.
6. Review and edit the images
Do the review on the back of the camera while you are still standing there. Zoom to 100% and check the petals first. If the brightest area is a flat white patch with no texture, add a little negative exposure compensation and reshoot. Recovering a clipped petal later is painful; a slower frame next time is not.
Once you are home, work in this order:
- Exposure and highlights. Lower the highlights before you touch anything else. Pull the white slider down until petal texture reappears, then match the overall exposure across the set so it reads as one shoot.
- White balance. Set it to a fixed value such as 5500K rather than leaving it on auto, so every frame in the sequence matches. Morning shots and evening shots should not share a white balance.
- Colour. Reds and magentas clip into flat blocks when pushed hard. Increase saturation slightly, then check a red bloom at 100% and pull the red saturation back if the petal starts to look like plastic.
- Contrast and blacks. A small lift to the blacks and a modest contrast curve give the image depth without crushing the shadow inside the cup.
- Crop. Trim the edges that hold stray soil or a cut stem. Leave more space on the side the flower faces into.
- Sharpen last. Mask sharpening to the subject, not the blurred background, and keep the amount low enough that you cannot see a halo along a petal edge.
Common Mistakes
Shooting in harsh midday sun. Petals blow out to flat white and the colour goes chalky, especially in white, yellow and red varieties. The fix is to wait, or hang the diffuser and shoot in open shade.
Trusting the meter on a saturated bloom. Red and yellow tulips come out too bright. Check the histogram and pull exposure compensation down by two thirds of a stop.
Blurry frames from a moving flower. Use a faster shutter speed, a tripod with a timer, or manual focus set once. Anything below 1/125s handheld will usually disappoint.
Busy backgrounds in a crowded bed. Reposition rather than post-process. Walk sideways until the stem lines up with dark soil or foliage, and switch to a longer focal length if you need more blur.
Focus on the middle of the flower. The centre of the cup is the softest part. Focus on the nearest petal edge instead, and everything behind it turns into the gradient that makes the shot look deliberate.
Centring every bloom in the frame. Turn the grid on, put the flower near a third, and leave space in the direction it leans.
Over-editing the colour. Crushed shadows and neon reds are the giveaway of an over-worked edit. Back off saturation and lift the blacks instead.
Tripod legs sinking into wet soil. Keep the legs high, shorten the centre column, or use a beanbag on the ground. A low shot straight into a bed is easier with the camera nearly horizontal than with legs fully spread.
Frequently Asked Questions
What time of day is best for photographing tulips?
Early morning, in the hour after sunrise, is the best time. The sun is low, the air is often calm, and dew is still on the petals. Late afternoon works too, with the sun behind the flower for a backlit glow. Avoid the hours around midday, when the light is hard and bright petals clip to flat white.
How do you photograph tulips with a smartphone?
Use the 2x telephoto camera rather than the 1x lens, since it gives you a closer framing with a softer background. Tap the flower to focus, then pull the exposure slider down about a third of a stop, because bright saturated petals overexpose. Portrait mode adds useful background blur, and shooting in ProRAW or the highest quality mode keeps more colour for editing.
How do you deal with wind when photographing tulips?
Treat wind as a timing problem, not a reason to stay home. Work sheltered beds, come back at a different hour, or wait for a lull and shoot in bursts while the flower holds still. For steady frames, set up a tripod, focus manually once, and use a two-second timer. Holding the stem with one hand while pressing the shutter steadies things further.
How do I get a clean background in a crowded flower bed?
Change your position rather than your settings. Walk sideways until the bloom sits against soil, foliage or plain shadow, and shoot with a longer focal length such as a 200mm telephoto. A wide aperture around f/2.8 turns the surrounding stems and any bright gaps into a smooth wash of colour instead of competing shapes.
How should I edit tulip photos in Lightroom?
Lower the highlights first, because clipped petals lose texture permanently. Then set a fixed white balance so the whole set matches, lift the blacks slightly for depth, and increase saturation only a little. Reds and magentas turn plastic fast, so check a red bloom at full size before you keep going. Crop the stray soil at the edges and sharpen last.
Conclusion
Photographing tulips comes down to four things: soft or deliberately backlit light, a wide-enough aperture for a soft background, exposure compensation for bright saturated petals, and a technique for holding focus on a flower that keeps moving. None of that needs expensive glass.
Start with one visit and one bloom. Go early, choose a tulip with a clean background, set f/4 at 1/250s, focus on the front petal, and take ten frames before you change anything. Once that one frame works, the rest is repetition.