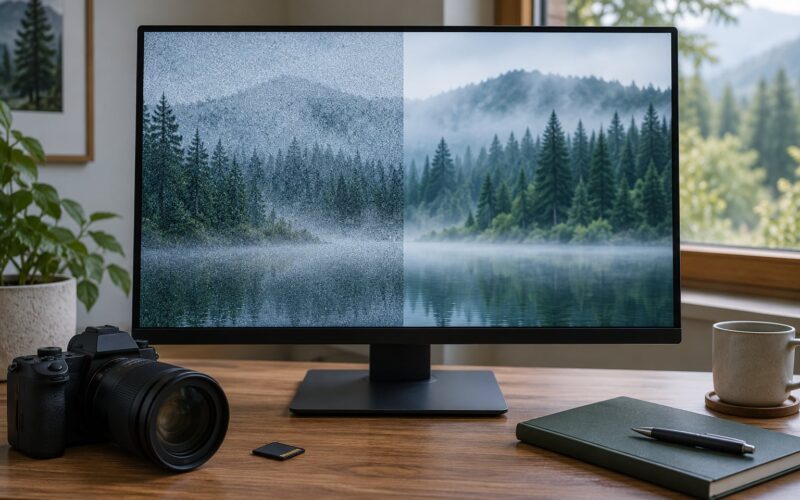
There are two ways to remove dust spots from photos. You can let the editor find and repair them automatically, or you can fix each speck yourself at 100 percent zoom with a healing or clone tool. Automatic removal takes seconds per image; manual work takes a couple of minutes and gives you full control over the result.
Dust spots are small light or dark marks that end up baked into the file when dust blocks light before it reaches the sensor, or sits on the front element, or lands on a negative during scanning. Because that particle stays put on the sensor, the same spot lands in the same corner of the frame on every exposure you take. That single fact is why you can repair one photo and push the fix across an entire shoot.
Most people notice dust only after a photo is already on a screen or, worse, coming off a large printer. A speck that is invisible on a laptop becomes an eyesore at arm’s length on paper. If you want to see how the process works before doing it on your own files, start with the steps below in order and keep the original untouched until the corrected copy is finished.
Table of Contents
- What You Need
- Step-by-Step: How to Remove Dust Spots From Photos
- Step 1: Zoom In and Inspect the Image
- Step 2: Use the Spot Selection or Healing Tool
- Step 3: Clean the Image in the Right Color Channel
- Step 4: Check for Remaining Spots and Blend Edges
- Step 5: Save a Separate Corrected Copy
- Cleaning a whole shoot at once
- Common Mistakes
- Frequently Asked Questions
- What is the best software for removing dust from photos?
- Can Darktable remove dust from a picture?
- Why do all my photos have spots in the same place?
- How do I remove dust spots from multiple photos at once?
- How do I remove hardened dust from old photos and scanned negatives?
- Why should dust spots come out before sharpening and resizing?
- Conclusion
What You Need
You need an editor with a healing or clone tool. Adobe Lightroom and Lightroom Classic, Photoshop and Camera Raw, GIMP, Darktable, Affinity Photo and Capture One all qualify. Snapseed on a phone works in a pinch, though it is fiddly for anything but a handful of specks.
You also need the original file. That means the RAW file if the camera produced one, or the highest-resolution scan if the photo came off film or paper. A JPEG that has already been through a sharpening filter, a social platform and a resize has the dust baked in and the texture smoothed, and no tool gives that back to you.
Zooming to 100 percent matters more than it sounds. At Fit-on-screen view a speck is a fraction of a pixel wide and you will click straight past it. At 1:1 the spot becomes an obvious blob with edges you can size a brush around.
It helps to know where the dust is coming from before you start. The community test for sensor dust is simple: put the camera on a tripod, point it at a blank white wall or a sheet of paper, set f/16 or f/22, focus to infinity and take a multi-second exposure with the lens turned off. If spots show up there, they are on the sensor. If they do not, keep checking the front element, the rear element and the lens barrel before you blame the sensor.
Last, give yourself a way to compare. Lightroom’s Before and After view, Photoshop’s toggled layer visibility, or two windows side by side will all tell you whether a repair actually worked. Healing that smears a patch of foliage will not look bad at Fit view. It looks bad immediately at 1:1.
Step-by-Step: How to Remove Dust Spots From Photos
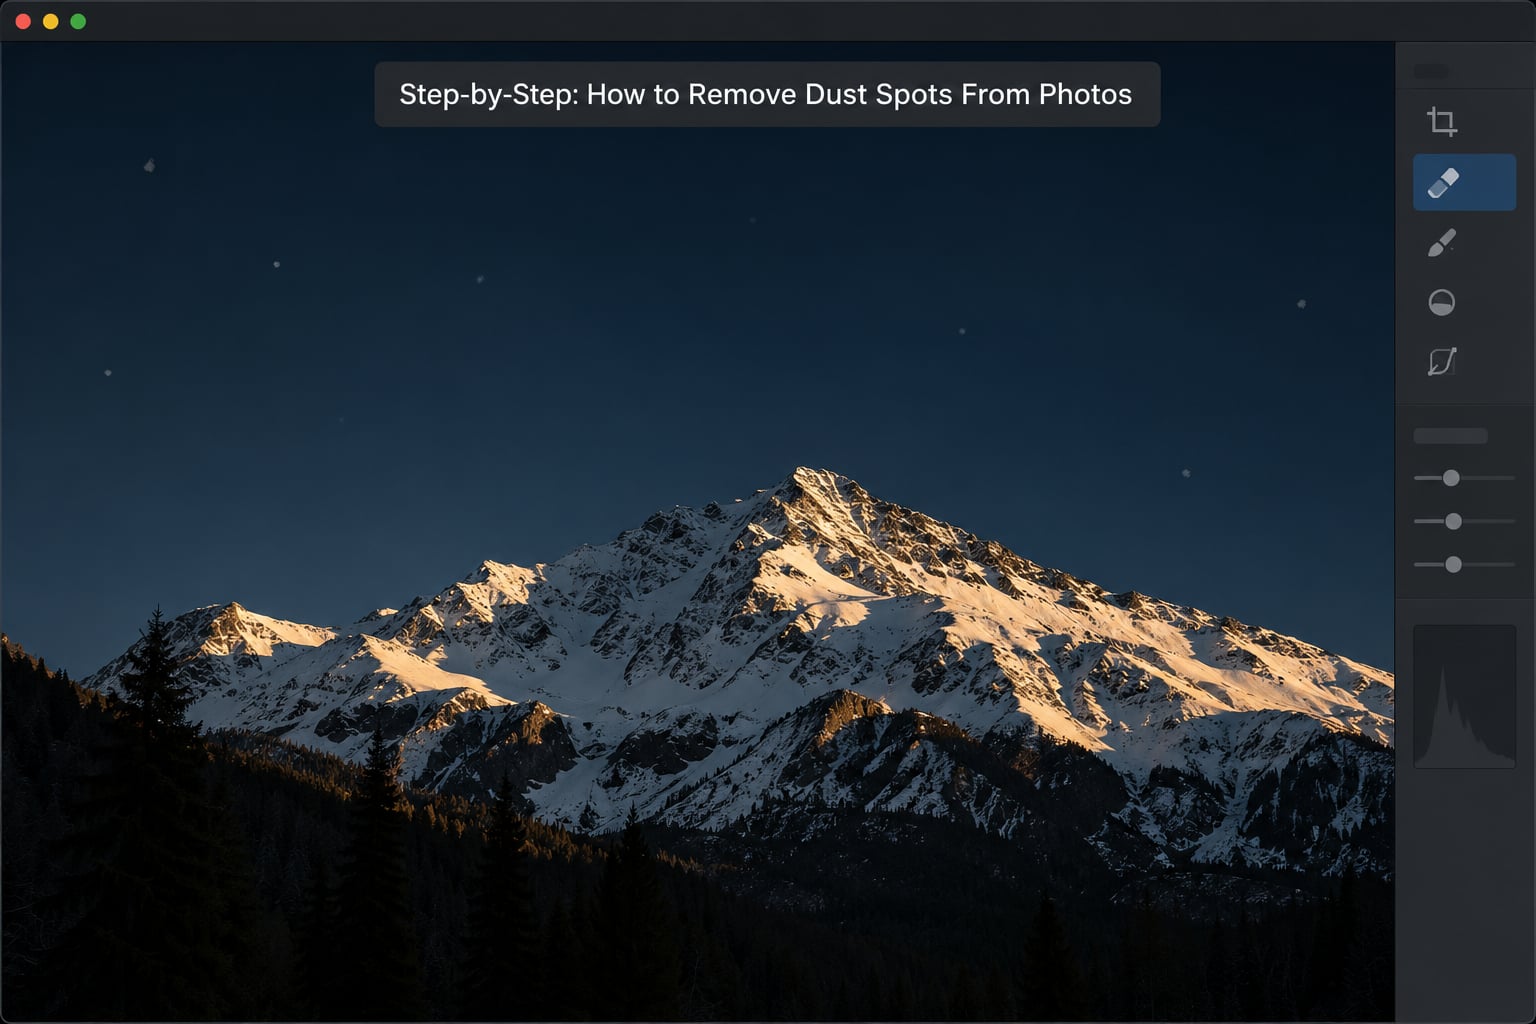
Step 1: Zoom In and Inspect the Image
Start at 100 percent magnification and scan the frame corner to corner in overlapping passes, like reading a page with a magnifier. Most people miss the middle of the frame because they sweep the four corners and stop. Overlap your passes by roughly a third of the view so nothing hides on the seam.
While you scan, separate dust from things that belong in the photograph. Stars in a night sky, pollen on a macro subject, backlit sensor noise in a dark sky and fine scratches on a scanned negative are not all handled by the same tool. Dust is compact, round or slightly irregular, and it appears in the same frame position across neighbouring shots. If the mark moves when you scroll to the next photo, it is subject detail, not sensor dust.
Some dust is nearly invisible until you push the image. The quickest trick is to add a temporary black and white adjustment layer on top and crank contrast, clarity and midtone contrast hard. Every faint speck jumps out instantly. Work through the frame this way, then delete the layer and return to normal. It makes the image ugly on purpose, which is exactly the point.
For a quick sweep before you even open the editor, jump to 100 or 200 percent and hold down the key that hides the image in your software. Dark areas and smooth gradients give up spots fastest, so a bright empty sky or a blurred background is where most specks live.
Step 2: Use the Spot Selection or Healing Tool
The core idea is the same everywhere: the brush should be slightly larger than the speck, and the tool should pull replacement pixels from clean neighbouring texture. What changes between applications is the name of the panel and the shortcut keys.
| Method | What it does | Best for | Watch out for |
|---|---|---|---|
| Lightroom Distraction Removal | Detects dust automatically and repairs it in one pass | Quick cleanup of sky-heavy outdoor shots | Smears fine detail like foliage, hair and star fields |
| Lightroom Classic Spot Removal | Click each speck; the tool heals or clones it | Full control, large batches, print work | Takes one click per spot |
| Photoshop and Camera Raw | Spot Healing Brush, Healing Brush, Clone Stamp | Hair, streaks, scratches, precise blending | More steps than Lightroom |
| GIMP | Heal and Clone tools, free and open source | Free workflow with no subscription | Interface takes a little learning |
| Darktable | Spot removal module with manual sources | Free RAW development | Steeper setup than Lightroom |
| Snapseed on a phone | Single automatic Healing pass | A few specks on a phone snapshot | No manual brush control |
In Lightroom the automatic route is short. Select Remove, expand Distraction Removal, open the drop-down beside Dust and select Apply. Lightroom scans the photo and repairs what it finds. Click any repaired spot and you can refresh it or delete it if the result is wrong. The Size slider caps how large a defect the tool will attempt, and the Threshold slider with Visualize Spots controls how much the detector flags rather than how strongly the repair blends.
Check that the Dust panel exists in your version before you go looking for it. The AI Distraction Removal panel was added after earlier releases, and Lightroom Classic does not include it at all. Classic users stay on the manual tool and lose nothing except speed.
In Lightroom Classic the manual route is: open the photo, press D for the Develop module, press R for Spot Removal, tick Visualize Spots, drag the slider until the specks stand out clearly, then press the [ and ] bracket keys to size the brush to the defect. Click the spot. Press Delete while hovering over a spot circle to undo that one repair instead of the whole edit. Press G to go back to the Library grid.
In Photoshop, the Spot Healing Brush on J handles most specks with a single click because it samples the surrounding area automatically. The Clone Stamp on S gives you exact control, which is what you want over texture such as gravel, foliage or fabric where the automatic blend smears. The Dust and Scratches filter under Filter and then Noise exists too, but it applies a radius across the whole layer and will flatten real detail if you push it. Use it on duplicates, not on your working file. RAW files open in Camera Raw, where the same healing tools live in the Eraser and Heal group.
In GIMP, the Heal tool on H works like the Photoshop Spot Healing Brush and the Clone tool on C gives manual control. Neither needs an internet connection and both handle the formats a photographer actually has, including RAW via the raw import. In Darktable, the spot removal module works the same way: you define sources and it pulls clean pixels over the defect. It is a free alternative that handles a full RAW workflow, not just dust.
| Application | Spot tool shortcut | Resize brush | Undo one spot | Zoom to 100 percent |
|---|---|---|---|---|
| Lightroom Classic | R | [ and ] | Delete over the spot | Z |
| Photoshop | J and S | [ and ] | Ctrl or Cmd + Z | Ctrl or Cmd + 0 |
| GIMP | H and C | [ and ] | Ctrl or Cmd + Z | 1 |
| Darktable | W for spot removal | Scroll wheel | Ctrl or Cmd + Z | Space |
On the artifact you are not sure about: a dust speck needs the healing tool, a strand of hair needs the Clone Stamp or a manual source, and a long streak across the frame usually needs a selection and a content-aware fill rather than a spot brush. Hair that crosses sky is easy to clone. Hair crossing a face is a job for a patient pass.
Step 3: Clean the Image in the Right Color Channel
Work in the color channel where the speck stands out best. A dark dust mark on a blue sky reads clearly in the red channel; a bright mark on dark water reads better in blue. Open the Channels panel, duplicate the layer, desaturate it, and look at each channel one at a time.
Fix the spots in the channel where the defect is darkest or lightest, then merge the visible layers back into one. This works because the healing and clone tools only need to solve the problem in the part of the image where the pixels are wrong, and a single channel gives you a cleaner sample to pull from.
Skip this step when you are working in RAW with an automatic tool. The AI detection already runs across channels, and the extra layer juggling costs more time than it saves. Channels earn their place on stubborn scans, on dust sitting over busy texture, and anywhere the composite view hides the defect.
Step 4: Check for Remaining Spots and Blend Edges
Do a second full pass at 100 percent after you think you are finished. Repairs create new edges, and those edges are where the next speck hides. Work in a different direction than your first scan so you are not retracing the same blind spots.
When a repair leaves a soft patch, the usual cause is a brush that was too large or a sample area that was too close. Reduce the brush to about the size of the defect and let it sample a wider ring of clean texture. In Lightroom, holding Alt while clicking lets you drag the sample source to a clean area, which fixes most smudges in one move. In Photoshop, hold Alt after a clone stroke to re-sample.
Blurred patches also appear when you click the same spot several times. Each click resamples from a region that is already repaired, so the texture softens with every pass. Two passes should be your maximum on one defect.
Automatic removal needs a careful eye afterwards. The tool is very good on smooth areas and less good where the image has high-frequency detail, so check foliage edges, hair, fabric weave and star fields by hand and repair anything the machine flattened. A star field is the classic failure: the detector removes a star and replaces it with a patch of dark sky, and now there is a hole in your constellation.
Step 5: Save a Separate Corrected Copy
Compare the corrected version against the original at 100 percent before you save anything. Toggle the edit on and off twice. If the repaired area changes character when you toggle, the blend is wrong and you should fix it now rather than after you have exported.
Keep your original file intact. On RAW, the healing sits in the edit instructions rather than the pixels, so the file stays undamaged and you can reset or revise at any time. On a JPEG, every save re-compresses, so work on a copy and keep the download you started from.
Order matters in the export pipeline. Remove dust first, then sharpen, then resize, then deliver. Sharpening exaggerates any smudge you left behind, and resizing a speck down to 40 percent does not remove it, it just makes it smaller and softer. Dust that is invisible on screen at delivery size can still be obvious on a large print, so scan at delivery resolution and inspect at 100 percent one more time.
Cleaning a whole shoot at once
A speck is fixed to the sensor, not to the subject, so it repeats in the same frame position across every exposure until the sensor is cleaned. Repair one frame carefully, then push those edit instructions across the rest of the set.
In Lightroom, finish one photo, then copy the settings and paste them onto the other frames in the grid. Detection re-runs per photo when you paste into the automatic Dust panel, which is exactly what you want. For manual spot repairs, paste carefully and check any frame where the subject moved into the repaired area, since the paste has no idea that a face has changed position.
People who work this way save their spot removals as a user preset with layer adjustments unchecked, then apply it across the set in one go. Save the preset on a throwaway copy of the image and inspect the results at 100 percent before you trust it on a hundred frames.
Common Mistakes
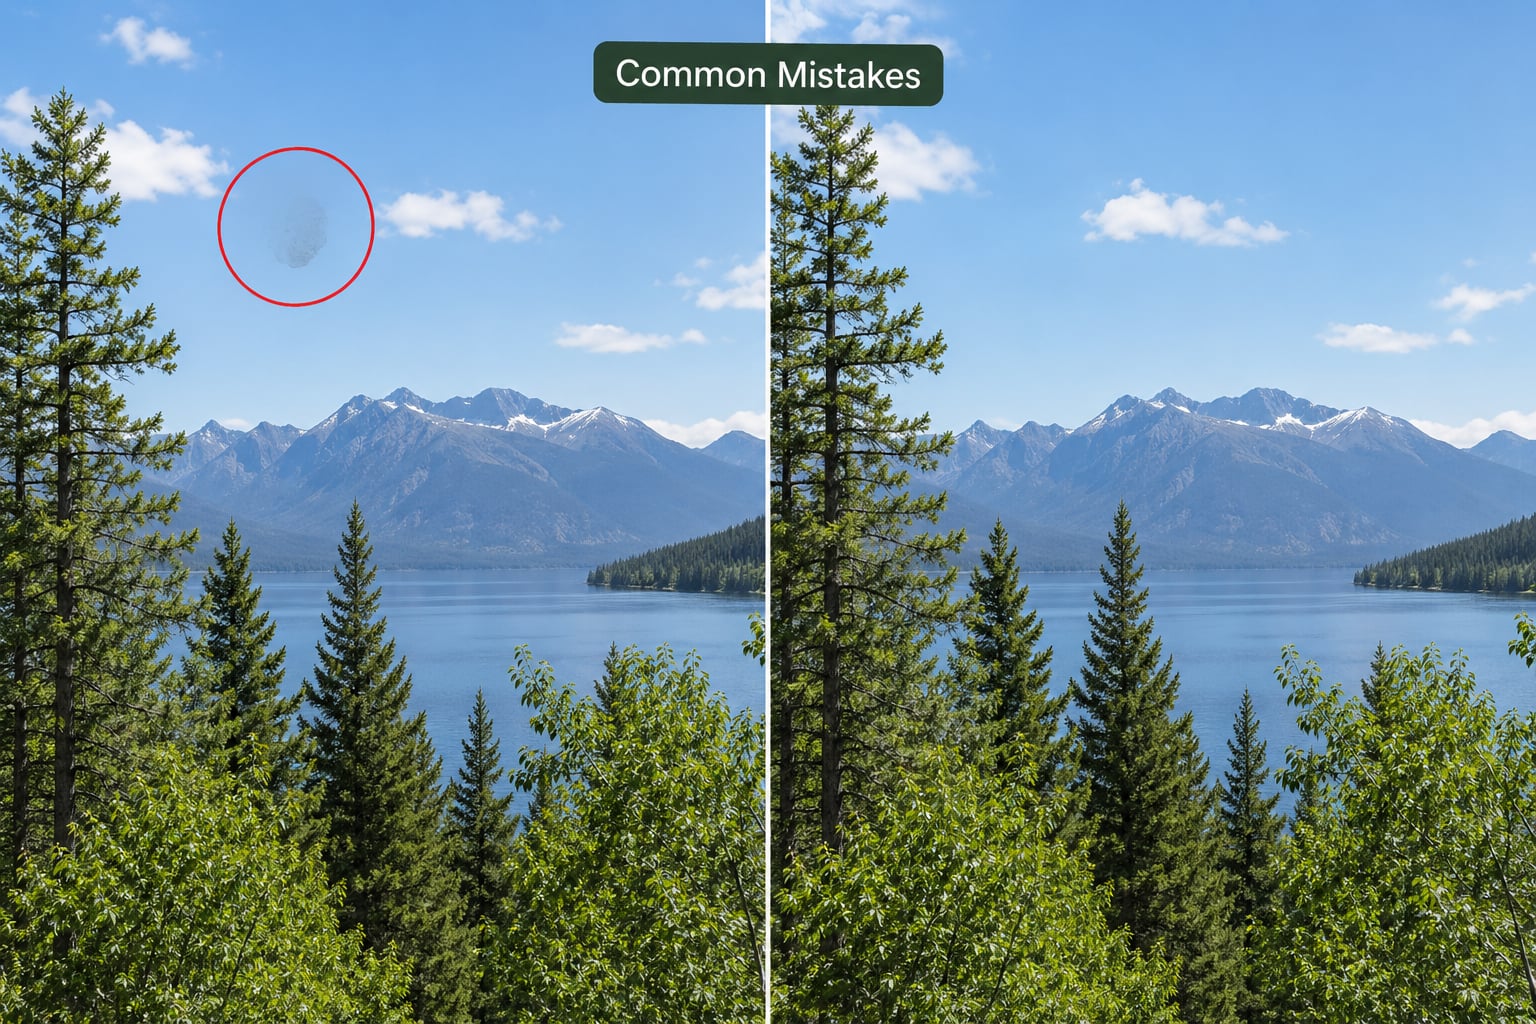
Most disappointing results come from a handful of repeated habits, and every one has a simple correction.
- Brush much bigger than the speck. The repair swallows good texture and leaves a soft patch the size of a coin. Size the brush a touch larger than the defect and no more.
- Soft blurry patch left behind. The sample area was too close to the defect or you clicked twice. Enlarge the sample ring or drag the source to clean texture further away, and start that spot over.
- A smudge or halo ring. The edge of the repair does not match the surrounding texture. Zoom in, reduce the brush, and use the Clone Stamp rather than the healing tool over high-contrast areas.
- Real detail cloned away. You treated a star, a pollen grain or a scratch as dust. Compare with the neighbouring frames before clicking; anything that shifts position between shots is part of the scene.
- Over-clicking one spot. Each extra click resamples already-repaired pixels and softens them. Two passes maximum, then move on.
- Only cleaning one kind of background. Dust on a dark forest floor disappears while dust on a bright sky screams at you. Scan both, and scan the middle of the frame rather than stopping at the corners.
- Retouching after sharpening. Sharpening makes every healing smudge obvious and turns light dust into a hard-edged blob. Clean first, sharpen last.
- Working on a flattened JPEG with no original. The quality you are editing is already degraded. Go back to the RAW or the full-resolution scan if it still exists.
- Scanning old photos at too high a resolution. Hardened dust and grain become part of the scan, and every one of those specks needs a repair. Scan a little below your target print size and clean at that resolution.
Two more habits pay off over time. Clean your sensor with an air blower or rocket blower, especially if you swap lenses outdoors, because fewer specks means less retouching and less risk of removing detail that mattered. And when you finish a frame, resist the urge to zoom past 200 percent looking for flaws that only exist because of interpolation. Inspect at 100 percent, which is roughly what the eye sees at normal viewing distance.
Frequently Asked Questions
What is the best software for removing dust from photos?
For most people Lightroom is the quickest answer, because the Distraction Removal panel detects and repairs dust in one pass and you can push the fix across a whole shoot. Photoshop and Camera Raw win when you need control over hairs, streaks and scratches. GIMP and Darktable do the same job well at no cost. Whichever you pick, the technique is the same: zoom to 100 percent, brush slightly larger than the speck, sample clean nearby texture.
Can Darktable remove dust from a picture?
Yes. The spot removal module handles dust, hairs and small blemishes, and it works on RAW files without a subscription. You create one or more sources by drawing over clean neighbouring areas, then Darktable pulls that texture over each defect when you click the spot. It takes more setup clicks than Lightroom, but the result is close and the whole RAW workflow is free.
Why do all my photos have spots in the same place?
Because the dust is sitting on your camera sensor or on the lens element in front of it, and it stays there between frames. A speck blocking light lands in the same pixel location every time. That is also what makes batch correction possible, since one repair can be copied across the set. A blower cleaning, or a swab cleaning when needed, clears the marks and retouching gets much lighter.
How do I remove dust spots from multiple photos at once?
Fix one frame carefully, then copy the edit settings and paste them onto the rest of the set. In Lightroom the Distraction Removal tool re-detects dust on each photo when you paste, so it adapts to frames where the defect moved slightly. For manual spot repairs, save a preset with layer adjustments unchecked and apply it across the grid, then spot-check a few frames at 100 percent.
How do I remove hardened dust from old photos and scanned negatives?
Handle the physical item first. Use a soft brush to sweep loose particles off a print, and clean the scanner glass and film holders before scanning again rather than repairing the same specks later. Scan slightly below your print size so grain and hardened debris do not become huge defects. In software, use the healing or clone tool at 100 percent, and check for silver mirroring separately since it is a different problem from dust.
Why should dust spots come out before sharpening and resizing?
Sharpening finds every edge in the image, including the soft edge left by a healing brush, so retouching afterwards turns a subtle smudge into a visible ring. Resizing does not remove a speck, it just makes it smaller and softer while the surrounding detail loses the sharpness it should have. Clean the dust first, then sharpen, then resize, so the sharpening pass only sees real detail.
Conclusion
Start by zooming to 100 percent and scanning corner to corner. Pick out only the marks that are genuinely dust, hit each one with a brush slightly larger than the speck that samples clean texture nearby, then compare the result against the original before you save. Keep the source file untouched, export a corrected copy, and once you are happy with the frame, copy those fixes across the rest of the shoot.