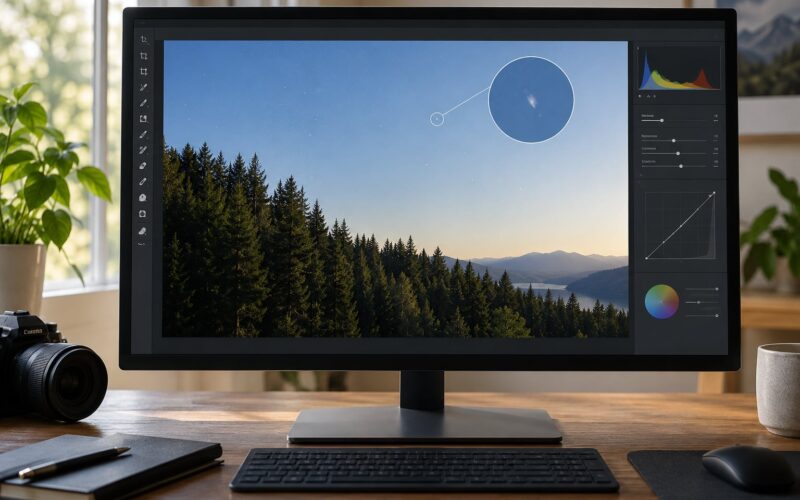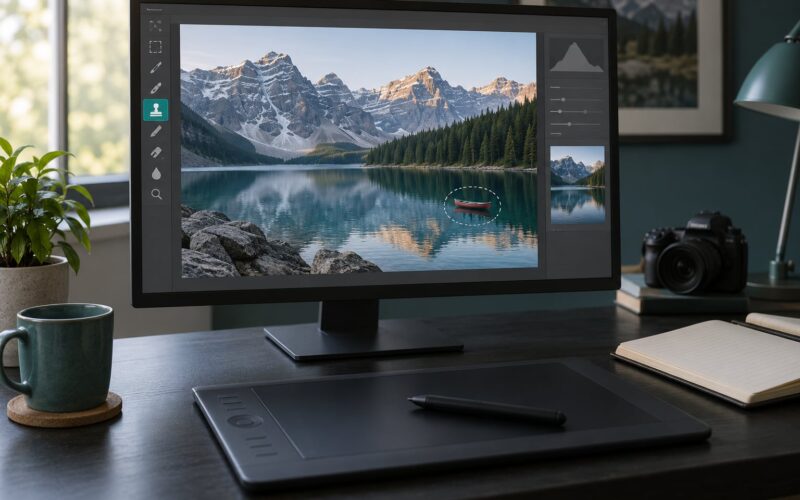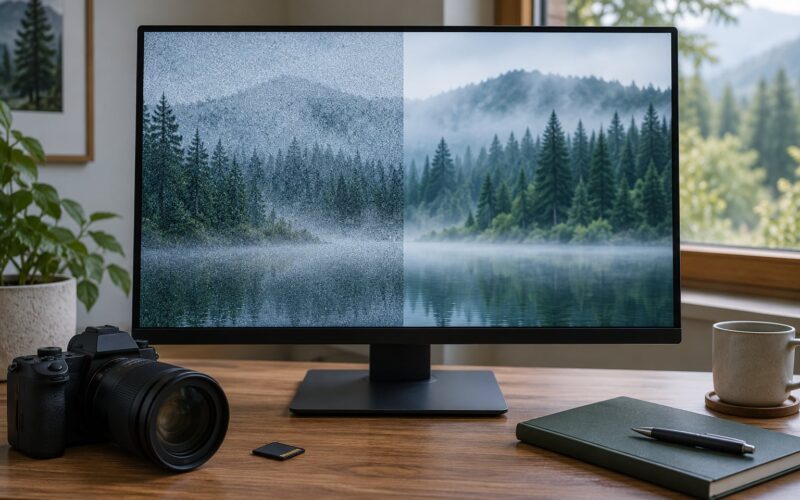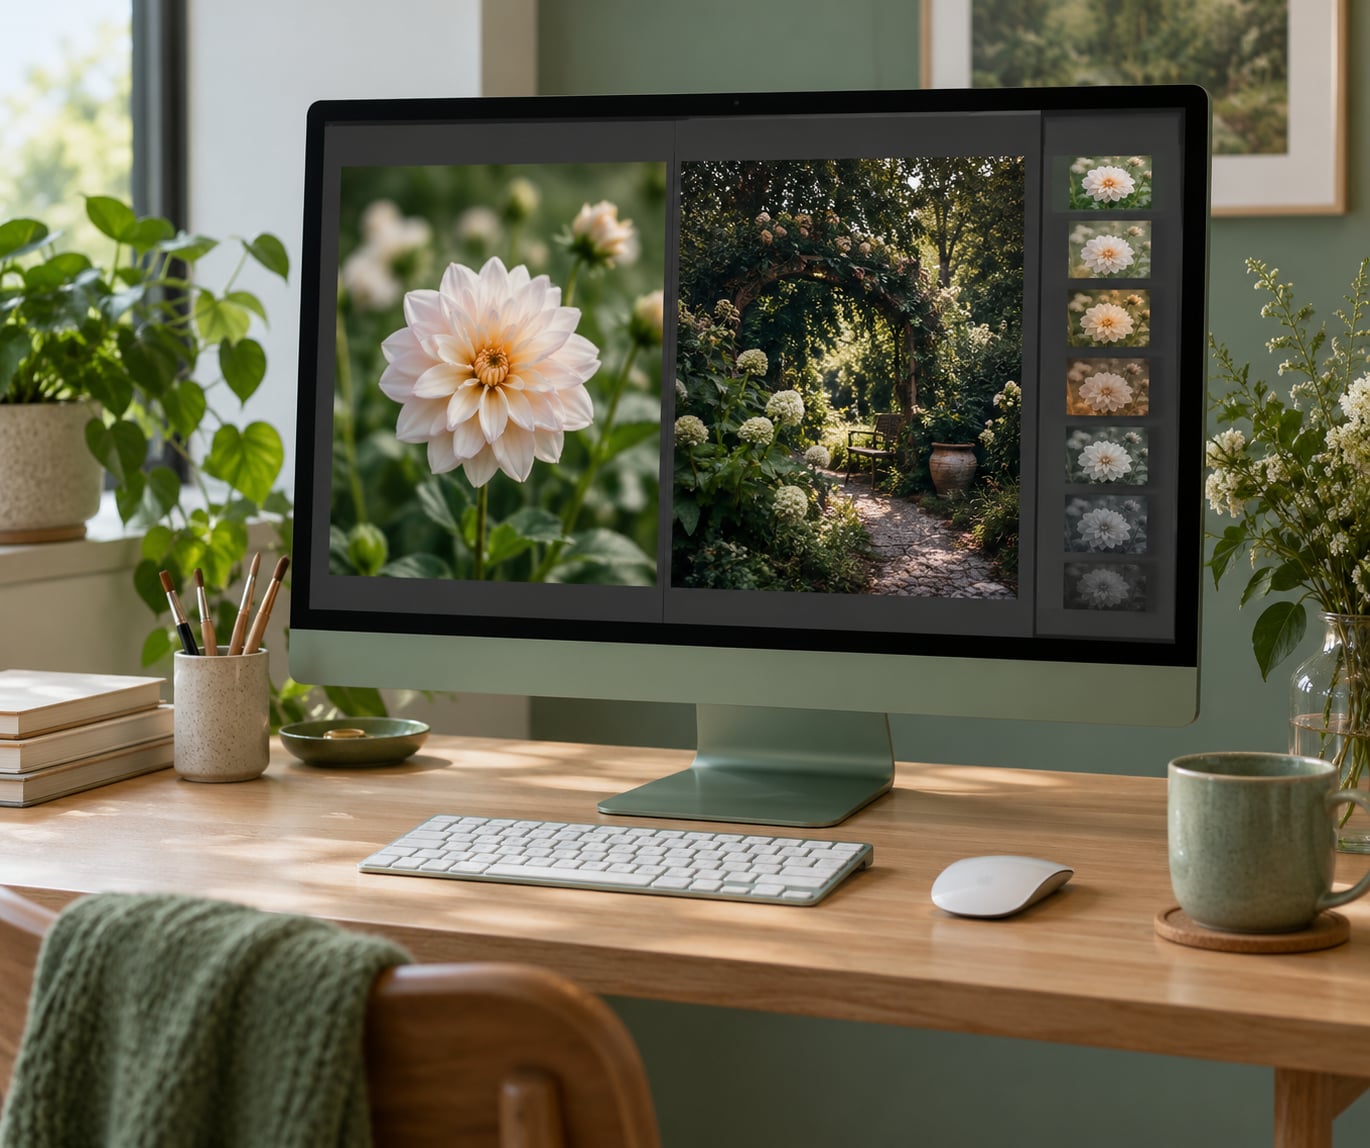
A photo preset is just a saved record of your editing adjustments: exposure, contrast, white balance, tone curve, color grading and the rest. To make a photo preset, edit one photo until you like the result, then save those settings from the Presets panel so you can reapply them in a single click next time.
The click-path takes about two minutes. The harder part is deciding which adjustments belong in the preset at all, and that is where most beginner presets go wrong. Get that decision right and a single preset can carry a whole season of flower and garden photos.
Table of Contents
- What You Need
- Step-by-Step: How to Make a Photo Preset From Your Own Edits
- Choose the Right Reference Photo
- Adjust the Main Image Settings
- Create a Consistent Color Adjustment
- Save the Settings as a Preset
- Test the Photo Preset on Different Photos
- Export or Use the Photo Preset
- Common Mistakes
- Frequently Asked Questions
- What is the easiest way to make a photo preset?
- Do photo presets work with RAW and JPEG files?
- Should I use the same photo preset for every photograph?
- Can I make a photo preset in a free editing app?
- What is the difference between a preset and a Photoshop action?
- How do I make a preset that does not look over-edited?
- Conclusion
What You Need
You need three things: an editing application, one representative photo, and about thirty minutes of unhurried work.
The application is the easy part. Lightroom Classic on a desktop has the most flexible preset system and the clearest controls. Lightroom Mobile and the cloud-based Lightroom app save presets from a phone with a different tap path, described below. If neither fits your setup, darktable, Affinity Photo, RawTherapee and GIMP all support saved adjustment sets under slightly different names, and Snapseed on a phone saves its own filter stacks.
For the photo, pick something shot in ordinary light with a subject you know well. A RAW file is better than a JPEG when your camera can shoot RAW, because the preset gets applied to a wider range of tones. If you only have JPEG, the process works fine, you are just starting from a flatter image.
Work on a copy, not your only original. Lightroom is non-destructive so this matters less there, but some other editors overwrite files on export.
Step-by-Step: How to Make a Photo Preset From Your Own Edits
Choose the Right Reference Photo
Choose a photo that represents the look you actually shoot, not your best frame. A bright outdoor flower shot works better as a starting point than a dramatic sunset, because the sunset forces big corrections that will fall apart on a flat grey morning.
Before touching a slider, look at the unedited image and write down what bothers you in plain language. Mine is usually too warm, a little flat in the shadows, and greens that lean toward yellow. Once the complaint is written down, every slider move has a job.
Keep that image open in the Develop module while you work. You will need it again.
Adjust the Main Image Settings
Start with the global tone sliders, in this order: Exposure, Contrast, Highlights, Shadows, Whites, Blacks, then Texture and Clarity. Set them one at a time and look at the histogram after each change rather than staring at the sliders.
A restrained starting point for daylight outdoor photos looks something like this, and you should treat these numbers as a starting point rather than a recipe:
- Exposure: 0 to +0.15
- Contrast: +10
- Highlights: -25
- Shadows: +30
- Whites: -8
- Blacks: -12
- Texture: +10
- Clarity: +5 to +10
- Vibrance: +15
- Saturation: 0
If your photo has sky or water with a smooth gradient, zoom to 100 percent and check for banding. If the subject has fine texture, zoom in and check that Texture is not creating halos along hard edges.
Create a Consistent Color Adjustment
Color is where a preset most obviously becomes yours. Move the Temperature and Tint sliders until skin and foliage look right on the reference photo, then set the Whites and Blacks sliders in the Color Grading panel to give highlights a slight cool lean and shadows a slightly warm one. Small numbers work better than large ones here, and you can always add more later.
Use the HSL Color Mixer for anything specific. Nudging only the green hue down, or pulling a single band’s saturation down, fixes a problem that a global saturation slider would ruin everywhere else. The Color Grading panel and Split Toning are largely interchangeable; use one or the other rather than stacking both.
Skip heavy texture and clarity here. Those belong in the tone stage, where you can judge them against the histogram.
Save the Settings as a Preset
In Lightroom Classic, press D to jump to the Develop module, find the Presets panel on the right, and click the small plus icon in its top corner. Choose Create Preset, name it, pick a group under User Presets, and confirm which settings get stored.
That checkbox list is where most first presets go wrong. Tick the settings that describe a style and untick the ones that describe a single photograph.
Tick these, because they describe a look rather than a frame:
- Tone curve
- HSL adjustments
- Color Grading
- Split Toning
- Detail amounts
- Effects texture
- Vignetting
Leave these out, unless you deliberately want that repair baked in:
- White Balance
- Exposure
- Lens Corrections
- Profile
- Crop and Straighten
- Spot Removal
Saving White Balance is the single most common mistake. Every frame from a shoot has slightly different color, so a fixed temperature baked into a preset makes a whole set look mismatched in a way most people notice without being able to name. Saving the Profile causes a related problem, since a profile chosen for one camera body will not fit another.
Name presets for the condition they were built for rather than for the image: Daylight Clean, Overcast Soft, Golden Hour Warm, Shade Lift. That naming is what makes a family of presets usable at speed later.
In Lightroom Mobile the path is different. Open a photo, tap Edit, adjust the sliders, then tap Presets below the Edit panel, open the three-dot menu at the top of the list and choose Create Preset. The app asks for a name and a group and stores it to your account so it follows you to the desktop app. If you are on the free mobile app without a subscription, you can still get presets onto the phone by opening an exported DNG in a paid session, but creating and saving new presets from the free tier is restricted, and the exact limits change with app versions.
Test the Photo Preset on Different Photos
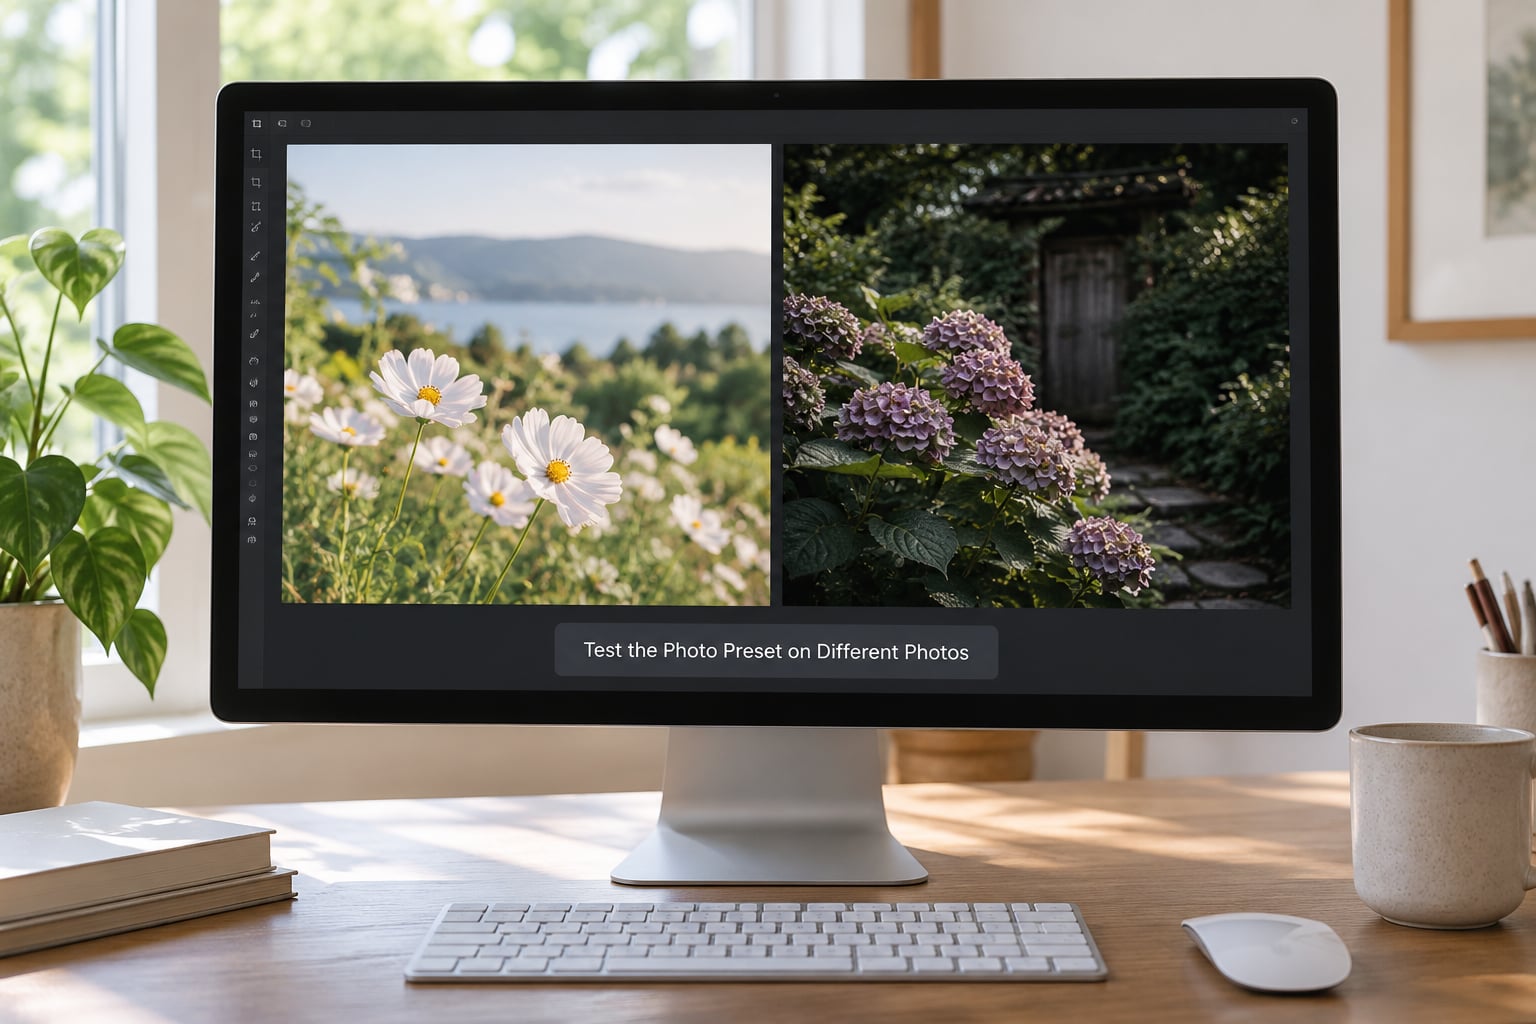
Testing is the step people skip, and it is the one that decides whether a preset survives contact with a real shoot. Apply your new preset to at least a dozen photos: two in bright sun, two in open shade, two indoors, two from a different camera or lens, and a couple you deliberately dislike.
Hover the preset in the Presets panel and Lightroom will preview it on the selected image without applying it, which is the fastest way to scan a set.
Then look for the same three failures every time. Watch for images going too dark, colors tipping orange or magenta, and skies that turn a chalky grey. Any of those means one of your values is too strong for the range of light in your work, so pull it back rather than correcting each photo afterward.
If a fix needs two extra sliders that are not in the preset, that is a sign the preset is missing something rather than that the photo needs special treatment.
Export or Use the Photo Preset
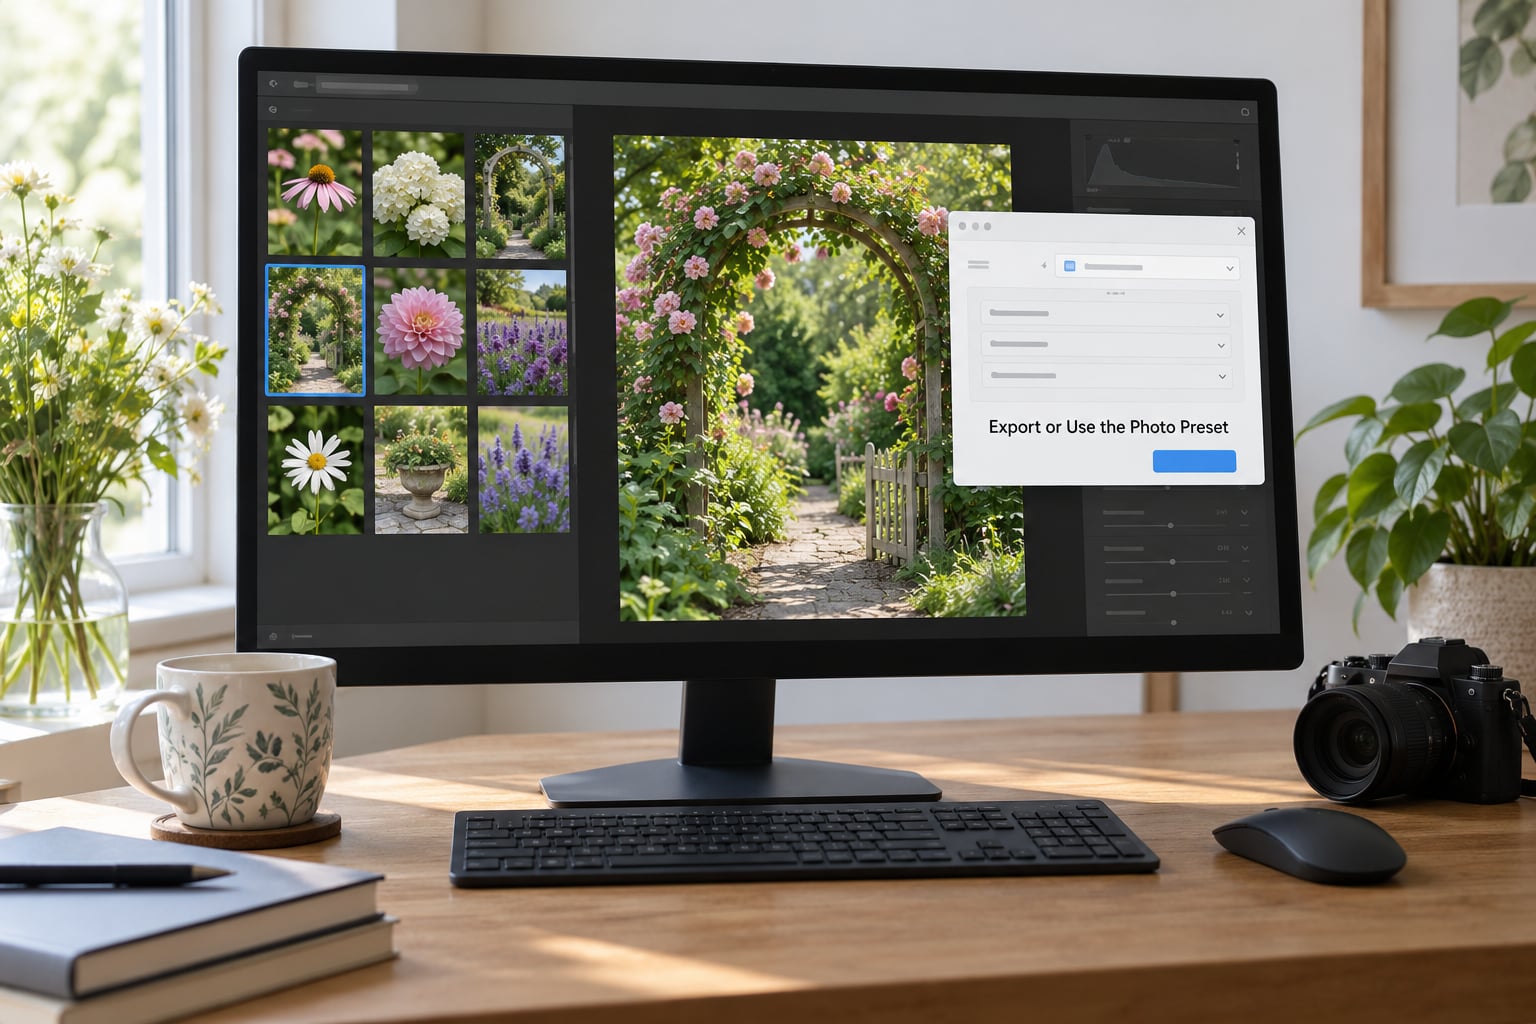
In your catalog, the preset is simply applied by clicking it with a photo selected, or by selecting a group of photos in the Grid view and clicking once to apply it to everything highlighted. Copy and paste settings between images works the same way, and it is useful when you want the preset look plus a per-photo correction on top.
To keep a backup or move to another computer, right-click the preset in the Presets panel and choose Export. Lightroom writes an .xmp file that any Lightroom install can read, and the older .lrtemplate format is a legacy equivalent you may see in downloads. Store those files somewhere you back up, because presets saved inside the application only exist on the machine that made them unless your account syncs them.
When a preset needs improving after testing, select a photo, apply the preset, make your extra adjustments, then right-click the preset and choose Update with Current Settings. The stored values are replaced by what you are seeing now, which is the fastest way to develop a family of presets that stays consistent.
Common Mistakes
Saving the settings that belong to one photo. White balance, exposure, profile and lens corrections all vary from frame to frame. Leaving them out is what makes a preset safe to reuse.
Building it on a dramatic image. A preset made from a backlit sunset at high contrast will fall apart on anything ordinary. Use a plain, well-exposed frame.
Applying one preset to every photograph. Presets are for images shot in similar light. Making four presets, one for sun, shade, overcast and indoor, covers most shooting and keeps a portfolio looking like one body of work.
Over-editing the reference. Texture above about 20 and heavy color grading are the fastest route to an artificial look. Desaturate slightly and let the preset do less than you think.
Skipping the test batch. A preset that looks great on one image has not been tested at all. Apply it to a dozen varied frames before you trust it.
Not recording the numbers. Write your slider values down next to the preset name, or export the .xmp file regularly. Rebuilding a look from memory is far slower than the workflow you were trying to save.
Expecting a preset to finish the edit. It removes the repeated slider moves, nothing more. Each photo still needs its own exposure and cropping decisions.
Frequently Asked Questions
What is the easiest way to make a photo preset?
Edit one photo in the Develop module until the look feels right, then save it from the Presets panel. In Lightroom Classic that is the plus icon in the corner of the panel, then Create Preset. In Lightroom Mobile it is Edit, then Presets below the sliders, then the three-dot menu. Give it a minute and any editor can do it.
Do photo presets work with RAW and JPEG files?
Yes. A preset stores adjustment values rather than pixel data, so it applies to RAW, JPEG and DNG files equally. RAW gives you the most room, because the adjustments land on a wider tonal range. JPEG works too, though a preset cannot recover detail the camera never recorded.
Should I use the same photo preset for every photograph?
No. Presets match a lighting condition, not a subject. Most photographers end up with three or four covering bright sun, open shade, overcast light and indoor or evening light. Using a sun preset on a shade photo is the reason many people conclude presets look inconsistent when they do not.
Can I make a photo preset in a free editing app?
Yes. darktable, RawTherapee, Affinity Photo and GIMP all store reusable adjustment sets, and Snapseed saves filter stacks from its Looks section. Each app names the feature differently and exports its own file type, so a preset made in one cannot be moved directly into another without recreating it.
What is the difference between a preset and a Photoshop action?
A preset stores adjustment values and stays non-destructive, so you can change any slider afterward. A Photoshop action is a recorded sequence of commands and steps, often including layer work, filters and exports. Actions automate more but edit the file itself. Many photographers use both, running an action first and a preset second.
How do I make a preset that does not look over-edited?
Keep every value small and test on varied photos. Contrast, texture and clarity above roughly 20 read as artificial, and strong color grading shows fastest on skin. Save white balance out of the preset entirely, use vibrance rather than global saturation, and compare against the unedited original before deciding the look is done.
Conclusion
Start by opening one ordinary, well-exposed photo and editing only the things you can name. When the look feels right, save it with white balance, exposure, profile and lens corrections unticked, then apply it to a dozen varied frames before you trust it.
Begin with a group of photos shot under one condition, keep the values restrained, and refine the preset with Update with Current Settings as your eye develops. Used that way, a preset is not a shortcut that flattens your work, it is a record of a look you have already learned to see.