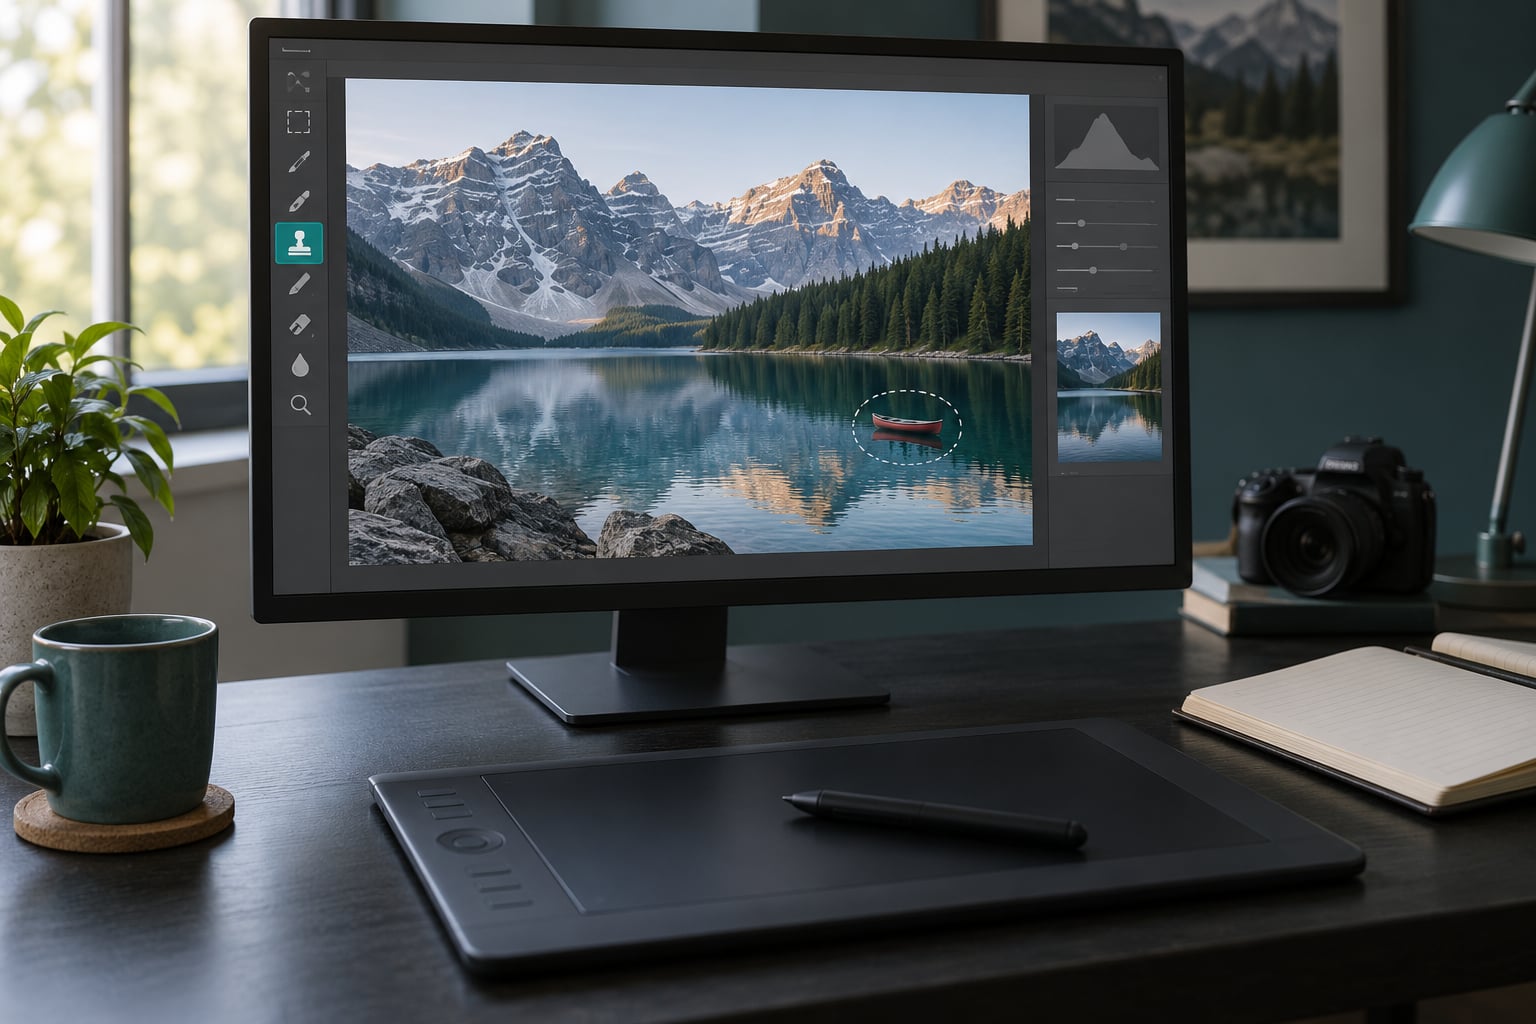
The Clone Stamp tool copies pixels from one part of a photo and paints them over another, so you can brush away litter, power lines, timestamps, lens dust and anything else that pulls the eye away from your subject. Learning how to use the clone stamp to remove distractions takes about ten minutes of practice per photo, and the whole job comes down to three decisions: where you sample from, how soft your brush is, and how lightly you paint.
That last part matters more than it sounds. Almost every convincing edit is built from several faint passes rather than one heavy one, and almost every obvious one is a single pass at 100% opacity from a source that doesn’t match.
This guide covers Photoshop on desktop (the menu paths are identical on Windows and Mac, with Alt swapped for Option), and the same logic applies in Photoshop on iPad and in the free Photopea web editor. If you shoot RAW and work in Lightroom, do the clone step in Photoshop and send the file back.
Table of Contents
- What You Need
- Photoshop, Photoshop on iPad, or a free editor
- Prepare the file before you retouch
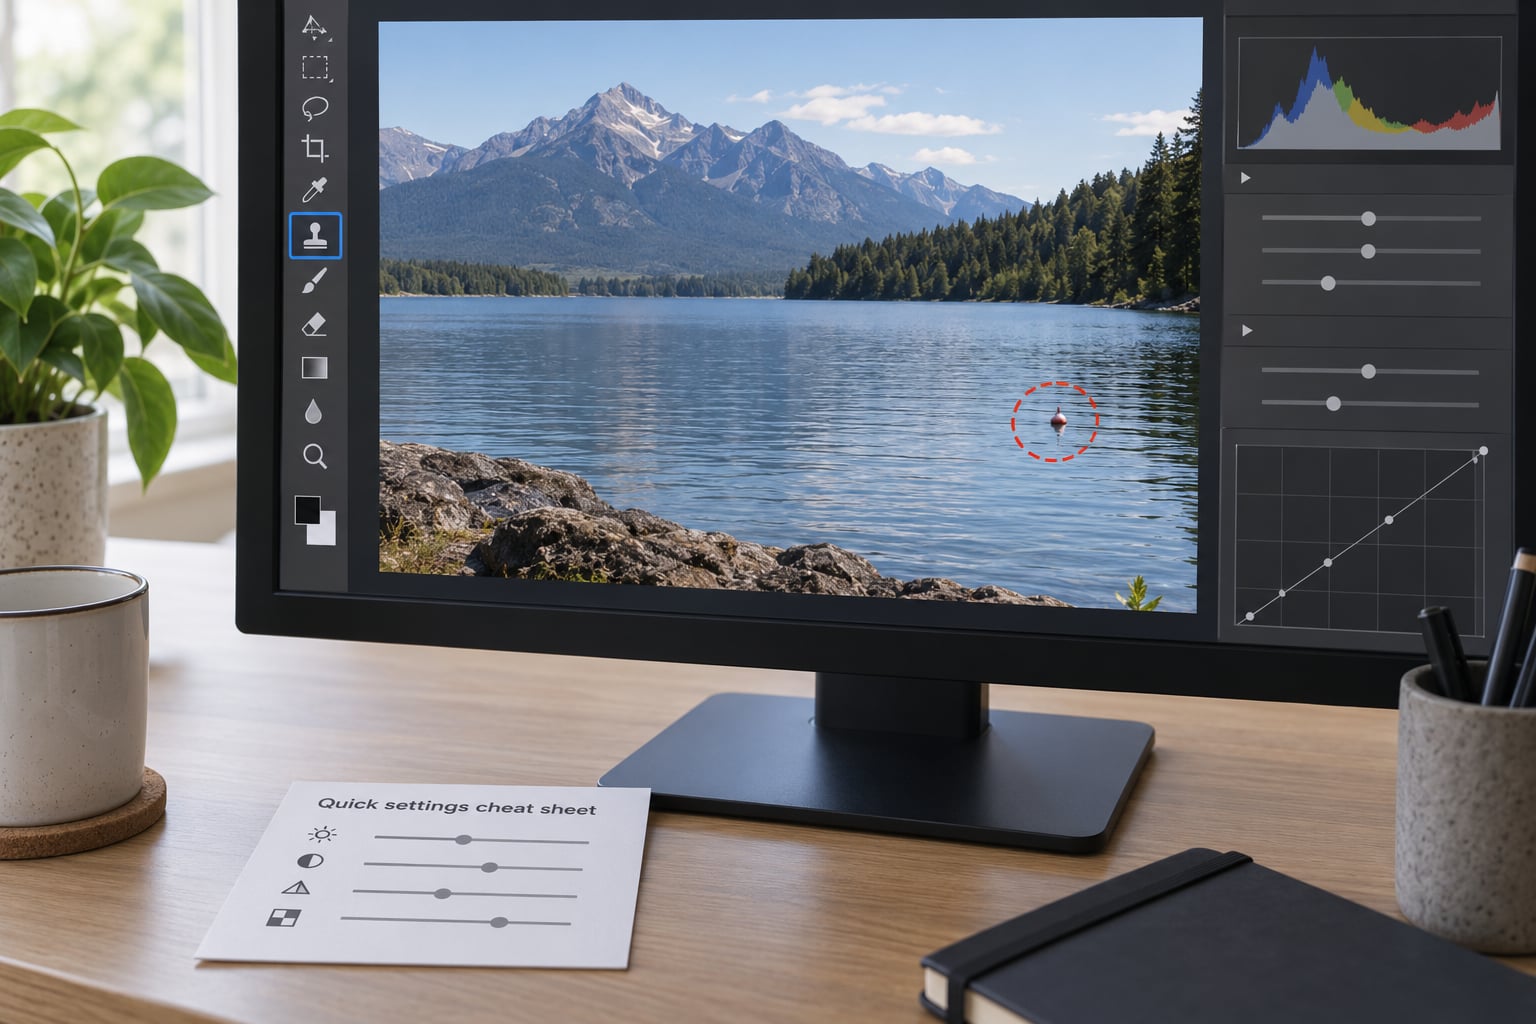
- Quick settings cheat sheet
- How to Use the Clone Stamp to Remove Distractions Step by Step
- 1. Open and prepare the photo
- 2. Choose the Clone Stamp tool
- 3. Set the source point
- 4. Adjust the brush for the area
- 5. Paint over the distraction
- 6. Blend and refine the result
- 7. Save a separate edited copy
- Common Mistakes
- The five giveaways of a bad clone stamp edit
- Clone Stamp, Healing Brush, Patch or Generative Fill?
- Why the Clone Stamp tool isn’t working
- When removing a distraction crosses a line
- Frequently Asked Questions
- What is the best Clone Stamp setting for removing small distractions?
- Can the Clone Stamp tool remove objects from any photo?
- Why does my Clone Stamp edit look blurry or smudged?
- Should I use the Clone Stamp or the Healing Brush?
- How do I make Clone Stamp results look more natural?
- Can I use a Clone Stamp workflow outside Photoshop?
What You Need
Photoshop, Photoshop on iPad, or a free editor
Photoshop is the reference here because every other tool copies its model. Photopea runs in a browser, loads PSD and RAW files, and has a Clone Stamp that behaves the same way, so it’s a genuinely free way to practise. GIMP is the other free option; its Clone tool lives in the Tools menu under GEGL filters rather than on the default toolbar, which trips up people every time.
On Photoshop, the tool is one keystroke away. Press S for the Clone Stamp, and press S again to cycle through the closely related retouching tools that share that slot. Shift+S jumps backward through them, so you can hop between the Clone Stamp and the Healing Brush without touching the toolbar. If you prefer the menu, it’s under Tools in the top menu bar.
Prepare the file before you retouch
Duplicate your background layer first. Select the Background layer in the Layers panel, then use Layer, New, Duplicate Layer, and click OK. Every stroke now lands on its own layer, which means you can lower its opacity, mask it, or throw it away with one click if the edit turns out badly. Pixel edits on the background layer can’t be undone with a blend mode or a mask, only a full undo.
Work from the largest view you can. Press Ctrl and + (Cmd and + on Mac) to zoom in, and make sure the brush outline is bigger than the distraction you’re removing. A brush smaller than the object guarantees a rim of untouched pixels around the edges.
Two toggles in the options bar matter more than beginners expect. Sample All Layers lets you pull texture from a layer underneath, which is how you sample from a clean background without flattening. Aligned and Similar keeps the stamped pattern rotating and mirroring so the copy doesn’t read as an obvious repeat — more on that below.
Quick settings cheat sheet
These are starting points, not rules. Every surface behaves differently and you’ll adjust as you go.
| Setting | Soft edges (litter, skin, foliage) | Straight lines (power lines, cables, window bars) |
|---|---|---|
| Blend mode | Normal | Normal |
| Opacity | 40 to 60% | 70 to 80% |
| Flow | 20 to 30% | 30 to 40% |
| Brush hardness | 0 to 25% | 60 to 90% |
| Brush size | 2 to 4 times the distraction | 2 to 3 times the cable width |
| Aligned | Off for one pass | Aligned and Similar on |
| Source | Closest matching texture | Sample parallel to the line |
The pattern behind the table: low flow with low opacity for anything soft and irregular, higher values with a hard brush for anything with a defined edge. Flow controls how much paint each dab deposits, opacity controls how strongly the whole stroke builds. On a soft brush, keep flow below opacity and the strokes blend rather than build into a patch.
How to Use the Clone Stamp to Remove Distractions Step by Step
Here is the workflow in order. Seven steps, and the first four take longer than the last three.
1. Open and prepare the photo
Open the file, duplicate the background layer, and rename the new layer something you’ll recognise later, like Cleanup. Zoom to 100% and look at the distraction closely before touching the tool. Check the surrounding pixels for what you’ll need: is it grass, concrete, water, fabric? Is the light falling evenly across the area, or is one side brighter?
That inspection is most of the skill. You’re about to paste one texture over another, and if the light doesn’t match, no brush setting will hide it.
2. Choose the Clone Stamp tool
Press S, or click the rubber stamp icon in the toolbar. In GIMP it’s Tools, then GEGL Filters, then Clone, then Clone. The options bar appears above the canvas with the brush preset picker, Size and Hardness fields, Mode, Opacity, Flow, and the Aligned and Sample All Layers checkboxes.
If the tool icon looks greyed out, something in your file is locked — that’s covered in the troubleshooting section below.
3. Set the source point
Hold Alt on Windows or Option on Mac and click a clean patch of texture near the distraction. The brush cursor turns into a crosshair while you hold the key, and a second outline appears showing where the sampled pixels will land. Release the key, and that crosshair becomes your painting brush.
Choose the source carefully. Sample texture with a similar grain, similar brightness, and similar colour temperature, and pick something close to the target so you can resample often without travelling across the frame. On skin, sample from the cheek beside the blemish. On a wall, sample from the same wall. On a sky, sample from clear sky in the same direction from the wire, not from the ground.
Never sample from the distraction itself. If you do, you’re just copying the thing you want gone.
One advanced trick that most tutorials bury in a footnote: after you sample, keep holding Alt or Option as you move the brush over the destination and watch the crosshair. You can drag the source around live, sliding it along a cable or a roofline until the cloned pixels line up with the edge you’re painting. Release the key when it looks right and paint normally. This is the fastest way to get straight edges to follow a curve.
4. Adjust the brush for the area
Set the brush size with the [ and ] keys, or drag in the preview circle at the top of the toolbar. Make it wider than the distraction plus a comfortable margin on each side. The margin is where you do the blending later, so don’t be stingy with it.
Hardness decides how the stamped edge lands. A 0% hardness brush fades the clone out at the edges, which is what you want on skin, foliage, sand and out-of-focus areas. A high hardness brush deposits hard pixels, which is what you want when the painted edge has to match a defined boundary like a railing or a window frame.
Lower Opacity and Flow before your first stroke. The instinct is to paint at 100% and undo if it looks wrong, and that’s how beginners end up with a rubbery patch. At roughly 50% opacity and 25% flow you can build up density with two or three passes and still see what the texture underneath is doing. Set brush hardness in the toolbar’s Hardness field or from the brush preset panel if you prefer the sliders.
5. Paint over the distraction
Now dab over the distraction with light strokes. Keep the brush inside the area you’re removing at first, then extend slightly past it once the bulk of the object is gone. Small circular motions blend better than long straight drags, because they scatter the edge of the stamped texture rather than laying down a visible seam.
Watch your progress at 100% zoom, then drop back to fit-on-screen occasionally. Fine detail looks obvious when you’re close and invisible at the size people actually see your photo, and the reverse is also true.
Resample the source every few strokes once the object is covered. Instead of one patch of grass appearing five times, you’re now working with two or three different patches, and the eye stops noticing the copy. Retouchers on photography forums give this advice constantly and it’s the single biggest difference between an invisible edit and an obvious one.
Stay inside the distraction. Every stroke slightly wider than the object is another chance to paint over something you wanted to keep, and those misplaced pixels are hard to see while you’re focused.
6. Blend and refine the result
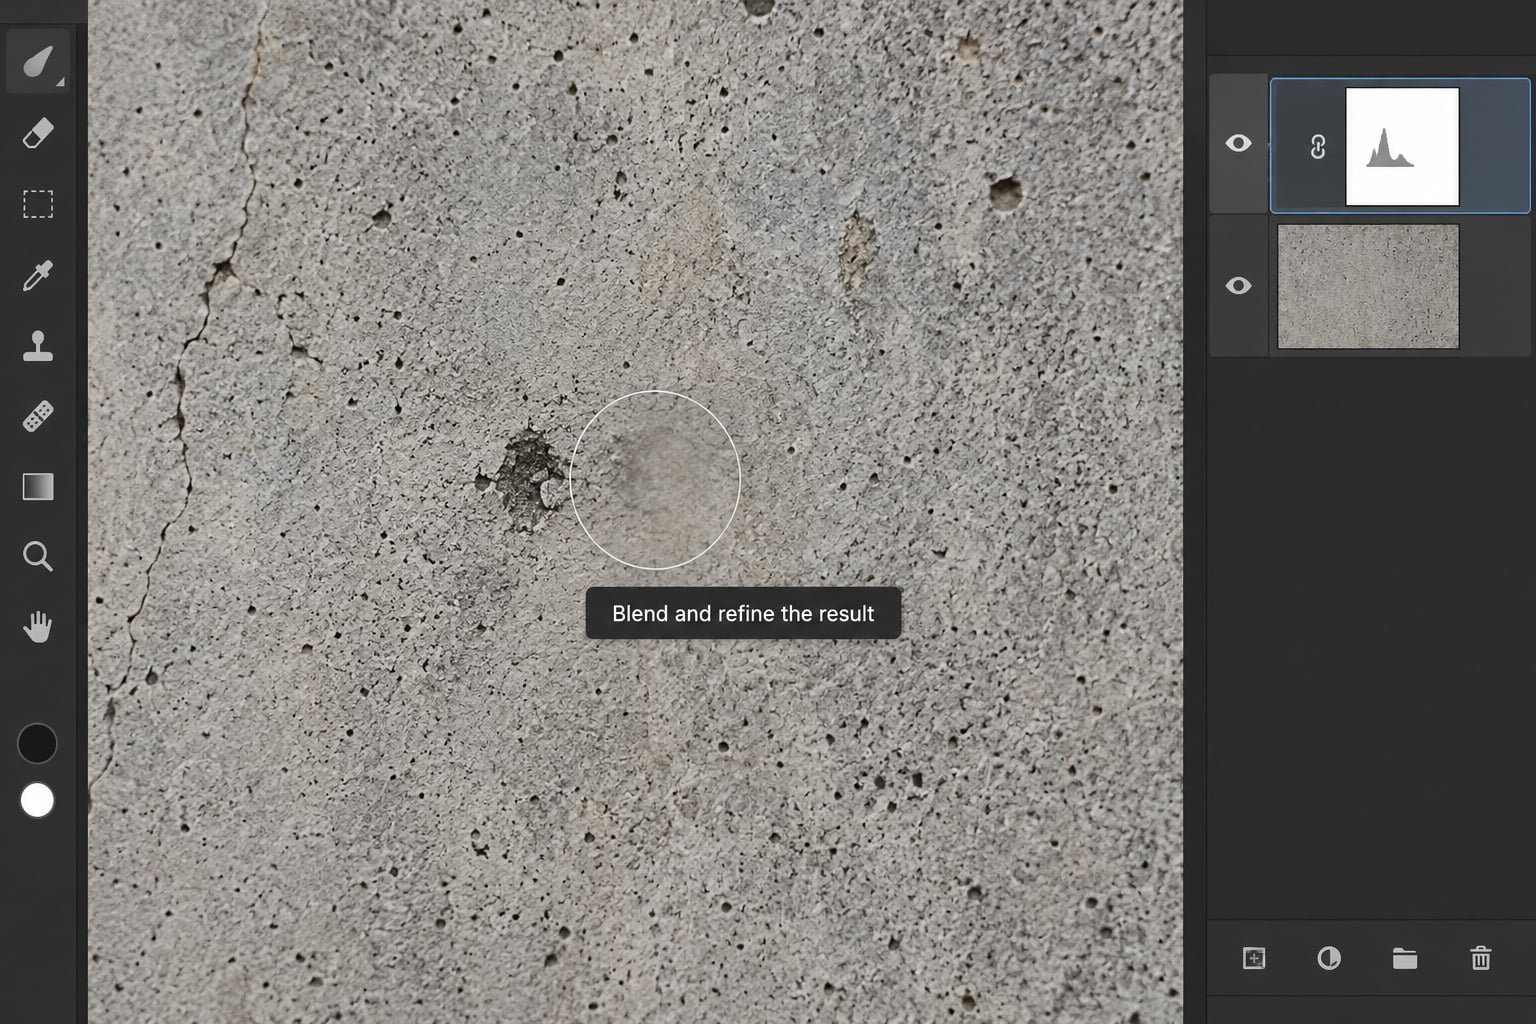
Drop the cleanup layer’s opacity to around 70% so the texture underneath shows through, which softens any residual mismatch. For stubborn seams, add a new empty layer, hold Alt, click the background to load it as the source, then paint with a large soft brush at low opacity to blur the transition without changing the surrounding detail.
If the edit still pops, try a different blend mode for the cleanup layer. Multiply darkens and is useful when the patch came out too light; Soft Light adds texture without shifting the overall tone. Both are quick to undo compared with repainting.
Flip between the cleanup layer’s visibility on and off a few times. This is the fastest way to spot what you actually changed, because your eye adapts to a new area after a few seconds and stops seeing the edit at all.
There’s one more check worth doing before you save. Zoom out to 25% and look again. Forum users describe this as the squint test: at a small size, real texture turns to visual noise and any clone you’ve done well disappears. If the edit is still visible at 25%, it will be visible to everyone.
7. Save a separate edited copy
Save the working file as a PSD or PSB so the layers survive, then use File, Export, Export As to write a flattened copy. Keep the original camera file untouched — RAW and original JPEGs are the only undo you get once you’ve started painting pixels.
Before exporting, check three things at 100% zoom: the edges of the former distraction for a leftover halo, the boundary between cloned and original texture for a visible line, and the overall brightness of the area for a patch that stands out. Two of those three can be fixed by dropping the layer opacity; a halo usually needs the History Brush or a soft light pass over the edge.
Common Mistakes
The five giveaways of a bad clone stamp edit
Once you know what to look for, you can diagnose your own work instead of guessing.
- A repeating pattern. One source brushed repeatedly reads as a stamped pattern, especially on grass, gravel and water. Fix: resample between every few strokes and turn on Aligned and Similar.
- A lighting mismatch. The patch is brighter or darker than its surroundings, so it glows. Fix: sample from an area with the same light direction, or set the layer to Multiply or Soft Light and lower the opacity until the tone settles.
- A hard edge or seam. A crisp outline around where you painted, usually from a hard brush or from stopping too far inside the object. Fix: 0% hardness brush, extend a little past the edges, blend with a soft pass.
- Visible texture mismatch. Fine grain copied over coarse grain, or sharp texture over blurred background. Fix: match the source’s sharpness, not just its colour. A blurred source on a sharp photo is as wrong as the wrong colour.
- Smearing. Rubbery streaks where you painted with high flow and a soft brush in one long pass. Fix: drop flow to 20%, use short dabs, and build in layers.
Photography editors call the first two the two dead giveaways of a modified image, and they’re worth checking by name before you export anything.
Clone Stamp, Healing Brush, Patch or Generative Fill?
The Clone Stamp is the slowest of these tools and the most controllable. In 2026, Photoshop also ships an AI Remove Tool and Generative Fill that clear a distraction in one click, and for casual cleanups they’re faster. The Clone Stamp earns its place when the surrounding texture is unusual, when the area is large enough that AI fills need a lot of steering, or when you don’t want generated pixels in the frame at all — some retouchers deliberately avoid AI fill for that reason.
| Tool | Best for | Speed | Control |
|---|---|---|---|
| Spot Healing Brush | Sensor dust spots, small blemishes, tiny light flares on smooth skin | Very fast | Low — it decides the fill for you |
| Clone Stamp | Small to medium objects, textured surfaces, straight edges, anything you want pixel control over | Slow | Total |
| Healing Brush | Blotchy, uneven texture — sampled skin, mottled concrete | Medium | Medium — it blends as it copies |
| Patch tool | Flat, evenly lit backgrounds where a rectangular patch can be blended in | Fast | Low |
| Generative Fill and the Remove Tool | Complicated backgrounds, busy scenes, anything where a plain texture copy would look wrong | Fastest | Prompt-driven |
The practical sequence: try the Spot Healing Brush first for dust and spots, and if it leaves a smudge, switch to the Clone Stamp. Use the Clone Stamp for anything you need to control precisely, including the retouching under eyes that forum users consistently prefer to do manually. Reach for Generative Fill when the background is genuinely complex and a single texture sample won’t hold up.
Why the Clone Stamp tool isn’t working
If the tool is greyed out, one of these is usually the cause.
- “There are not enough source pixels on the selected layer.” This is the most common one. You’re sampling from an area too small to hold the brush, or sampling from outside the canvas. Widen the brush, sample from a larger region, or zoom in less.
- The layer is locked. A locked Background layer can be painted on only if you unlock it with Layer, New, Duplicate Layer, or the padlock icon in the Layers panel. Locking is on by default for background layers in some versions.
- You’re on a Smart Object. Enter the Smart Object by double-clicking its thumbnail, paint inside, then save back. Or rasterise the layer with Layer, Rasterize, Rasterize Layer.
- The layer is a Fill or Adjustment layer. They hold no pixels to sample. Click the pixel layer underneath it.
- The image is flattened and tiny. A heavily compressed small JPEG may not have the resolution to clone cleanly. Go back to the original file.
- Nothing appears when you paint. Opacity is at zero, or flow is at zero, or you’re painting on a different layer than the one you sampled from with Sample All Layers off.
If the Spot Healing Brush is leaving smudges instead of clean patches, the same source-matching rule applies: sample from nearby clean texture, not from the spot itself, and keep the brush larger than the blemish.
When removing a distraction crosses a line
Cleaning up litter and a stray plastic bag from a nature photo is normal practice. Moving a whole mountain range to make a sunset look better is not, and it’s the kind of edit that gets an image disqualified from competitions and criticized in comments. Wildlife photographers face a sharper version of the same question: removing a distracting branch is routine, repositioning an animal to look somewhere more interesting is a different act. There’s also a straightforward copyright side to it — editing someone else’s photo for publication can breach the license regardless of how small the edit is.
Worth stating once so it’s not a surprise later: keep the original, and keep the PSD. If an editor or a competition organiser asks what you changed, the answer should take less than a minute.
Frequently Asked Questions
What is the best Clone Stamp setting for removing small distractions?
For small distractions on skin or soft texture, start at roughly 50% opacity, 25% flow and 0% brush hardness, with Normal mode and Aligned off. Brush size should be two to four times wider than the object. For straight-edged distractions like cables and window bars, raise hardness to 60 to 90% and opacity to 70 or 80%. Build density with two or three passes rather than one heavy stroke.
Can the Clone Stamp tool remove objects from any photo?
It can remove anything, but only where you have a matching source nearby. The tool copies real pixels, so the destination must have somewhere plausible to sample from and the texture, brightness and sharpness must match. Complex, cluttered backgrounds usually clone poorly; Generative Fill or the Remove Tool handles those better. If there is no clean area within reach, clone stamping is the wrong tool.
Why does my Clone Stamp edit look blurry or smudged?
A soft brush at high flow smears the stamped pixels into streaks, and a source that’s out of focus looks out of focus on a sharp photo. Drop flow to 20 or 30%, shorten your strokes into small dabs, and sample from an area with matching sharpness. Also check that your cleanup layer opacity is at 100% while you work — a lowered opacity plus a soft brush is a double smear.
Should I use the Clone Stamp or the Healing Brush?
Use the Healing Brush when the source texture is uneven or blotchy, because it blends as it copies and hides mismatches. Use the Clone Stamp when you need exact control over what lands where, especially on fine texture, straight edges and detailed retouching. In practice most retouchers use the Spot Healing Brush for dust spots, then switch to the Clone Stamp for anything it smudged.
How do I make Clone Stamp results look more natural?
Resample your source every few strokes so one texture never repeats, sample close to the target so lighting and grain match, and work on a separate layer at reduced opacity. Zoom out to 25% to check, and toggle the layer’s visibility to see what actually changed. Two faint passes beat one heavy one almost every time.
Can I use a Clone Stamp workflow outside Photoshop?
Yes. Photopea is free in a browser and handles PSD and RAW files with an equivalent Clone Stamp, and GIMP’s Clone tool behaves similarly once you find it under GEGL Filters. The same rules apply: sample nearby clean texture, keep flow low, resample often. Interface labels differ slightly but the sampling and blending behaviour is the same.
Start with a dust spot or a small piece of litter, because the stakes are low and the settings don’t matter much. Duplicate your layer, hold Alt or Option to sample from the nearest clean texture, drop to about 50% opacity and 25% flow, and use a brush with a soft edge that’s clearly wider than the object. Two light passes, a resample in between, and a zoom out to 25% to check. Once that feels routine, the same process handles a cable across a sky — you’re only changing the brush hardness.