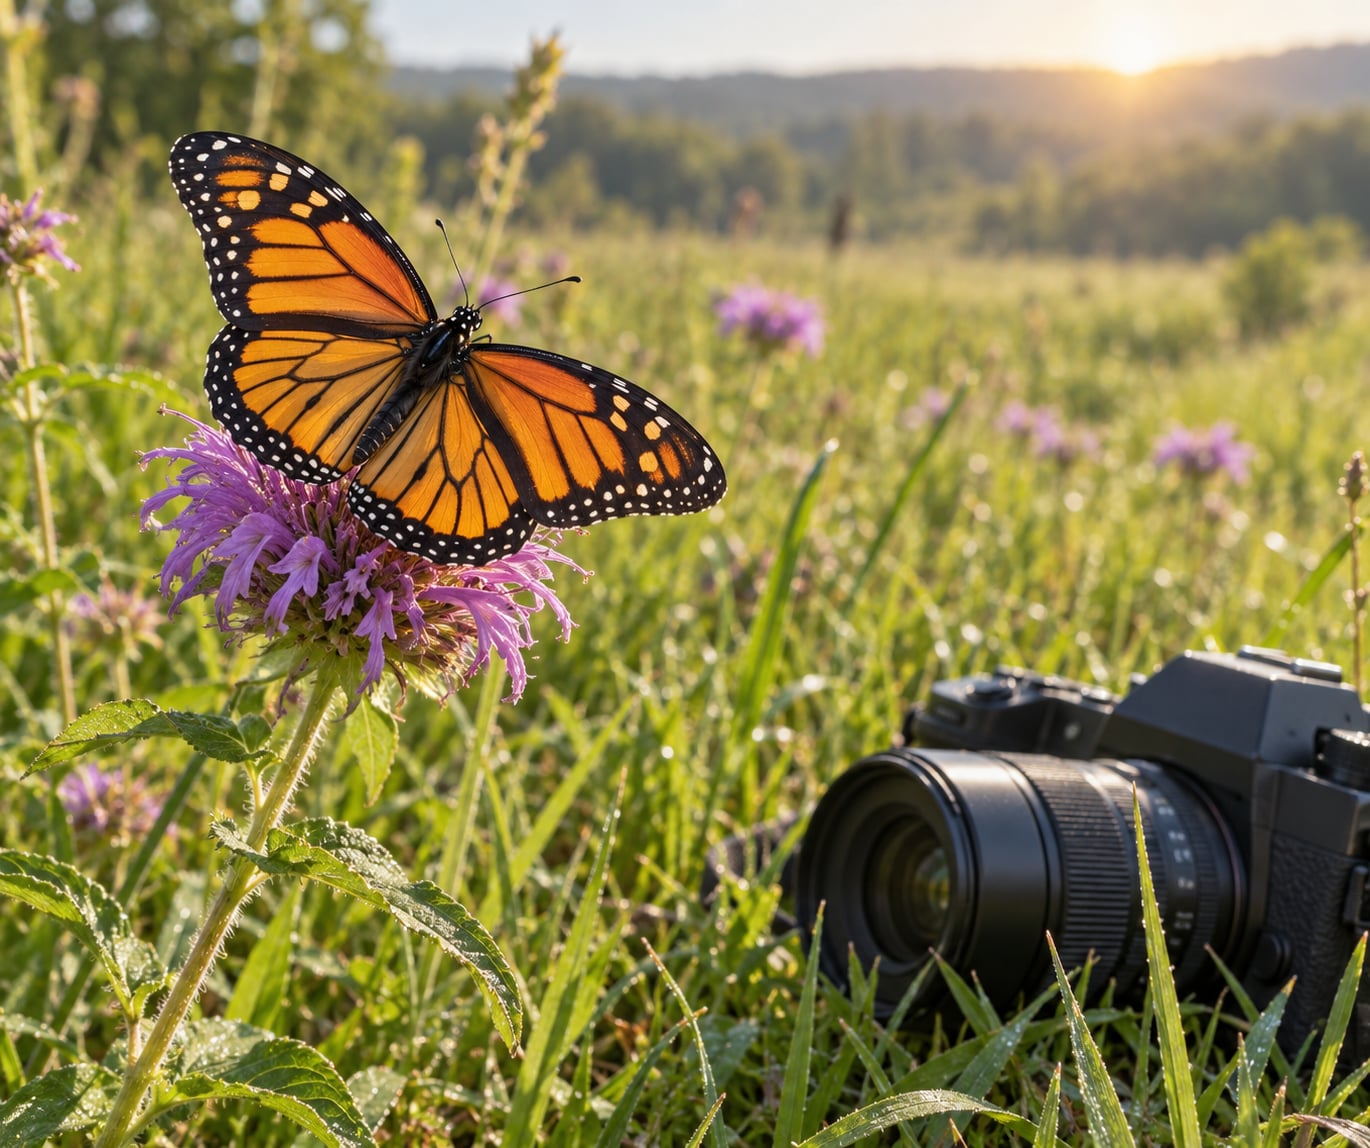
Learning how to photograph butterflies comes down to timing, light and patience: most butterflies are easiest to photograph in the cool early morning, when they are slow, heavy with dew and reluctant to fly. Start with continuous autofocus, 1/500 second, f/5.6 and Auto ISO, then work on your positioning. Expect a fair share of misses before the good frames start arriving.
Butterflies are the friendliest wildlife subject you can find almost anywhere. Plant a pot of nectar flowers and they show up. No special permit, no remote travel, and the whole learning curve fits into a single morning at a garden or a roadside flower patch.
The hard part is not the camera. It is that a butterfly decides to leave at the exact moment you nail the focus. Everything below is about making that decision come later.
Table of Contents
- What You Need
- Step-by-Step
- 1. Find Active Butterflies in the Morning
- 2. Approach Slowly and Position Yourself First
- 3. Set Shutter Speed, Aperture, and ISO
- 4. Use Continuous Autofocus on the Eyes or Head
- 5. Pre-Focus and Track a Perching Butterfly
- 6. Compose Around Wings, Habitat, and Behavior
- 7. Stabilize the Camera Without Disturbing the Subject
- 8. Review the Frames and Photograph Without Chasing
- Common Mistakes
- Frequently Asked Questions
- Can I photograph butterflies with a smartphone?
- Should I use flash when photographing butterflies?
- What is the best camera setting for a butterfly in flight?
- How do I photograph both wings without blur?
- Is it safe to touch or move a butterfly for a photo?
- Conclusion
What You Need
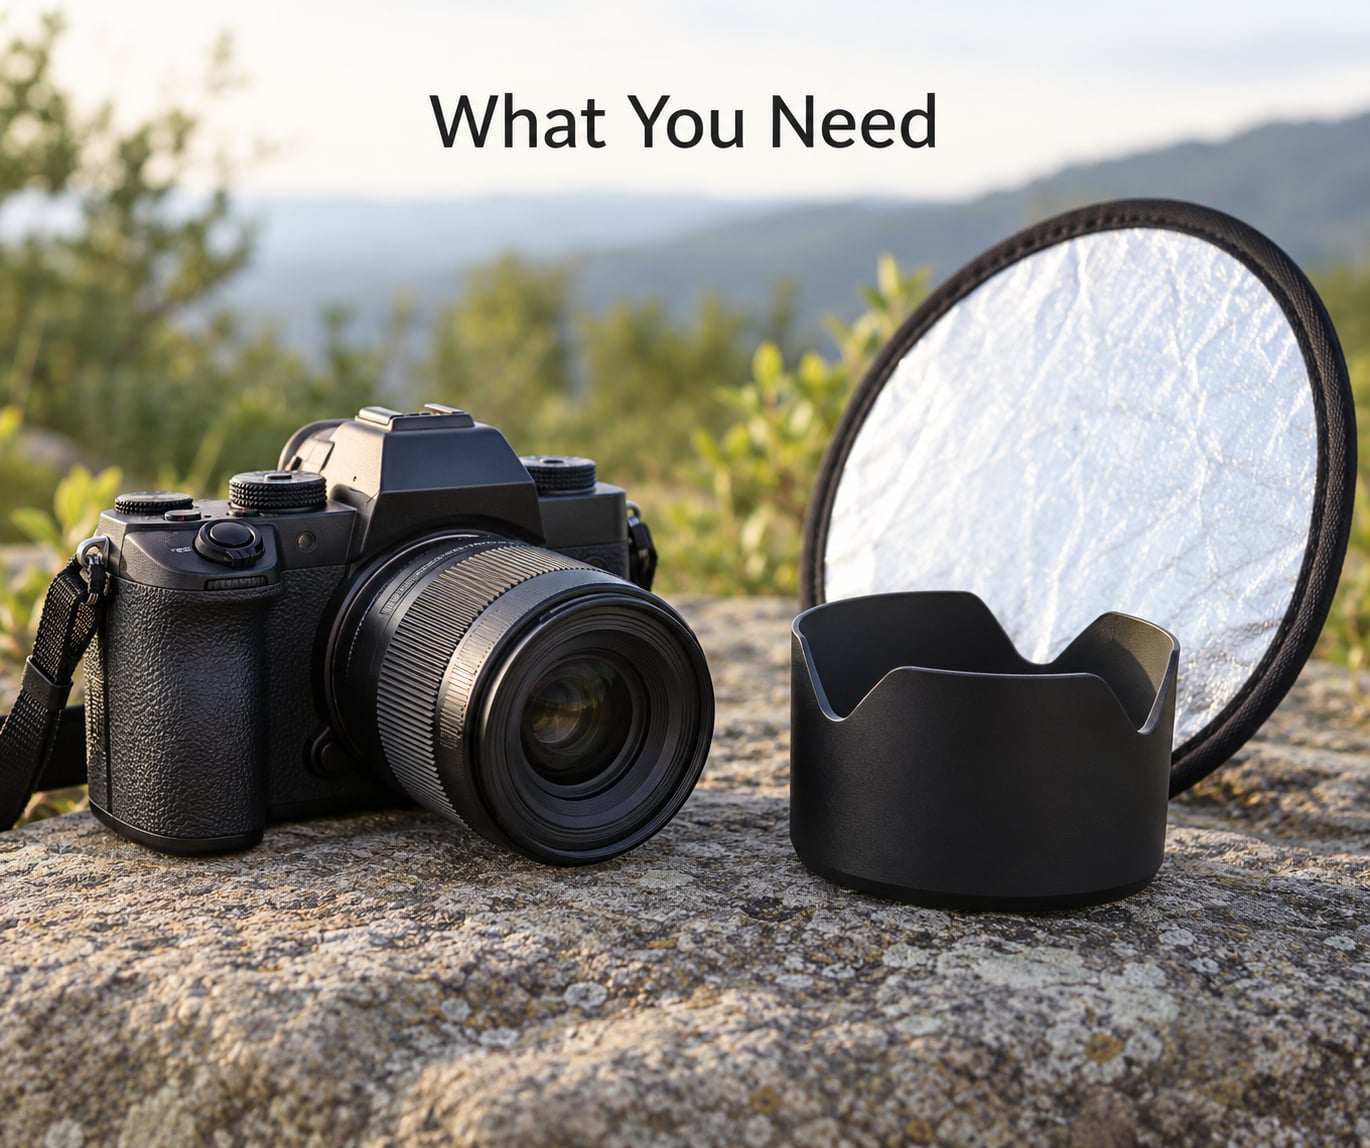
Any camera with a close-focus mode will get you started. A kit zoom with a macro setting, a compact camera, or a modern phone all produce usable results. What actually moves the quality up is a lens that focuses close without a breathing tube, and that is where most of the money should go.
A 90mm to 180mm macro lens is the workhorse choice. It gives you a full butterfly across the frame from roughly 20 to 30 cm away, and it renders the background into a smooth blur. A 100mm f/2.5 or 100mm macro is the classic entry point and it is widely praised by macro shooters for unlocking close-focus work that makes every other genre easier.
A 70-300mm telephoto zoom is the other option, and for nervous species it may be the better one. Longer focal lengths let you stay far enough back that the butterfly never registers you as a threat, while still producing the same shallow background. The downside is that the minimum focusing distance keeps you further from small details like a compound eye.
Extension tubes are the cheap stepping stone between the two. Mount one on a normal lens and you can focus much closer, at the cost of a little working light and a fair bit of focus breathing.
A small white reflector or a piece of white card is worth more than most accessories. It lifts the shadow side of a wing in a single bounce without adding any equipment you have to carry all day.
Skip heavy flash. A bare speedlight fires for a millisecond or two, and a butterfly reacts to that fast burst of light far more sharply than to your shadow. It will usually launch itself off the flower. Many venues ban flash indoors for the same reason. If you need fill light, use a diffuser or a piece of white foam board between the flash and the subject, or just bounce off a reflector and work in open shade.
For phone shooters, tap the screen to lock focus on the head, slide the exposure control down slightly to protect the bright wing scales, and hold the phone as close as it will focus without touching the flower. Portrait mode is usually unhelpful at this distance because it fakes blur instead of producing it.
Step-by-Step
How to photograph butterflies in the field breaks into eight moves that repeat on every outing. Each one tells you what to do and how you will know it worked, so you can correct yourself without a second trip.
1. Find Active Butterflies in the Morning
Arrive within an hour of sunrise, or on a warm overcast morning. Insects are ectothermic, so they need sun or ambient warmth before they can fly, and cool mornings keep them slow. Veteran insect shooters will tell you the same thing: the best time to shoot butterflies is in the morning before the sun gets hot.
Watch for three behaviours. Feeding insects stay put long enough to photograph and often return to the same flower. Resting insects are easiest of all, because they are simply sitting there. Courtship and basking pairs are the hardest and the most interesting, since they involve two animals and very little cooperation from either.
It worked if you can point to a flower with a butterfly on it and predict roughly where it will be in two minutes. That prediction is the difference between a photo and a walk.
On an overcast day the light is soft and even, which makes exposure easy but kills colour depth. On a clear morning the light is warmer and more directional, so put the sun behind you and slightly to one side.
2. Approach Slowly and Position Yourself First
Move at walking pace, and stop whenever the butterfly moves. Sudden stops and sudden starts are what trigger escape. A steady slow approach works; a freeze-then-dart approach does not.
Watch where it points its body and which way it is angled. Butterflies usually take off in the direction they are already facing, so approach from behind and to the side rather than from the front. If the wind is behind you, you are also pushing it into open air rather than into shelter.
Set your position before you raise the camera. Walk past the flower once, look at the background from where the shot will be taken, then come back on your own footprints. If you do not like the background from the position you chose, change the position instead of changing the frame later.
It worked if the butterfly keeps feeding or resting while you adjust. If it launches, you moved too fast or you cut off its escape line.
3. Set Shutter Speed, Aperture, and ISO
Shoot in aperture priority (A or Av), which lets you control depth of field and let the camera handle the rest. The default starting point is f/5.6, 1/500 second, Auto ISO, and the smallest aperture your camera still allows for enough light.
| Situation | Mode | Aperture | Shutter | ISO |
|---|---|---|---|---|
| Resting, still air | Aperture priority | f/5.6 to f/8 | 1/250 to 1/500s | Auto ISO |
| Feeding on flowers | Aperture priority | f/8 | 1/500s | Auto ISO |
| Breeze, wing movement | Shutter priority | f/5.6 | 1/1000s | Auto ISO |
| In flight | Shutter priority | f/5.6 or wider | 1/2000 to 1/4000s | Auto ISO, upper cap |
| Detail of the eye or proboscis | Manual | f/11 to f/16 | 1/250s | 400 to 1600 |
There is a reciprocal rule worth learning: your shutter speed should be at least as fast as one over the focal length. A 100mm macro wants 1/100 second or faster, a 200mm wants 1/200 or faster. Below that, camera shake blurs the frame even when the butterfly sits perfectly still.
Aperture controls the trade-off between background blur and whether the whole insect is sharp. At f/2.8 you get creamy backgrounds and a sharp eye with soft antennae. At f/11 you get the antennae, both wings and the eye sharp, and a background that starts competing for attention. Most shots land between f/5.6 and f/11, which is exactly the range experienced macro photographers recommend for whole-insect focus with a blurred background.
It worked if a burst of frames contains several with sharp eyes and no wing blur.
4. Use Continuous Autofocus on the Eyes or Head
Switch to continuous autofocus with animal-eye detection if your camera has it. The eye is the only part of a butterfly with a texture that looks like a feature, so eye detection locks on faster and more reliably than face or subject detection.
If your camera struggles, drop to a single focus point, zone focus or a small group, and place that point on the head. Camera systems often hunt when the target is a smooth wing surface, and the head gives autofocus something to bite into.
One useful trick is to point the camera at a bare spot of the stem a centimetre below the butterfly, focus there, and hold. When the insect drops into roughly that plane, the shot is already in focus. For that reason plenty of macro shooters work in manual focus, get it roughly right, then take a lot of photos. One photographer described exactly this approach on r/photography as the standard method for handheld macro, and it works for butterflies too.
It worked if your keeper rate rises. If you are still missing more than you keep, the focus point is probably not where you think it is.
5. Pre-Focus and Track a Perching Butterfly
A perched butterfly is a moving target on a very short timeline. Pre-focusing removes autofocus from the equation entirely, so the only variable left is when you press the shutter.
Pre-focus on the same stem a little below the resting spot, switch to manual or single-shot autofocus and lock it, then compose with the butterfly at the edge of the frame. Now wait for the insect to step into the plane you focused on, and fire a short burst at the moment it settles rather than the moment you spot it.
The rule of thumb that veterans repeat: shoot before it flies. Take as many frames as the buffer allows while the subject is still there and still in focus, then stop. Long bursts guarantee at least one keeper and cost nothing but battery.
It worked if your frames cluster around one clear focus distance. If they are scattered, your focus drifted and you need to lock it again each time the butterfly moves.
6. Compose Around Wings, Habitat, and Behavior
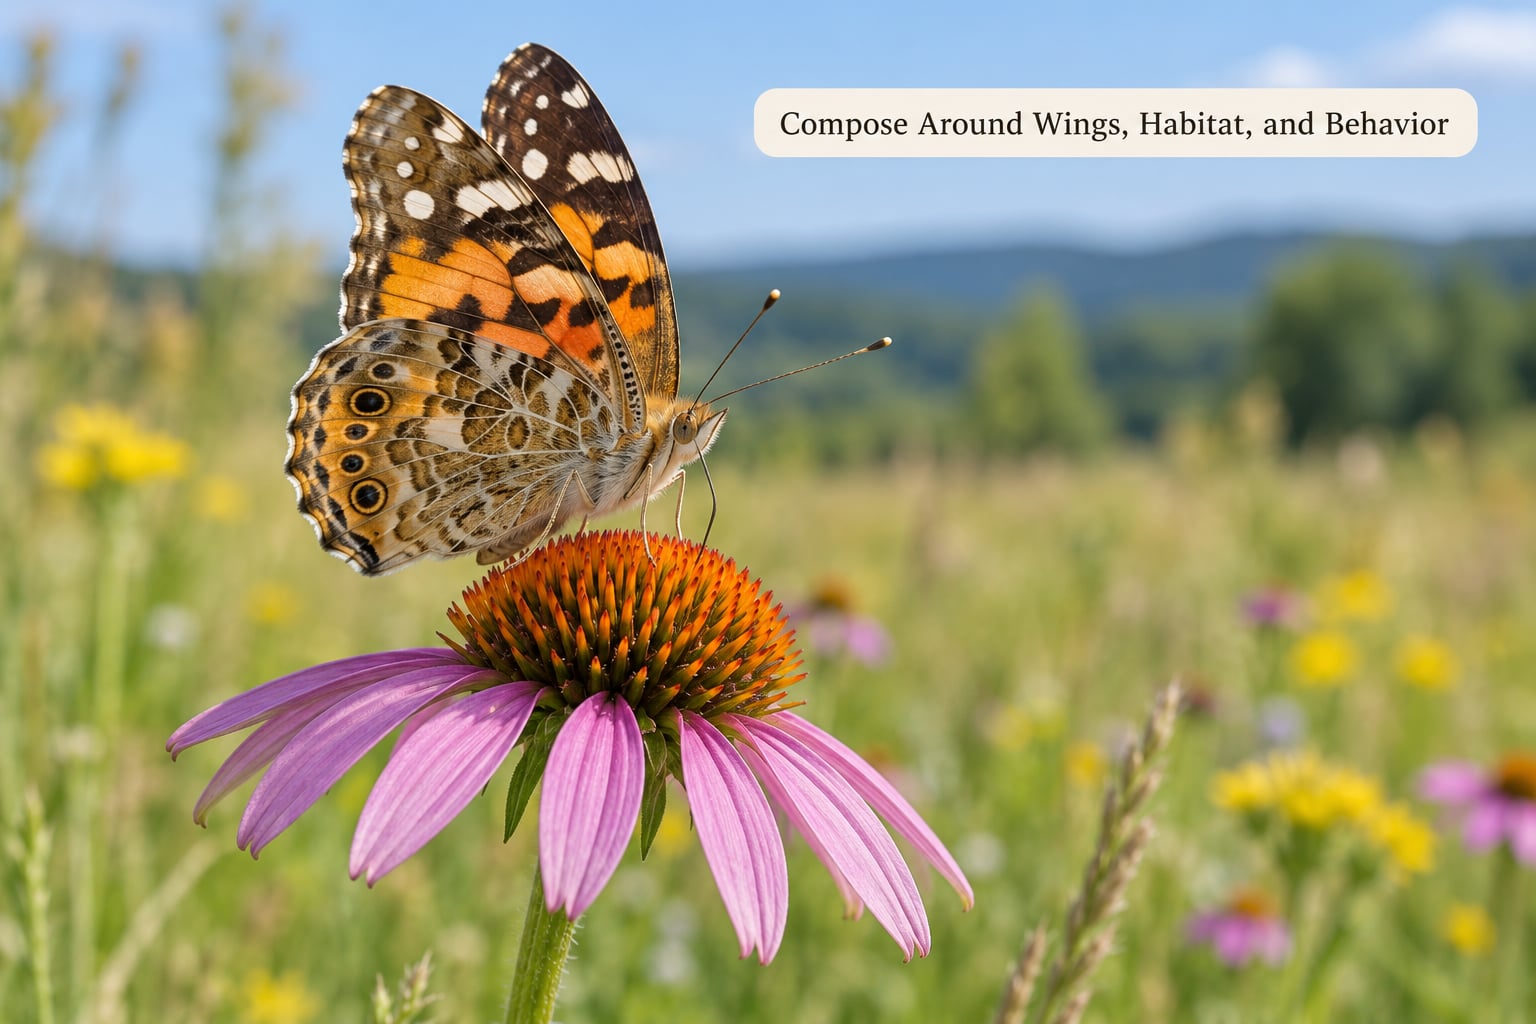
Line the camera up parallel to the wings so the body, both wing planes and the antennae share one focal plane. A side-on profile also gives the most wing area to the lens and shows the pattern the way you would want to frame it.
Include the antennae. Beginners centre on the eye and end up with a crop that cuts the insect in half, and a second detail shot of the head, proboscis or wing scales gives you options later. Shoot both a tight portrait and a wider habitat frame, because the wider one is the harder shot to get and it explains what the butterfly was doing.
Get low. Dropping to the insect’s eye level gives a completely different background than shooting down, and it turns a cluttered flower bed into a clean wash of colour. Backlight also matters: sun behind an open wing makes the scales glow and reveals translucency you cannot see from the front.
Skip butterflies with torn or badly worn wings when you have a choice. A damaged subject tells the story of a rough season, but as a portfolio frame it will never hold up next to a fresh one.
It worked if the eye is on a third, both wings are open to the light, and the background contains no bright distractions competing for attention.
7. Stabilize the Camera Without Disturbing the Subject
Handhold most of the time. Turn on image stabilization, hold the camera with both hands, tuck your elbows into your ribs and press the viewfinder or a stable surface against your forehead. That fixes the biggest wobble immediately.
For heavier setups, rest the lens barrel on a fence post, a rail or your knee, or lie on the ground and shoot upward. A beanbag or folded jacket under the lens does more for sharpness than a more expensive lens will.
Do not push a tripod close to a butterfly. It looms, it blocks the light, and it is an instant signal to move. In butterfly houses and conservatories tripods and monopods are frequently banned, and flash policy varies by venue, so check the rules at the door rather than assuming.
It worked if you can hold the same focus point and watch the edges of the frame stop drifting.
8. Review the Frames and Photograph Without Chasing
Zoom into the eyes of a few frames right away, not at the end of the trip. Check three things: is the eye sharp, is there wing motion blur, and is the background clean enough to keep.
If the eyes are soft, check the focus point. If the wings smear, raise the shutter speed. If the background is busy, that is a positioning problem, and the fix happens on the next pass rather than in software.
Then let the butterfly go. If it flies, do not follow it across the bed. Stand still, watch where it lands, and work the new position. Patience is the recurring advice from photographers who shoot insects: with animal photography you can never get too close, and butterflies take a great deal of it.
It worked if you can name one specific change for next time. If you cannot, check focus first every time, because that is where most lost frames come from.
Common Mistakes
Using heavy flash is the biggest one. The burst of light startles the insect more than your approach does, and a diffused or bounced fill is far gentler.
Chasing or touching the butterfly causes the same flight every time. Handling also damages the wing scales that create the colour, and pinned wings never recover, so the photograph costs you the subject.
Focusing on the flower instead of the eye wastes a sharp frame on a stem. Focus falls on the head, and the flower sharpens by proximity.
Choosing a shutter speed that only half works is the classic error. Too slow and the wings blur; so fast with a high ISO that shadows go grainy is the other version. Take the frame count with grain over a frame count with smear.
Cluttered backgrounds come from standing up and shooting down. Change your knees, not your crop.
Relying on a heavy crop to rescue a soft frame never works. Cropping magnifies every flaw, so fix focus and position in the field instead.
Forgetting to back up your EXIF data costs you the ability to learn from the failures. A frame logged with lens, aperture, shutter and ISO is a frame you can reproduce next time.
Frequently Asked Questions
Can I photograph butterflies with a smartphone?
Yes, and most of the field technique still applies. Tap the screen to focus on the butterfly’s head, pull exposure down slightly so bright wing scales do not blow out, and hold the phone as close as it will focus without touching the plant. Shoot in burst mode rather than single shots. Skip portrait mode, which fakes background blur at that distance, and use a clip-on macro lens if your phone has one.
Should I use flash when photographing butterflies?
Avoid direct flash. A bare speedlight fires for a couple of milliseconds and startles butterflies far more than your shadow does, so the insect usually leaves before the second frame. If you need fill light, bounce it off a white card or foam board, or use a diffuser. In conservatories, check the venue policy first, since many houses ban flash outright.
What is the best camera setting for a butterfly in flight?
Use shutter priority at 1/2000 to 1/4000 second, the widest aperture your lens gives at that speed, and Auto ISO with a ceiling set so noise stays acceptable. Focus on a landing flower ahead of the insect and switch to continuous autofocus with a high-speed burst ready. You will discard most frames; getting a sharp one is the point of the burst.
How do I photograph both wings without blur?
Line the camera up parallel to the wings so the body and both wing planes share one focal plane, then stop down to f/8 or f/11 and use 1/500 second or faster. Too narrow an aperture leaves you short of light, so raise ISO instead. If the wings are still moving, accept the loss and shoot a tighter detail of the eye or wing pattern instead.
Is it safe to touch or move a butterfly for a photo?
No. Handling can damage the wing scales that produce the colour, rub off the powdery surface, and in cold weather a chilled butterfly may be too sluggish to fly away. Catching and holding insects to keep them still is discouraged by conservation groups. Scout resting spots, work in cool morning light, pre-focus and wait, which is slower and always works better.
Conclusion
Get good at how to photograph butterflies and the whole job gets easier: find one that is slow and sunlit, walk up slowly without cutting off its escape line, and set continuous autofocus, 1/500 second, f/5.6 and Auto ISO before you lift the camera. Keep the lens parallel to the wings, burst while the insect is still, and let the photograph be earned rather than taken.