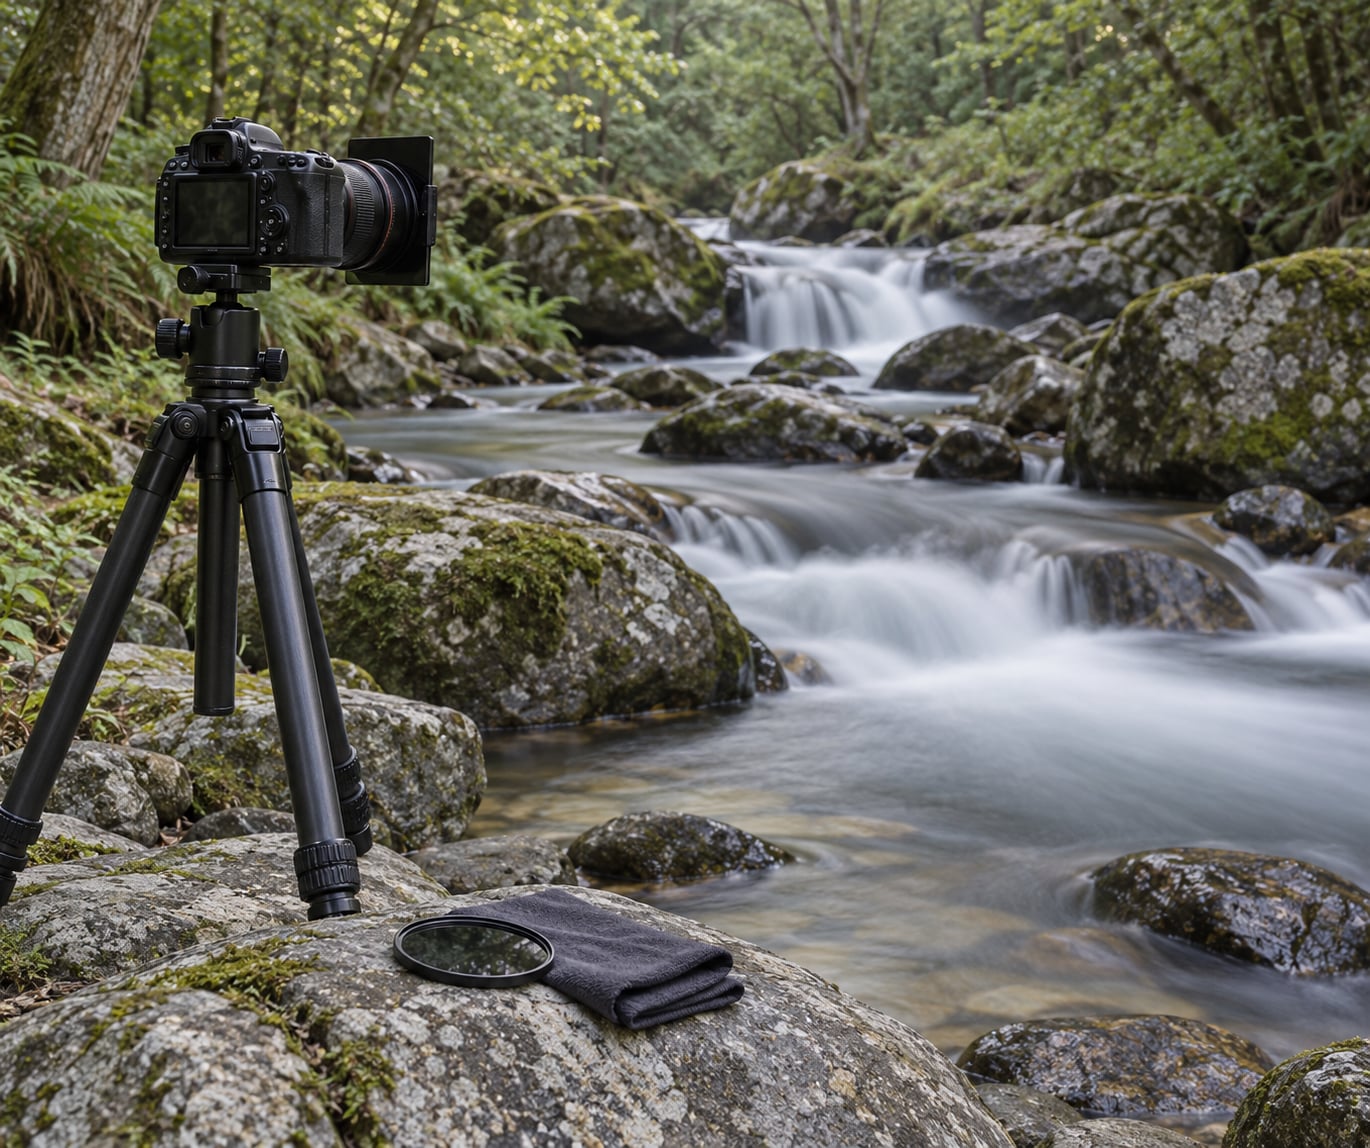
Moving water turns to silk when you expose it with a slow shutter speed on a locked-down tripod, so the flow records as soft streaks while rocks and trees stay sharp. Most of the work is limiting light: set a small aperture, the base ISO, and a neutral density filter so the shutter can stay open for a second or more without overexposing.
The whole technique takes about ten minutes to set up once you know the settings, and beginners usually get a usable result on their second or third attempt. The part that catches people is exposure, not gear. A waterfall can hold far more detail in the shadows than in the white water, and the blurred water is where the highlights blow first.
The first few sessions are about building the habit of checking the histogram instead of trusting what the screen shows you.
Table of Contents
- What You Need
- Step-by-Step
- 1. Choose Water and Lighting Conditions
- 2. Set Up the Camera for Smooth Water
- 3. Compose the Scene and Protect the Camera
- 4. Focus Carefully and Use a Filter When Needed
- 5. Take the Test Exposure and Fine-Tune the Result
- 6. Capture Variations and Protect Your Equipment
- Common Mistakes
- Frequently Asked Questions
- What shutter speed makes moving water look like silk?
- Do I need a neutral density filter to photograph water as silk?
- How do I keep both the water and the surrounding scene in focus?
- Can I photograph moving water as silk with a smartphone?
- Why does my long-exposure water photo look too bright?
- How do I choose the right shutter speed for a fast river?
- Conclusion
What You Need
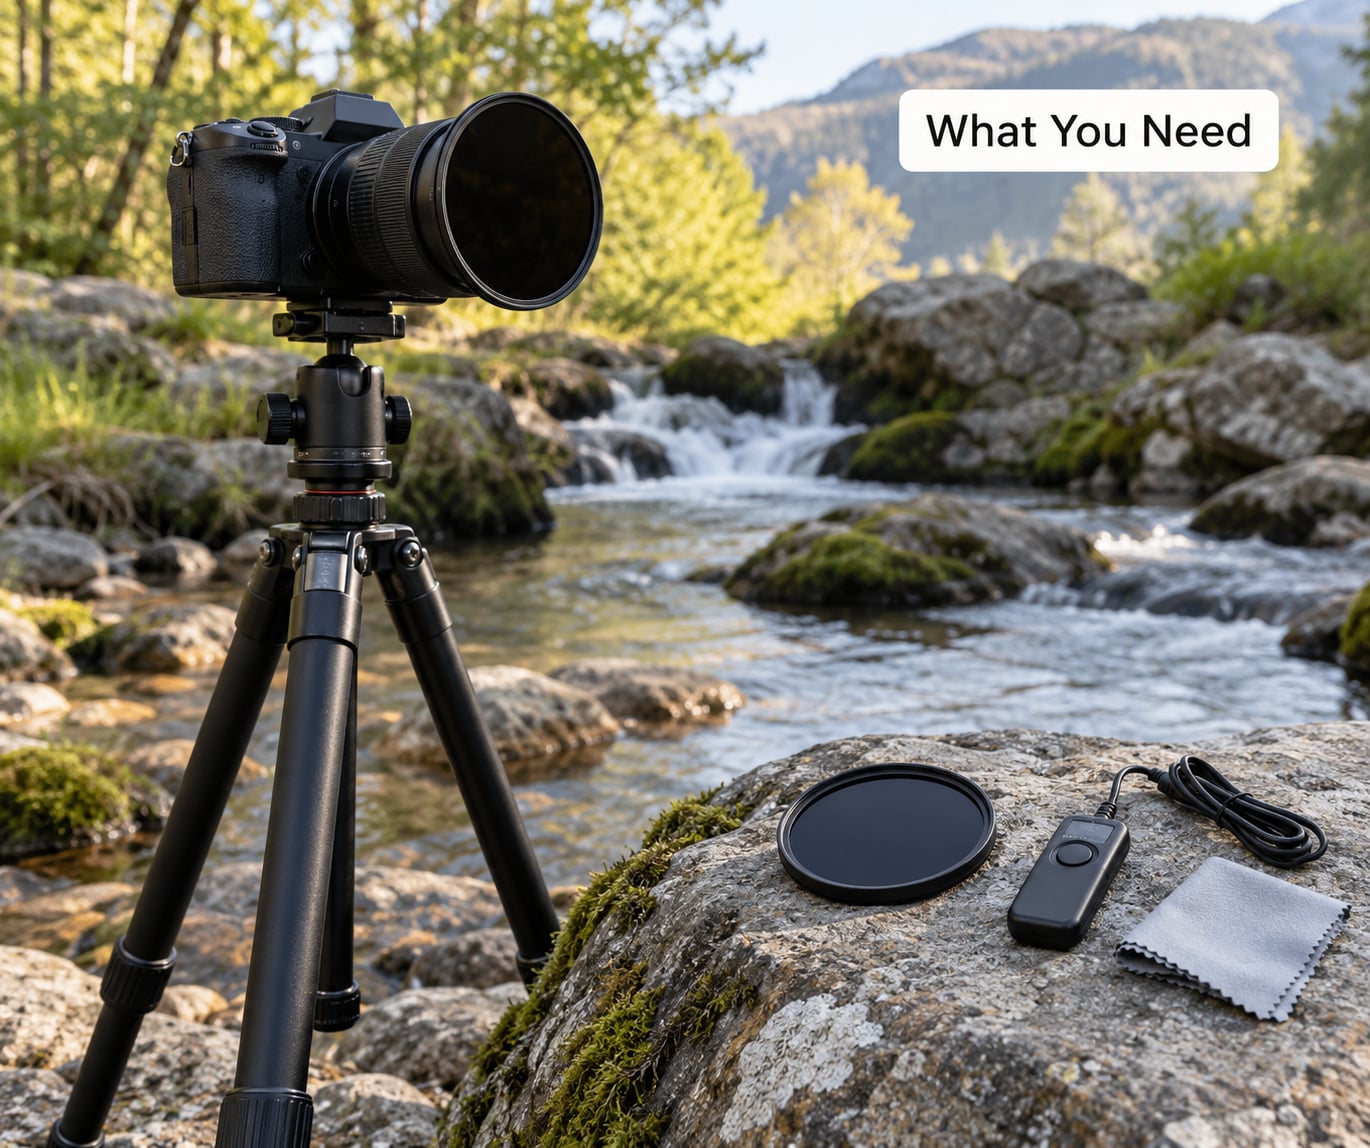
You need far less than most guides imply. A camera, a lens that focuses manually, and something to hold the camera still will get you most of the way there.
- Camera and lens. Any interchangeable lens camera works, and a phone with a manual mode app is a real option for beginners. A wide or mid zoom from about 16mm to 70mm covers most streams and small waterfalls.
- Tripod. A tripod with adjustable legs and a ball head is ideal, because a heavy stream centre needs one leg short and two long. Weight the hook or centre column with your camera bag if wind is a problem.
- Neutral density filter. A 3-stop or 6-stop circular filter lets you shoot a long exposure in bright daylight. Skip it on an overcast day and you may not need one at all.
- Remote release or self-timer. A two-second timer costs nothing and stops your hand touching the camera at the wrong moment. A cable or wireless release does the same job.
- Lens cloth and rain cover. Spray reaches the front element fast, and a microfibre cloth plus a cheap shower cap for the body keeps a day of mist out of your gear.
No tripod? Set the camera on a flat rock or a wall, rest it on a folded jacket, or brace it against a fence post. A flat surface with the lens pointing straight out works better than trying to handhold a one-second exposure, and I have never once salvaged a silky shot by squeezing my elbows in.
Step-by-Step
This is the full workflow for photographing moving water as silk, from picking the spot to judging the result. Work through it in order the first few times, and it becomes automatic.
1. Choose Water and Lighting Conditions
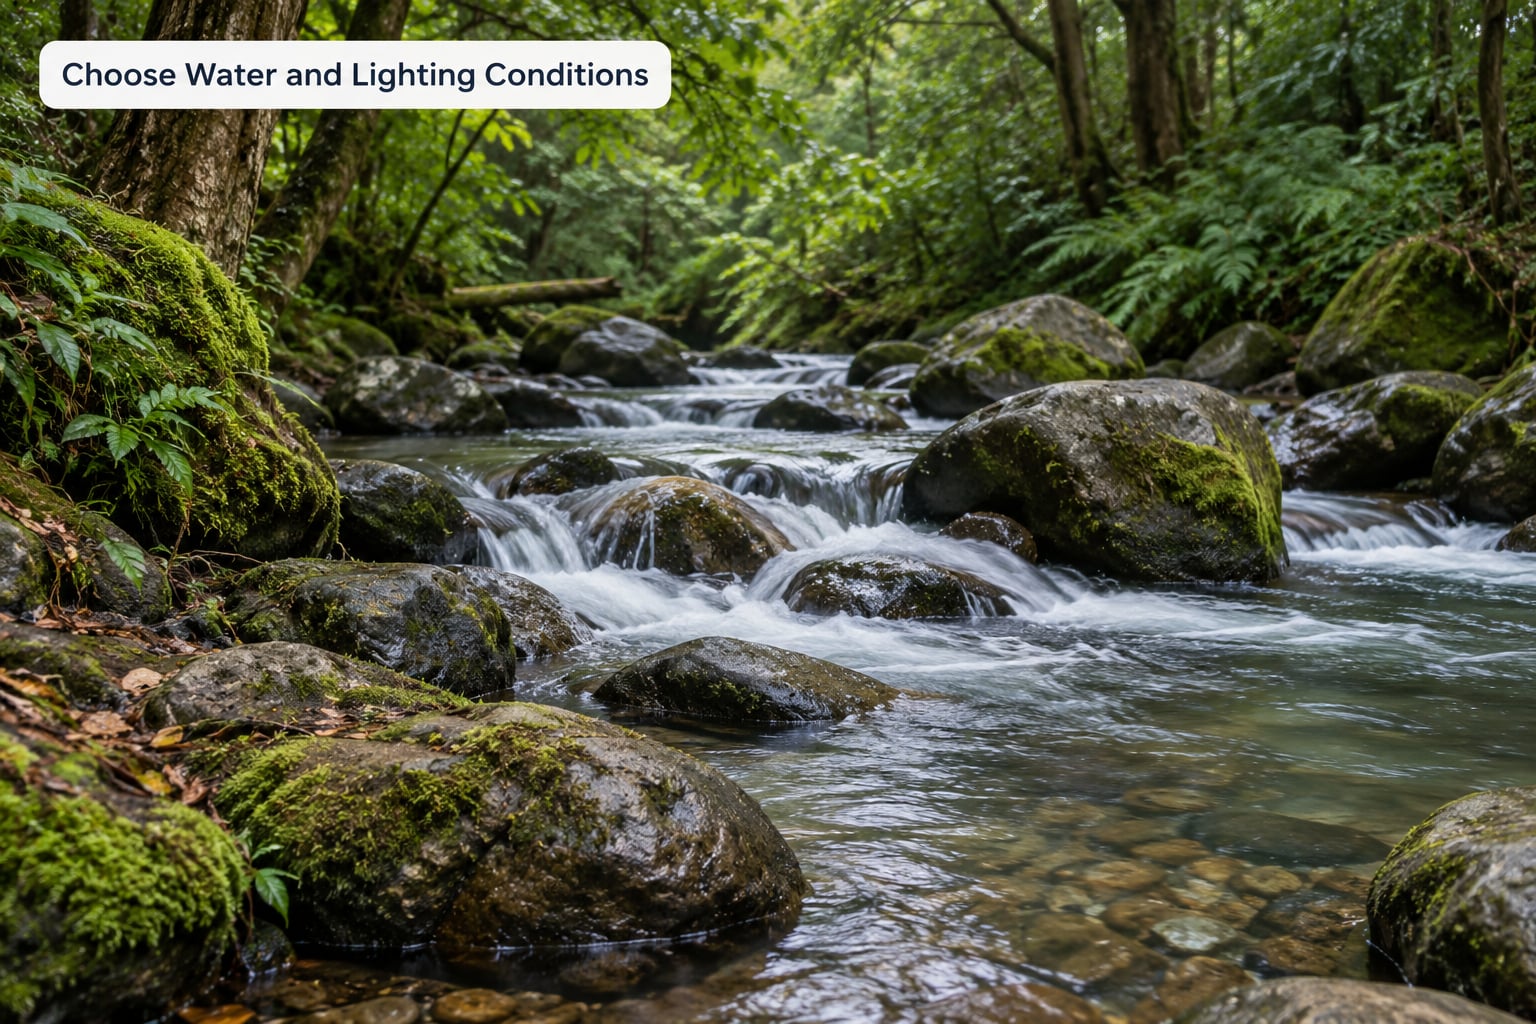
Look for water that flows in one clear direction across the frame, not a churning pool where every part moves differently. A smooth curtain over a ledge or a stream sliding past a rock gives a cleaner blur than water breaking around several obstacles.
Light matters more than location. Overcast days, forest shade and open shade near a canyon wall are the easiest times because the contrast range is low and nothing clips. Direct midday sun is the hardest: white water goes pure white almost immediately.
Walk the scene first, without the tripod, to find a position where the water has something to flow around. Then place the legs and check that nothing moves them. A tripod on soft mud or a sloping riverbank will creep during a multi-second exposure even when the wind is calm.
2. Set Up the Camera for Smooth Water
Switch to manual mode. Aperture priority and auto ISO will both fight you, because they keep changing the shutter speed to protect the highlights and you end up with frozen water instead of silky water photography.
Start with the smallest aperture you are comfortable using, usually f/8 and never beyond f/11 on a full-frame body. Past f/16 diffraction softens the whole frame, and that softness on your rocks and trees defeats the purpose. Then drop ISO to the base value, 100 on most bodies.
With those three set, check the histogram and see what shutter speed the camera picked. That is your starting point. Here is roughly what the water type calls for:
| Water | Shutter speed | Result |
|---|---|---|
| Trickle over a small lip | 1/4 to 1/2 second | Gentle streaks, still some texture |
| Forest creek or shallow stream | 1/2 to 1 second | Classic silk, bright detail retained |
| River or medium waterfall | 1 to 2 seconds | Shaving cream look, softest edges |
| Large waterfall in a gorge | 2 to 10 seconds | Full mist, waterfall detail lost |
| Ocean surf | 2 to 15 seconds | Flat milky sheets, one soft horizon |
Experienced shooters on photography forums often quote an older rule: the shutter speed should be roughly the reciprocal of the fraction of the frame filled by moving water. Water covering a tenth of the frame suggests a tenth of a second. Treat it as a starting point, not a law, and adjust from the histogram.
3. Compose the Scene and Protect the Camera
Give the water room to move. Leave space in the direction of flow so the eye follows the stream instead of running into the edge of the frame, and use the curve of the bank or a line of wet rock as a leading line into the shot.
A boring foreground turns a good long exposure flat. One piece of dark rock, a fern, or a stone that holds a reflection is enough to give the eye somewhere to land. Keep the horizon level, and turn off the automatic level indicator if your camera has one so it does not fight you on uneven ground.
For protection, keep the cloth in your hand and wipe the front element between frames. Never rest the camera on a wet surface, and if a gust hits, turn the camera off rather than hoping the frame survives.
4. Focus Carefully and Use a Filter When Needed
Focus on something static, not on the water. Waterfall users on DPReview forums are consistent about this: any autofocus can shift the lens mid-exposure and ruin an otherwise good frame, so pre-focus manually or use single-point autofocus and lock it.
Once focused on a rock or a tree in the middle distance, check your depth of field at f/8. If the near foreground and the far bank both need to be sharp, stop down to f/11 rather than raising ISO, and accept slightly more blur in the shadows if the light is thin.
Do you need a neutral density filter? Only if stopping down and dropping ISO still leaves you with a shutter speed that is too short. That decision rule comes up constantly on photography forums and it is the right one. A 3-stop ND is the flexible everyday choice, 6-stop gives you long exposures in full sun, and 10-stop suits blue hour and daylight work where you need very long shutter times.
A circular polarizer is a different tool. It cuts glare on the water surface and can deepen a sky, but it costs about two stops of light, which works against you, and it kills rainbows and mirror-like reflections entirely. Skip it when you want the surface to stay glassy.
5. Take the Test Exposure and Fine-Tune the Result
Shoot one frame, then look at the histogram. What you want is the right-hand edge approaching the wall but not jammed against it, because blown white water cannot be recovered in editing. If the histogram clips on the right, close down one stop or add a stop of ND.
Recovering shadows is far easier than recovering highlights, so when you are torn, expose slightly under and lift the shadows later. Check the file at full size rather than on the camera screen, and look at the water and the darkest rock separately, not just at the overall brightness.
One oddity confuses nearly everyone: the viewfinder and Live View screen can look much brighter than the final file. Long exposures are usually made with the viewfinder blocked or Live View active, and both brighten the preview so you can compose. That preview is not an exposure reading, so judge brightness from the histogram, not from what the screen shows.
6. Capture Variations and Protect Your Equipment
Once the histogram looks right, make a bracket. Shoot two seconds, then one, then half a second, and let the faster frames keep some texture in the flow while the slower ones go fully soft. The frame that surprises you is usually one step away from the one you planned.
Between frames, wipe the front element and let the camera cool. A long series of multi-second exposures warms the sensor, and hot pixels and noise show up more in the shadows of a long exposure than anywhere else.
Move carefully. Wet rock around moving water is genuinely slippery, and nobody has ever taken a better photograph after going in. Change position and tripod placement one at a time, and do it while the camera is packed.
Common Mistakes
Blown highlights in the white water. Close the aperture, drop ISO, or add ND until the histogram stops clipping on the right. Expose for the brightest part of the fall, then lift the rest in post.
You can still see the stream bed. Your shutter is too fast for that flow. Double the time and check the histogram again. A trickle needs about a quarter second, a river needs a second or more.
Camera shake on a locked-off shot. Tripod legs are sinking into mud, or wind is moving the whole setup. Level the centre column, tighten the legs, hang your bag from the hook, and use the two-second timer so the shot is not triggered by hand pressure.
Everything is soft, not just the water. You focused wrong, or you stopped down past f/16 and diffraction has taken over. Refocus on a static subject and go back to f/8 or f/11.
Harsh glare on the surface. That is unpolarized reflected light, usually at a right angle to the sun. Reframe slightly so the reflection angle changes, add a circular polarizer if you can accept losing the reflection, or wait for softer light.
The frame does not show the flow. Shoot from a lower angle so a line of rock or foliage runs through the water, and leave space in the direction the water is heading. Looking down at a pool from above loses the sense of movement.
Two more habits are worth building. Shoot RAW so you have latitude on the white water, and turn off long exposure noise reduction if your camera pauses for a dark frame on every shot, which is a waste of a second in good light. Turn it back on for anything longer than a few seconds at high ISO.
Frequently Asked Questions
What shutter speed makes moving water look like silk?
Start at half a second for a creek and one to two seconds for a river or waterfall. Very fast water needs longer, often five to ten seconds, while a slow trickle softens nicely at a quarter second. Meter the scene, check the histogram, and double the time until the water reads smooth. If the histogram clips, add a stop of light loss before you add more shutter time.
Do I need a neutral density filter to photograph water as silk?
Only if your slowest correct shutter speed is still too fast for the effect. On an overcast day, f/8 at base ISO often lands near a second on its own and no filter is needed. In full sun you will usually need a 3-stop to make a short waterfall work, or a 6-stop for a long one. A filter reduces light, it does not add stabilisation.
How do I keep both the water and the surrounding scene in focus?
The scene is static and the water is not, so focus on a solid object in the middle distance, not on the water itself. Stop down to f/11 to widen your depth of field so the near foreground and far bank both hold, then raise ISO as needed rather than going past f/16, where diffraction softens the whole frame. Manual focus avoids the lens shifting mid-exposure.
Can I photograph moving water as silk with a smartphone?
Yes, if your phone gives you manual control. Use a manual mode app or the built-in pro controls to lock ISO at its lowest value, choose a small aperture, and set a shutter speed of one to several seconds. A phone still needs to be completely motionless, so rest it on a rock or a mini tripod, use a two-second timer, and keep the lens clear of spray. Results are noisier than a dedicated camera but the technique is identical.
Why does my long-exposure water photo look too bright?
Usually the highlights in the white water are clipping, and your viewfinder is misleading you. The live view screen and optical viewfinder are brightened so you can compose, so what you see is not an exposure reading. Check the histogram instead: if it is jammed against the right edge, stop down one stop, drop ISO, or add a stop of ND. Shooting slightly under and lifting shadows later is safer than trying to recover clipped highlights.
How do I choose the right shutter speed for a fast river?
Judge by how much of the frame the water fills and how fast it moves. A fast river filling most of the frame usually needs several seconds, while a small section of it in a wider composition needs far less. Make a bracket of two, four and eight seconds and compare. If the water goes completely flat and featureless, you have gone too far and should shorten the exposure by a stop.
Conclusion
Start by making the camera immobile and leaving manual mode. Set f/8, base ISO, and a shutter speed of one second, check the histogram, and keep adjusting the shutter speed until the water has the texture you want while the rocks and trees stay sharp. Add a neutral density filter only when the histogram tells you the light is too strong, and shoot RAW so the white water has room to breathe in editing.
The same exposure discipline carries straight over to blurred clouds, starbursts and light trails, so the skill keeps paying off long after the river dries up.