Photographing cacti and succulents comes down to three things: soft directional light, a background that is not fighting the plant, and focus placed on the detail you actually want to show. You do not need a dedicated macro lens or a home studio. A phone, a windowsill and fifteen quiet minutes will get you most of the way there.
If you have never shot plants before, the fastest way to learn how to photograph cactus and succulents well is to follow one repeatable process. Below is the whole thing, from cleaning the pot to the final edit, with the settings and the reasons behind them.
Table of Contents
- What You Need
- How to Photograph Cactus and Succulents Step by Step
- 1. Prepare the Plant and Choose a Clean Setting
- 2. Use Soft, Directional Light
- 3. Create a Simple Background
- 4. Choose the Right Angle and Composition
- 5. Focus Work: How to Photograph Cactus Spines and Rosettes
- 6. Capture Several Variations
- 7. Edit for Accurate Color and Texture
- Common Mistakes
- Frequently Asked Questions
- Can I photograph cactus and succulents with a phone?
- What is the best natural light for photographing succulents?
- Should I use a plain or textured background for cactus photos?
- How do I photograph a cactus without making its spines look harsh?
- What camera settings work best for close-up photos of succulents?
- Should I remove dust and water spots before taking plant photos?
- Conclusion
What You Need
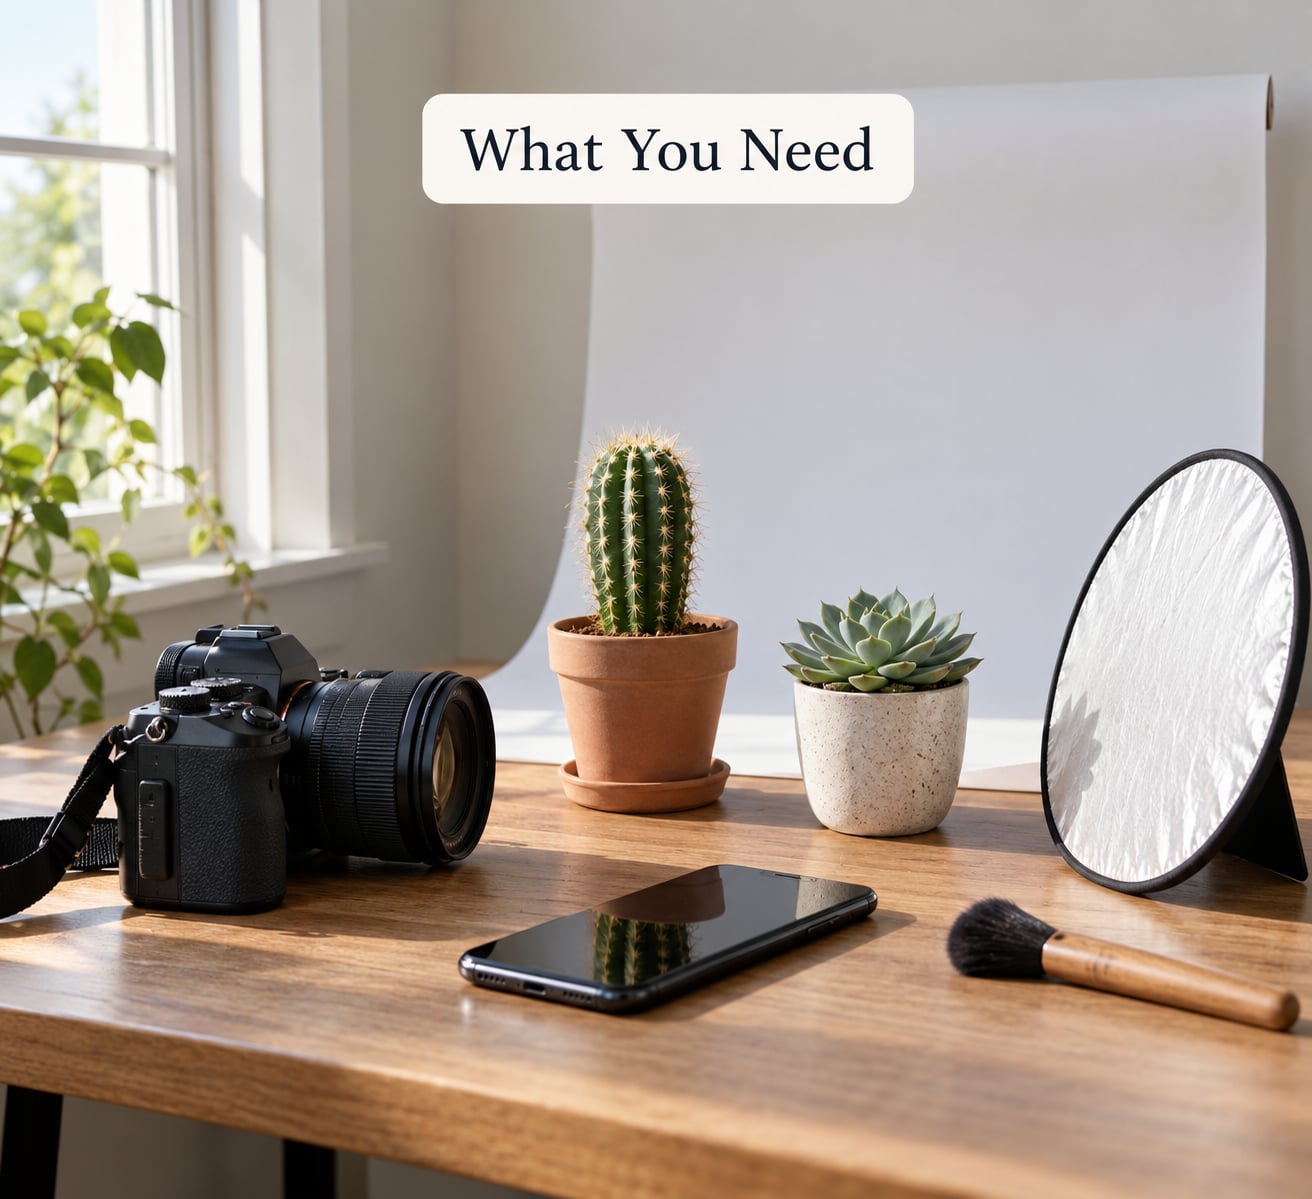
Everything below is something you probably already own or can pick up for a few dollars. That matters, because the flat, dull results people complain about almost always come down to light and background, not to equipment.
- A camera that focuses close. A phone, an old compact, or any camera with a close-focusing lens will do. In the beginner tips threads on r/succulents, people argue about gear constantly and then post shots from eight-year-old compacts that hold up fine. Gear anxiety is misplaced here.
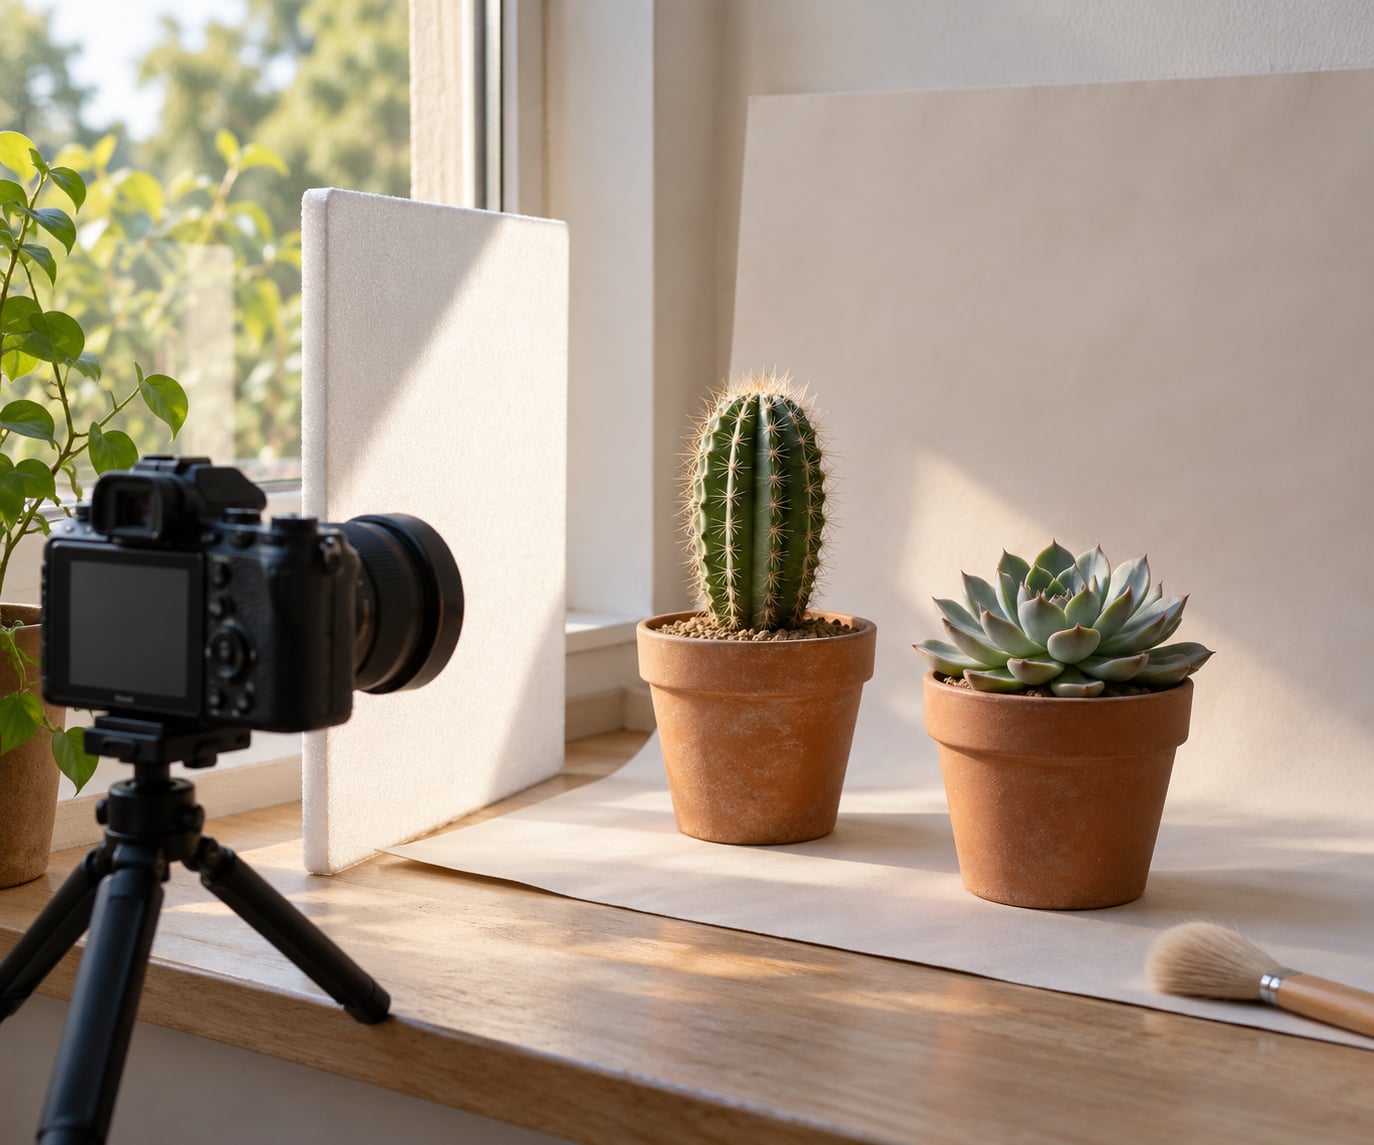
- A soft light source. A window is the classic one. Indirect light through a sheer curtain, or an overcast sky outdoors, is all you need to start.
- A plain backdrop. White foam board, a sheet of coloured paper, a clean bedsheet, or a bare wall several feet behind the plant. Nothing else.
- A reflector. A piece of white card, foam board or even a book cover to bounce light back into the shadow side of the plant.
- Something steady. A stack of books works. So does a mug full of dry rice, a bean bag, or a small tabletop tripod. At close distances hand-holding is where detail shots get ruined.
- Tongs and gloves. Genuinely the two most useful tools for this hobby.
- A soft brush, cotton buds and a small mister. For dust, soil particles and dried water spots, all of which show up badly in close-ups.
What you can skip: cheap clip-on macro lenses for phones, coloured gels, and any kit marketed as being for plants specifically. A wide or blurry background comes from distance and a wide aperture, not from glass.
How to Photograph Cactus and Succulents Step by Step
Work through these seven stages in order. Skipping ahead to the camera and fiddling with settings is the most common reason people end up with grey, lifeless pictures of a plant that looks great in person.
1. Prepare the Plant and Choose a Clean Setting
Before the camera comes out, spend two minutes on the subject. Wipe dust off the leaves and the pot with a barely damp cloth, and remove any dead lower leaves or dried flowers hiding under the rosette.
Turn the plant slowly and look at it from several sides before choosing an angle. With cacti, the most interesting side is rarely the one facing the room. Look for a rib that catches light, an areole pattern that reads clearly, or a new growth point that is visibly different in colour.
Then clear the area around it. A windowsill with a stack of mail and three other pots will produce a cluttered frame no matter how good the light is. Move everything that is not part of the shot out of frame.
2. Use Soft, Directional Light
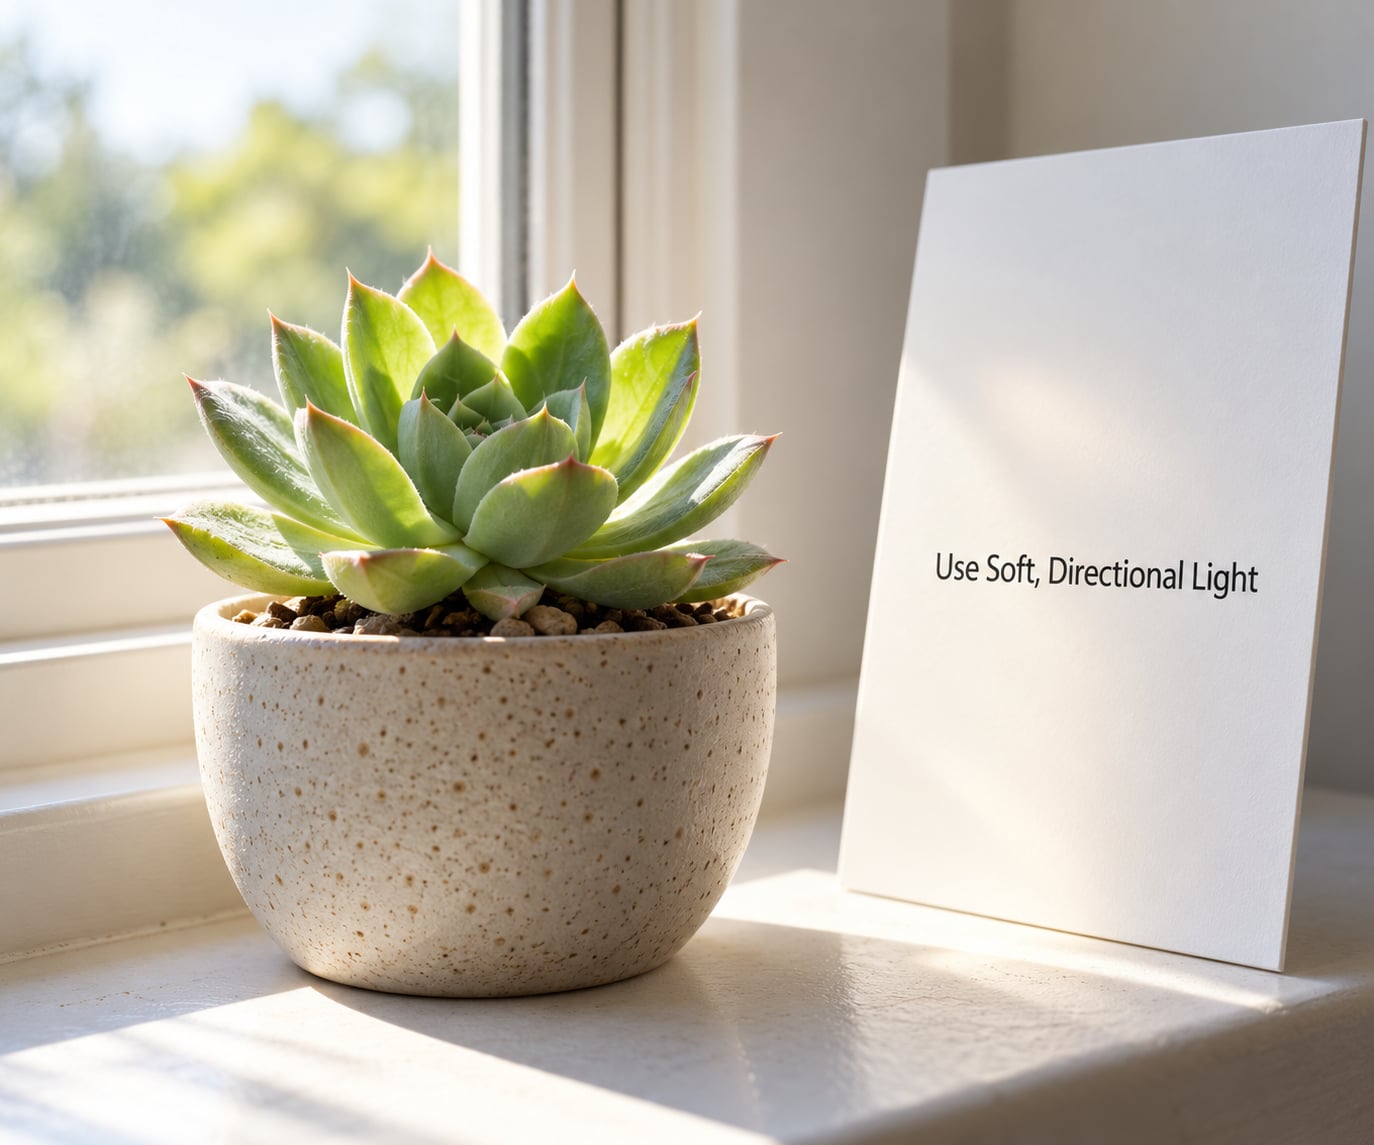
Soft side light is what makes the sculptural form readable. Place the plant near a window with the light coming from one side, not from behind the camera. Side light builds a gradient across each rib and leaf, which is the whole reason cacti and succulents are such good subjects.
Backlight is dramatic and it works, especially for translucent echeveria and aloe leaves, but flare and blown highlights are common. If you shoot into the light, hide the sun behind a card or the edge of a curtain, and expose for the plant rather than the window.
Direct midday sun is the worst option. It creates hard black shadows, blows out the pale chalky coating on many succulents, and makes waxy leaves look plastic. If that is all the light you have, put a diffuser between the sun and the plant. A white sheet, a shower curtain, or even a thin bedsheet turns harsh sun into something usable.
Outdoors, overcast light is the gift. Cloud cover acts as a giant softbox, so you can shoot all day with even light and no shadow management. For a desert garden in full sun, wait for golden hour, or shoot in open shade beneath an overhang or a large plant.
Keep your white balance consistent while you work. If you shoot in RAW, set it deliberately rather than letting it drift frame to frame. If you shoot in JPEG, lock exposure and colour so your series matches.
3. Create a Simple Background
The background decides whether the plant reads as a subject or as an object in a room. Neutral options such as white, cream, soft grey and pale wood keep attention on shape and colour. Dark backgrounds such as charcoal, deep brown or black give strong separation for pale green and blue plants, and they suit spiny silhouettes.
Add colour only when the plant already has some. A warm ochre or terracotta backdrop pairs naturally with an aloe or a jade plant; a saturated red backdrop behind a chalky blue echeveria will fight you for attention.
For separation, distance is the cheapest tool. Move the plant two or three feet away from the wall behind it and the wall softens into an even field. If you want a blurred background on a phone, step closer to the subject and use the wide setting or the 2x crop rather than moving the plant back.
Texture is worth using carefully. A linen or canvas sheet reads as a natural studio surface and looks good with soft greens. A kitchen tile backsplash, a wood cutting board or a stone slab gives you a place for a pot to sit that looks intentional rather than accidental.
4. Choose the Right Angle and Composition
Five angles cover almost everything. Eye level puts you level with the middle of the plant and flattens tall forms slightly. Overhead looks straight down and is the best choice for rosette succulents, since the radial symmetry becomes the subject. A low angle shoots upward and makes columnar cacti look imposing and sculptural. A three-quarter view is the safest all-rounder for a potted plant on a table. Straight-on macro fills the frame with one detail and ignores the rest.
Rule of thirds works on plants just as it does on landscapes. Put the plant’s crown or main rib on an intersection rather than dead centre, and let the empty space sit on the side the plant leans toward.
Edge tension means letting part of the subject run out of frame or sit close to the edge of the picture, which creates a little tension the eye resolves. Do it with care. An off-centre crop works when a branch or leaf carries the eye across the frame; it looks like a mistake when the subject is small and centred.
Watch the pot too. A busy glazed pot, a painted pattern or a plant label competes with the plant itself. A plain terracotta pot, a matte ceramic pot or a simple glass container keeps the eye on the growth.
5. Focus Work: How to Photograph Cactus Spines and Rosettes
Decide first whether you want the whole plant sharp or one detail sharp, because that choice sets everything else. Shallow depth of field, which is the blurred-background effect people ask for, means a narrow band of the subject is in focus and the rest falls away. It is created by a wide aperture such as f/2.8 or f/4 combined with getting close.
Yes, macro lenses have very shallow depth of field at close range. A true macro lens focuses so near that the depth of field can be a couple of millimetres, which is why macro shooters stop down to f/11 or f/16 and shoot on a tripod. That setting, plus a timer or a two-second delay instead of the shutter button, gives you the whole plant sharp with a background still soft.
If you want the sharpest possible result and have the patience, focus stacking does the job properly. Focus manually on the nearest part of the plant, take a shot, shift focus slightly to the part behind it, shoot again, and repeat until you have covered the whole depth. Stack the frames in your editing software and you get a plant that is sharp from spine tip to pot rim.
These starting points assume daylight and a camera or phone on auto ISO:
| Light condition | Aperture | Shutter | ISO | Support |
|---|---|---|---|---|
| Overcast outdoors | f/5.6 | 1/250s | 100 | Handheld |
| Open shade in a garden | f/4 | 1/160s | 200 | Handheld |
| Golden hour, side light | f/2.8 | 1/500s | 400 | Handheld |
| Bright window, indoor | f/4 | 1/125s | 400 | Books or tripod |
| Harsh midday sun | f/8 | 1/1000s | 100 | Diffuser plus tripod |
| Whole plant sharp at macro range | f/11 | 2s timer | 100 | Tripod required |
Check sharpness at 100 percent before you shoot more, not after. Turn on focus peaking if your camera has it, and it will show you the in-focus areas as coloured outlines, which makes a soft shot obvious immediately.
On a phone, tap the screen on the part you want sharp, then press and hold to lock exposure and focus so the brightness does not jump between shots. Use the widest aperture your phone offers in Portrait mode for a blurred background, and step closer instead of zooming when you want more detail, since digital zoom crops pixels and softens everything.
Take a lot of shots. Slowly increase and decrease the focus distance across the subject, vary the height of the camera by a centimetre at a time, and shoot in short bursts. Every good macro shot I have made was the fourth or fifth attempt at the same spot.
6. Capture Several Variations
Plan the set before you start moving anything. A short systematic run beats wandering around taking random frames.
- One wide shot of the plant in its spot, showing context and scale.
- One mid shot filling most of the frame with the plant and pot together.
- Two or three details on spines, areoles, ribs, rosette centres, new growth or a flower.
- A group shot if you own more than one. Arrange pots in odd numbers, vary the heights, and shoot from slightly above so no pot hides another.
- A shot as the light changes over 30 minutes, if you have the time. The same plant at golden hour looks like a different plant from the one you shot at midday.
If you want to photograph a flowering cactus, plan around the bloom rather than the plant. Most cactus flowers open in a single afternoon and fade within days, and they do not move in the wind, so they are the easiest subjects you will ever shoot. Watch for buds swelling over a week, then be ready with the setup already built.
Documenting growth over time works well too. People on r/succulents post these comparison series constantly, shooting the same pot from the same angle on the same day each month. Fix your distance and mark the spot with tape on the table so the frames line up later.
7. Edit for Accurate Color and Texture
Edit in a repeatable order so results stay consistent across a series. Start with exposure and highlights, since a blown-out pale leaf cannot be recovered. Pull highlights down and lift shadows slightly, but keep some contrast between the light and shadow sides or the plant loses its form.
Next set white balance. Succulents have a wide range of tones, from blue-green chalky coatings to near-purple rosettes, and auto white balance often pushes them all toward the same green. Adjust the temperature slider until the plant looks like the plant in front of you.
Then handle colour selectively. In Lightroom or any editor with hue sliders, pull a little saturation out of the brightest greens and lift yellow or red slightly on rosettes that have gone pink at the edges. Many editors also offer AI masking that will select the plant for you, which saves a lot of fiddling.
Sharpen last and gently. Texture is the subject, but aggressive clarity and sharpening turns spines into white noise and adds a halo around every rib. A small amount of sharpening on the plant mask is plenty.
Finally, remove distractions if they show: dust on the pot, a chipped rim, a stray label, soil flicked onto the backdrop. Keep the odd blemish if it tells the story of a real plant. A few tiny cleanups read as care; a plastic-clean frame reads as fake.
Common Mistakes
Almost every disappointing plant photo comes from one of these.
Harsh direct sun. The plant gets a hot lit side and a black shadow side, and pale coatings blow out. Fix: move into open shade, shoot under cover, or diffuse the light with a white sheet.
A cluttered background. Kitchen clutter, other pots, cables and windowsill compete with the subject. Fix: clear a 90 cm area behind the plant and place a plain backdrop two or three feet behind it.
Leaving it all in the centre. A centred subject with equal dead space on both sides looks like a snapshot. Fix: place the plant’s crown on a thirds intersection and give the empty space to one side.
Not enough depth of field for the shot you wanted. A whole plant half out of focus reads as a mistake rather than as a choice. Fix: decide between a detail shot and a full-plant shot first, then stop down for the full plant.
Colour that drifts from the plant. Photos come out with a green cast or washed-out reds. Fix: set white balance deliberately instead of leaving it on auto.
Motion blur and camera shake. Fingers resting on the pot or the table rather than the camera. Fix: brace your elbows against your body, or use a support and a timer.
A dirty subject. Dust, soil particles and dried water spots are invisible to the eye but obvious at macro range. Fix: wipe down before shooting, and use a soft brush between frames.
A distracting pot. Glazed patterns, bright ribbons and painted designs fight the plant for attention. Fix: move the plant into a plainer pot for the shoot.
Over-editing. Oversaturated greens and heavy sharpening destroy the subtle colour variations that make succulents interesting to photograph. Fix: keep the edit restrained and let the plant carry the frame.
A few final tips. Take more shots than feels necessary, because the keeper is usually buried in the middle of a burst. Clean your camera or phone lens before the session, since a smudged lens costs you more sharpness than any setting will win back. And shoot a wide frame before you shoot close, because the wide frame tells people where the plant lives, and the close frame is the one they will remember.
Frequently Asked Questions
Can I photograph cactus and succulents with a phone?
Yes, and most of the good plant photos you see online were shot on a phone. Use the wide lens, tap to focus on the detail you want sharp, then press and hold to lock exposure and focus. Step closer rather than zooming, clean the lens with a cloth first, and move the plant away from the wall behind it to soften the background. Portrait mode handles the blurred-background effect.
What is the best natural light for photographing succulents?
Soft, indirect side light is the best of the lot. Stand the plant beside a window so light falls across it from one side, or shoot outdoors under an overcast sky, which acts like a giant softbox. Avoid direct midday sun, which creates hard shadows and blows out the pale waxy coating on many succulents. Golden hour outdoors is the second best option for warmth and texture.
Should I use a plain or textured background for cactus photos?
Both work, and the choice depends on the plant. A plain neutral background such as white, cream or soft grey keeps attention on shape and colour, and it suits busy, patterned plants. A textured surface like linen, stone or wood suits sculptural columnar cacti and single rosettes. Place the backdrop well behind the subject so it falls out of focus rather than competing with the plant.
How do I photograph a cactus without making its spines look harsh?
Never shoot spines in direct sun, where they render as hard white lines against a black shadow. Use soft side light or overcast daylight instead, and fill the shadow side with a white card or foam board to lift it. A circular polariser also helps by cutting glare from the waxy skin. Photograph slightly off-axis rather than straight on, so each spine catches a highlight rather than merging into a solid mass.
What camera settings work best for close-up photos of succulents?
For a blurred background, shoot wide open at around f/2.8 to f/4 with the camera close to the subject and ISO 200 to 400. For the whole plant sharp at macro range, stop down to f/11, use ISO 100, prop the camera on a stack of books or a tripod and fire it with a two-second timer. Check sharpness at 100 percent on screen before shooting a whole series.
Should I remove dust and water spots before taking plant photos?
Always. Dust, soil particles and dried water marks are invisible at arm’s length but dominate a close-up. Wipe the leaves and pot with a barely damp cloth, use a soft brush for the soil surface, and check under lower leaves where debris collects. Do it before the shoot rather than removing spots in editing, since retouching every leaf takes far longer than a quick wipe.
Conclusion
Start with one plant, put it beside a window, and take two shots with soft side light: one wide frame of the whole pot, one close frame on the best detail. Adjust from there. Once light, background and focus are working, a better camera or a macro lens will barely move the result.