Red channel clipping is a form of overexposure where the camera’s red channel hits its maximum value while the green and blue channels do not, so petal texture collapses into a flat block of color that no edit can bring back. To photograph red flowers without losing detail, meter off the brightest lit petal, dial in negative exposure compensation, verify with an RGB histogram or highlight warnings, and keep color profiles neutral. Ten minutes at a garden gives you most of a full afternoon’s work.
A rose that looks like a rose in the garden often lands on your card as a flat, poster-pink shape with no veins, no petal edges, no dust, nothing. It is not a bad lens and it is not a bad camera. It is a channel limit, and it happens to red the same way it never happens to a blue flower.
Here is the short version: the moment you understand that your camera shows you a brightness histogram rather than a per-channel one, most of the mystery dissolves. The rest is field habit.
Table of Contents
- What You Need to Photograph Red Flowers
- Step-by-Step: How to Photograph Red Flowers Without Losing Detail
- Choose a Flower and Background with Clear Detail
- Control Hard Light and Red-Flower Highlights
- Focus on Petals, Stamens, and Texture
- Check the Histogram and Protect Color
- Make Small Edits Without Flattening the Petals
- Common Mistakes That Flatten Red Petals
- Frequently Asked Questions
- Can I photograph red flowers without losing detail on a smartphone?
- Is RAW better than JPEG for preserving detail in red flowers?
- Why do my red flowers look too bright or lack texture?
- What aperture should I use when photographing a single red flower?
- Can editing restore red-flower details lost through overexposure?
- Should I use a polarizing filter when photographing red flowers?
- Conclusion
What You Need to Photograph Red Flowers
You need less than people assume. A dedicated macro lens is a nice-to-have, not a requirement, and the technique below matters more than the glass.
A camera with manual exposure. Aperture priority works fine once you understand exposure compensation, but manual mode stops the camera from re-deciding the exposure every time a cloud moves. A bridge or DSLR body from the last decade is plenty.
A lens with a comfortable close focus. A 50mm or 85mm prime can frame a single tulip or a poppy head. A short-focal-length zoom gives you breathing room when a stem is bending in the wind. If you want true macro detail in the stamens, a dedicated macro lens handles it, and a close-up or extension tube gets you part of the way there for far less money.
Something to steady the camera. A beanbag on a wall, a low fence post, your forearm on a gate, or a small tripod. At 1/200s handheld with a long lens you will be fine, but the closer you get, the steadier you need to be.
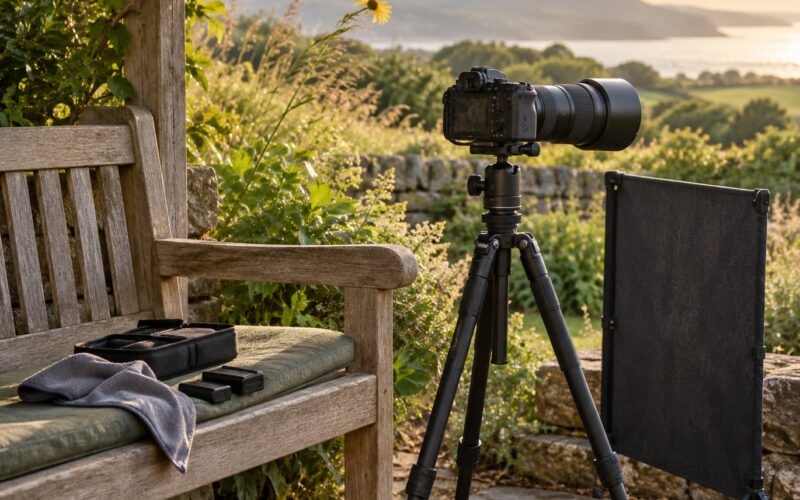
Light control. This matters more than any lens. A white sheet or a translucent shower curtain works as a diffuser, a piece of white foam board or aluminum foil on a stick works as a reflector, and open shade under a wall or hedge does the same job for free.
Editing software. Lightroom Classic or Adobe Camera Raw handles the sliders I mention below. RawTherapee’s HSV and curve tools do the same job, and any phone editor with a highlights slider will do for a small rescue.
Step-by-Step: How to Photograph Red Flowers Without Losing Detail
Start with these numbers and adjust from there. They are starting points, not rules.
| Light condition | Mode | Aperture | Shutter speed | ISO | Exposure compensation |
|---|---|---|---|---|---|
| Open shade, bright overcast | Manual or aperture priority | f/4 to f/5.6 | 1/200s or faster | Auto, keep under 400 | 0 to -1/3 EV |
| Golden hour, low sun | Aperture priority | f/2.8 to f/4 | 1/250s or faster | Auto | -1/3 EV |
| Harsh midday sun | Manual, metered off the petal | f/5.6 to f/8 | 1/500s or faster | Lowest that holds detail | -1/3 to -2/3 EV |
| Macro close-up, still air | Manual with tripod | f/8 to f/11 | 1/60s to 1/125s | ISO 100 to 200 | -1/3 EV |
Two notes on that table. The macro row assumes a still flower; once you are close enough for a full frame of stamens, any breeze becomes visible, and you either brace the camera against the stem’s neighbours or drop to ISO 3200 and clean it up later. The bright sun row assumes you can still find shade. If you genuinely cannot, bracket instead.
Choose a Flower and Background with Clear Detail
Start with a bloom that already has structure: a rose with defined petal edges, a poppy with a dark centre, a geranium with visible veins. Flat double blooms facing the sun are the hardest subjects in the garden, because there is nothing tonal for your eye to latch onto in the first place.
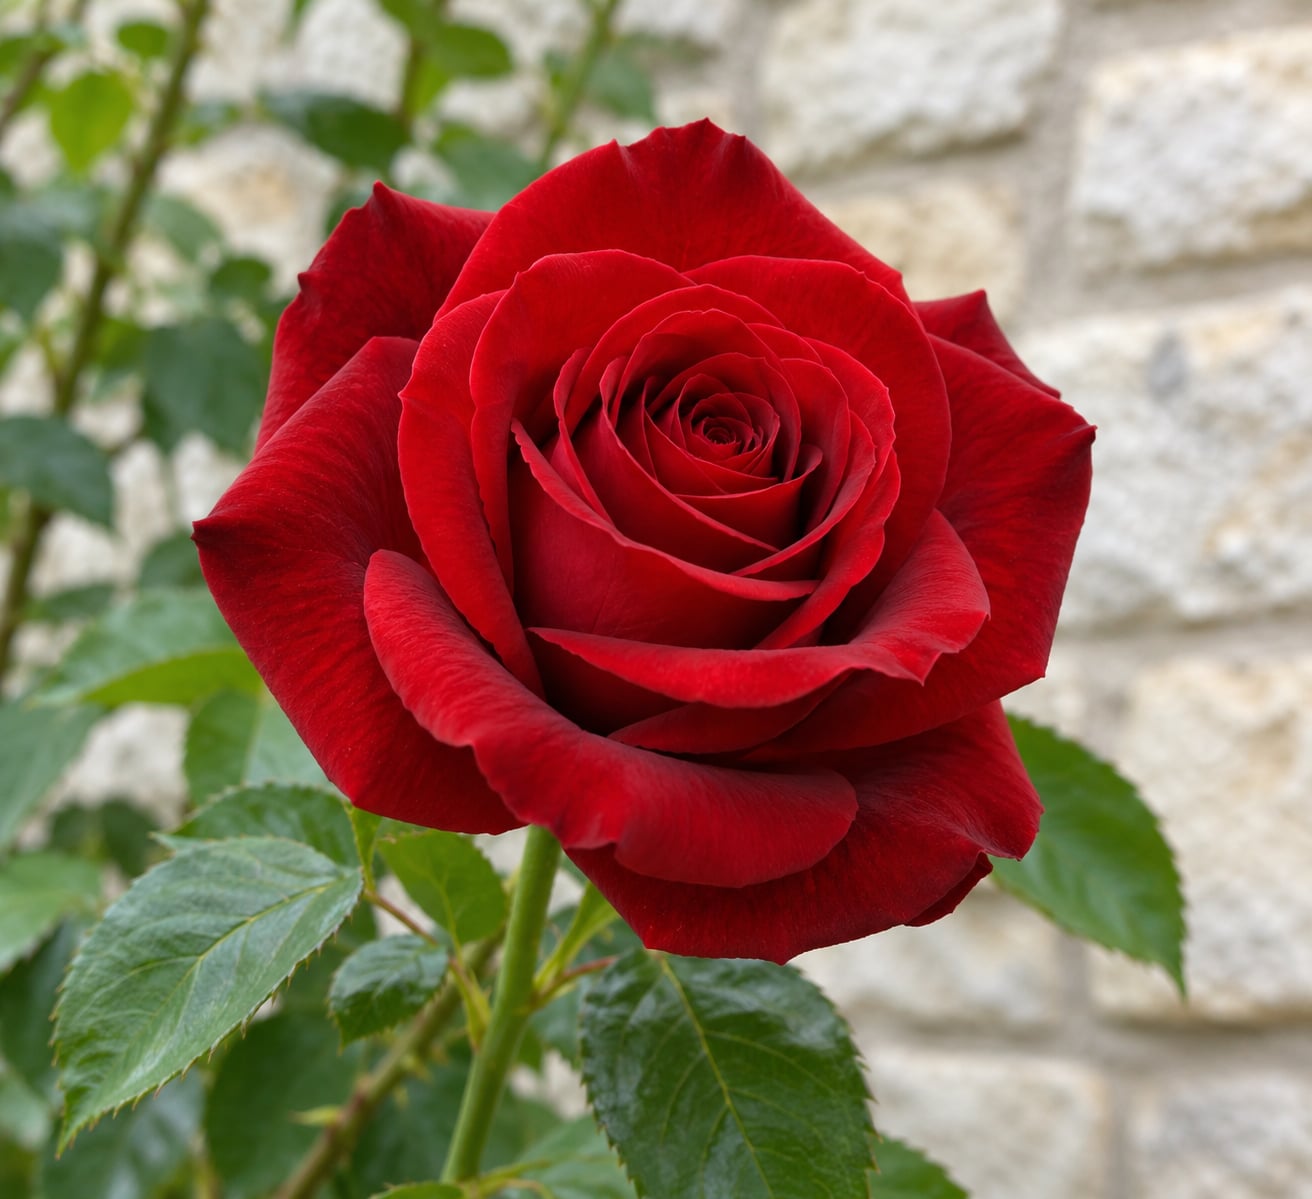
Backgrounds are free contrast management. Pale stone behind a red rose gives you something dark to push the petals against, and green leaves absorb stray red. Avoid a bright sky directly behind a flower, because the camera will expose for the sky and the subject goes muddy.
Look for a complementary color nearby. A touch of blue or purple in the background makes the reds read as more saturated to the eye, which is doing half the work for you before you press the shutter.
Check where the sun is before you commit to an angle. Side light at about 45 degrees keeps texture on the petals. Straight-on front light flattens them into a silhouette of color, which is exactly the look people end up thinking their camera “did.”
Control Hard Light and Red-Flower Highlights
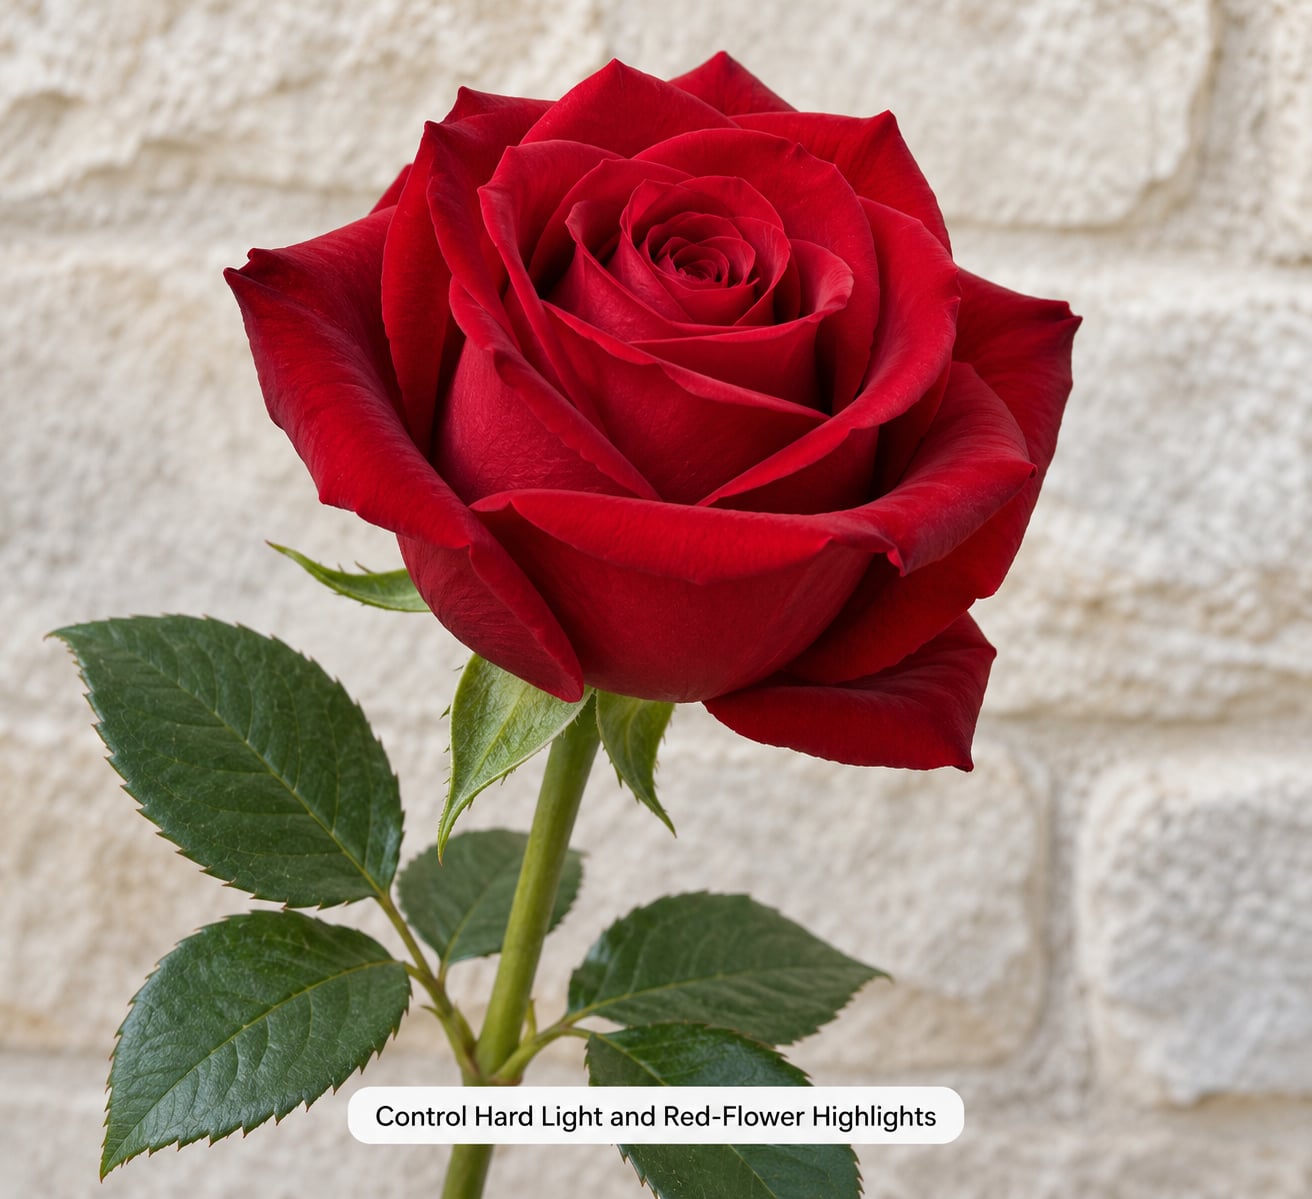
Red petals under direct sun are the worst case, because the red channel runs out of headroom long before the frame overall looks too bright. Soft light solves most of this without you touching the camera. An overcast sky is the easiest big win available to a flower photographer.
Open shade is the second easiest. The north side of a wall or the shadow of a building gives you bright, even light with no hard edge anywhere in the frame. I find an hour in that light more productive than an hour of fighting contrast.
Backlighting is worth trying deliberately, not by accident. With the sun behind the flower and a reflector or diffuser in front of it, the petal edges glow and the translucent red shows its structure. Expose for the background in that case, because the flower is no longer the brightest thing in the frame.
If the light will not soften, control the exposure instead. Meter off the brightest lit petal, not the whole frame, and add -1/3 EV. Check the red channel, add another third if needed, and stop at -2/3 EV unless a histogram is telling you otherwise. Forum photographers converge on that range for a reason: it protects the reds without dragging the whole frame into noise.
Bracketing is the safety net. Three frames at -1/3, -2/3 and -1 EV cost three times the file size and almost no extra time on a tripod, and one of them will hold the petal texture.
Focus on Petals, Stamens, and Texture
Focus on the feature you care about. If the story is the stamens, focus there and let the outer petals go soft. If it is the whole flower head, focus on the near third of the bloom, not its centre, so the front petals stay sharp across the curve of the head.
Autofocus hunts on red petals more than on most colors, and the reason is straightforward: a smooth red petal against green leaves is a very low contrast edge, and a scene with no edges gives the AF system nothing to lock onto. Two fixes work most of the time. Put a single point on the petal edge nearest the camera rather than in the middle of the red, or switch to manual focus and use focus peaking if your camera has it, which draws a bright outline on the in-focus areas.
Watch for the silent failure: the camera reports focus lock and the frame is still soft. That is usually the petals moving between the AF measurement and the shutter. Take the burst and pick the sharp one, or wait for a lull in the breeze.
Aperture decides how much depth you have to work with. Wide apertures give a creamy background and a razor-thin slice of focus, which suits a dew-covered petal edge and frustrates anyone doing stem and flower together. f/5.6 to f/8 is the useful middle for a bloom filling the frame; push to f/11 for macro work where the depth of field gets very thin indeed.
Check the Histogram and Protect Color
This is where the whole problem becomes visible. A luminance histogram shows overall brightness, and on many cameras it is essentially the green channel. A frame with a destroyed red channel can sit perfectly inside that graph. Switch the display to the RGB or all-channels histogram, where the red trace is shown separately, and you get the answer in real time.
You are looking for the red trace touching the right-hand wall. If it piles up at the edge, the red channel is clipping. Back off exposure until that pile shrinks, even if the luminance histogram then looks timid and underexposed. Give the highlights, not the overall brightness, the final say.
In-camera warnings are quicker than watching a graph. Highlight warnings, called blinkies on some bodies and zebra stripes on others, flash over any pixel at or near clipping. Turn the level where they trigger up from the default if your camera allows it, so you catch the near-misses too.
Shoot RAW. It gives real latitude, but only for information the sensor recorded. If the red channel was already maxed at capture, the file is a flat patch of solid red and no slider will conjure petals back. Most photographers who work with saturated warm colors treat a fully clipped red channel as a lost frame and move on.
Switch picture profiles to something neutral. In-camera JPEG engines apply a contrast and saturation curve before the JPEG is written, and that engine can destroy red detail even when the histogram looks acceptable.
| Brand | Avoid | Use instead |
|---|---|---|
| Fuji | Velvia, and any film simulation with high saturation | Provia or Neutral, or shoot RAW and choose the profile in software |
| Sony | Vivid | Neutral or a flat custom profile |
| Nikon | Vivid, Landscape, or Picture Control options that boost saturation | Neutral or Standard with saturation set to zero |
| Canon | High saturation picture style | Neutral or Standard picture style |
Color space is a different question and a smaller one. sRGB is fine for flowers and much easier to keep consistent. Adobe RGB only helps if your whole workflow, monitor included, supports it.
And a hidden factor worth naming: monitor gamut. A laptop panel covering a small share of the sRGB range will make good red files look blotchy and dull, and the natural reaction is to darken the red channel further, which is exactly the wrong move. On forum threads this is the single most reported “my reds are broken” cause, and it is a display problem, not a file problem.
Trust the RGB histogram and the highlight warnings over your eyes on the rear screen, particularly in direct sunlight, which washes out the panel you are judging the image by.
Make Small Edits Without Flattening the Petals
When the red channel is intact, editing is straightforward. The order matters, so work top to bottom in the Develop module.
Begin with the Whites slider, lowering it until the bright petals stop being uniform blocks. Watch the red trace on the histogram as you do it; that is more precise than your eyes in a dim room.
Then take the red channel luminance down slightly. In the HSL or Color Mixer panel, leave saturation and luminance roughly where they are and pull red luminance only. This is the step that most forum guides describe, and it does the real work. Pulling global saturation down instead drags the greens and yellows with it, and the whole image turns muddy.
Add vibrance rather than saturation. Vibrance strengthens the muted colors and leaves the already-saturated reds alone, which is the opposite of what you want here, so use it in small amounts, mostly on the foliage.
Lift the shadows gently to recover the dark background, keeping an eye on the noise they bring up. Finish with contrast or the tone curve, and stop. Red petals look best when the edit is nearly invisible.
If the red channel was already clipped when you shot, work in this order instead: pull the red saturation down, add a touch of texture in the shadows, and crop tighter so the flat area matters less. You are not recovering detail, you are making the loss less obvious.
Common Mistakes That Flatten Red Petals
Trusting the rear screen in sunlight. The fix: read the RGB histogram and the highlight warnings instead. They are unaffected by glare and by your display’s limited gamut.
Leaving a saturated picture profile switched on. Velvia and Vivid-style profiles compress red detail inside the camera, before the file is ever written. The fix: a neutral profile, and shoot RAW when you have it.
Dialing global saturation down to tame a blown petal. The fix: pull red channel luminance in the HSL panel instead, and cut the whites first.
Underexposing by two stops “to be safe.” The fix: -1/3 EV, check, then another third if needed. Massive underexposure costs you shadow detail and ISO noise without protecting anything, because the reds were never the problem above 1 EV of margin.
Trusting the luminance histogram. The fix: switch to the RGB or all-channels view. A frame can be dead center in the luminance graph and already have a destroyed red channel.
Over-sharpening to compensate for softness. The fix: sharpen the whole frame at low amounts with masking and high detail, and fix focus at capture instead. Sharpening a blurred petal exaggerates the blur, and it creates halos along the red edges.
Exposing off the background. The fix: meter off the brightest lit petal when the flower is the brightest thing in the frame, and off the background when you are shooting into light.
Editing on a narrow-gamut display. The fix: judge exposure from the histogram, and if your edits feel wrong, check a wider screen before you darken the red further.
Frequently Asked Questions
Can I photograph red flowers without losing detail on a smartphone?
Yes, in good light. Most phone cameras record RAW or a near-RAW format on their Pro modes, which gives the same red headroom a dedicated camera does. Tap the flower to meter, then pull exposure down a few notches until the petals show texture, and shoot in overcast or open shade. Avoid digital zoom, and turn off any AI or HDR boost that aggressively brightens shadows.
Is RAW better than JPEG for preserving detail in red flowers?
RAW is clearly better, with one condition: the red channel must not have clipped at capture. RAW keeps the data the sensor recorded, so you have room to lift a bright-but-not-clipped red petal in editing. JPEG engines apply contrast and saturation curves in-camera, and those curves destroy red detail before the file is written. RAW cannot rescue a channel that was already maxed out.
Why do my red flowers look too bright or lack texture?
Almost always the red channel reached its maximum value while green and blue did not, so the petals became a flat block of solid color. It happens because the camera meters for overall brightness, and saturated red petals run out of channel headroom before the frame looks too bright overall. Overexposure, a saturated picture profile, and global saturation in editing all make the same problem worse.
What aperture should I use when photographing a single red flower?
Start at f/4 to f/5.6 for a single bloom that should read as a whole flower, and f/8 to f/11 for macro shots of the stamens, where you need more depth of field. Below f/2.8 the depth of field gets so thin that a curved petal head will not hold focus from front to back. On a tripod in still air, f/11 is safe; in a breeze, raise ISO instead of dropping the shutter.
Can editing restore red-flower details lost through overexposure?
No. A clipped channel contains one single value where the detail used to be, and no software can infer the missing texture. What editing can do is make the loss less visible: lower the whites, pull red channel luminance down slightly, add shadow texture, and crop tighter. If the red trace pinned to the right-hand wall of the RGB histogram, treat that frame as a practice shot and shoot another.
Should I use a polarizing filter when photographing red flowers?
Usually not for the exposure problem. A polarizer costs about two stops of light and can darken the overall frame, which forces you into a higher ISO or a slower shutter speed, and neither helps you. It does cut surface reflection on waxy petals and deepens leaf greens behind the flower, which is a real benefit for a close-up in bright light. Leave it off when the light is soft and you need every stop.
Conclusion
Protect the highlights before anything else. Find a bloom with visible petal structure, meter off its brightest lit petal, drop -1/3 EV, and confirm with the RGB histogram that the red trace is not piled against the right-hand wall. Focus on one textured petal and take three frames. Edit last, in small passes, pulling red channel luminance rather than global saturation. That single habit is the difference between a red flower and a pink rectangle.