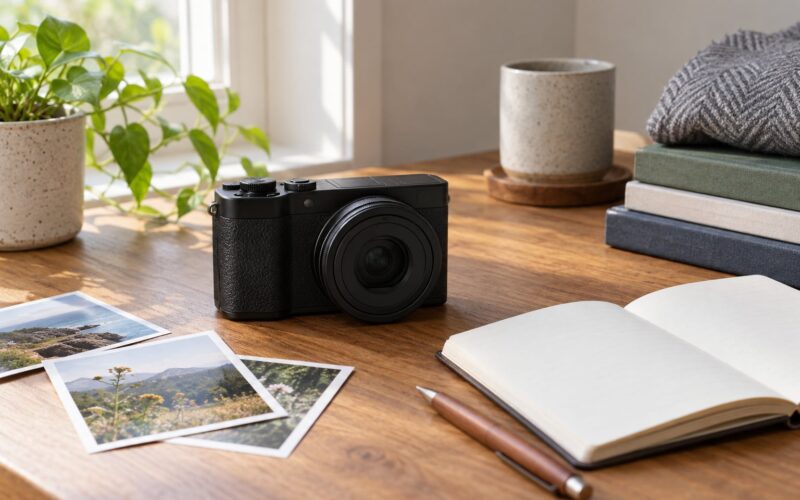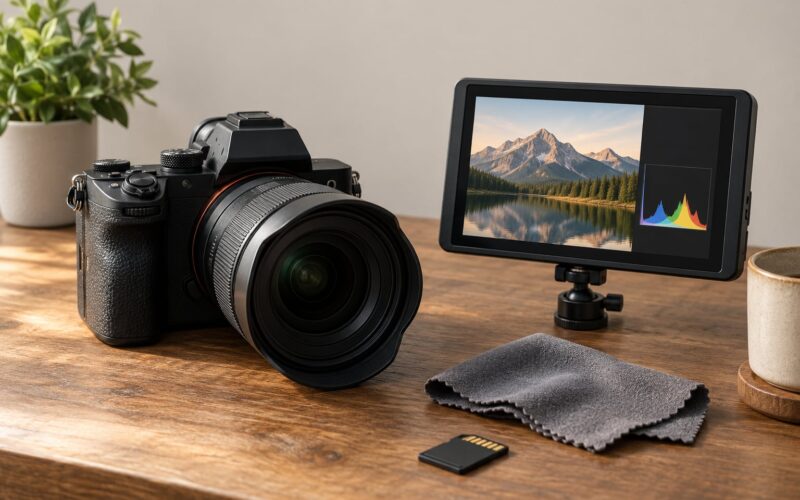
Yes, you can learn photography without classes. Plenty of working photographers did it exactly that way, using their own camera, free online lessons, a photo log and honest review of their own frames. The trade is time instead of money: expect three months of steady practice before your pictures feel reliable, and keep at it for a year before you trust your own eye.
Here is the honest version of how to learn photography without classes. You will not get a syllabus, deadlines, or a teacher telling you plainly that your photo is not working, and nobody hands you a corrected file at the end. What you get instead is full control over what you study and how fast you move.
This plan gives you the curriculum that structure usually provides: what to set up first, the exposure skills that matter, a weekly rhythm, and a review process that tells you whether you are actually improving. Budget about five hours a week.
Table of Contents
- What You Need
- Step-by-Step: How to Learn Photography Without Classes
- 1. Choose One Camera and Learn Its Basics
- 2. Learn Light, Exposure, and Focus
- 3. Practice Composition With Five Everyday Subjects
- 4. Build a Weekly Photography Routine
- 5. Review Photos Instead of Taking More Shots
- 6. Learn Only the Editing You Need
- 7. Create a Personal Project
- 8. Track Progress and Set the Next Challenge
- Common Mistakes
- Frequently Asked Questions
- Can I learn photography completely on free apps?
- Is a DSLR or mirrorless camera necessary to learn photography?
- How long does it take to learn photography without classes?
- What should a beginner photograph every day?
- Should I edit photos if I am only learning the camera?
- How do I know when I am ready to buy new camera gear?
- Conclusion
What You Need
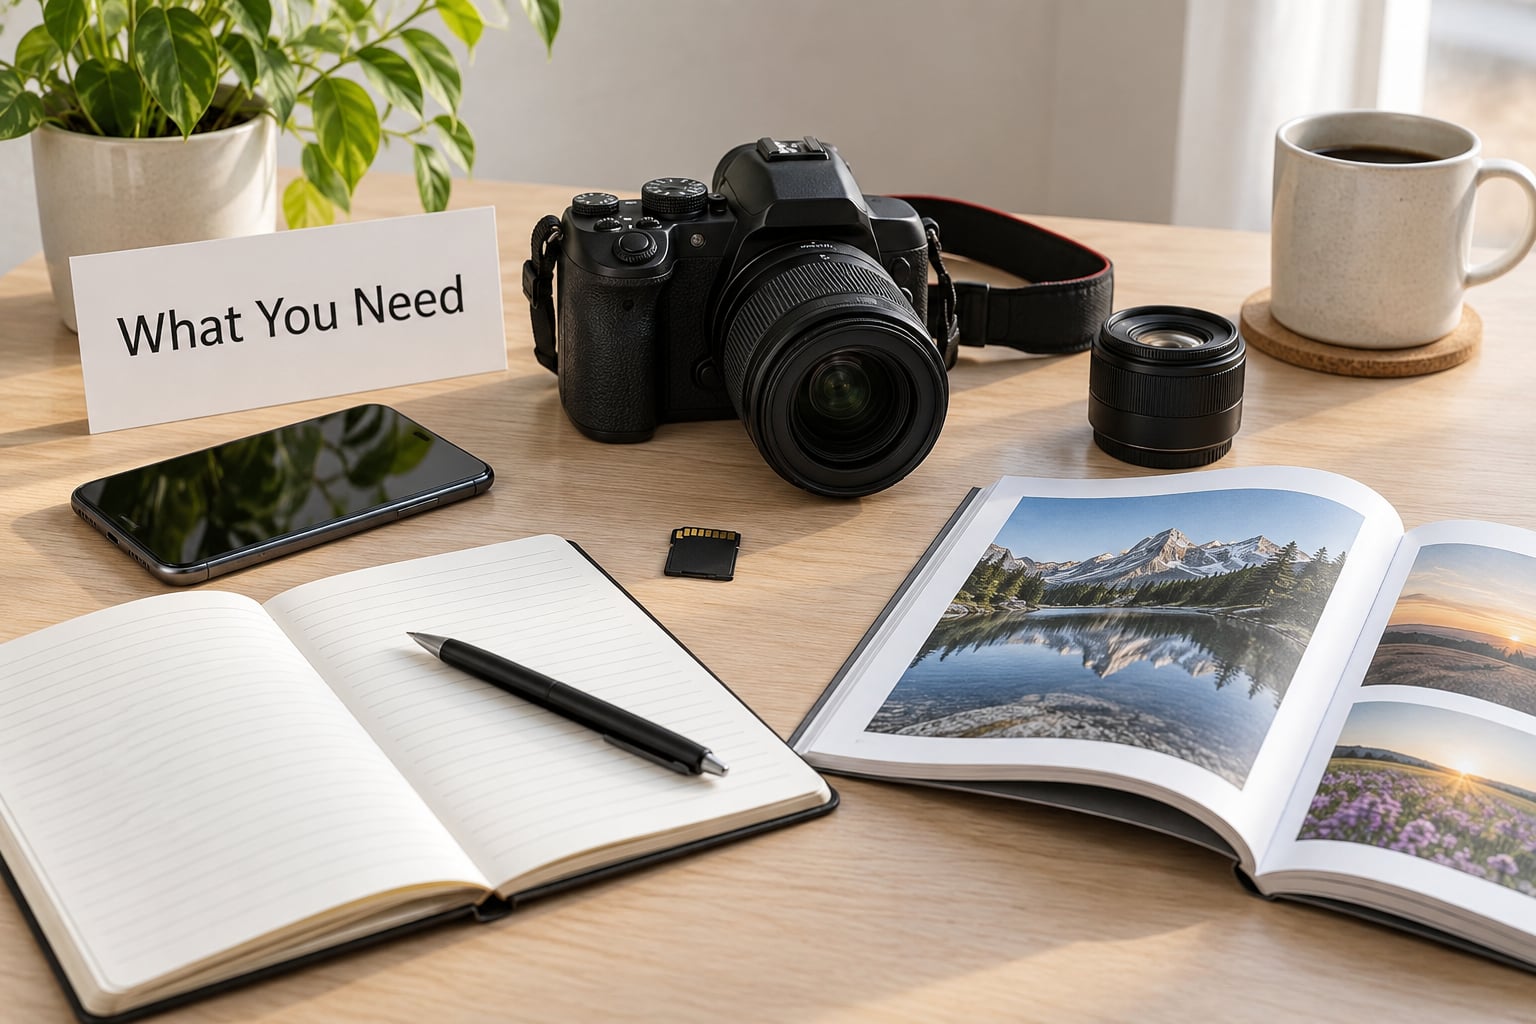
Start with what you already own. The most common mistake is believing you need a better camera before you are allowed to begin, and the second most common is buying one anyway.
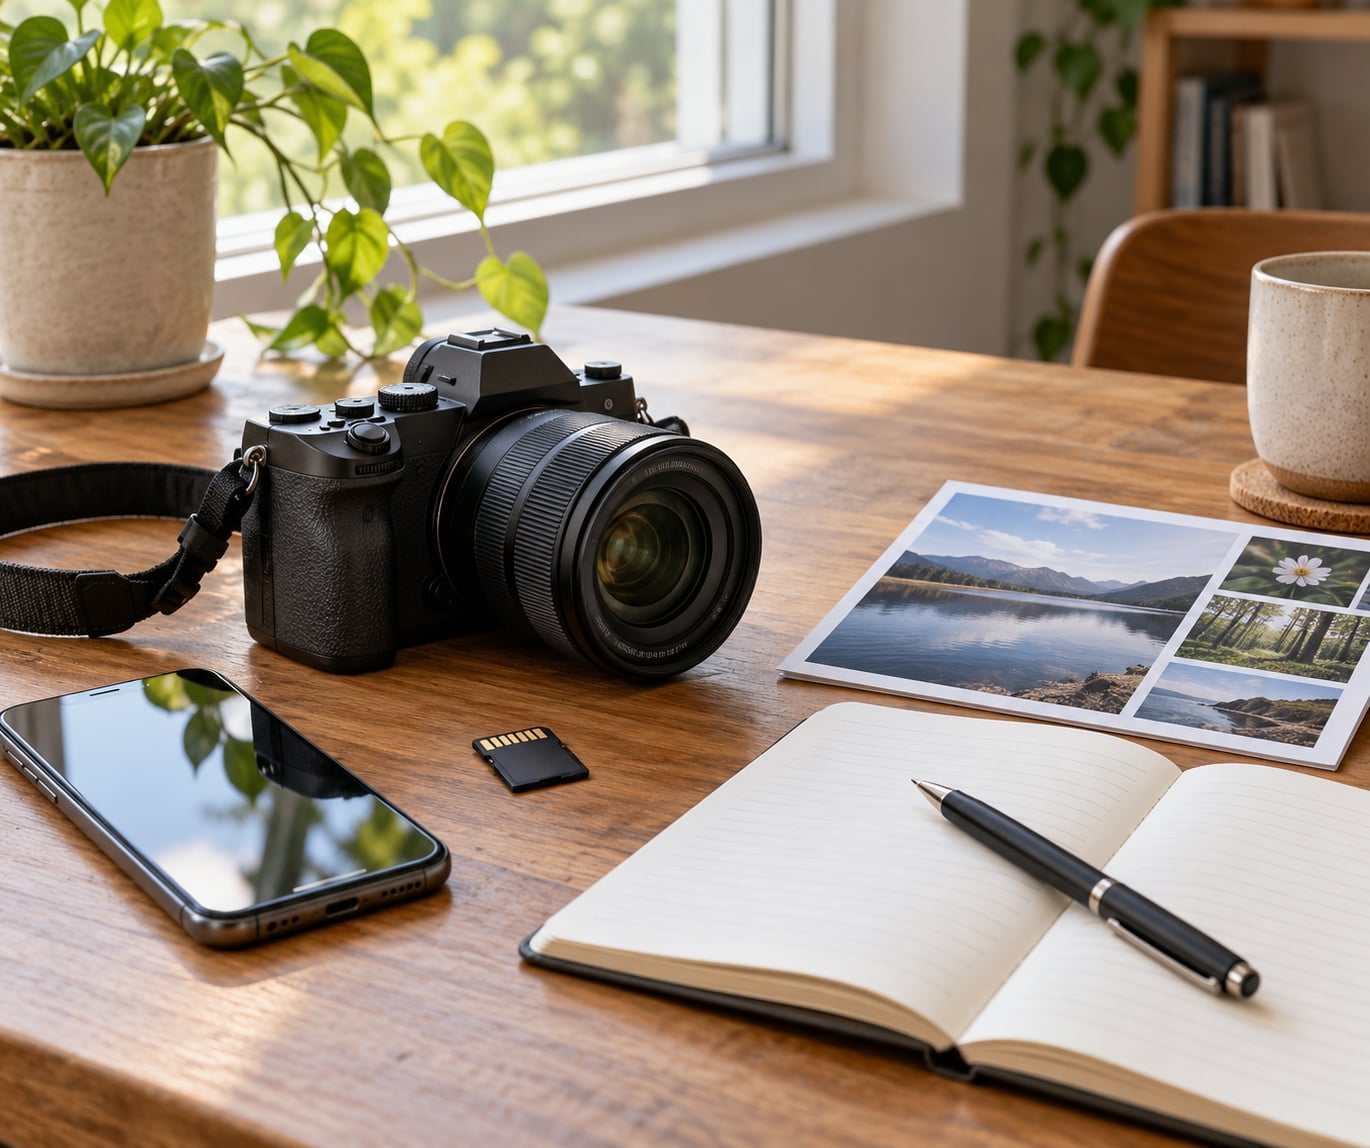
- A camera, or a smartphone. Any camera with manual control will teach you everything a class would. Phones lock exposure and focus manually too, so a phone-only learner loses nothing but the option of a physical dial.
- One editing option. Free desktop and mobile editors cover crop, white balance and exposure. Pick one and stay in it for two months instead of testing every app you find.
- A photo log. A notebook, a spreadsheet or a notes app. Each entry needs the date, the subject, the settings and one sentence on what went wrong.
- Reliable places to learn. Your camera maker’s own tutorial channel, the free manual for your exact model, your public library’s photography shelf, and an online photography forum where people post actual problems.
That is the whole list. No paid course, no new body, no kit bag. Add gear only after a specific limit shows up in your work, and only after you can name it.
Step-by-Step: How to Learn Photography Without Classes
1. Choose One Camera and Learn Its Basics
Set the camera up properly the first time and half your future confusion disappears. Charge the battery, format the card in the camera itself, set the date, and check which button does what.
Then find four controls and ignore the rest. On most cameras those are shutter speed, aperture, ISO and focus mode. Leave the scene modes and the green auto button alone; they are for snapshots, not for learning.
Prove it worked with a test shot. Photograph a textured object in good light, zoom to 100 percent on your screen, and check that edges are crisp and the brightness looks right rather than washed out or nearly black. If it is sharp and correctly exposed, your setup is done.
2. Learn Light, Exposure, and Focus
Exposure comes from three settings, and every photograph you take is a negotiation between them.
- Aperture, written as an f-number like f/2.8, controls how much of the scene stays sharp and how much light reaches the sensor. A small number such as f/1.8 gives a blurry background.
- Shutter speed, written as a fraction of a second like 1/250, controls how long the sensor is exposed. Faster speeds freeze movement, slower ones blur it on purpose.
- ISO controls how sensitive the sensor is to light. Raising it brightens a dark scene and adds noise, so change it last.
Now do one exercise that proves you control it. Pick a single subject on a table by a window. Photograph it ten times, changing only the aperture each time, then ten more changing only the shutter speed. Look at the background and at any movement.
You are done with this step when you can predict the result before pressing the shutter. If a wider aperture makes the background blur every time, you have understood it.
3. Practice Composition With Five Everyday Subjects
You do not need a special trip to practise composition. Use what sits within a short walk of your home.
- A flower or plant. Shoot it straight on, then from low down with the sky behind it. Notice how the second version separates the subject from a plain background.
- Outdoor scenery. Include something in the foreground, then wait for a path, fence or branch to run diagonally through the frame. Those leading lines pull the eye where you want it.
- A street detail. Focus close on one texture, sign or doorway, and let the rest go soft. Decide before you lift the camera whether the detail or the whole scene is your subject.
- A family gathering. Put people off-centre using the rule of thirds rather than dead middle, and watch what happens to the frame when you do.
- A home still life. Shoot a bowl, a book or a plant near a window. Move it closer to the light, then further away, and compare how the shadows change.
Review each set at full size the same evening, while you still remember what you intended. Keep two frames from each subject and delete the rest without regret.
4. Build a Weekly Photography Routine
A routine beats motivation, because motivation leaves. Four weeks is enough to feel the change.
- Week 1: one lesson on a single setting, then shoot the same subject three times across three days. Milestone: you know where every control lives without looking it up.
- Week 2: one lesson on light, plus two short sessions at different times of day. Milestone: you can predict brightness before raising ISO.
- Week 3: composition only. Five subjects, ten frames each. Milestone: a shortlist of eight frames you would show someone.
- Week 4: pick your best subject from the month and shoot it again from the same spot. Milestone: a before-and-after pair you can compare honestly.
Keep sessions short. Twenty focused minutes beats two hours of scrolling through tutorials, and it is far easier to repeat tomorrow.
5. Review Photos Instead of Taking More Shots
Volume alone does nothing. The people who improve fastest are the ones who look carefully at a small number of frames, and this is the part almost every beginner skips.
Check five things, in order, on each frame you shortlisted.
- Sharpness. Is the subject crisp at full size, or is it soft where you expected detail?
- Exposure. Are the shadows full of detail, or did they turn to black?
- Composition. Does the frame feel balanced, or is something dead centre that fights you?
- Subject separation. Does your subject stand out, or does it blend into a busy background?
- Effect. Does the photo make you feel something, or is it merely correct?
Write the intended result next to each frame in your log, then mark whether it happened. Choose one improvement, not five, and carry it into the next session. That single carried-over fix is what compounds over a year.
For an outside opinion, post one frame with the settings listed and ask for one specific question. Online photography communities and local photo walks are the cheapest honest critique available, and photo walks are better than camera clubs for beginners because you are outdoors shooting rather than sitting in a meeting room.
6. Learn Only the Editing You Need
Editing is the second skill, not the first. Beginners who open five sliders at once learn nothing, so restrict yourself to a short sequence and repeat it on every file.
- Crop to remove distractions and fix tilt before anything else.
- White balance so whites look neutral, not blue or orange.
- Exposure a small amount brighter or darker, then stop.
- Contrast lightly, only if the frame still looks flat.
- One selective adjustment on the subject alone, such as lifting shadows on a face.
Resist filters and presets. A heavy preset hides the choices you made while shooting, so you never learn whether the light was wrong. If a frame cannot be rescued by crop, white balance and a little exposure, the problem happened before you opened the software.
Save one file as a project folder. Seeing twenty versions of the same frame next to each other teaches more than any editing tutorial.
7. Create a Personal Project
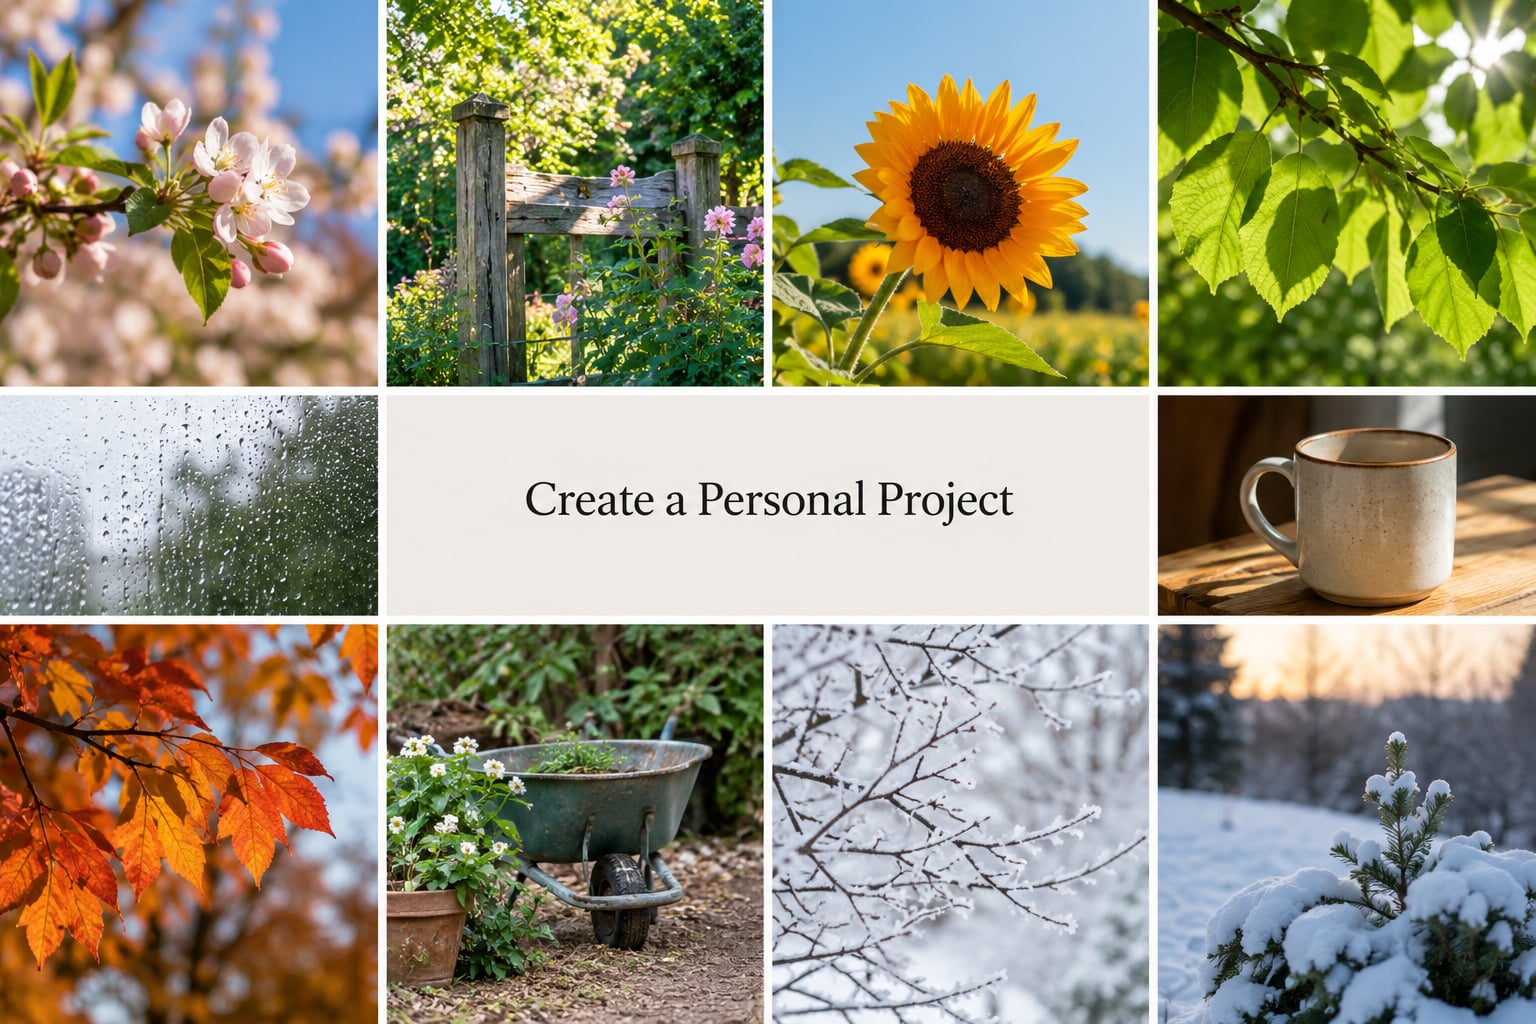
Repetition is what builds a photographer’s eye, and a project forces it. Choose something small enough to finish: seasonal flowers, details on your street, or one object in your home through the year.
Set the constraints before you start. One project, one subject type, one lens, one location if possible, and a fixed number of frames. Ten finished photographs is the right target, because a small finished project teaches more than an ambitious unfinished one.
Write one line per frame in your log: what you tried, what happened. When the tenth is done, print your three favourites or show them side by side on one screen and look for the decisions they share. That pattern is the start of your style, and you will not find it by shooting randomly.
8. Track Progress and Set the Next Challenge
Open the project folder from week four and put the first attempt next to the most recent one. Progress becomes obvious within seconds, which is the main reason to keep the log at all.
Then sort your shortlist by weakness rather than by pride. Count how many frames were soft, how many were too dark, how many had a cluttered background. The largest category is your next month’s single focus, and naming it is more useful than any list of techniques.
Set the next four weeks as one measurable goal, such as ten sharp frames of the same subject in four different lighting conditions. Close each week by writing the three settings you used and what you would change by a fraction.
If two months pass with no visible change, the problem is rarely effort. It is usually that you are shooting ten different subjects, hoarding tutorials without practising, or working on files you never compare against anything.
Common Mistakes
- Changing three settings at once. You cannot tell which one caused the result. Fix: change one, take three frames, note it, then move to the next.
- Buying gear in the first month. New gear hides a skill gap and costs real money. Fix: write down the specific limit your photos hit, then look for the one item that addresses it.
- Copying settings from a stranger’s post. The numbers mean nothing without the reason. Fix: change one value yourself and watch what happens.
- Hoarding tutorials without shooting. This is the most common trap and it feels productive. Fix: every finished video has to end with the camera in your hands the same day.
- Editing every single frame. Volume of edited files hides a weak shortlist. Fix: keep your best eight, discard the rest, and only edit those.
- Never showing work to anyone. Self-critique has a ceiling. Fix: post one frame a week somewhere with other photographers and ask one question about it.
- Shooting ten subjects a week. Nothing improves because nothing repeats. Fix: keep one subject for a full month.
One last tip: write down your settings on every frame you keep. Six months from now, that log is a body of evidence about your own progress that no memory will give you.
Frequently Asked Questions
Can I learn photography completely on free apps?
Mostly, yes. Free editors handle cropping, white balance, exposure and contrast, which covers everything a beginner needs. Free tutorials from camera makers, public library books and photography forums cover the theory. Where free tools fall short is structured feedback and access to studio equipment, so budget for a short workshop or a mentoring session once your basics are solid.
Is a DSLR or mirrorless camera necessary to learn photography?
No. A phone exposes aperture, shutter speed and ISO as well as any camera, and it travels in your pocket, so you shoot more often. That higher volume usually teaches you faster than an expensive body sitting in a cupboard. If you already own a camera with manual controls, use it instead, but do not wait to buy one before you start.
How long does it take to learn photography without classes?
Budget three months of roughly five hours a week for competent everyday photos, and a full year before you trust your own eye on unfamiliar subjects. Those are averages, not guarantees, and genre choice changes the timing. Landscape work settles in months, while portraits and paid work usually take a year or more because lighting and directing people cannot be memorised.
What should a beginner photograph every day?
Photograph one subject with intent rather than many subjects by habit. A good daily target is ten frames of the same thing: the flower outside your door, a friend’s coffee, the view from one window at a fixed hour. Repeating a subject is what exposes your weaknesses, because you can see what changed between attempts.
Should I edit photos if I am only learning the camera?
Edit, but restrict yourself. Crop, white balance, a small exposure change and one selective adjustment are enough for months. Editing is how you learn what to fix while shooting, since a dark frame or a tilted horizon shows up immediately on screen. Hold off on filters and presets, because they hide the choices you made while shooting.
How do I know when I am ready to buy new camera gear?
Buy gear when a specific, repeatable limit shows up in your log across several weeks, not when a photograph online makes you want it. If your files are soft in low light regardless of technique, that is a real signal. If you are simply bored of a subject, another lens will not fix it. Write the limit down first, and name the one item that addresses it.
Conclusion
You can learn photography without classes, and the method is simple: one camera, a short weekly routine, careful review of a small number of frames, and one improvement carried into the next session. Everything else is optional.
Start today rather than planning a course. Take the camera or phone you already own, choose one familiar subject close to home, and shoot ten deliberate frames of it. Note the settings. Then look at all ten at full size and write down the one thing you would change.