Learning how to photograph flowers in bright sun comes down to one idea: keep the light off the petals or let the camera record less of it. Expose for the brightest part of the bloom, dial in minus one third to one full stop of exposure compensation, and use open shade or a white card whenever you can find one.
Allow ten minutes of setup for the first photo and five seconds for each one after that. You do not need a studio, a special lens or a diffuser that costs anything — a patio umbrella and a piece of white cardboard solve most of it.
Table of Contents
- What You Need
- Step-by-Step: How to Photograph Flowers in Bright Sun
- 1. Choose Flowers With Manageable Light
- 2. Change Your Angle to Control the Sun
- 3. Use Exposure Compensation Without Losing Petal Detail
- Why Yellow, Orange and Red Petals Turn White First
- 4. Create Soft Shade With a Diffuser
- 5. Refine the Composition and Background
- 6. Focus on Petals, Texture, and Color
- 7. Make Small Edits After Shooting
- How to Photograph Flowers With a Phone in Bright Sun
- Common Mistakes
- Frequently Asked Questions
- Can I photograph flowers in bright midday sun without a diffuser?
- What is the best camera setting for flowers in bright sun?
- Should I use flash when photographing flowers in the sun?
- How do I prevent flower petals from looking overexposed?
- How do I photograph flowers with a phone in bright sunlight?
- How do I fix a flower photo where the sun was already too bright?
- Start Here on Your Next Walk
What You Need
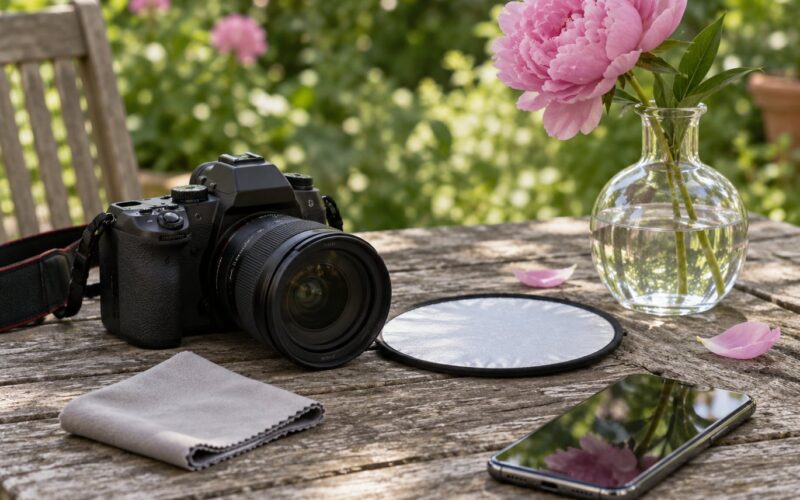
Everything below is optional except the camera and something to hold the light with.
- A camera or phone with exposure control. On a phone that means the exposure slider under the sun icon, not a scene mode that decides for you.
- A lens that isolates one bloom. A short telephoto or macro lens is the single biggest help, because it turns a busy bed into a soft dark background. On a phone, the 2x or 3x lens plus portrait mode does a rough version of the same job.
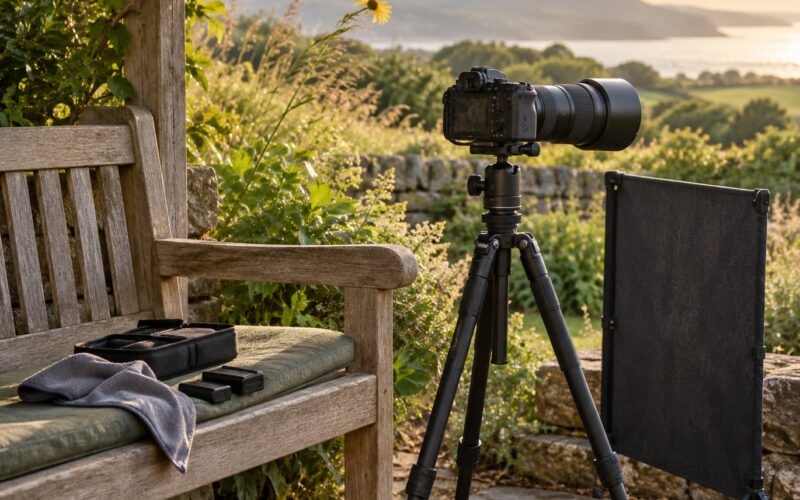
- A diffuser. A thin white translucent fabric, a shower curtain, a bedsheet over a patio umbrella, or the diffuser panel on a five-in-one reflector.
- A reflector or pale card. White cardboard, foil-backed card, or even pale paving and a white wall work as a bounce card.
- A cloth or pin board. Something to hang behind the flower so the background drops a stop or two darker than the petals.
- Exposure tools, optional. The histogram and the highlight warning (blinking lights or stripes) in your display, plus a lens hood to keep flare off the front element.
Before you go out, walk the bed once and pick two or three blooms rather than photographing everything. Wind and midday heat wilt petals fast, so a short list beats a long one.
Step-by-Step: How to Photograph Flowers in Bright Sun
1. Choose Flowers With Manageable Light
Start in open shade, which is shadow with sky above it, because it stays bright without the sharp edges. If you shoot in sun anyway, look for a flower next to a pale wall or fence, where the wall throws soft light back into the shadow side of the bloom.
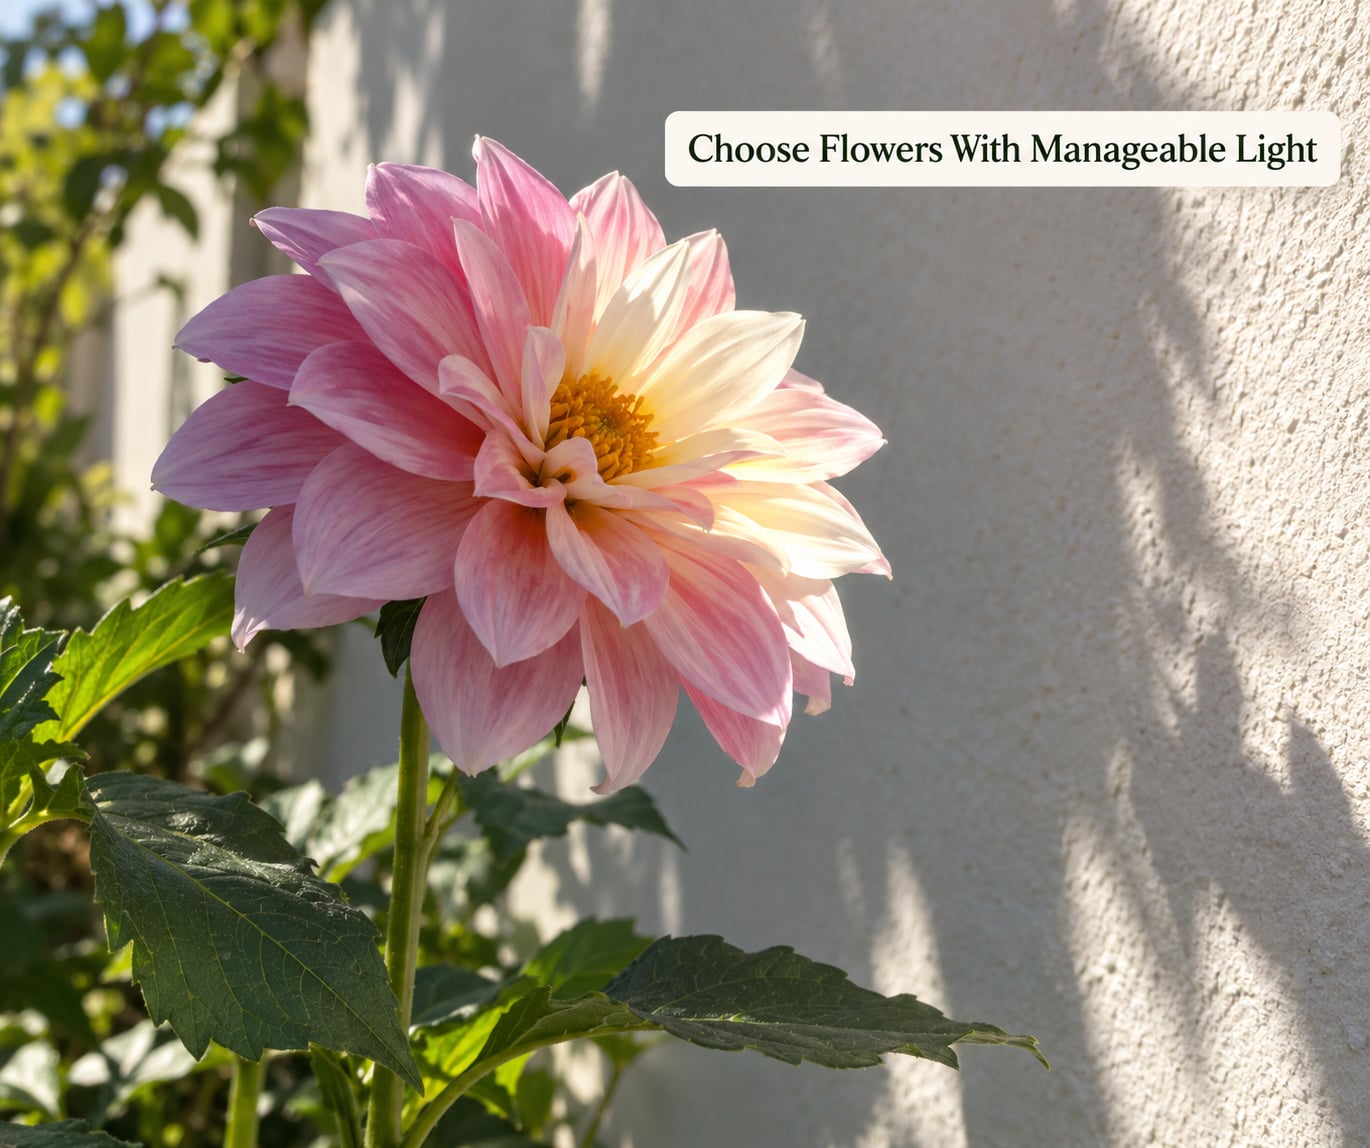
Watch out for dappled light under trees. Those shadow patterns across the petals look like detail but read as noise, and there is no camera setting that removes them. Move the flower out of the dapple or move yourself so the dapple falls behind it instead.
Harsh light is not automatically bad. It is bad when it is flat, frontal and featureless. It is good when it rims the edges or shines through the petals.
2. Change Your Angle to Control the Sun
Move around the flower before you change any setting, because position changes the light faster than the camera does. Four angles cover most situations: backlit, side lit, front lit, and open shade.
- Backlit: put the sun behind the flower. Petals thin enough to be translucent glow, and leaf edges pick up a bright rim. Meter for the background and let the petal edges go a little bright.
- Side lit: stand 90 degrees from the sun. This is the safest choice for texture, and it is what I default to when a bed looks messy.
- Front lit: shoot with the sun on your back. Color is accurate and shadows disappear, but the light is completely flat and a white wall behind you gives it nothing to bounce.
- Open shade: find shade you can shoot into without a flash, and expose for the flower rather than the brightness around it.
3. Use Exposure Compensation Without Losing Petal Detail
Set your camera to shoot RAW, switch the metering to spot or center-weighted, aim the meter at the brightest sunlit petal, and pull exposure compensation down between one third and one stop. The histogram should sit just under the right edge, with no highlight warning lit up.
These are the starting points I use, by camera type:
- DSLR or mirrorless with a lens. Aperture f/5.6 to f/8, shutter 1/500 s or faster, ISO 100 to 400, spot metering on the brightest petal, exposure compensation of minus one third to one stop (go further on saturated color), file format RAW plus JPEG.
- Compact or bridge camera. Aperture f/5.6, or f/8 if available, shutter 1/250 s or faster, ISO 100 to 200, center-weighted or spot metering, exposure compensation of minus one half to one stop, RAW if the camera offers it.
- Smartphone. Tap the sunlit petal to meter, then lock exposure and focus. Drag the sun icon down one or two stops, keep ISO as low as the phone allows, and switch on RAW or ProRAW where it is supported. Phones do not give you an aperture dial, so treat the exposure slider as the f-stop control.
These are starting points, not rules. Dynamic range means the span between the brightest and darkest thing the sensor can record, and direct sun in a garden can exceed it in both directions at once. That is why the compensation dial matters more than the aperture here.
Why Yellow, Orange and Red Petals Turn White First
Saturated yellows, oranges and reds have the least headroom of any color, because they load all three color channels at once and hit the limit before a pale petal does. That is why a yellow rose goes featureless white while a white petal beside it still shows texture. Spot meter the saturated bloom on its own and start at a full stop under, not a third.
The trade-off is honest: protecting the petals costs you shadow detail in the foliage behind. Forum shooters on DPReview and Photography Stack Exchange usually accept that trade deliberately and recover the shadows afterwards, which only works if you shot RAW.
4. Create Soft Shade With a Diffuser
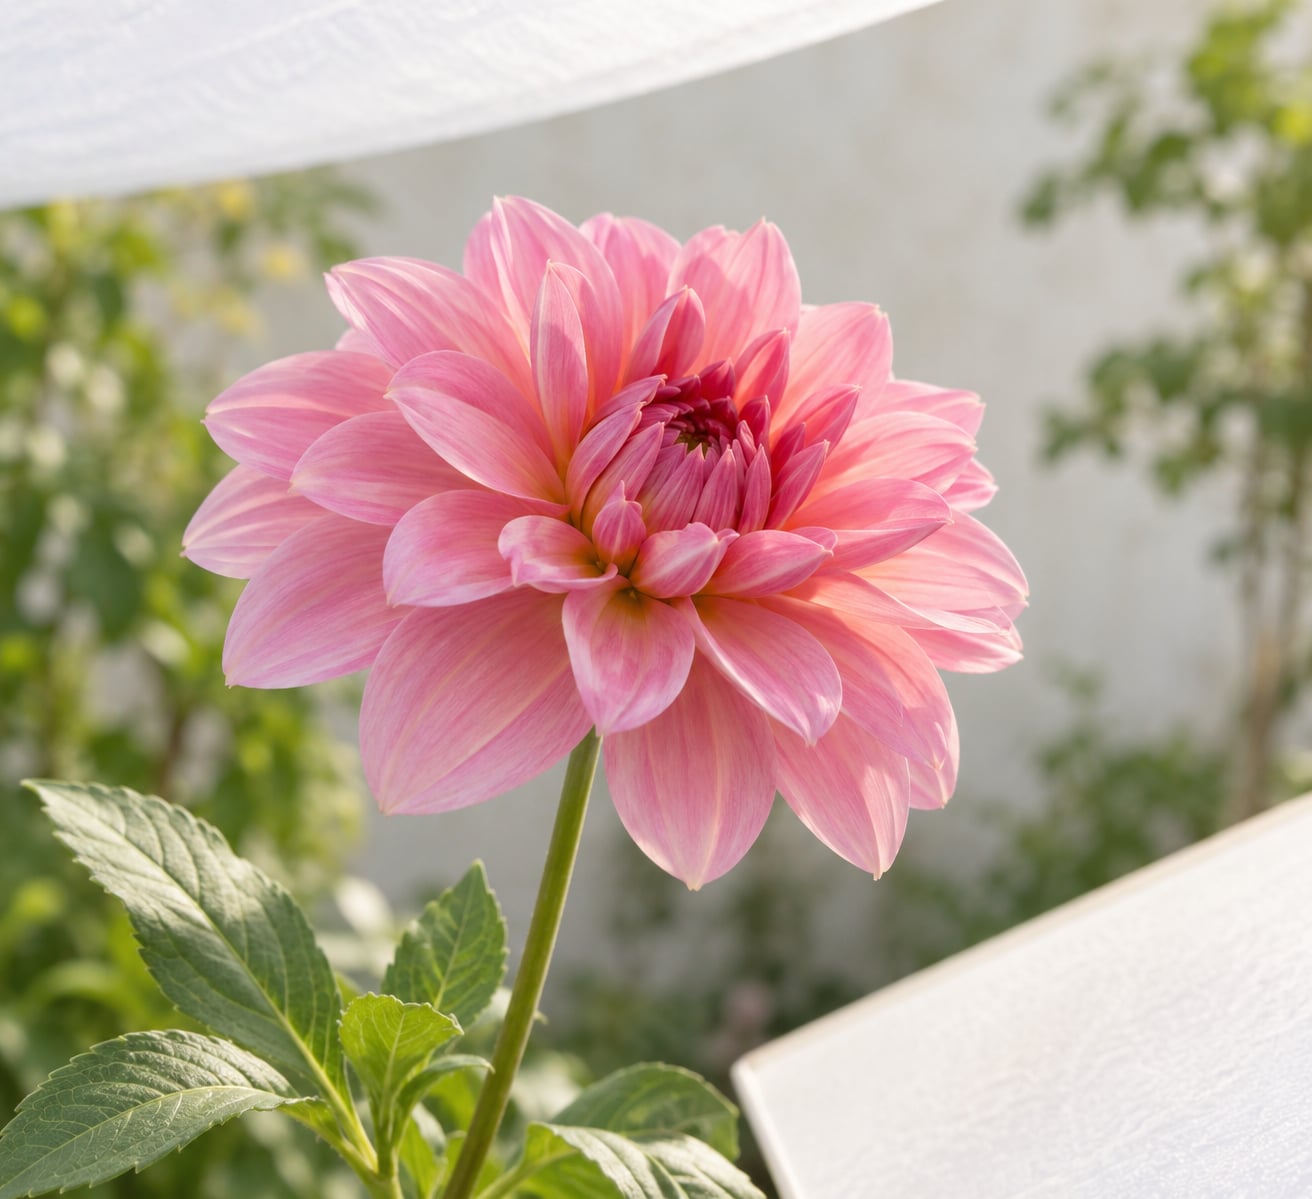
Hold a thin white diffuser, translucent umbrella or light fabric above and slightly to one side of the flower, close enough that the shadow edge stays soft on the petals. You lose roughly one to two stops of light, so raise the ISO or slow the shutter to match.
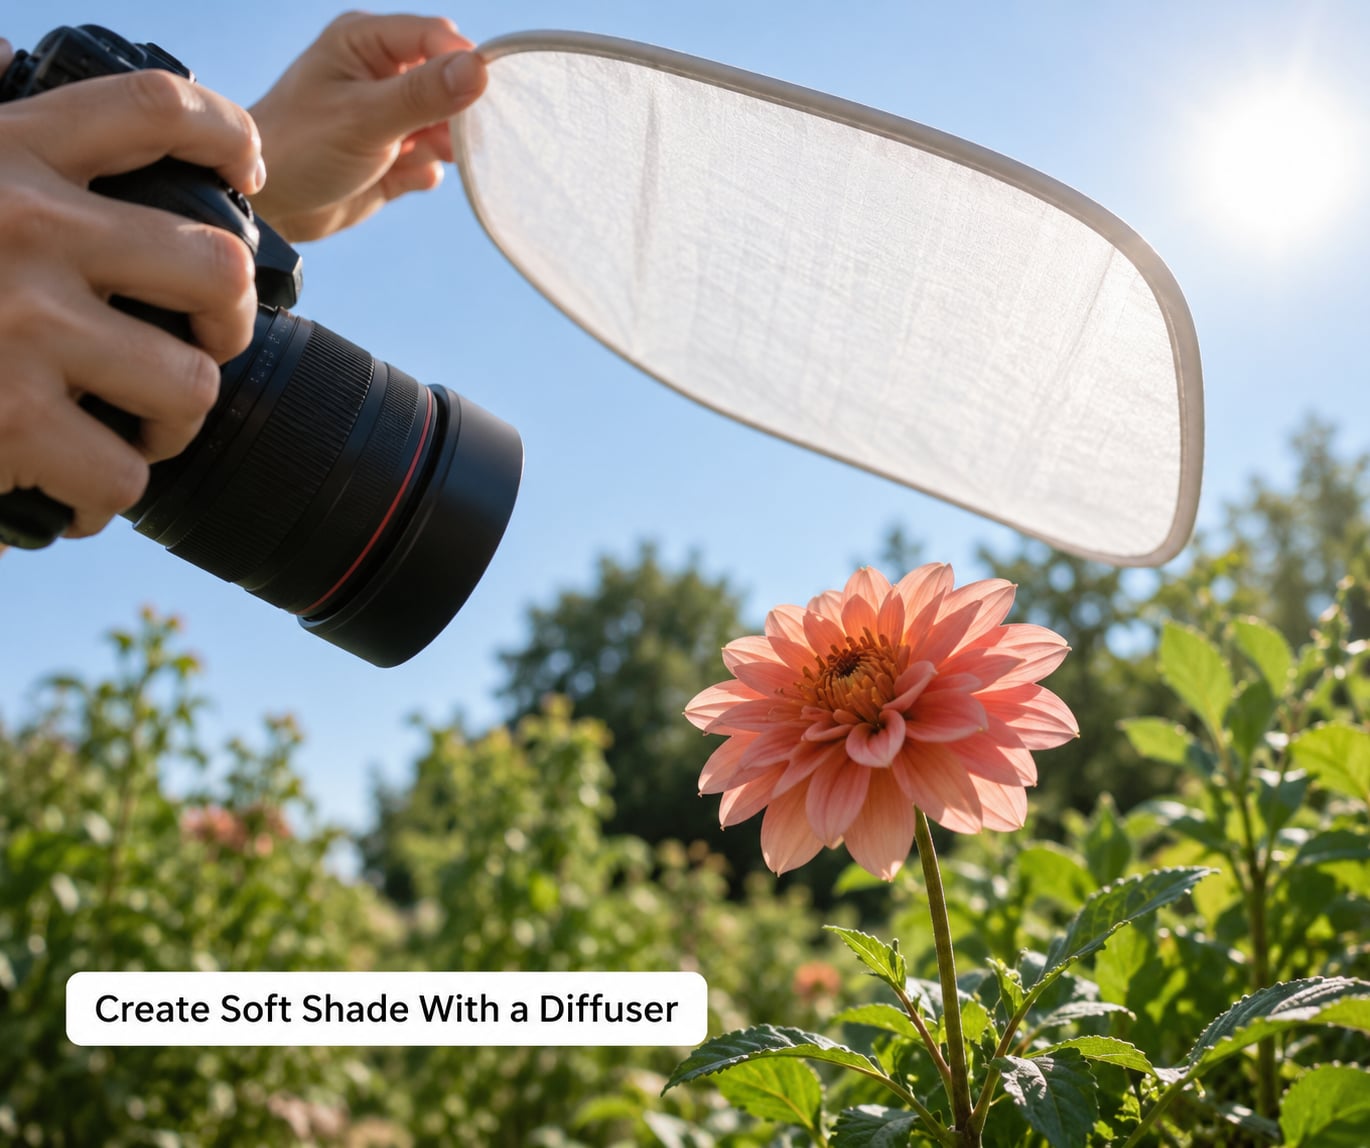
Two easy substitutes work just as well in a garden: stand your own back between the sun and the flower, or use a patio umbrella held low over your subject while you shoot underneath it.
A reflector is the opposite tool. Put white card or foil opposite the sun and below the flower, angled upward, and it fills the shadow side for roughly half a stop of lift. Keep the reflector below flower level or it will bounce light straight into your lens.
5. Refine the Composition and Background
Get close enough that one bloom fills a third of the frame, then simplify everything behind it. Long lenses and wide apertures throw the background into soft blur, which is usually easier than moving a chair out of the garden.
Use the stems and leaves as leading lines rather than centering every flower. Odd numbers of blooms read better than pairs, and a low angle shooting up into the sun is where you get the glowing petals other people cannot reproduce.
If the background still fights the flower, hang a dark cloth a foot behind it. Dropping the background a stop or two is often faster than any amount of aperture.
6. Focus on Petals, Texture, and Color
Use single-point autofocus placed on the nearest petal edge or on the stamens inside the bloom, then check the image at 100 percent before you move on. Flowers move in a breeze, so keep the shutter at 1/500 s or faster and raise ISO rather than letting the petals blur.
For one isolated bloom, shoot wide open or at f/4 for a soft, creamy background. For a whole bed, f/8 to f/11 keeps more of the planting sharp. Open the aperture only as far as the depth of field allows.
Set white balance to daylight in strong sun so the petals do not go chalky, and check a saturated red against something you know is red on screen. Auto white balance often warms a sunlit bloom into orange.
7. Make Small Edits After Shooting
Correct in this order: exposure, then white balance, then highlights, then color. Pull the highlight recovery slider down until the histogram’s bright end stops touching the right wall, lift shadows selectively rather than globally, and add a little texture or clarity to the petals only.
Resist the saturation slider. Push it and the reds and pinks shift toward a poster color that no longer matches the flower in front of you. A small vibrance adjustment on the whole frame keeps the natural look that brought you outside.
How to Photograph Flowers With a Phone in Bright Sun
A phone handles bright sun well once you stop letting it choose the exposure.
- Open the camera and tap the sunlit petal once to set focus and brightness.
- Press and hold on the screen to lock AE and AF, shown as AE/AF LOCK on most phones.
- Slide the sun icon down the side of the frame until the petals look slightly darker than you expect.
- Step closer and use the 2x lens so the background softens.
- Tap the screen to focus again if you repositioned the flower.
- Turn on RAW or ProRAW in the camera settings if your phone has it.
Common Mistakes
These six account for almost every failed flower shot in direct sun.
- Blown-out petals. When the meter is pulled toward a dark background, the camera raises exposure until pale petals clip to white and texture disappears. Meter from the petal instead, then trim exposure downward.
- Mixed lighting. Half the flower in sun and half in shadow gives you two exposures in one frame. Move the flower into open shade or accept one and exclude the other.
- Distracting backgrounds. A bright wall or a stripe of paving behind a pale flower steals the eye. Hang a cloth, move, or use a longer lens.
- Focus on the wrong spot. Focusing on a leaf behind the bloom leaves the subject soft. Place the focus point on the petal edge facing you.
- Excess contrast. A reflector under the flower and a diffuser above it cost you nothing but two hands and about half a stop.
- Wrong white balance. Auto white balance in strong sun pushes petals warm and chalky. Set daylight and correct in post.
One more habit worth adding: shoot more frames than you think you need. The light changes in seconds when a cloud crosses the sun, and the right moment lasts about three.
Frequently Asked Questions
Can I photograph flowers in bright midday sun without a diffuser?
Yes. Move the flower or your camera into open shade, change your shooting angle, expose for the brightest petals, and use a reflector or pale card for gentle fill light. A diffuser is helpful but not essential, and standing your own back between the sun and the bloom works about as well.
What is the best camera setting for flowers in bright sun?
Start with aperture priority or manual exposure at around f/5.6 to f/8 for a typical flower close-up, set ISO as low as the camera allows, and use a shutter speed of 1/500 s or faster so moving petals stay sharp. Switch to spot metering and dial in minus one third to one stop of exposure compensation.
Should I use flash when photographing flowers in the sun?
Usually not. Direct flash in bright sunlight produces hard shadows, shiny petals and unnatural color. If the bloom sits in deep shade and you need lift, use a softened low-power fill or bounce the flash off a wall instead. Outdoor fill flashes are more useful than on-camera ones.
How do I prevent flower petals from looking overexposed?
Meter from the brightest petal, watch the histogram so it sits just under the right edge, and lower exposure compensation by roughly one to two stops. Saturated yellows and reds clip first and need more compensation than pale petals. A diffuser and open shade reduce the light before the lens sees it.
How do I photograph flowers with a phone in bright sunlight?
Tap the sunlit petal to set focus and brightness, then press and hold to lock AE and AF. Slide the sun icon down the exposure slider until the petals sit slightly darker than expected, step closer, and switch to the 2x lens for a softer background. RAW or ProRAW helps if your phone supports it.
How do I fix a flower photo where the sun was already too bright?
If you shot RAW, open the file and pull the highlight recovery slider down until the histogram stops touching the right edge, then lift shadows selectively and correct white balance. If you shot JPEG, the clipped areas are gone for good, so crop them out or convert the image to black and white.
Start Here on Your Next Walk
Find one bloom in open shade, point the camera at the brightest petal, pull exposure compensation down half a stop and check the histogram before you take the frame you came for.
That single habit is most of how to photograph flowers in bright sun. Everything else on this page, the diffuser, the reflector, the phone exposure slider, is a way of getting the same result when the light refuses to cooperate.