Macro photos go soft for a short list of repeatable physical reasons, and once you know which one you have, the fix usually takes about a minute. Here is the short answer: camera shake that magnification hugely amplifies, missed focus, a subject that moved, a razor-thin depth of field, shooting inside your lens’s minimum focusing distance, and diffraction softening when you stop down too far.
That last one deserves an apology on behalf of every camera manual. Most beginners who think their macro shots are blurry are actually looking at cause number three or four and blaming the lens.
At high magnification the rules change more than most people expect. A few millimetres of hand movement that would be invisible on a landscape frame becomes obvious smearing across a petal, and the sharp zone can shrink to thinner than a sheet of paper. So why are my macro photos blurry, exactly? Because at that scale any movement of the camera or the subject, and any small focus error, lands directly on the thing you were trying to photograph.
One useful bit of background before the steps. The lens decides sharpness far more than the body does, so swapping a camera will rarely fix a soft close-up. What almost always fixes it is changing how you shoot: a support, a steadier hand position, a deliberate focus point, and a test frame before you commit.
Table of Contents
- What You Need
- Why Are My Macro Photos Blurry? Step-by-Step Fixes
- 1. Identify Whether the Blur Is Focus or Camera Shake
- 2. Stabilize the Camera and Subject
- 3. Focus on the Most Important Detail
- 4. Use a Fast Enough Shutter Speed
- 5. Choose the Right Aperture Without Losing Too Much Depth of Field
- 6. Control Harsh or Insufficient Light
- 7. Run a Quick Test Before the Final Shot
- Common Mistakes
- Pressing the shutter button while holding the camera
- Leaving stabilization on with the camera on a tripod
- Stopping down to fight depth of field
- Trusting autofocus at close range
- Ignoring a subject that is moving
- Leaving ISO low and the shutter slow in shade
- Shooting through a dirty or fogged front element
- Assuming the on-screen preview tells the truth
- Handheld focus stacks
- Working too close
- Setting focus at one distance and shooting at another
- Frequently Asked Questions
- Why are my macro photos blurry on my iPhone?
- Why is my macro photo still blurry even with a tripod?
- Is it normal for only a thin slice of a macro photo to be sharp?
- Should I turn image stabilization on when shooting macro?
- Is manual focus or autofocus better for close-up shots?
- Do I need a dedicated macro lens to take sharp macro photos?
- Conclusion
What You Need
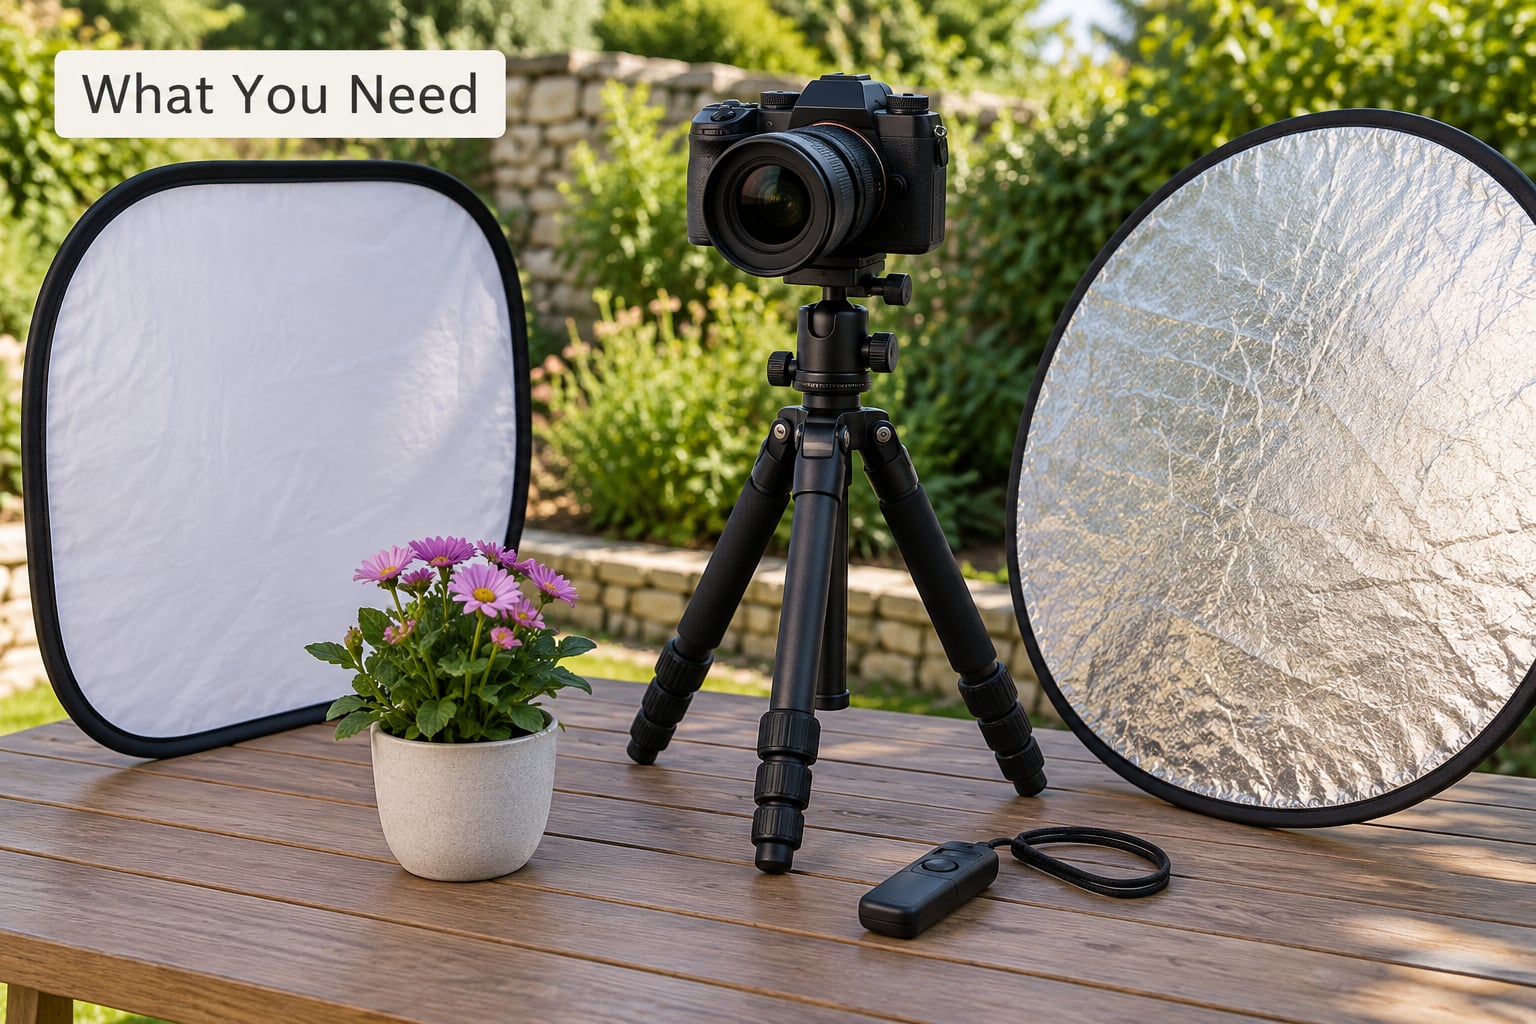
A dedicated macro lens helps, but it is not the thing standing between you and a sharp frame. You can get sharp close-ups with a kit zoom, a reversed lens, or even a phone. What you need is a way to hold the camera still and a way to see where the sharp plane sits.
- Any camera that lets you lock focus manually. Manual focus is the single most useful feature for close-up work, and every interchangeable-lens camera has it.
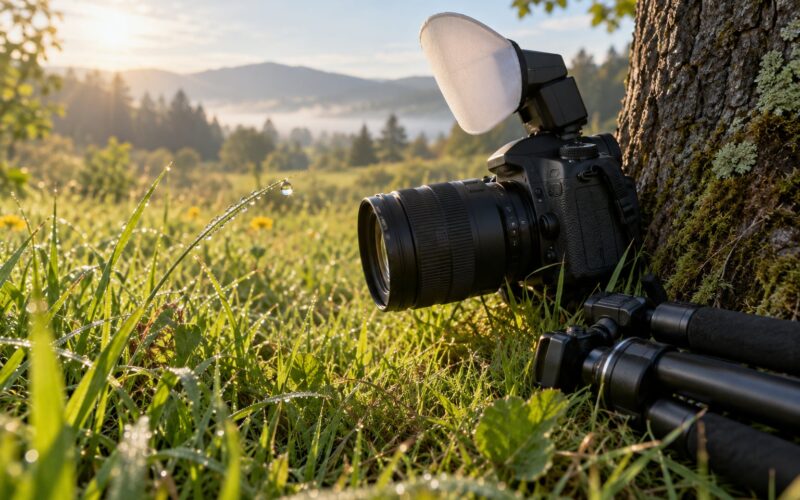
- A support. A tripod is the obvious answer, a beanbag or a stack of books works nearly as well, and a monopod or clamp helps when a full tripod is awkward in vegetation.
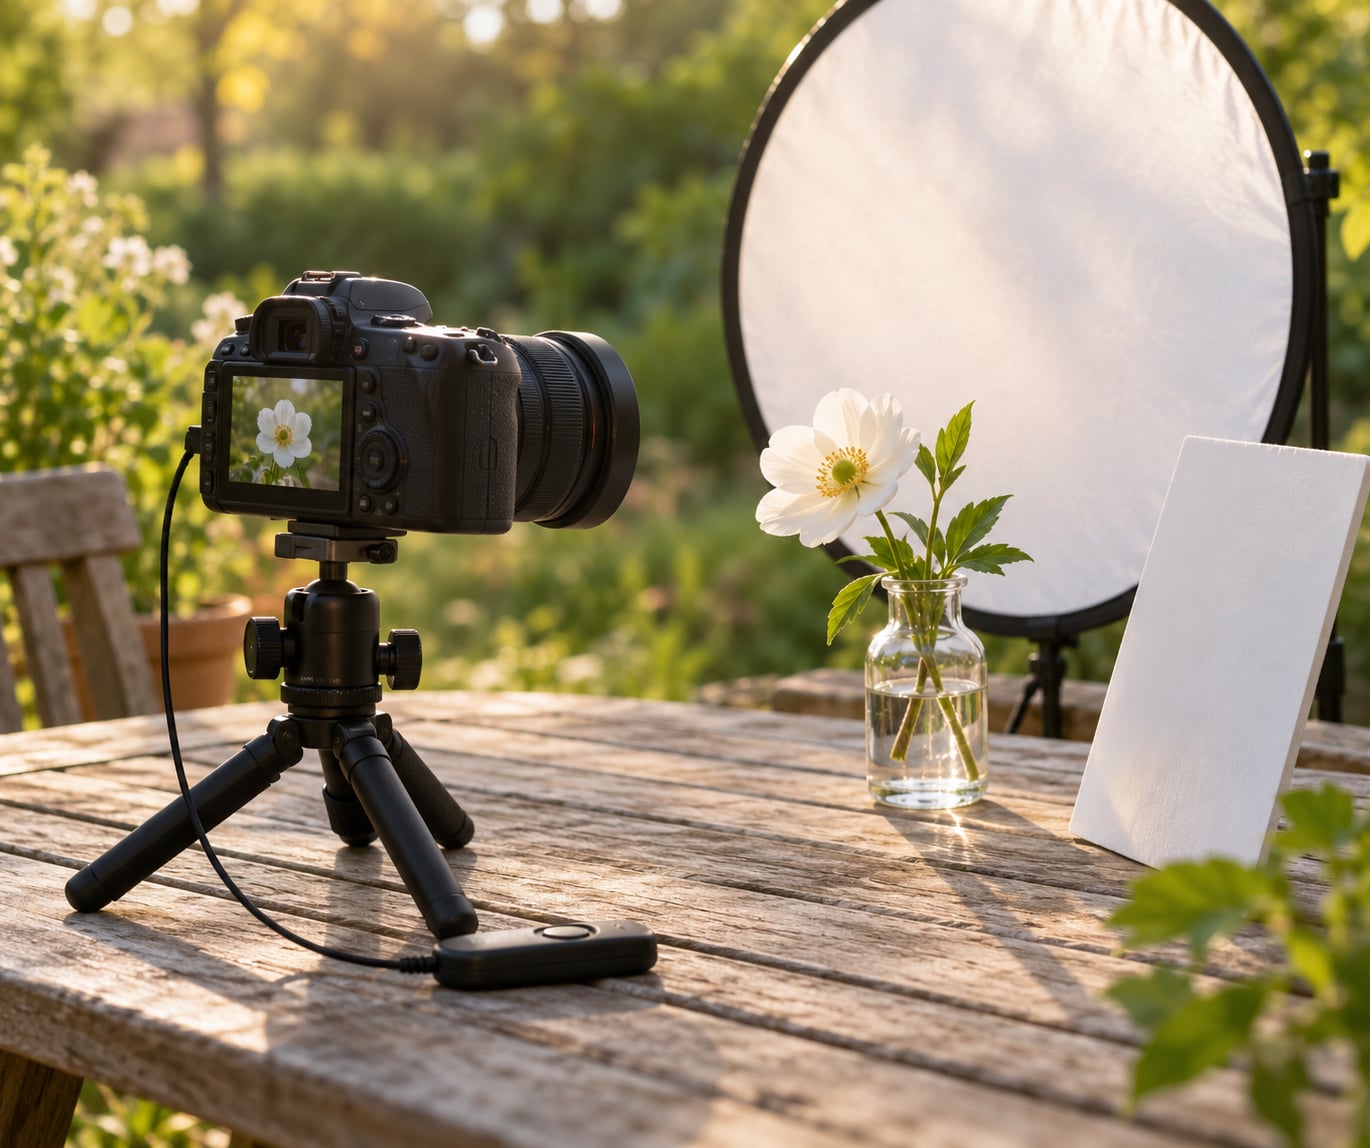
- A two-second self-timer or a remote release. Pressing the shutter button moves the camera, and at 1:1 magnification you can see that movement in the file.
- Light control. A small flash, a diffuser panel, and a piece of white card or foil to act as a reflector. Overcast shade is free and counts as the same thing.
- Subject support. A small clamp, a piece of plasticine under a flower stem, or a wind shield for anything alive and moving.
- A lens cloth and some breath. A smudged or fogged front element softens the whole frame evenly, and it is the cause people check last.
Leave the macro switch on your 70-300mm or similar telephoto zoom off if you care about focusing. It flips the lens to a different mechanism built for distance, and on many of those zooms it gives noticeably worse results up close.
Why Are My Macro Photos Blurry? Step-by-Step Fixes
Work through these in order. Each step rules out one cause, and stopping at the first change that fixes the frame saves you from fiddling with settings that were never the problem.
1. Identify Whether the Blur Is Focus or Camera Shake
Look at the failure, not the subject. The single most useful diagnostic habit is opening a frame at 100% magnification and asking what the blur actually looks like.
| What you see at 100% | Most likely cause | Fix |
|---|---|---|
| Edges uniformly soft, background soft too | Camera shake or subject movement | Support the camera, shoot on the self-timer, raise shutter speed |
| One plane sharp, everything in front and behind melts away | Depth of field too thin | Stop down to f/8 or f/11, or focus stack |
| Whole frame soft, no plane sharp anywhere | Focus missed, or inside the minimum focusing distance | Manual focus and back up until focus locks |
| Fine detail softens only at small apertures | Diffraction | Stop at f/11 and check the sweet spot |
| Hazy low-contrast look across everything, including bright areas | Smudged or fogged front element | Clean the glass and check for condensation |
| Fringes of colour along high-contrast edges | Chromatic aberration at high magnification | Stop down slightly and correct in software |
Motion blur smears detail in one direction, like a dragged line, and it usually affects the whole frame evenly. Missed focus is softer and rounder, and usually leaves a specific plane sharp even if it is not the plane you wanted. Thin depth of field leaves exactly one sharp plane with a fast falloff on both sides. If you cannot tell from a thumbnail, you cannot tell from anything, so work at 100% on the file.
One more check worth doing: decide whether the blur is in the photo at all. Camera previews and phone thumbnails are heavily smoothed, and a soft-looking preview sometimes becomes a perfectly sharp file once you open it. People have replaced lenses over this.
2. Stabilize the Camera and Subject
At 1:1 magnification, hand shake is the leading cause of blur, and it is almost entirely fixable. Put the camera on something solid first, because that single change resolves more soft frames than any setting.
Then remove the movement you did not think about. Pressing the shutter moves the camera, so use the two-second self-timer, a remote release, or live view. On a DSLR, raise the mirror before the exposure with mirror lock-up, or use electronic first curtain shutter, because the mirror slapping up sends a vibration straight through the lens mount. Mirrorless bodies skip that particular problem entirely, which is one quiet advantage they have for close-up work.
Handheld is workable if you brace properly: knees slightly bent, elbows tucked into your chest, one hand under the lens, the other wrapped around the grip, and the viewfinder or screen pressed against your forehead to make a three-point contact. Breathe out slowly before the exposure. A monopod under the lens does more for close-up stability than it ever did for sports work.
Stabilization is a separate question, and it gets misunderstood. Lens stabilization and in-body stabilization correct for hand movement, not for subject movement. Switch them on for handheld work, and switch them off when the camera is bolted to a tripod, because the system can chase its own corrections and soften an already steady frame on some older bodies.
Then handle the subject. A flower in a breeze moves far more than your tripod does, and several people chasing soft frames have found their problem was never the camera. Clamp the stem, shelter the subject with your body or a translucent panel, and wait for a lull. The hardest part of this is patience, not technique.
3. Focus on the Most Important Detail
Decide which plane matters before you touch the focus ring, then put that plane sharp and accept the rest going soft. Autofocus at close range often hunts or locks onto the wrong plane because very little of the frame is close enough to match, so manual focus is the reliable path.
Switch to manual focus, turn on focus peaking if your camera has it, and highlight the whites of the stamens, the front edge of a petal, or the texture you are actually there to photograph. Then rock slowly forward past focus and back until the highlight pops. A focus rail makes this millimeter-by-millimeter adjustment far easier, and a magnifier loupe over the rear screen helps when the subject sits below eye level.
Back away if focus will not lock. Minimum focusing distance is the closest point a lens can focus at, and inside it nothing focuses at all, so the frame just goes uniformly soft with no sharp plane anywhere. Back up in small steps until the subject snaps into focus, and that tells you exactly where your limit is. Working distance, the gap between the front element and the subject, matters too: a longer working distance means more room for light and steadier positioning, which is why 150mm to 200mm macro lenses are the preferred ones for insects.
If you need more depth of field than physics will give you, focus stacking is the honest answer. Photograph a sequence of frames moving the focus plane a fraction of a millimetre each time, then merge them in software. The camera must not move between frames at all, so put it on a rail or a geared head and never touch the zoom or the focus ring.
4. Use a Fast Enough Shutter Speed
Shutter speed is the second lever for movement, and the number to start from depends on what you are shooting. Still flowers and product shots handle anything at or above 1/125s, insects in flight want 1/1000s or faster, and anything handheld wants 1/250s as a floor.
Longer focal lengths need faster speeds for the same steadiness, which is why macro shooters reach for 1/500s and beyond. When the light runs out, raise ISO rather than dropping the shutter. A slightly noisy sharp frame beats a clean soft one every time, and most bodies handle high ISO well enough that this trade is rarely worth arguing about.
Flash solves the light shortage without either cost. It also freezes movement, and it gives you full manual control of the lighting direction that the sun cannot. A small flash bounced off a piece of white card or diffused through a tissue sheet gives soft, even light at any hour. Just watch your flash sync speed, because shooting above it produces a dark band and a strange-looking frame.
5. Choose the Right Aperture Without Losing Too Much Depth of Field
Aperture controls two competing problems at once: how much of the subject is sharp, and how much light you have to work with. Stopping down widens the sharp zone and starves the sensor, so the sweet spot in macro is usually f/8 to f/11.
Past f/11 you hit diffraction, where light bends around the edges of the aperture blades and fine detail starts to soften. This is why beginners who stop down to f/16 or f/22 to chase depth of field end up with a frame that is mushy everywhere rather than sharp everywhere. Every lens has a sweet spot, and it is usually somewhere in that middle range rather than at the smallest opening.
Read the depth of field scale or the focus distance indicator on your lens as a starting point, but treat both as rough. Real depth of field also depends on sensor size, focal length, and how far away the subject is, and a phone camera with a tiny sensor behaves very differently from a full-frame body at the same framing.
6. Control Harsh or Insufficient Light
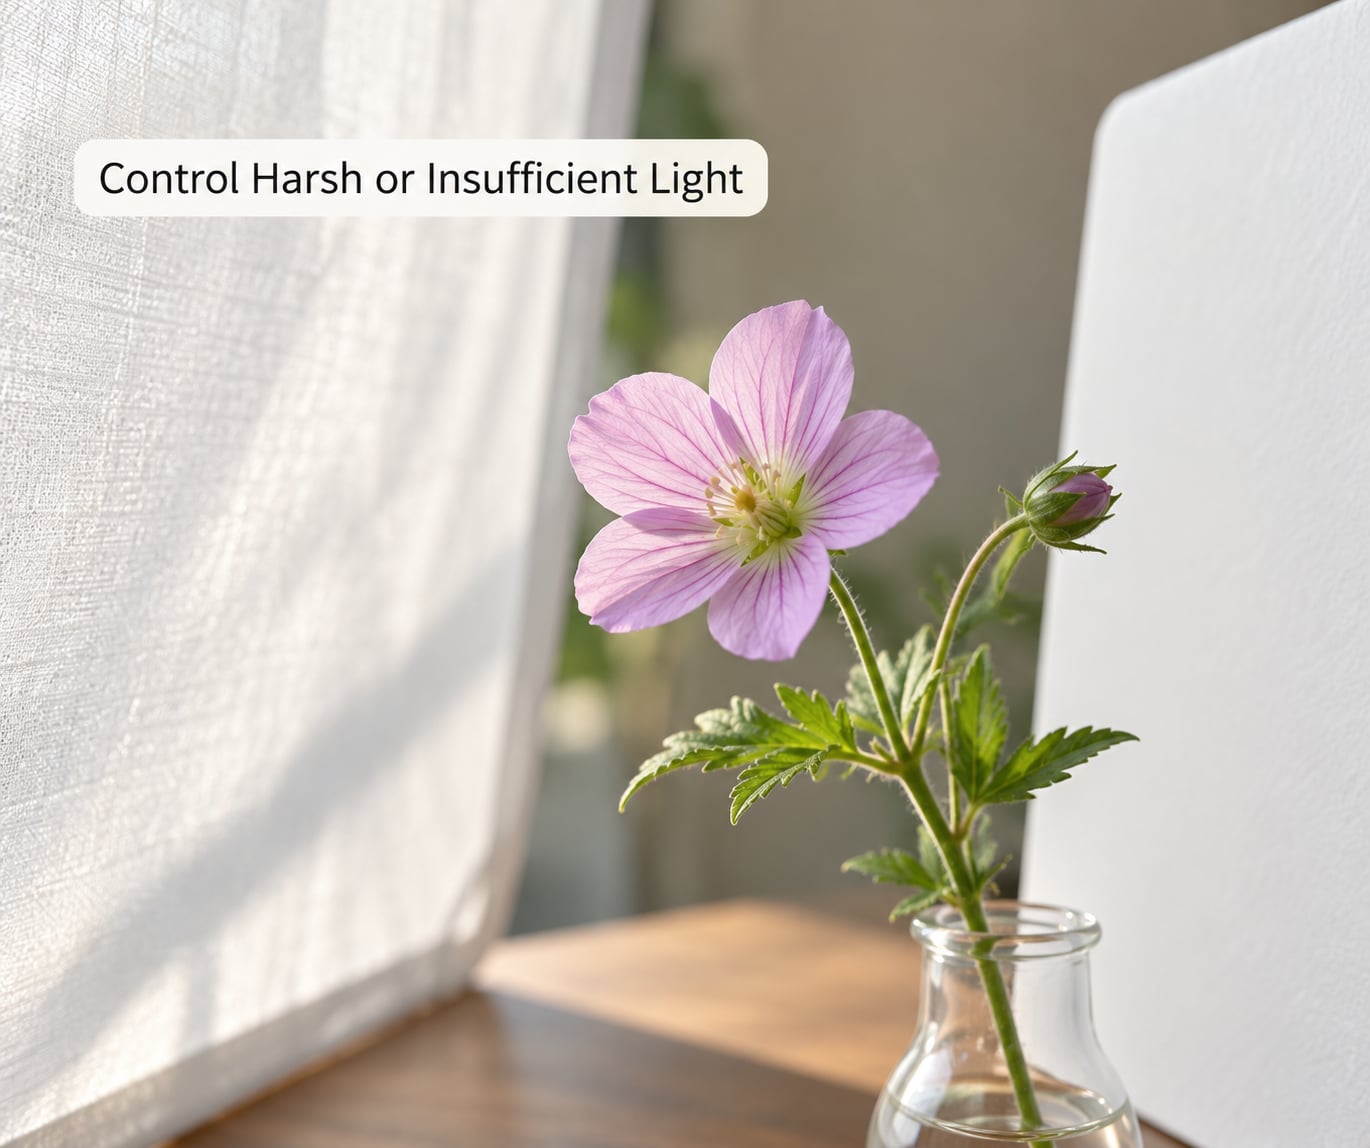
Light is the cause people forget. In bright direct sun, a close-up gets hard shadows, blown highlights, and a subject that wilts within minutes, and all three push you toward settings that produce blur.
Overcast shade is the easiest fix there is: soft, even, and free. When the sun is unavoidable, work in the shade of a wall or your own shadow, and use a reflector on the dark side to lift it. Backlight is the case to watch: shooting toward a bright background underexposes the subject, forces a slower shutter speed, and invites the sensor to hunt for detail in the wrong place. Add flash or bounce light back toward the subject instead.
Flash with a diffuser, or flash bounced off a pale surface, spreads the light and flattens the texture you were trying to show. Aim it at about 45 degrees for a compromise between showing shape and showing texture, then stop down a little and raise ISO to compensate. Diffuse light reveals a dirty front element instantly, so clean the glass before you start.
On a phone, none of this is available to you directly, and the light problem is handled for you, poorly. See the section below.
Why your macro photos are blurry on your phone. Phones have no true macro sensor. Ultra-wide lenses focus at a fixed short distance while the main lens is far beyond its own minimum focusing distance, so a close shot is out of focus by design and the phone is rescuing it with software. The blur is usually computational: the camera takes a burst, aligns the frames, and blends them, and any misalignment produces smeared detail rather than extra resolution. Several users on the Pixel Help and Nothing community boards report macro output that looked fine on screen but arrived soft after processing, and cleaning the lenses is the first thing they try, because a smudge on a small lens opening wrecks more than you would expect.
The practical phone fix is short. Use the macro mode where your phone has one rather than the digital zoom, since digital zoom just crops and enlarges. Clean the lens with a soft cloth. Hold the phone about 8 to 10 cm from the subject, slightly further than feels right, and move slowly until the image is at its sharpest. Turn off any night mode or long-exposure processing, tap the subject to lock focus and exposure, and then keep still. Tapping and holding on screen locks the exposure, which stops the phone from re-brightening mid-shot and shifting focus. If your phone has Pro or manual mode, set the shutter to its fastest option, because the phone is otherwise choosing a speed for a scene it thinks is a landscape.
7. Run a Quick Test Before the Final Shot
The fastest way to stop guessing is a repeatable routine you run every time. Ten seconds of setup saves ten minutes of second-guessing.
- Clean the front element. Breath on it, wipe gently, and check again in live view.
- Support and steady. Tripod, clamp, or braced stance. Elbows in, exhale half way.
- Fix the subject. Clamp the stem, shield it from wind, wait for stillness.
- Set the baseline. f/8 to f/11, 1/500s or faster, Auto ISO, manual focus.
- Focus on your chosen detail using focus peaking or a magnified view.
- Back off if focus will not lock, in small steps, until it does.
- Fire a test frame on the self-timer or remote release, not the shutter button.
- Inspect at 100% on the rear screen or on a computer.
- Adjust one variable and repeat. Stabilize, then focus, then light.
- Shoot the final sequence as a burst and keep the sharpest frame.
Change one thing at a time. Three adjustments at once and you will not know which one worked, which means you will not have learned anything for the next shoot.
Common Mistakes
Almost every soft macro frame traces back to one of these. Pair the mistake with the correction, and check your own last shoot honestly against the list.
Pressing the shutter button while holding the camera
The shutter press twists the body and the movement lands during the exposure, especially at 1/500s and above. Use the two-second self-timer, a remote release, or live view with electronic shutter where your camera offers it.
Leaving stabilization on with the camera on a tripod
Lens and in-body systems correct for hand movement that is not happening, and on some bodies they hunt and soften an otherwise steady frame. Turn stabilization off when the camera is supported, and leave it on for handheld work.
Stopping down to fight depth of field
Stopping down past f/11 buys a little depth of field and costs you real detail to diffraction. The result is a frame that looks soft everywhere. Stay at f/8 or f/11 and stack focus instead.
Trusting autofocus at close range
Autofocus at macro distances frequently hunts, or grabs the background because that plane has more contrast. Switch to manual focus, focus once, and stop touching the lens. Where autofocus helps is getting you close, then handing over to manual for the last nudge.
Ignoring a subject that is moving
A tripod fixes the camera, not the flower. Shield the subject from wind, clamp what you can, and wait. Several people chasing soft frames on a tripod have found the culprit was a breeze in the background plane all along.
Leaving ISO low and the shutter slow in shade
Cloudy light plus a slow shutter equals motion blur plus noise. Raise ISO and keep the shutter fast, or add flash. Sharp and grainy still photographs better than clean and smeared.
Shooting through a dirty or fogged front element
A smudge produces haze and low contrast across the entire frame, which people usually misread as a focus problem. It also gets worse in damp weather, where condensation can form on cold glass. Check the lens before the shoot, not after the edits look flat.
Assuming the on-screen preview tells the truth
Previews and thumbnails are smoothed for the screen, and phone processing can go further still. A frame that looks soft in the gallery may be fine at 100% on a monitor. Diagnose on the file, or you will be fixing a problem you do not have.
Handheld focus stacks
Between frames your body breathes and your arms drift, so the magnification shifts and the merged image shows soft patches. Stacks need the camera locked down and the focus advanced mechanically, never by turning the ring by hand.
Working too close
Inside the minimum focusing distance nothing focuses, and the frame goes uniformly soft. If no plane is sharp anywhere, back up rather than changing settings, because no aperture setting rescues a lens that cannot focus there.
Setting focus at one distance and shooting at another
Moving the camera after focusing changes the focus, and at macro distances a centimetre is a lot. Compose first, then focus, then shoot without repositioning. This is why a tripod and a fixed framing are worth the setup time.
Frequently Asked Questions
Why are my macro photos blurry on my iPhone?
Phones have no true macro sensor. A close shot is physically out of focus, and the phone blends a burst of frames in software to hide that, which smears detail when the alignment slips. Use the dedicated macro mode instead of digital zoom, clean the lens, hold the phone 8 to 10 cm away, tap the subject to lock focus and exposure, turn off night mode, and keep the phone still.
Why is my macro photo still blurry even with a tripod?
Almost always because the subject moved, not the camera. A flower in a breeze shifts far more than a tripod ever does, and a tripod cannot freeze that. Clamp the stem, shield the subject with your body or a translucent panel, and shoot on a lull in the wind. Second on the list is a dirty front element, which hazes the whole frame.
Is it normal for only a thin slice of a macro photo to be sharp?
Yes, entirely normal. At high magnification the depth of field can be measured in millimetres, so one plane is sharp and everything in front and behind it melts. If you want more, stop down to f/8 or f/11 for a little extra, or focus stack a sequence of frames with the camera locked down. The r/macrophotography consensus is that thin depth of field is physics, not a fault.
Should I turn image stabilization on when shooting macro?
Turn it on for handheld close-ups, because it corrects for hand movement that would otherwise smear the frame. Turn it off when the camera is on a tripod or a solid support, since the system may chase corrections and soften an already steady image. Remember that stabilization fixes your movement only, never the subject’s, so wind still needs handling on its own.
Is manual focus or autofocus better for close-up shots?
Manual focus is more reliable, because autofocus at close range often hunts or locks onto the background plane where there is more contrast. A good compromise is to use autofocus to get close, then switch to manual and finish with focus peaking or a magnified view. If your subject is moving fast, autofocus may still beat a manual attempt, so use whichever suits the situation.
Do I need a dedicated macro lens to take sharp macro photos?
No. A kit zoom, an extension tube, or an achromatic close-up diopter on the front of an existing lens will get you magnified frames, and a phone will get you close-ups. Sharpness depends far more on how you shoot than on the lens label. What matters is manual focus, a support, and control of your light. Buy a macro lens when you want working distance and maximum magnification.
Conclusion
If a frame came out soft, do these three things first. Support the camera so nothing moves during the exposure, and shoot on the self-timer rather than the shutter button. Then focus manually on one deliberate detail, backing up if the focus will not lock. Then take one test frame and judge it at 100% magnification, because that single look tells you whether you are dealing with focus, shake, or depth of field, and only then is it worth touching aperture, ISO, or light.
Some softness at high magnification is not a mistake to fix. A few millimetres of sharp plane is what macro looks like. Once you know which of the two you are dealing with, the rest is technique, not gear.