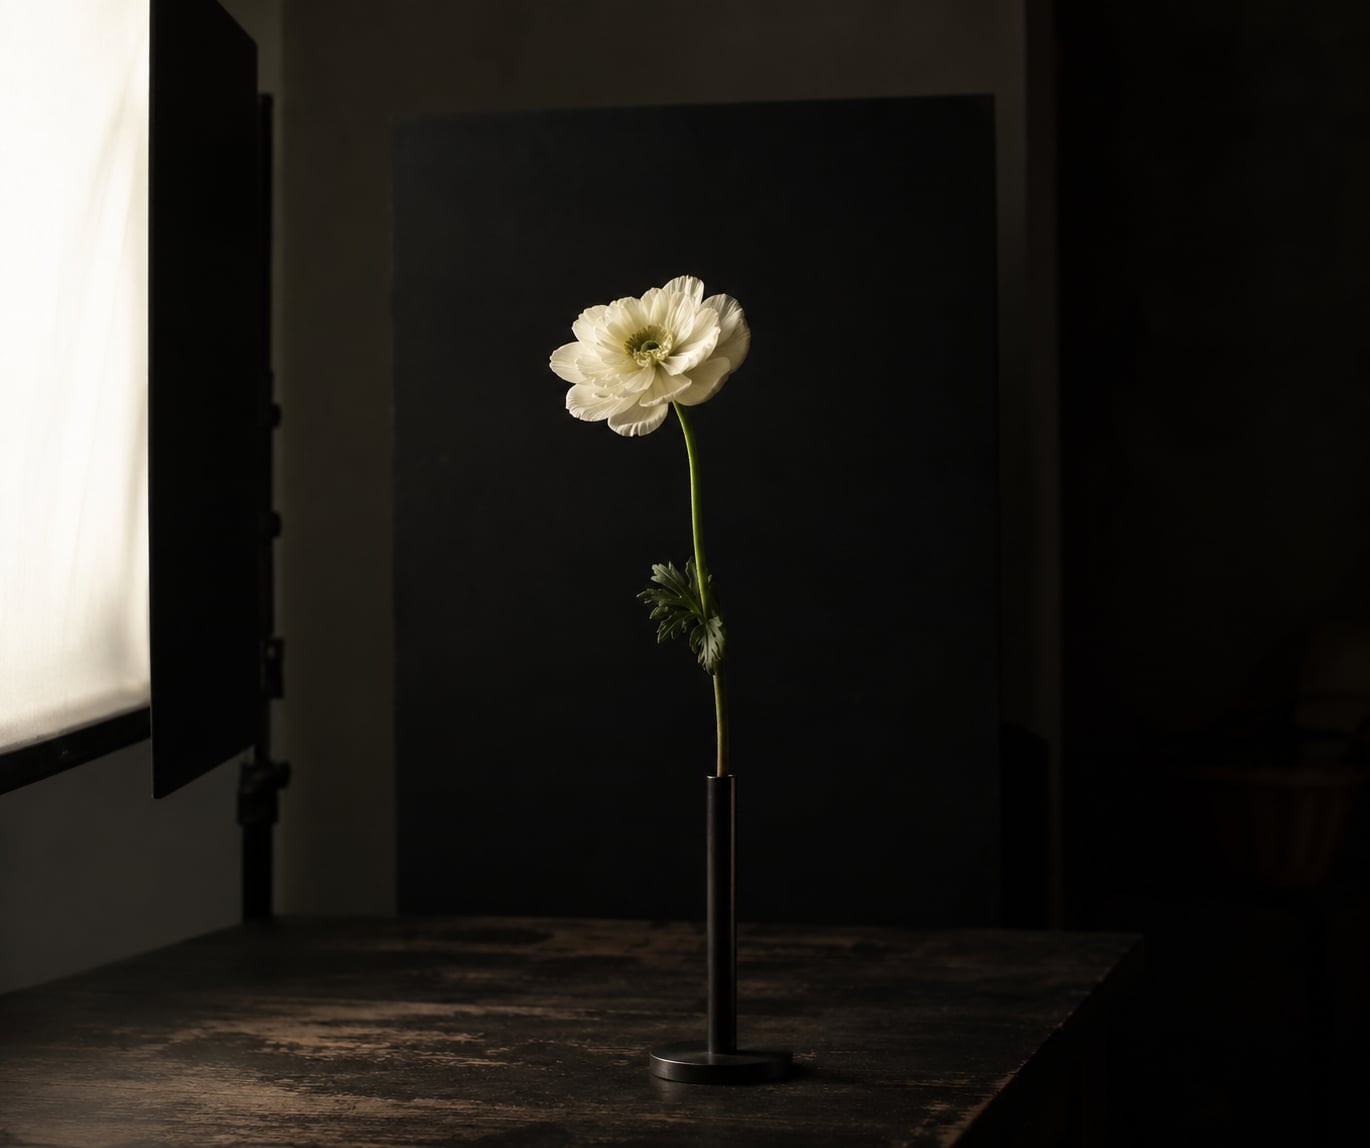
To shoot flowers against a dark background, light only the flower and keep the light off whatever is behind it. Set a small aperture, a fast shutter speed and a low ISO so the room’s ambient light cannot lift the backdrop, and shoot RAW. You can do it in a dim corner of your own home with one light.
The idea that trips people up is thinking you need to buy a black backdrop. You don’t. A dark background is made by controlling light falloff — the closer the flower sits to the surface behind it, the more that surface gets lit. The further away it sits, and the more tightly you aim your light, the darker the background goes on its own.
That single principle runs through everything below: separate the flower from the wall, aim one light at the flower from the side, meter for the petals, and the darkness takes care of itself. Give it about 20 minutes for your first attempt.
Table of Contents
- What You Need
- What each piece actually does
- Step-by-Step: How to Shoot Flowers Against a Dark Background
- How to Shoot Flowers Against a Dark Background with Controlled Light
- Choosing the Flower Position and Background
- Setting Camera Exposure and Focus
- Common Mistakes
- Working without a flash
- Frequently Asked Questions
- Do I need a studio to shoot flowers against a dark background?
- What is the best lighting setup for a dark-background flower photo?
- How do I take pictures of flowers with a black background?
- What camera settings work best for flower photography on a dark background?
- Can I create a dark background outdoors instead of using a black sheet?
- How do I fix a flower photo when the petals are overexposed?
- Conclusion
What You Need
You can shoot this look with surprisingly little. Here is the honest list, split into what matters and what is a bonus.
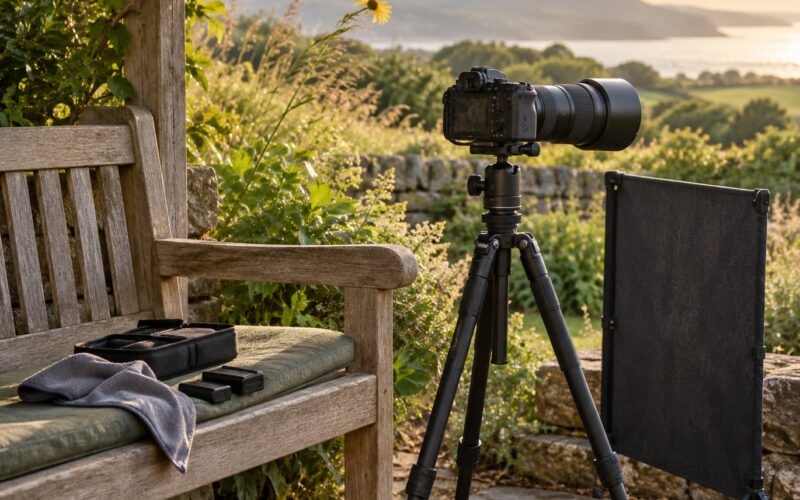
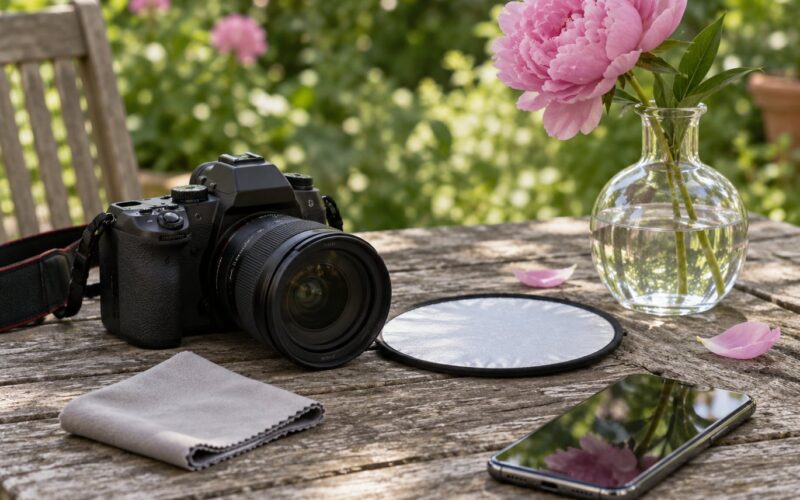
Essential: a camera with manual exposure and a lens that can get you close — a 90mm or 105mm macro, or any 50mm or longer you can step back from. You also need one light source: a speedlight, a small LED panel, or a lamp with a shade. A matte black board or black velvet cloth for a background, plus a black card or piece of black foam board to flag spill.
Very useful: a white reflector (even a sheet of white foam board or a piece of white card) to put gentle fill back into the shadows, and a tripod or a stack of books to hold the camera still at low light levels.
Optional: a small softbox, a white diffuser panel, or a translucent umbrella. These soften the light and control how wide it spreads. A snoot or a grid narrows it further when you want the background to stay deep black.
What each piece actually does
The black board gives you something predictable behind the flower when you shoot indoors. Outdoors or in an awkward room, you can skip it and rely on distance and shadow instead.
The black card is the secret ingredient most tutorials skip. Held on the light side of the flower, it eats the light that would otherwise splash onto the backdrop. When a background still renders grey, the same two fixes come up every time: push the flower further from the backdrop, and flag the light off it as much as you can.
The reflector fights the other problem — a black flag blocks so much light that the shadow side of the flower goes to mud. A white card opposite the light restores one gentle stop without touching the background.
No speedlight at all? The version of this you can do with what you already own is the harder half of the technique, and the one most guides skip. It is covered near the end.
Step-by-Step: How to Shoot Flowers Against a Dark Background
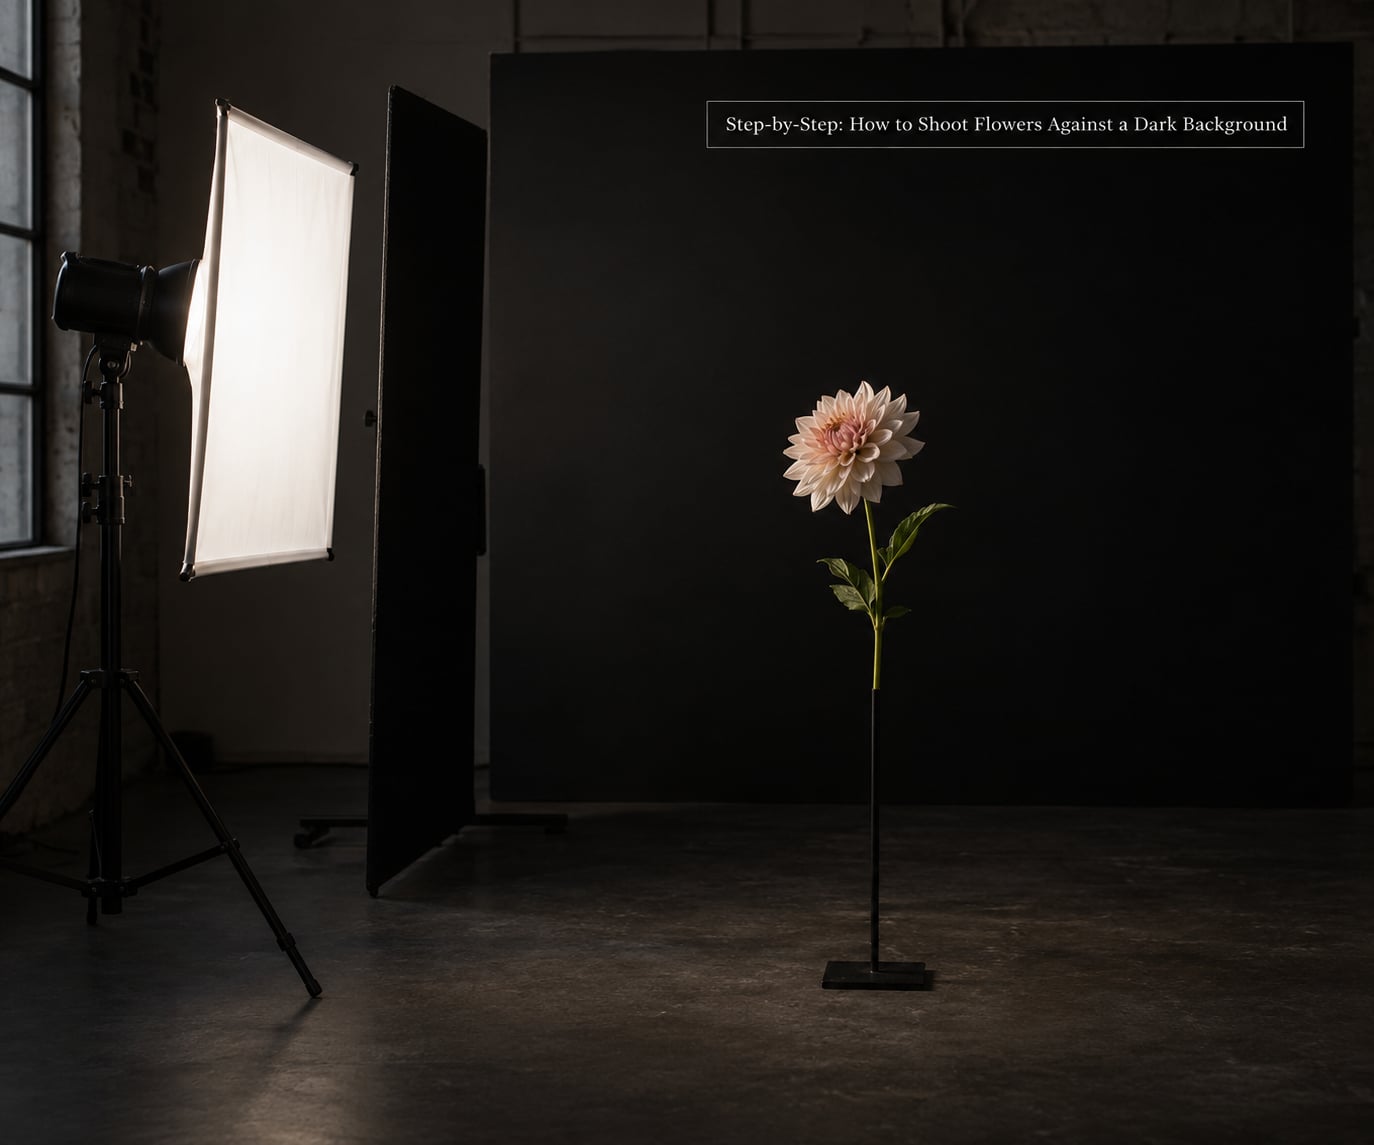
Five steps, in order. Work through them once at low power and the effect usually appears on the first round.
Step 1 — Kill the ambient light. Close the blinds, turn off overhead lights, and let the room sit for a few minutes. Every stray light source in the room is lifting your background, and it is the number one reason a “black” background renders mid-grey.
Step 2 — Put distance between the flower and the wall. Set the flower at least three or four feet in front of the background if you can. Pull it closer and the wall receives the same light the flower does. This is the free part of the technique — it costs nothing and does more work than any accessory.
Step 3 — Add one light, off-axis. Put the light 45 degrees to the side and slightly above or below the flower, never head-on. A straight-on light flattens the petals and throws light straight back at the wall behind. Off-axis light skips the wall and rakes across the petal texture.
Step 4 — Set exposure for the flower, not the scene. Switch to manual, dial in a small aperture and fast shutter, and meter off the petals. Point that meter away from the background so the dark wall doesn’t fool it into underexposing the flower.
Step 5 — Shoot RAW and check the histogram. Look for the flower sitting between the middle grey and white, and the background pinned near the left edge with no data above it. If the background has pixels above pure black, you still have light on it.
How to Shoot Flowers Against a Dark Background with Controlled Light
One light is enough. Aim it at the flower and let everything else go unlit.
Start with the light roughly 45 degrees off the camera axis and a little above the bloom, then bring it closer until the petals are properly exposed. Moving the light closer rather than cranking its power keeps shadows soft, because the light source looks larger in relation to the flower.
Now the ratio. You are aiming for the backdrop to sit one to two stops darker than the lit side of the flower — bright petals, background still readable as dark rather than crushed. Two stops of separation gives you a true black look; one stop gives a moody charcoal gradient, which often looks more natural outdoors.
Hard or soft? Small light and distance give you hard light, crisp edges and bright specular hits on petals — dramatic, good for dew and for tulips. A diffuser, softbox or umbrella spread across the flower gives soft light, which renders smoother colour and hides blemishes. Both work against a dark background as long as the spill is blocked.
Blocking the spill is the fiddly part. Hold the black card between the light and the background, close to the light where the beam is narrowest, and check the background with the flower temporarily out of the shot. If the card is in the frame, move it further out and zoom in tighter instead.
Choosing the Flower Position and Background
Where the flower sits decides how dark the background gets, so set that before you touch the light.
Distance first. Ideally the flower is three to six feet from the surface behind it. Light falls off with distance squared, so doubling the gap cuts the light reaching the wall to roughly a quarter. That is the whole reason the technique is cheap.
Surface second. Matte black velvet or black foam board beats glossy card, which throws a bright reflection of the flower back at the camera. Paper is cheap but holds a slight sheen — if you have nothing else, angle the board so the reflection misses the lens.
Angle third. Shoot slightly downward when the wall is behind and below the flower, and the frame fills with darkness instead of the surface. Turn the flower a few degrees at a time and watch what the light rakes across; side-lit petal veins and the curve of a stem read far better than evenly lit front petals.
Watch for clutter at the edges. A bright leaf or a pale stem two inches from the frame border pulls the eye straight off the flower, and no amount of darkening in editing fixes it. Reposition before you process.
Setting Camera Exposure and Focus
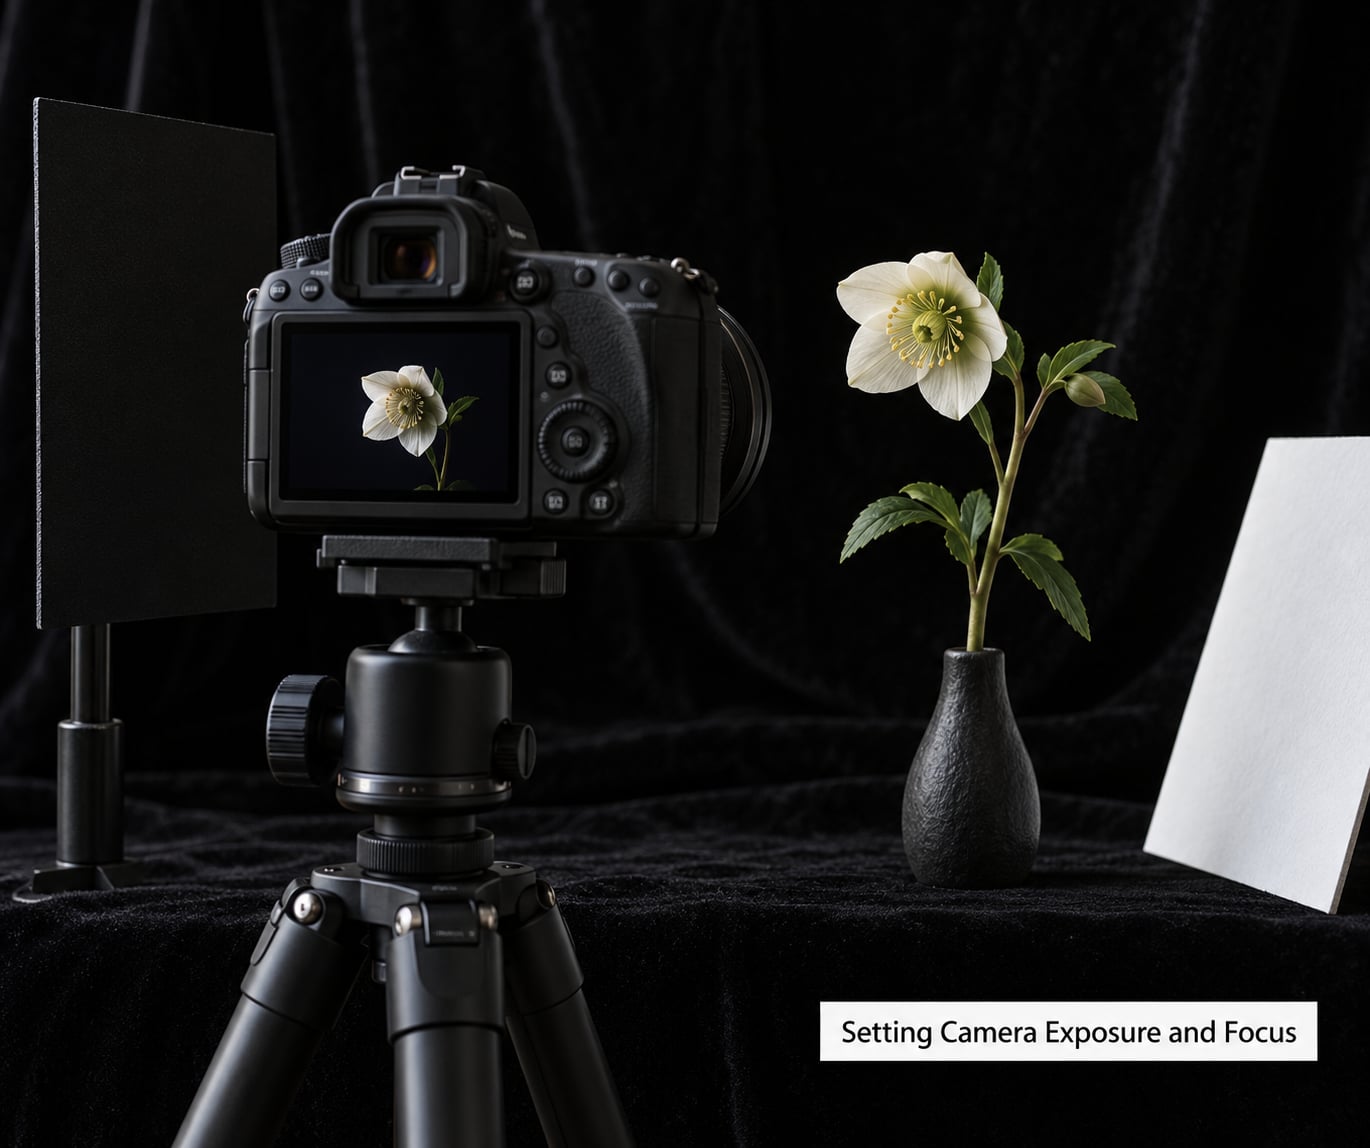
Start in manual. Aperture priority and TTL metering fight you here because the camera keeps trying to brighten the dark half of the frame.
| Setting | Starting point | What it does to the background |
|---|---|---|
| Aperture | f/8 to f/16 | Smaller aperture means a shallower depth of field, so the background blurs away and less light reaches the wall |
| Shutter speed | 1/200s to 1/250s | Keeps ambient light off the sensor and avoids motion blur from breeze or hand shake |
| ISO | 100 to 400 | Lower ISO keeps the sensor from amplifying whatever faint light is left in the room |
| Flash power | Lowest output that keeps the flower correctly exposed | Less power means less spill, so the wall stays darker for the same petal brightness |
| Focus | Single point on the stamens or nearest petal edge | Shallow depth of field means your focus target is the whole shot |
| White balance | Custom from the first frame | Stops a warm flower from drifting orange against the black |
The logic behind those numbers is straightforward. Ambient light is a fixed amount of brightness hitting the sensor, and every stop you take out of the camera reduces it. Small aperture, fast shutter, low ISO — all three work in the same direction.
Watch the shutter against your flash sync speed. If your camera syncs at 1/200s, you cannot go faster without banding or a partially black frame, so narrow the aperture instead. If your subject is still too bright at f/16, drop the flash power rather than raising ISO.
For focus, switch to single-point or manual focus and put that one point on the detail you care about most: the stamens, the edge of a petal, a droplet. At f/16 with a macro lens you get a few millimetres of sharp zone, so getting close matters more than the f-stop. Shoot a test frame and zoom in at 100% before you commit.
Check the histogram, not the screen. LCD screens glow in a dark room and will tell you a black background is grey when it is actually near-black. If the left edge stops short of true black, the background is still lit — go back to the spill and the distance.
Common Mistakes
Almost every grey background has one of these six causes.
The background is still lit by spill. The light is pointed roughly at the flower but its beam is wide, so light sprays past the petals onto the wall. Fix: add or widen the black flag on the light side, and move the light closer to the flower so the same output comes from a shorter throw.
The flower is too close to the background. Two feet of separation gives the wall almost as much light as the flower gets. Fix: push it to four feet or more and re-expose. This one change does more than any accessory.
The room has ambient light. Blinds leak, a hallway light spills, a white ceiling bounces the flash back down. Fix: kill every source, then check the frame with the flash off — if you can still see the background, there is ambient light reaching it.
The flower looks flat. Head-on light kills shape and throws a hard shadow straight behind the stem. Fix: move to 45 degrees or more off-axis and raise or drop the light so the shadow falls away from camera.
The petals are blown out. A bright white petal under a speedlight clips fast, and clipped channels cannot be recovered. Fix: lower flash power one notch, or add a diffuser to spread the light, then re-check the histogram’s right edge after every change.
There is a colour cast. Auto white balance reads the black background as neutral grey and tints the flower. Fix: shoot a frame, set custom white balance from a neutral area, and shoot RAW so you can correct the rest in editing.
If you would rather fix it afterwards, darken the background in your editor with a curves adjustment pulled down on the left, or mask the flower and drop the background’s exposure two stops while leaving the petals alone. Both work. Neither rescues a setup where light spill was hitting the wall in the first place.
Working without a flash
If you have no speedlight, you still have options. Shoot at dusk in a shaded corner where the sky is your only background and the flower is the brightest thing in frame. Put a dark room’s only lamp on the flower and use a darker corner of the room as the backdrop. Outdoors, stand with the shaded side of a building or a tree trunk behind the flower and wait for even cloud light to fall on it.
A desk lamp with a folded-over sheet of baking paper makes a serviceable diffused source, and a window at low sun angle gives you a hard beam that falls off fast. None of these are studio tools, and all of them produce the effect.
Frequently Asked Questions
Do I need a studio to shoot flowers against a dark background?
No. A dim room at home is enough, and a dining table works fine. You need one light, something dark a few feet behind the flower, and a black card to stop spill. The one thing worth borrowing rather than buying is a tripod, since a dark room often means slow shutter speeds.
What is the best lighting setup for a dark-background flower photo?
A single light placed 45 degrees to the side of the camera and slightly above or below the flower. Diffuse it with a softbox or a white panel if you want smooth petal colour, or leave it bare for crisp texture and dew. Black-flag the light on the background side and add white reflector fill opposite.
How do I take pictures of flowers with a black background?
Kill the ambient light, place the flower three to four feet from a dark surface, and light only the flower from the side. Small aperture, fast shutter and low ISO keep the room from lifting the backdrop. Meter off the petals, shoot RAW, and check the histogram for pure black behind the flower.
What camera settings work best for flower photography on a dark background?
Start at f/8 to f/16, 1/200s to 1/250s, and ISO 100 to 400 in manual exposure. Shoot RAW with a custom white balance taken from the first frame. If your flash sync speed caps you at 1/200s, narrow the aperture rather than raising ISO, and lower flash power if the petals start clipping.
Can I create a dark background outdoors instead of using a black sheet?
Yes, and outdoors you rarely need a sheet at all. Use shade, a tree trunk, a dark wall or open shadow as the backdrop, and make sure the flower is lit while that element stays in shadow. You will rarely get pure black, but one to two stops of separation gives a moody charcoal background that often suits an outdoor shot better.
How do I fix a flower photo when the petals are overexposed?
You cannot recover clipped highlights, so reshoot with less light on the flower. Drop the flash power one notch, move a diffuser further from the bloom, or close the aperture by one stop. Check the histogram’s right edge after every change rather than trusting the camera’s highlight warnings, which often fire late.
Conclusion
Start simple: put the flower several feet in front of something dark, turn off every other light in the room, and aim one light at the petals from the side. Meter off the flower, check that the histogram shows true black behind it, and take a few variations with the light a little closer and a little further away.
Adjust in the field rather than in editing when you can. Once the petals are correctly exposed, the background almost follows.