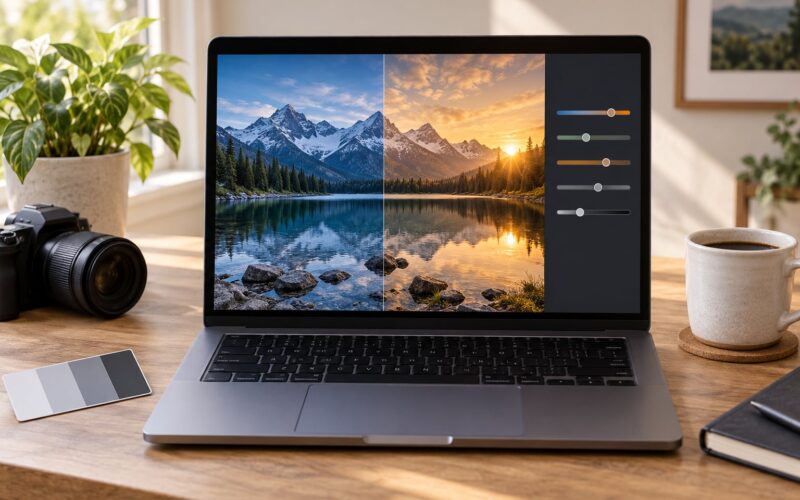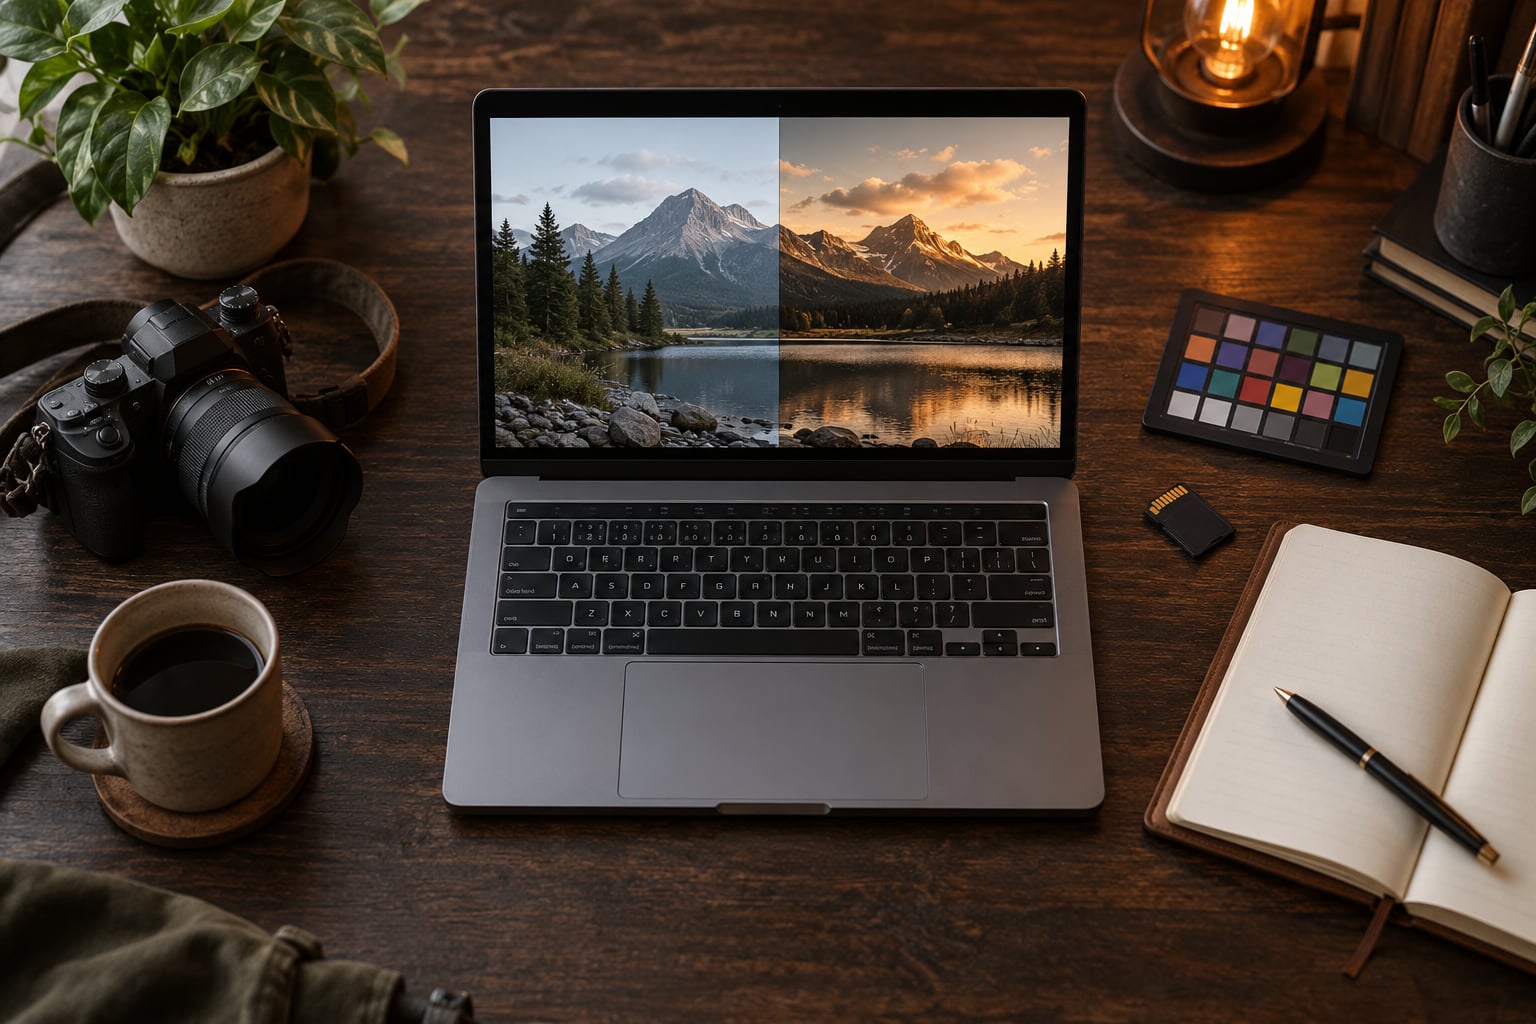
A LUT — a look-up table — is a precomputed map that takes the color values stored in your image and replaces them with new ones. It is usually stored as a .cube file, and applying it changes the mood of a photo in one step. If you have ever seen a video LUT described as a filter that makes everything teal and orange, that is exactly what a LUT does, and the same file works on still photographs.
The catch is that a LUT only remaps color. It cannot rescue a photo that was badly exposed, and it cannot fix a white balance you never set. Used in the right order and at a sensible strength, it saves you from rebuilding the same grade by hand across a hundred frames.
Table of Contents
- What Is a LUT in Photo Editing?
- How Does a LUT Change a Photo’s Colors?
- What Is a LUT in Photo Editing, Technically?
- What Are LUTs Used For in Photography?
- Can Every Photo Benefit from a LUT?
- How to Apply a LUT in Common Photo Editing Software
- In Lightroom Classic or Adobe Camera Raw
- In Photoshop
- In GIMP
- On a phone
- How to Choose the Right LUT
- Common LUT Mistakes and How to Fix Them
- Frequently Asked Questions
- Is a LUT the same as a photo preset?
- Can you use a video LUT on still photographs?
- Does applying a LUT change the original image file?
- Should you use a LUT before or after color correction?
- Why does my LUT look different in another editing program?
- Are free LUTs safe to use for commercial photography?
- Conclusion
What Is a LUT in Photo Editing?
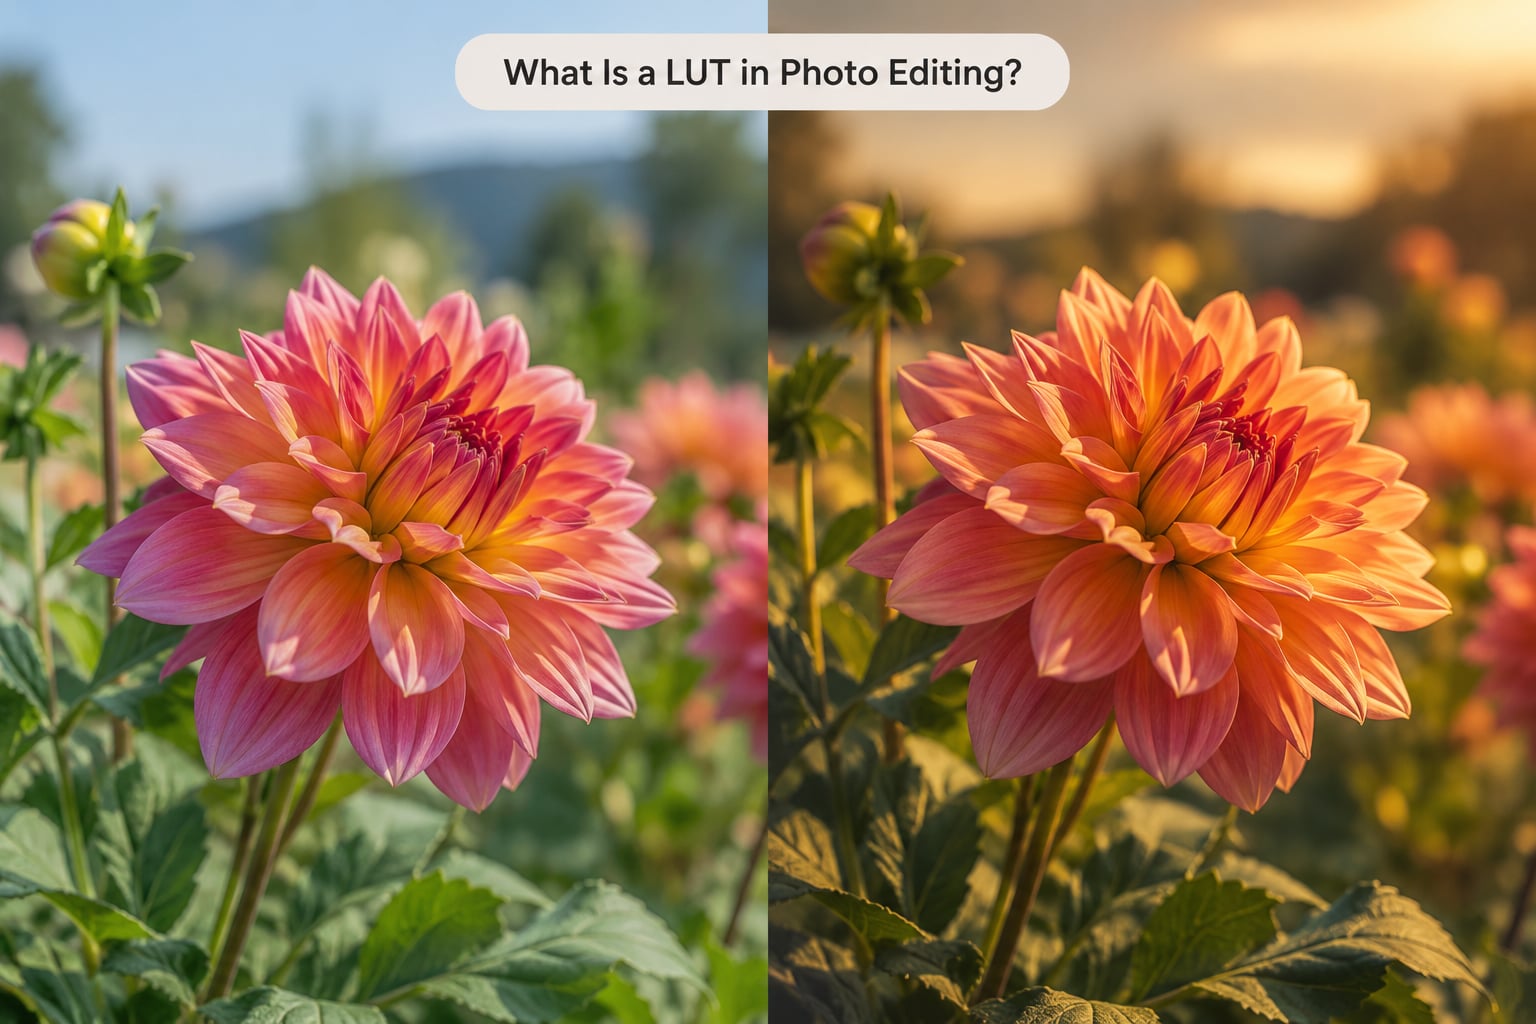
The short version: a LUT is a translation table, not a correction. Every pixel in your picture has three numbers, one each for red, green and blue. The table holds an output color for every possible input color, so the editor reads the numbers, looks them up, and writes the replacement numbers back into the image. One pass, one look, applied to the whole frame or to a single frame of video.
It helps to know what a LUT is not, because four different things get called “color profiles” or “looks” in everyday speech.
- A preset is a bundle of settings your software replays: exposure, contrast, curves, sharpening, grain and sometimes an embedded LUT. A LUT is only the color part of that bundle.
- A camera picture profile lives in the camera. It decides how your RAW file records tone and color before any software touches it, such as a flat profile for video or a standard profile for stills.
- A filter is the everyday word for anything that changes an image. It might be a preset, a LUT, or a lens effect.
- Monitor calibration is the opposite job. A calibration LUT corrects the display so it shows true colors, while a creative LUT changes the picture to look a certain way.
That last distinction trips people up constantly. A LUT that makes your screen look accurate is running in the opposite direction from the creative LUTs most photographers download.
How Does a LUT Change a Photo’s Colors?
Three steps, repeated for every pixel. First the editor reads the input color. Then it finds that color in the table, using interpolation when the exact value falls between entries. Finally it writes the output color. Because the table is a cube of three-dimensional coordinates, a single entry can move hue, saturation and brightness relationships together instead of dragging one channel at a time like a simple curve.
A quick example: if the table says any pixel with an input red value of 90 out of 255 should output 70, that pixel gets darker and slightly less saturated after the pass. Do that for millions of pixels at once and you get a consistent look across the entire frame.
| Tool | What it takes as input | What it changes | Reversible? |
|---|---|---|---|
| LUT | Every pixel’s RGB values | Color and tone relationships only | Yes, by switching the layer off |
| Preset | Nothing — it writes settings into the file | Exposure, tone, color, sharpening, grain | Yes, if applied as an adjustment layer |
| Filter | Depends on the app | Anything the app decides | Varies |
| Camera picture profile | The RAW file at capture | How tone and color are recorded | No, it is baked in on import |
| Monitor calibration LUT | Screen output | Corrects display inaccuracy | Applied by the display, not the photo |
What Is a LUT in Photo Editing, Technically?
Most creative LUTs are 3D tables. They map a red, green and blue input triple to a red, green and blue output triple, which means the transformation can be genuinely three-dimensional: darker blues can travel toward teal while bright reds stay warm. That flexibility is why the format became standard in cinema long before it reached photo editors.
A 1D LUT is simpler. It keeps three separate curves, one per channel, with no interaction between them. It is the same idea as a curves adjustment, packaged as a file. Useful for a quick contrast or gamma shift; it cannot do the cross-channel color moves that make a creative look recognizable.
Color spaces matter more than beginners expect. A LUT built to take flat log footage and return it to Rec.709 assumes a specific input range. Feed it a standard sRGB JPEG instead and the output values land far outside the range the table was tested on. Expect crushed shadows, blown highlights and colors that lean a strange direction. A creator who lists the input color space and the intended output on the download page is doing you a favor.
Interpolation handles the in-between values. A 3D LUT sampled at 17 or 33 points per axis cannot list every one of the 16.7 million possible colors, so the software estimates the missing entries. Coarser tables are faster and more compact; finer tables follow the creator’s intent more closely.
| Table type | Structure | What it can adjust | Typical use |
|---|---|---|---|
| 1D LUT | Three curves, one per channel | Tone and contrast per channel | Gamma and contrast shifts |
| 3D LUT | Cube of RGB input and output values | Hue, saturation and luminance relationships | Creative looks and log conversion |
| Technical LUT | 3D cube | Converts one color space or log curve to another | Log footage to Rec.709 |
| Creative LUT | 3D cube | Imparts a style | Cinematic or stylized stills work |
| Calibration LUT | 1D or 3D cube | Corrects a display | Monitor profiling software |
What Are LUTs Used For in Photography?
Matching a whole shoot to one look. Shoot a weekend on two bodies with different color science, or across a change in weather, and you end up with frames that do not sit together. Applying the same LUT as the final layer of every edit is the fastest way to make them agree.
Building a recognizable style. Wedding, product and portrait photographers deliver a series that has to look like one body of work. Baking a favorite grade into a LUT means you drop it on instead of rebuilding twenty sliders every time.
Translating log footage for stills work. If your camera records in a flat or log profile, a technical LUT converts that flat image back into something that looks normal, and a creative LUT can sit on top for style.
Speeding up a batch. Dragging one adjustment layer across a folder beats hand-tuning every file, and it gives the client a consistent look without you repeating yourself.
Simulating print and film looks. Kodak and Cine still-film emulation LUTs are a common free download, and they work well on scenes with even lighting. Watch for the odd skin tone, though.
Can Every Photo Benefit from a LUT?
No, and the photos it suits least are usually the ones people want to grade most. Before you look for a file, answer three questions.
Is the exposure right? A LUT expects midtones to land in the middle of its range. If your shadows are crushed or your highlights already clipped, there are no values left to remap. Experienced photographers are blunt about this: no LUT rescues a badly exposed shot, and the correction forums are full of the same complaint in different words.
Is the white balance set? A creative LUT bakes in its own color temperature. If yours runs warm and your image is already cool, you will spend the LUT strength sliding back and forth without fixing anything. Set white balance first and let the LUT add flavor on top.
Is the lighting mixed? A room lit by warm bulbs on one side and window light on the other has two different colors in the same frame. A LUT has one opinion about every pixel, so it will push both sides in the same direction. That is where skin tones turn orange and the frame stops looking natural.
LUTs also assume you know your destination. The same file behaves differently on a phone screen, a print and a wide-gamut monitor, and a look tuned for a backlit display can look washed out once printed.
How to Apply a LUT in Common Photo Editing Software
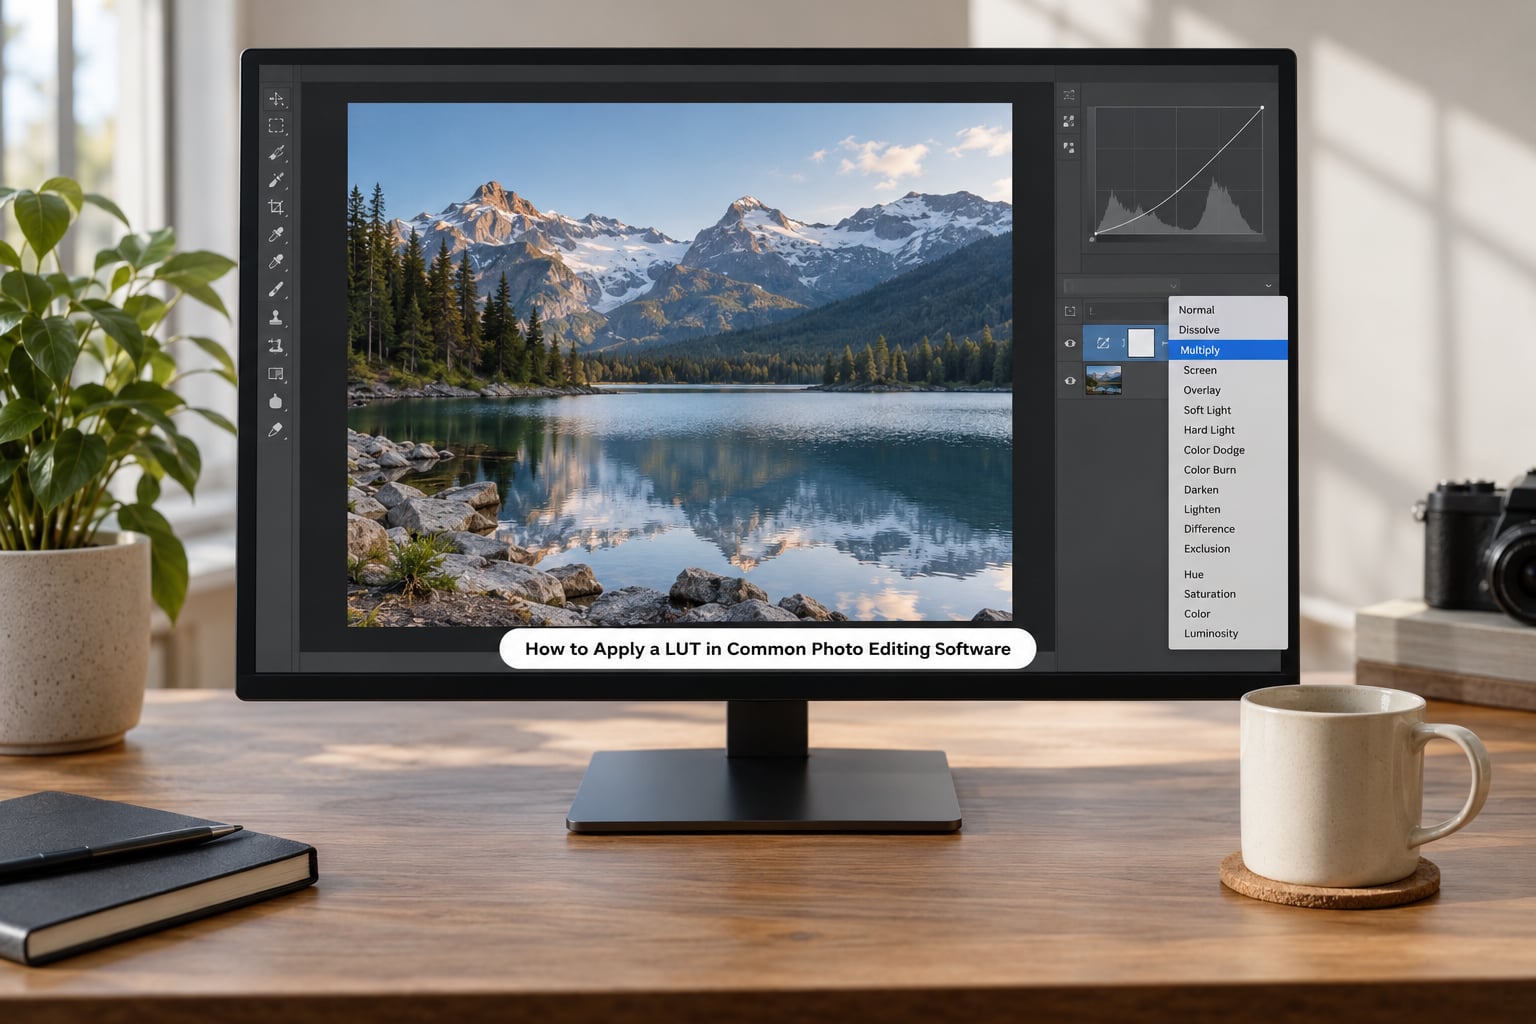
Menu names shift between versions, so check the screenshots in your own copy. The steps below follow Lightroom Classic and Adobe Camera Raw, current Photoshop, and GIMP 2.10 or later.
In Lightroom Classic or Adobe Camera Raw
- Finish your edit first: exposure, white balance, tone curve and any local adjustments.
- In the Develop module, open the adjustment icons at the bottom of the right-hand panel and choose Color Lookup.
- Click the folder icon in the Color Lookup panel and select your
.cubefile. - Drag the Mix slider down to 50 or lower for your first look.
- Close the panel. The adjustment becomes a point in the Edit History, which you can always click off again.
Lightroom looks for LUTs in a folder named LUTs inside the folder holding your catalog, and it offers several bundled ones so you can test the feature before downloading anything.
In Photoshop
- Pick Layer > New Adjustment Layer > Color Lookup.
- In the adjustment’s properties panel, click the folder icon and load your
.cubefile. - Set Blend Mode to Color if the look looks too heavy, then bring the Opacity down until the colors feel believable.
- If the panel has no folder icon, open the adjustment’s panel menu and choose Load 3D LUT. On older builds the dialog appears through that menu instead.
Working on an adjustment layer rather than the photo itself means you can still move the layer, mask it, or turn it off without touching your pixels. That is the single habit that keeps experimentation painless.
In GIMP
- Open your image, then go to Filters > Colors > Color Map and set the input and output color space options to match what the LUT expects.
- Load the
.cubefile and adjust the strength of the result in the dialog.
GIMP applies the map destructively by default. If you want to undo freely, add the filter non-destructively through Filters > Generic > GEGL Graph and load it there instead.
On a phone
Several mobile editors load .cube files directly, usually through a Color Lookup or LUT filter with a strength slider. The workflow is the same as on desktop, and the same warning applies: if the app asks you to pick an input color space, match it to your file instead of accepting the default.
How to Choose the Right LUT
Look for the boring information first. A download page that names the input color space, the output color space and the intended source tells you more than a page with a cinematic thumbnail.
- Intended use. Some packs are built for log video and will wreck a standard JPEG. Look for stills or photography packs when that is what you shoot.
- Source profile. A LUT expecting Sony S-Log3 or Fujifilm Eterna behaves predictably only on footage shot with that profile.
- Strength controls. Good LUTs behave gently at low mix values. If the creator only shows the look at 100 percent, you are doing all the work of easing it back.
- Skin tones. Check that the pack protects skin hues. Wildlife and scenery work hides more sins than portraits do.
- Consistency. A creator who publishes their input assumptions and shows the same settings across several scenes is easier to trust.
- Licensing. Read the terms if the images are for a client, a shop or an ad. Personal and commercial rights are often split.
On free versus paid packs, my honest read is that the price rarely buys a better file. Plenty of camera manufacturers and software companies publish good free LUTs to get you into their ecosystem. What paid packs usually add is breadth, video support and someone to email when a file misbehaves. Start free, and buy only when you have found a specific look you cannot make yourself.
Common LUT Mistakes and How to Fix Them
Clipped highlights and crushed shadows. The LUT is pushing values past the ends of the range. Lower the mix slider, pull exposure back first, and confirm your input color space matches the file. An ISO limit of 100 often reveals clipping that the view screen hid.
Skin that looks waxy or orange. Drop the mix to 30 or 40, add a targeted HSL adjustment on the orange and yellow ranges, or skip that LUT for this subject entirely.
Surprise contrast. The creator designed the look for a specific scene. Compare your histogram with theirs if it is published, and choose a gentler file for high-key scenes.
Wrong color-space assumptions. The most common cause of “this looks broken.” Check the input space the LUT was built for against your file’s profile before blaming the file itself.
File size and loading speed. Very high resolution 3D LUTs with dense sampling give diminishing returns on ordinary screens. A standard table loads faster and is easier to share.
Overusing a famous look. If everyone recognizes your grade in a second, it stops being your work. Dial it back until it reads as taste rather than a filter, and keep a manual grade for the frames that matter most.
Judging on an uncalibrated screen. This one explains most of the “why does it look different on my phone” messages in photography forums. A bright laptop and a cheap external display disagree about almost every color. Judge looks on a calibrated display, and treat your phone as a preview at best.
Frequently Asked Questions
Is a LUT the same as a photo preset?
No. A preset stores a full set of camera raw settings, such as exposure, contrast, curves, sharpening and grain, and can include a LUT inside it. A LUT holds only color and tone mappings. That is why a preset can rebuild a whole look, while a LUT can only recolor a photo you have already corrected.
Can you use a video LUT on still photographs?
You can, and plenty of photographers do. The file format and the color math are the same. The catch is that most video packs assume log footage from a cinema camera, so they look harsh on a standard JPEG. For stills, pick a pack built for stills or dial the mix down to 40 percent and judge the result.
Does applying a LUT change the original image file?
Not when you apply it as an adjustment layer in Lightroom or Photoshop. The LUT sits above your pixels and can be toggled, re-ordered or masked at any time. Only if you flatten, merge and save over the original does the change become permanent, which is why most photographers work on copies or keep catalog backups.
Should you use a LUT before or after color correction?
After. Set exposure, white balance and tone curve first, then apply the LUT as your final global step, then make local corrections if needed. A LUT expects neutral input values. Hand it an uncorrected photo and it will simply exaggerate whatever mistakes are already there.
Why does my LUT look different in another editing program?
Usually the input and output color space settings differ between the two programs, or one is missing the LUT library that stores the file. Poor monitor calibration causes the same complaint, since two uncalibrated screens will never agree. Match the color space settings in both programs and check the display before blaming the LUT.
Are free LUTs safe to use for commercial photography?
Quality aside, safety depends on the license, not the price. Many free LUTs are published for evaluation, personal use or learning only. Some are released by camera makers for any use. Before a paid client shoot, read the terms on the download page or the creator’s site, and keep a note of where the file came from.
Conclusion
A LUT is a lookup table that remaps the colors in your photo through a list of precomputed values, usually shipped as a .cube file. It is a fast way to add a consistent look or match a set of shots, and it is not a substitute for a correct edit.
If you are starting out, do this first: get the exposure right, set white balance, build any tone curve, then drop the LUT on as an adjustment layer at half strength and step it up slowly. Judge the result at normal viewing size on a decent screen, and keep the layer switchable so you can always back out. Once that workflow feels natural, saving your own grade as a LUT takes about the same effort as saving a preset.