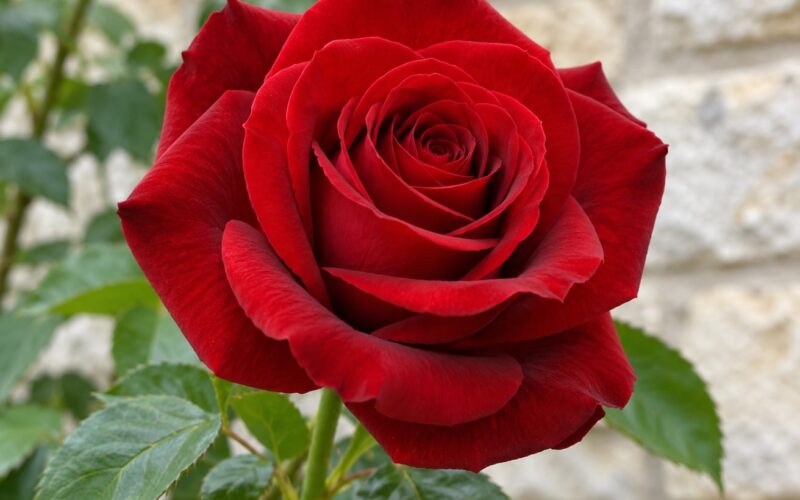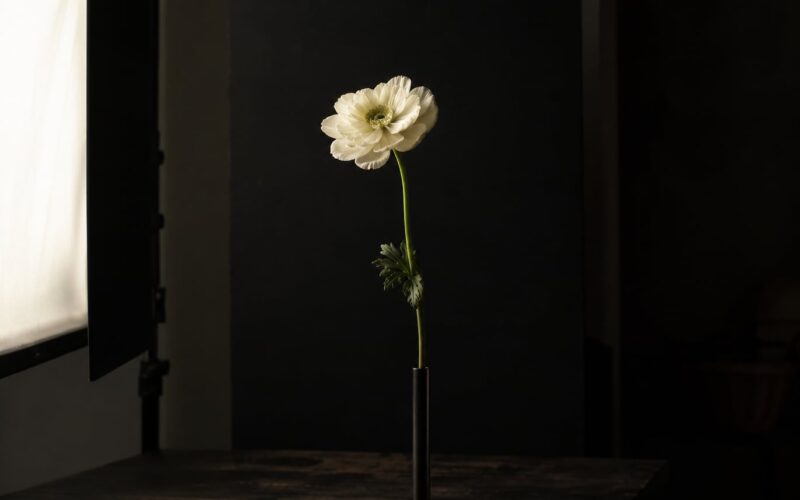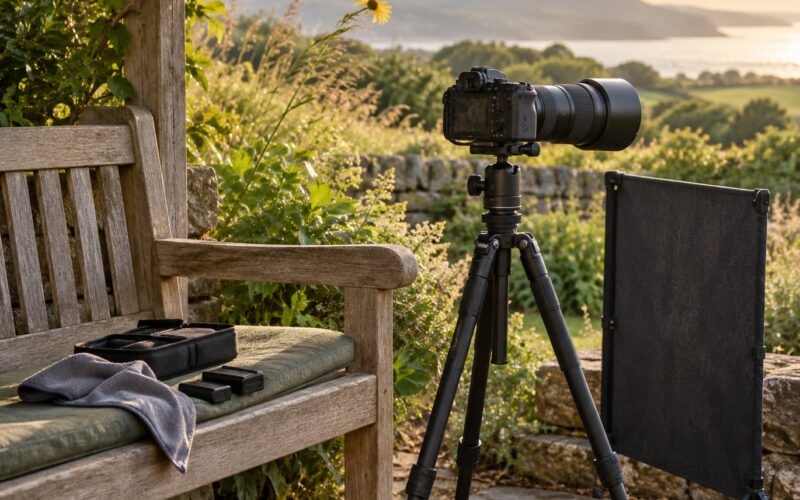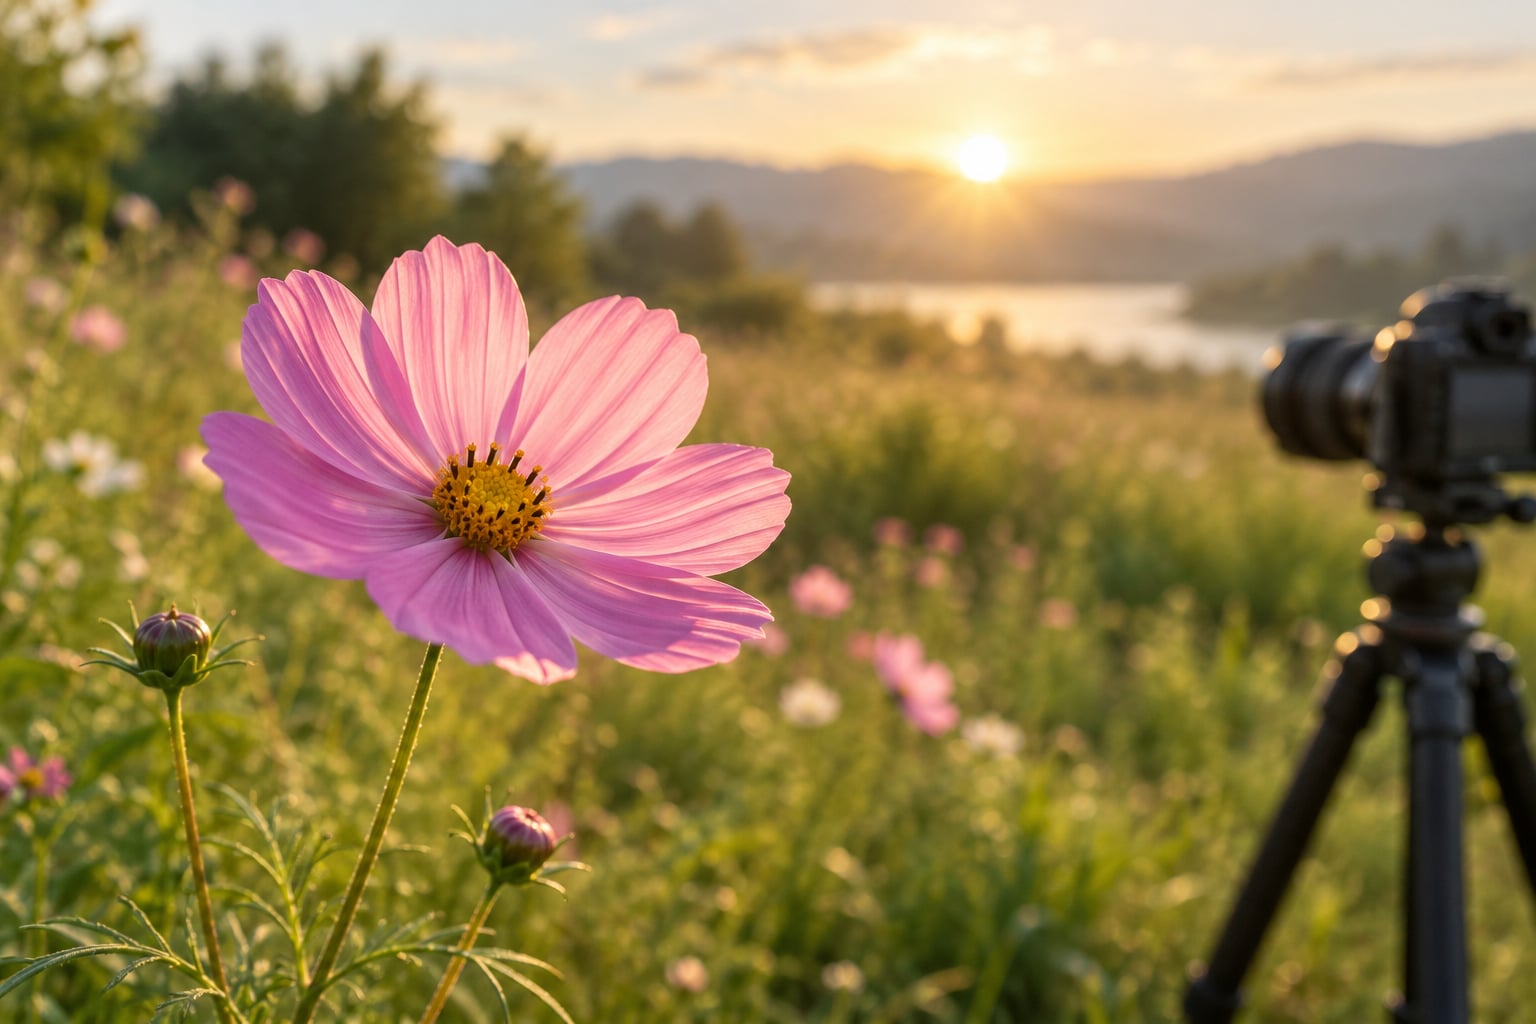
To blur the background in flower photography, open your aperture as wide as the lens allows (f/2.8 or f/4), focus on the front petals, and give the flower as much space as possible from whatever is behind it. That combination produces shallow depth of field, where only a thin slice of the scene stays sharp and everything behind the bloom turns into soft colour.
The word for that soft background is bokeh. It is not a setting you switch on. It is the result of three things working together: a wide aperture, a long working distance, and real physical space between the flower and its backdrop. Any camera and any lens can do it, even a phone.
A ten-minute job once you know which lever to pull. Most beginners pull the wrong one first, usually stopping down for a brighter viewfinder, and end up wondering why the background is still sharp.
Table of Contents
- What You Need to Blur the Background in Flower Photography
- How to Blur the Background in Flower Photography, Step by Step
- Choose a Flower With a Clean Background
- Use a Wide Aperture for Strong Blur
- Create Distance Between the Flower and Background
- Choose the Right Focal Length
- Focus on the Part of the Flower You Want Sharp
- Use Light and Stabilize the Camera
- Check the Result and Make a Final Edit
- Common Mistakes When Blurring Flower Backgrounds
- Frequently Asked Questions
- What aperture is best for blurring the background in flower photography?
- Can I blur the background in flower photography with a smartphone?
- Why is my flower sharp but the background not blurred?
- Is portrait mode better than a wide aperture for flower photos?
- How do I keep the petals sharp when using a wide aperture?
- Can I blur a busy garden background without editing?
- What to Do First
What You Need to Blur the Background in Flower Photography
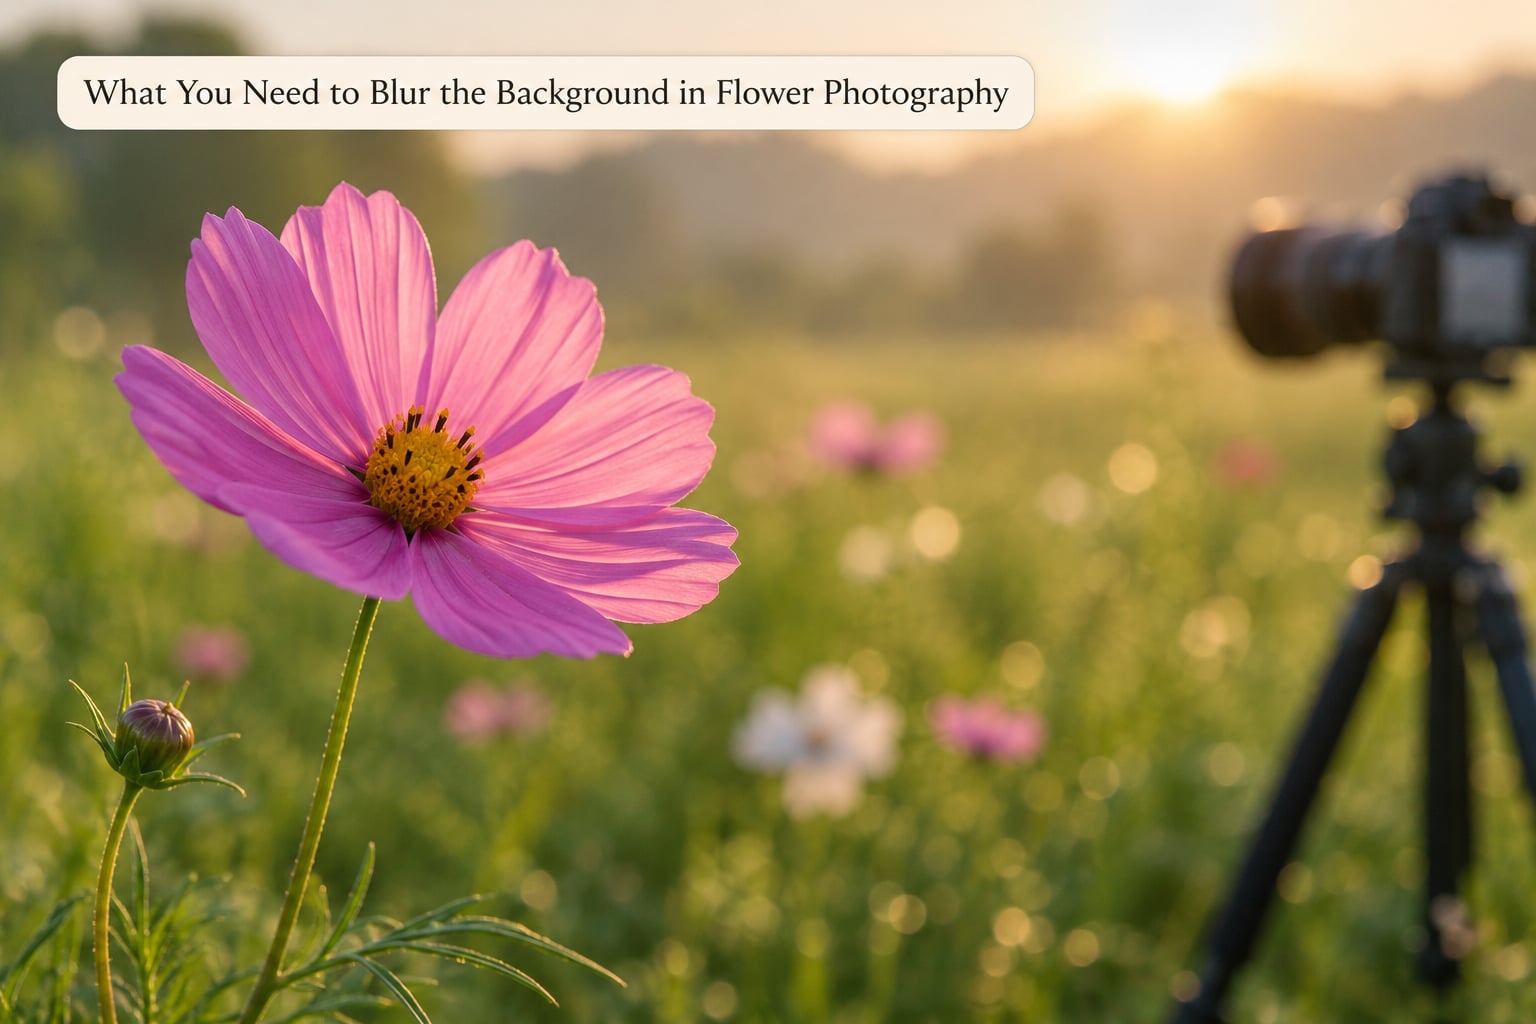
Less gear than most people assume. A camera with an adjustable aperture, any lens that focuses, and one flower with space behind it will do the job.
Useful to have, not required:
- A tripod. Wide apertures need slow shutters, and a breeze does not wait for you.
- A reflector or a small white card. Fills the shadow side of the bloom without dragging extra light gear through the mud.
- A phone with portrait mode. A genuine second option when the camera is left at home.
- A lens cloth. Fuzzy spots across the blur are the single most common reason a nice frame looks disappointing.
Here is the honest starting point for most single-bloom shots:
- Aperture: f/2.8, or the widest number on your lens
- Focal length: 100mm or longer if you have it; 50mm at f/1.8 works fine
- Shutter speed: 1/250s as a floor, faster in a breeze
- ISO: 100 to 400, keeping noise down because fine petal detail shows it badly
- Focus: single-point autofocus on the front petals, or manual focus magnified
- Background: at least a metre or two behind the flower, ideally further
One note on sensors. An APS-C or crop-sensor camera sees the same framing from a longer angle of view, so you need to open about a stop wider than the number suggests to get the same blur as full frame. That f/5.6 on an APS-C body behaves roughly like f/4 on full frame for depth-of-field purposes. Nothing is broken. You just budget one extra stop of light.
How to Blur the Background in Flower Photography, Step by Step
Choose a Flower With a Clean Background
Start by walking around the bloom, not by touching it. Most garden flowers are photographed against other flowers, half-open buds, seed heads, and bright gaps in the foliage. Those competing shapes are what make a background look busy no matter how soft you render it.
Crouch until the camera sees past the bloom to something distant and plain: a hedge line, a far wall, shaded soil. Getting there with your knees is the single most effective trick in this whole guide.
How you know it worked: zoom into the playback screen behind the flower and see smooth tone rather than recognisable shapes. A clean background also lets you use a narrower aperture, which means more of the flower stays sharp. Blur and detail stop fighting each other.
Use a Wide Aperture for Strong Blur
Lower f-number, more blur. That is the entire rule. f/1.4 gives the thinnest depth of field and the softest background; f/8 makes almost everything in the frame readable and sharp.
For flowers, f/2.8 to f/4 is where I spend most of my time. Wider than that and you are gambling on millimetres of focus, and a bee landing can cost you the shot.
Check the real numbers on your lens rather than trusting the dial markings. A kit zoom labelled 18-55mm usually stops at f/3.5 or f/4 at 55mm, and the written f/3.5 in the viewfinder is the setting that matters. The same lens at 18mm may only reach f/5.6.
Verify on the screen: the front petals should be crisp at full magnification while the background reads as colour, not detail. If the background still shows texture, move the flower away from it before opening up any further.
Create Distance Between the Flower and Background
This is the lever people leave alone. Aperture only does so much. If a leaf sits 30cm behind your bloom, it stays recognisable at any f-number your lens offers, because it is physically inside your depth of field.
Push the backdrop away. With a garden bed, that usually means changing where you shoot from rather than moving the plant. Stand so the flower is against the far end of the bed or an open lawn instead of against the hedge two feet behind it.
How to check: look at the frame and ask whether anything behind the flower is closer than about a metre. If yes, reposition. The same flower with the same lens and the same aperture can go from a cluttered mess to a clean portrait purely by moving your feet.
Choose the Right Focal Length
Longer lenses flatten the scene and magnify the blur that is already there. A 100mm macro or a 200mm telephoto will soften a background that a 35mm wide angle cannot, from the same spot.
That said, focal length on its own is not a blur machine. A 24mm wide angle used inches from a flower gives a distorted, busy result no matter what. Wide angles need distance, which is hard to find in a garden.
Practical starting points:
- Kit zoom 18-55mm: use 55mm, the widest aperture that lens allows there.
- 50mm f/1.8: the cheapest path to creamy blur, because you can get close and still shoot wide open.
- 85mm to 105mm macro: the natural flower portrait lens. Get the framing right by stepping back, not by changing lenses.
- 200mm and beyond: superb isolation, but the background is compressed and magnified, so a single bright weed five metres away can wreck the frame.
You do not need a macro lens to blur a flower background. You need a lens that will focus close enough for a wide aperture to matter.
Focus on the Part of the Flower You Want Sharp
At f/2.8 your depth of field can be as thin as a pencil lead. Where you put focus decides whether you have a photograph or a blur with a colour smudge in the middle.
Place a single autofocus point on the nearest petals, the centre column, or the stamens, then shoot. Check the highlight on the flower at full magnification to be sure it is not slightly soft.
Two things go wrong most often. The camera grabs a leaf or a stem behind the bloom, and the flower ends up soft while the background is sharp. And at a wide aperture with a whole plant in frame, the front petals are sharp and the tip of the flower is not. If you need the entire bloom sharp, stop down a stop or two and accept less blur, or focus stacking it.
Use Light and Stabilize the Camera
Wide apertures cost light, so light decides whether the shot happens at all. Early morning and the last hour before sunset give you soft directional light with no harsh spots, and there are fewer people around the beds.
Backlight is worth a try too. When the sun is behind a flower and you expose for the petals, bright points behind the bloom turn into round glowing discs rather than hard shapes. Overcast shade works well for colour and texture but tends to flatten the contrast between subject and background.
To hold the wide aperture in lower light: use a tripod and a two-second timer or a remote release, raise the ISO until you reach a usable shutter speed, or open up further and accept the thinner focus. Stabilization is not a substitute for any of these. It steadies the camera, it does not freeze a petal moving in the wind.
Check the Result and Make a Final Edit
Before editing, look at three things: the histogram for blown highlights on the brightest petals, the sharpness on the nearest petal edge, and the frame edges for anything distracting that survived the reframing.
Edits that help: a small drop in background exposure so the bloom sits forward, modest contrast and texture, and a touch of sharpening on the subject only. Selective masks let you treat the flower and the background as two different images.
Edits that hurt: heavy noise reduction that turns petals plastic, over-sharpening that halos the edges, and blur filters applied to a background that was already soft. You cannot fake shallow depth of field convincingly. You can only clean up a real one, or lift a background that was nearly soft enough.
Common Mistakes When Blurring Flower Backgrounds
Stopping down for a brighter viewfinder. A photographer opens to f/2.8, sees the scene dim, closes to f/5.6, and the background sharpens again. Fix: shoot in aperture priority with exposure compensation, or set the ISO high enough to keep the wide aperture.
The flower is pinned to the background. No aperture rescues a subject that is touching the backdrop. Fix: crouch, move sideways, or find the same bloom from the other side of the bed.
Focus lands on the wrong thing. The bloom is soft and the background is sharp, which means the autofocus found a stem. Fix: switch to single-point AF, place the point on the petals yourself, and verify at full magnification.
Expecting stabilization to freeze the flower. In a light breeze, the subject moves and no amount of steady camera helps. Fix: at least 1/250s, raise ISO rather than slowing the shutter, or use the timer and shoot between gusts.
Over-editing the blur. Blur filters and aggressive noise reduction make a flower look pasted on. Fix: keep the edit to background exposure, contrast and texture, and stop there.
Blur when the background should stay sharp. A field of wildflowers, a bouquet, and a product shot of a vase all lose their point when the surroundings dissolve. Fix: for fields, use f/8 and focus about a third of the way into the group. For bouquets, keep the whole arrangement readable and let colour carry the image instead.
Frequently Asked Questions
What aperture is best for blurring the background in flower photography?
Start at f/2.8 and open wider only if you need more. That gives you a thin but workable depth of field, usually a few millimetres at flower distances, which is enough for the front petals and stamens. Going to f/1.4 gains a little more blur but leaves almost no margin for wind, movement or autofocus error. Check what your lens actually reaches at the focal length you are using.
Can I blur the background in flower photography with a smartphone?
Yes. Use portrait mode, which simulates a shallow depth of field with software. Get physically close to the flower and keep the background several feet further away, or the effect falls apart at the edges. Portrait mode works best on a subject with a clear outline, so single blooms beat busy clusters. For the most natural look, tap the flower to lock focus and exposure, then check the edges for halos.
Why is my flower sharp but the background not blurred?
In most cases the flower is not the problem, the distance is. If the backdrop is close behind the bloom, it sits inside your depth of field at any aperture. Other causes: the lens is at its wide-angle end where apertures are narrower, or you are checking the image at low magnification on the camera screen. Move the backdrop out, move to the telephoto end, and inspect the frame at 100%.
Is portrait mode better than a wide aperture for flower photos?
Portrait mode is more forgiving and requires no lens choices, so for quick phone shots it is the better tool. A real wide aperture gives more natural blur, better edge handling and more control over where the sharp zone falls, which matters when you want the front petals sharp and the rest of the plant soft. If you own a camera with a fast lens, use it. If you do not, portrait mode at least gets you a clean background.
How do I keep the petals sharp when using a wide aperture?
Focus on the nearest petals or the centre of the flower, use a single autofocus point rather than a wide area, and confirm sharpness at full magnification before you shoot. Speed matters more than people expect: at least 1/250s, or use the two-second timer on a tripod. If the whole bloom has to be sharp, stop down one or two stops and accept a little less background blur.
Can I blur a busy garden background without editing?
Usually yes, by shooting rather than editing. Reposition until the backdrop is plain, get low so the frame sees past the flower to something distant, and shoot at a long focal length. Backlighting helps too, since bright out-of-focus points read as soft discs instead of clutter. If the background still fights the flower, editing can only clean it up, not replace genuine separation.
What to Do First
Pick a single bloom with a distant, plain background, then shoot one frame at f/2.8 with focus on the front petals and zoom into the playback screen. If the background is soft, you are done adjusting. If it is not, move your feet before you touch anything else.