You photograph deer without scaring them by staying far enough away that the animal never feels cornered, by approaching from downwind or crosswind in short slow bursts, and by freezing every time a deer turns to look at you. Get reach with a telephoto lens instead of closing the distance, and most sessions end with a calm animal that keeps browsing.
The mistake almost everyone makes first is walking toward the deer. It feels like progress, and it works right up until the moment the head comes up and the body locks still. Everything below is about avoiding that sequence, or recovering when you have already started it.
Dawn and dusk give you the longest quiet windows. Deer move then, the light is low and soft, and you have two usable hours instead of a whole day of people, dogs and traffic.
Table of Contents
- What You Need
- Step-by-Step
- Start Far Enough Away to Photograph Deer Without Scaring Them
- Arrive Quietly and Blend Into the Background
- Choose Settings That Reduce Noise and Movement
- Watch Alertness Before Taking More Photos
- Shoot Only Natural Moments and Leave Gradually
- Common Mistakes
- Frequently Asked Questions
- How far away should I photograph deer?
- Can I use bait or deer calls to get a closer photograph?
- Why do deer stare at me before they run?
- What lens is best for photographing deer without getting close?
- Is it legal to photograph deer in the wild?
- Conclusion
What You Need
Longer reach, not more speed. A 300mm or 400mm lens lets you work from 40 metres where a kit zoom would have you creeping to 15.
- A telephoto or long zoom lens. 200mm to 600mm covers most deer situations. The lens is what lets you give the animal space without giving up the frame.
- A camera with dependable autofocus. Continuous AF with subject or eye detection, and a burst mode, turn a quick head turn into a sharp frame instead of a blur.
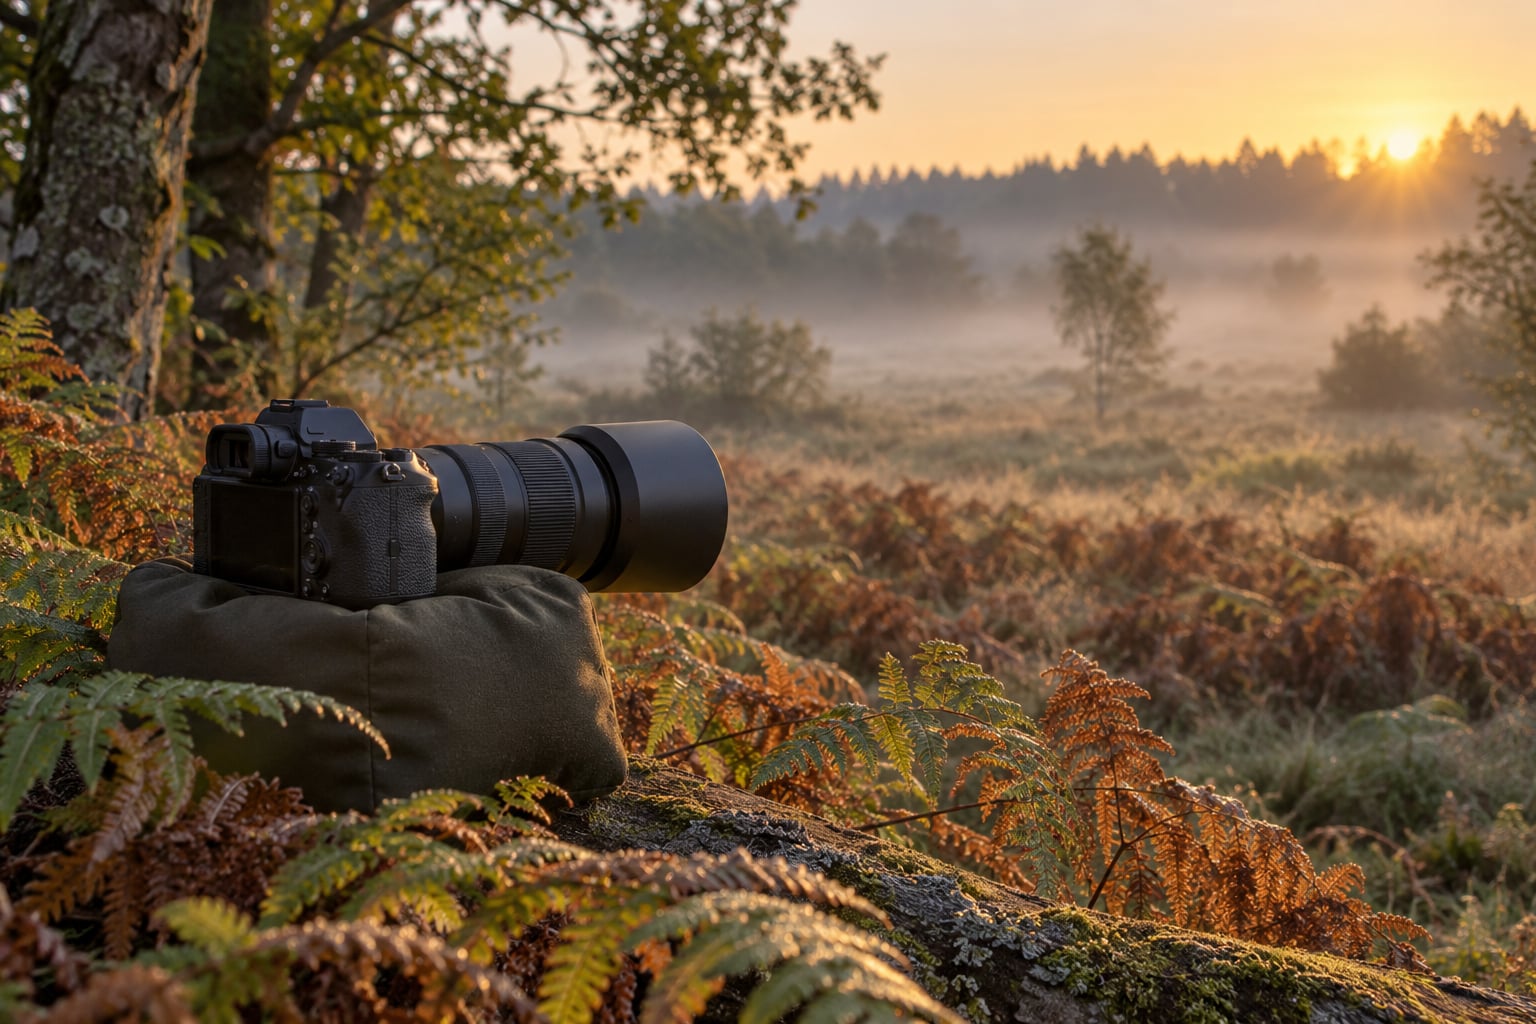
- A beanbag, monopod or gimbal head. At 400mm your elbows shake. Support lets you hold a steady frame quietly instead of shifting your weight and resetting the tripod each time.
- Quiet clothing in neutral tones. Matte fabrics, no rustling nylon, no bright white or orange. Skip the jacket and focus on trousers and boots, since deer see poorly beneath the outline of a body.
- Non-reflective gear. Bag clasps, buckles, watches and lens flags all catch light. Cover anything that glints.
- Water and a head for the cold. Sit-and-wait sessions run longer than you plan. Most deer photography happens before sunrise and involves standing still.
- A clear exit plan. Know where you came from and where the deer can run. Never end up between an animal and its cover.
Add a hide, a vehicle or a screen of thorn and bramble if you have one. If you cannot get close enough to work without cover, that is a signal to use reach, not to push nearer.
Step-by-Step
Start Far Enough Away to Photograph Deer Without Scaring Them
Judge distance by reaction rather than by a number on a map. If the deer is feeding or browsing with a loose posture, you have room. If the head is up and the ears are turned your way, you are already at the edge.
Deer see roughly 300 degrees horizontally. There is a blind spot directly behind them and a narrow one in front, but their heads swivel constantly, so treat almost every direction as covered. In open farmland an animal will often move before it lets you get close at all.
| Deer | Open country | Edge of cover | Inside woodland or from a hide |
|---|---|---|---|
| Roe deer | Often 100m or more | 50 to 80m | 20 to 30m |
| Red and sika deer | 200m to 500m | 80 to 150m | 30 to 60m |
| Fallow deer | 200m to 400m | 80 to 120m | 30 to 50m |
| Mule and white-tailed deer | 60 to 100m | 40 to 60m | 15 to 30m |
Treat those as broad bands, not guarantees. Animals used to people, hunting pressure, cover and time of day all shift the number in either direction.
Success at that distance comes down to four habits: use whatever is between you and the animal, approach on a broad arc rather than straight in, keep the escape route open behind them, and set your position before they arrive rather than following after.
Arrive Quietly and Blend Into the Background
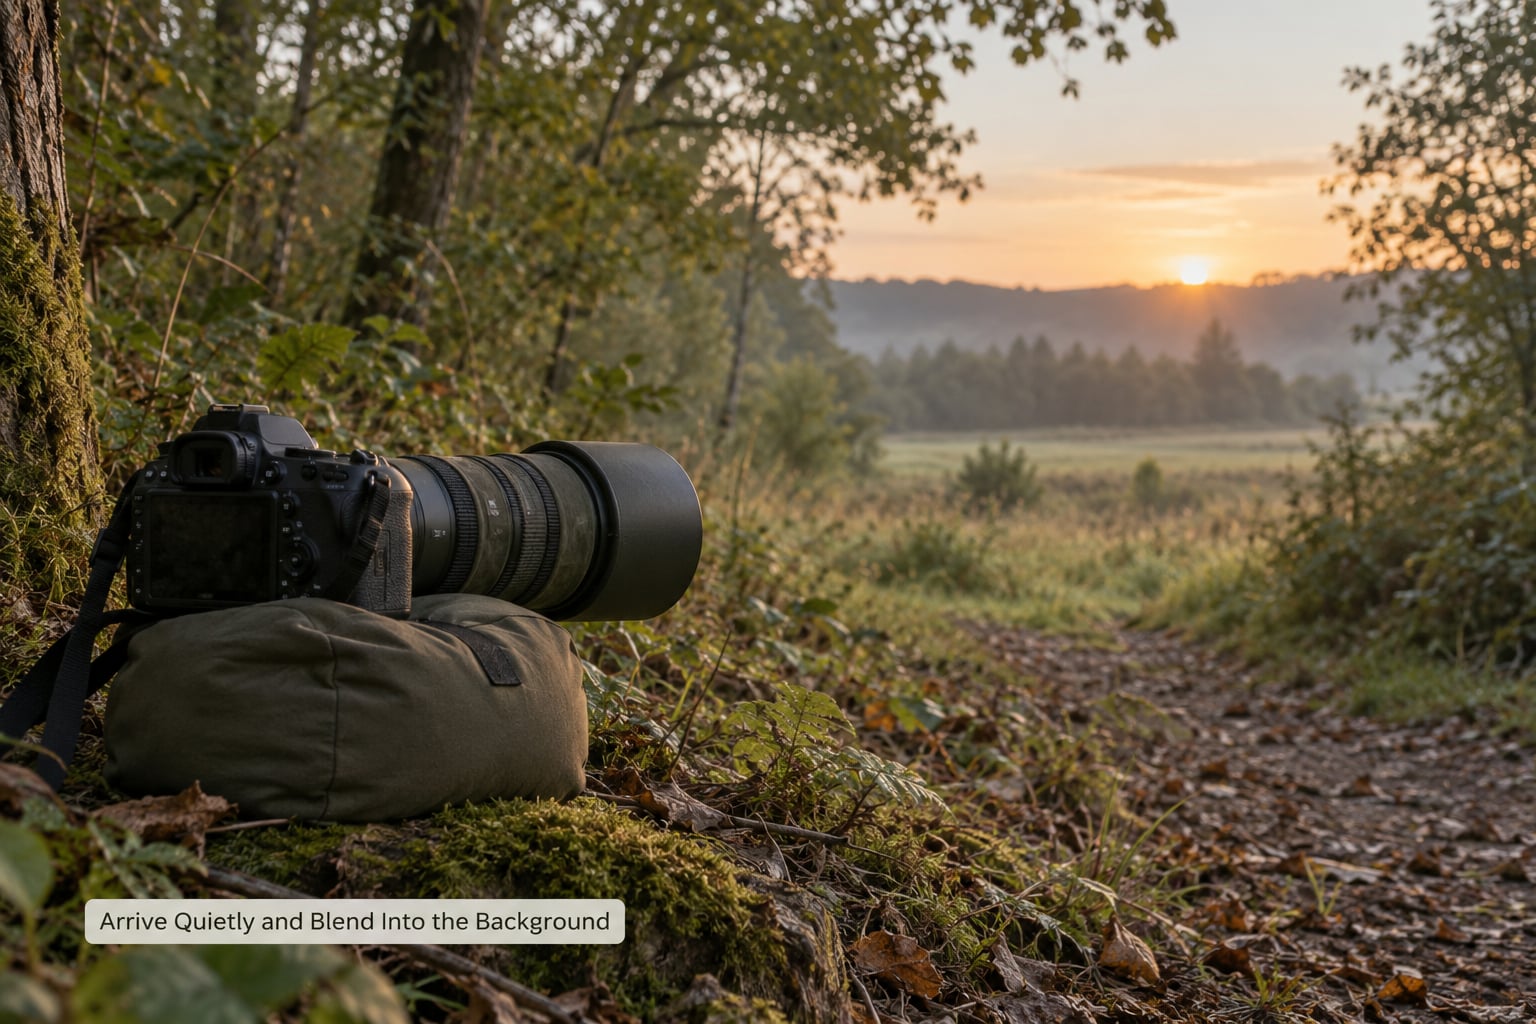
Walk with the flat of your foot and roll from heel to toe through each step. Long grass and bracken are loud, so lift your feet high and set them down slowly, or step on the same track someone else already pressed flat.
Move in short bursts. Take a few steps, stop, stand still, and listen. A continuous slow creep is far more suspicious than a series of pauses, because animals read rhythm and inconsistency as a threat.
Watch the background as much as the deer. A bright shirt against dark woodland reads as an outline at a distance you cannot see clearly. Neutral clothing helps most in low contrast light, where the animal is already camouflaged.
Long grass can hide your legs and the lower half of your body. That is useful, because deer see poorly beneath that outline, so crouching does more good than a jacket pattern ever will.
The moment behaviour changes, stop. Head up, ears locked your way, movement halted in the group: you stop too and wait. Photographers report the same thing repeatedly in forums. The deer resumes feeding the instant you stand still, which tells you the stillness was the problem and the distance was not.
Choose Settings That Reduce Noise and Movement
Deer are still most of the time and then fast without warning. Settings should assume the fast case so that a sudden turn still lands sharp.
| Deer behaviour | Shutter speed | Aperture | ISO | Focus |
|---|---|---|---|---|
| Feeding or resting | 1/500s | f/4 to f/5.6 | Auto, capped at 3200 | Continuous AF, subject detection |
| Walking | 1/1000s | f/4 | Auto, capped at 6400 | Continuous AF, subject detection |
| Crossing or startled | 1/2000s | f/2.8 to f/4 | Auto, capped at 12800 | Continuous AF, high burst |
| Rut behaviour, close and slow | 1/800s | f/2.8 | Auto | Continuous AF, wider eye box |
Shutter priority with auto ISO is the easiest starting point because the camera handles the exposure as light changes under a canopy. Adjust ISO before you adjust shutter speed when you need one more stop, since a slow shutter on a walking deer ruins the frame and a slightly grainy one does not.
Switch off autofocus sounds if your camera has the option, and avoid silent shutter modes on wary species: the electronic shutter can produce a faint high-frequency noise some animals react to, so test it at a park deer before trusting it in a wood.
Meter for the background. A pale sky or sunlit field behind a dark animal will expose for the sky and render the deer as a silhouette. Around minus one to minus one and a third of a stop of exposure compensation usually fixes it, and it saves the background detail too.
Watch Alertness Before Taking More Photos
Deer spook in a sequence, and you can read every stage of it before the animal runs.
- Ears rotate. One ear turns toward you while the rest of the animal keeps eating. This is curiosity, not yet alarm.
- Head comes up. Feeding stops. The neck extends and the muzzle points your way.
- Body freezes. Everything locks still, including other animals nearby. This is the decision moment.
- Foot stamping or a tail flag. One hoof lifts and stamps, or the white-flagged tail lifts and flicks. Alarm is now confirmed.
- Flight. The animal turns and goes, usually with a sharp bark, and the rest of the group follows within a second.
A staring deer is at stage two or three. Freezing means freezing. Do not advance, do not raise the camera, do not hold eye contact, do not talk. Turn slightly away, keep your outline low, and give it thirty seconds. More than once the staring has ended with the animal relaxing and resuming its browse, and you keep your location for the next session.
Deer that spook do remember the spot. The general advice is to leave that area alone for a while and return from a different angle, because the herd treats the place as unsafe rather than forgetting you by lunchtime.
Shoot Only Natural Moments and Leave Gradually
Wait for browsing, grooming, a stag moving through mist, a doe turning to check her fawn. Chasing an action gets you a frame of an animal running away, which is not the picture you came for.
Skip flash, calls and any playback sound. Sooner or later someone will tell you a rattling tin or a bleat brings deer in, and every time that advice is given it creates a habit of disturbed animals at that spot. It also puts you at odds with the law in many places.
Never crowd a doe with fawns. If you find yourself between a mother and her young, move away at once and do not photograph past her.
Pack up slowly and back out along the route you came in, leaving the deer a clear line to travel. The last five minutes of a session decide whether the location still works next week.
Common Mistakes
Each of these ends the session early, and each has a plain correction.
- Approaching too closely. Use reach. Crop in afterwards rather than walking in.
- Moving straight at the deer. Arc across at roughly 45 degrees so your path is less threatening, which also gives you the glance back toward the camera.
- Standing up as soon as the deer are relaxed, or standing tall to see. Stay low; knees and hips, not full height, unless you are well out of sight range.
- Using flash or calls. Delete both from the plan.
- Wearing bright or noisy clothing. Matte, neutral, quiet layers, and think about your lower body first.
- Blocking the escape route. Always leave open ground behind the animal.
- Shooting into a cluttered background. Change your position, not the animal’s. A slightly busier frame with a relaxed deer beats a clean one of a bolting buck.
- Reacting slowly to alarm behaviour. Camera down and freeze immediately. The photo is secondary to the location.
- Blaming soft images on the lens. Slow shutter speed is the usual cause. Check your speed before you blame your glass.
Four quick checks before you go. Wind: pick a crosswind or downwind route and confirm it at the spot, since a breeze can shift in ten minutes. Light: shoot the hour after sunrise and the hour before sunset, and use low sun behind the deer for rim light. Season: the rut brings stags and roaring, fawning season brings does and young that should be left alone, and winter gives clean white backdrops. Rules: check what your local authority requires, including permits for some reserves, restrictions on baiting, dog rules and seasonal closures, and close any gate you open.
Frequently Asked Questions
How far away should I photograph deer?
Far enough that the animal keeps browsing or grazing instead of raising its head. That reaction matters more than any number, since habituated deer in a park tolerate close approach while the same species in open farmland moves at a hundred metres. Use a long lens to fill the frame from where you already are, and treat any change in posture as your cue to stop closing distance.
Can I use bait or deer calls to get a closer photograph?
No, and the reason is practical as much as ethical. Habituated deer become jumpy, nervous animals that are harder to photograph at any distance, and bait sites draw animals from across a wide area, which spreads disturbance far beyond your spot. Baiting is also restricted or banned in many parks and reserves. Sit where deer already feed, before they arrive, and you get natural behaviour without changing what the place is.
Why do deer stare at me before they run?
The stare is the decision stage of the spook sequence. They have heard or smelled something, cannot identify it, and hold still to work it out before committing to flight. Your best move is to freeze too: keep the camera low, stop advancing, avoid eye contact and hold position for thirty seconds. That pause regularly ends with the animal relaxing and going back to browsing.
What lens is best for photographing deer without getting close?
For most situations, a 200mm to 300mm zoom on full frame, or roughly 300mm to 450mm equivalent on a crop body, gives enough size for a full-frame deer portrait at 40 to 60 metres. That is close to the distance where an animal stops caring about you. Long glass is not a licence to shoot from further away than the situation needs, but it does mean you rarely have a reason to move closer.
Is it legal to photograph deer in the wild?
In most places, yes, photographing deer on ordinary land or in the countryside is legal, but the rules that matter are about conduct rather than cameras. Baiting, calling, chasing with dogs and using drones are restricted in many areas, and national parks, nature reserves and some managed woodlands have their own permits, closures and access rules. Check the specific site before you go, and stay on paths or permitted ground.
Conclusion
The whole approach reduces to one habit: give the deer more room than you think you need, then spend the time waiting instead of closing. Reach with focal length, approach from downwind or crosswind in short bursts, freeze whenever an ear turns your way, and read the stare as a signal to hold still rather than to advance.
For your first session, pick a legal observation point where you have cover or a clear line of sight, identify the escape route the deer would use, settle for natural browsing frames from that spot, and only think about moving closer once the animal has relaxed and stayed relaxed.