Learning how to photograph animals at a zoo through glass comes down to four things: get close to the barrier, press a rubber lens hood flat against it, kill the reflection with angle or a polarizer, and focus on the animal instead of the glass. That method works with any camera, and it turns hazy snapshots into clean animal portraits you would not expect to come from a viewing window.
Zoo glass fights you at every step. It reflects overhead lights, it reflects you, it loses light, and the autofocus system keeps locking onto fingerprints somebody left this morning. None of that is a camera fault, and all of it is fixable.
Table of Contents
- What You Need
- Step-by-Step
- 1. Clean the glass and find the best patch
- 2. Turn off reflections with angle and light
- 3. Set the exposure so the animal is not a silhouette
- 4. Focus on the eyes, not the smudges
- 5. Stabilize the camera
- 6. Compose around the window frame
- 7. Take variations and read the histogram
- Common Mistakes
- Frequently Asked Questions
- Can you use a polarizing filter for zoo glass?
- How do you focus through dirty zoo glass?
- What lens is best for zoo photography?
- Should you use flash for zoo photography through glass?
- What are the best camera settings for zoo photography through glass?
- Best time of day for zoo photography?
- Conclusion
What You Need
A camera with any interchangeable lens or a long zoom does the job. The lens matters far more than the body, because the glass gives you almost no room to move.
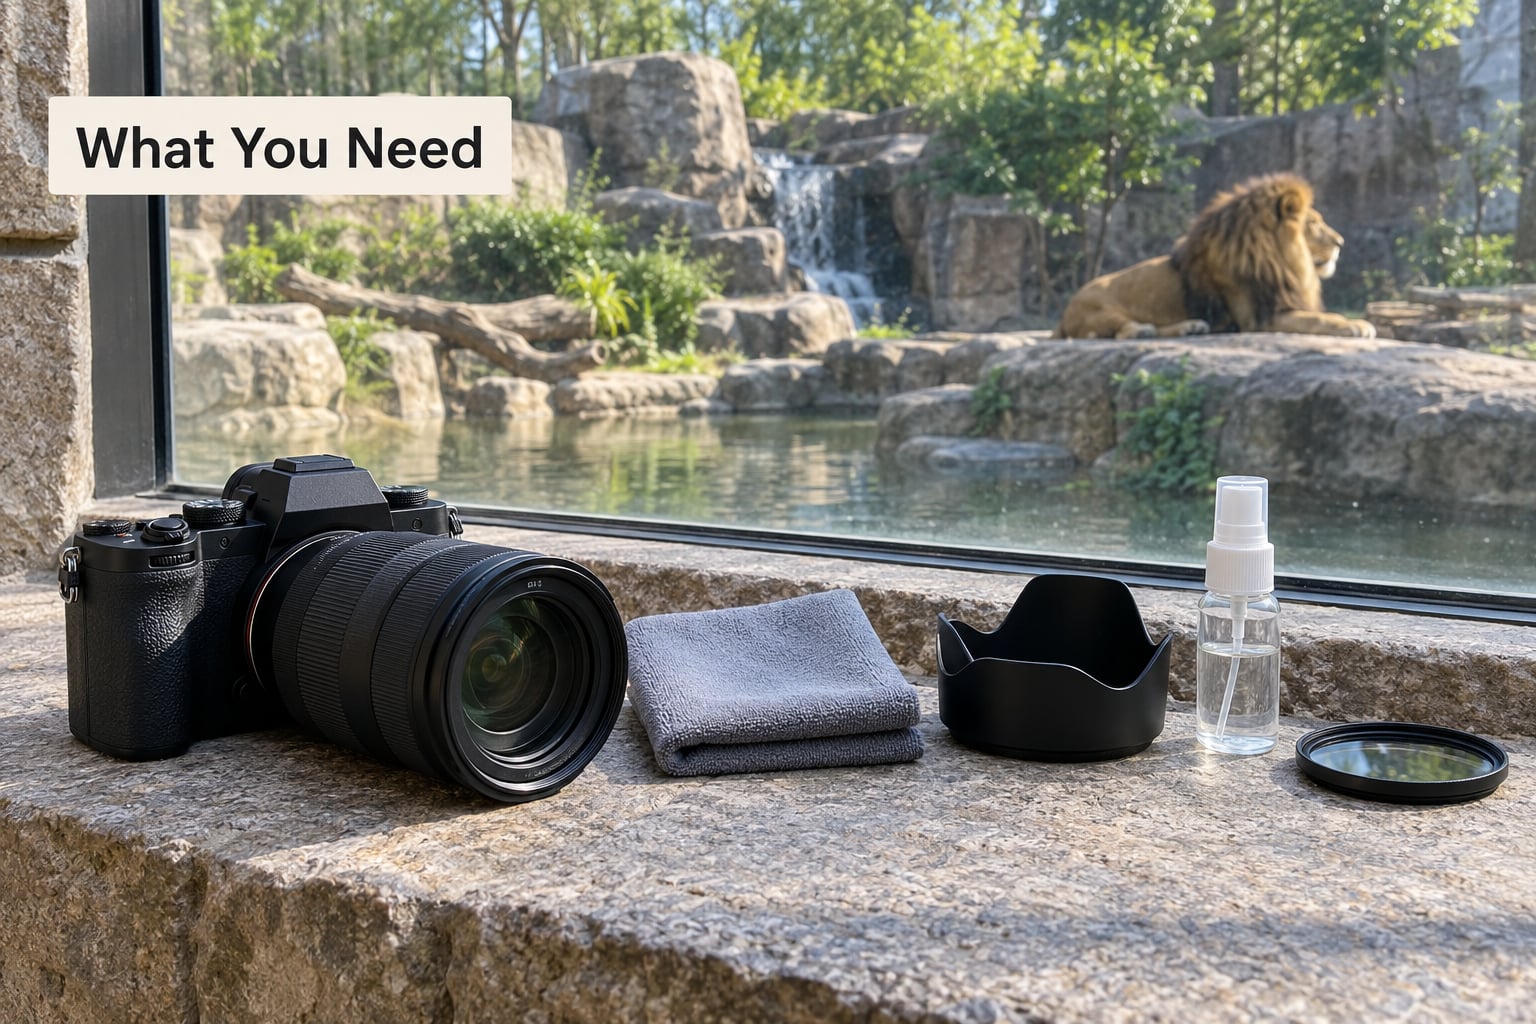
- A zoom lens that reaches at least 200mm. Most enclosures put the animal 5 to 15 metres back. A 70-300mm covers primates and big cats without moving far enough to disturb anything.
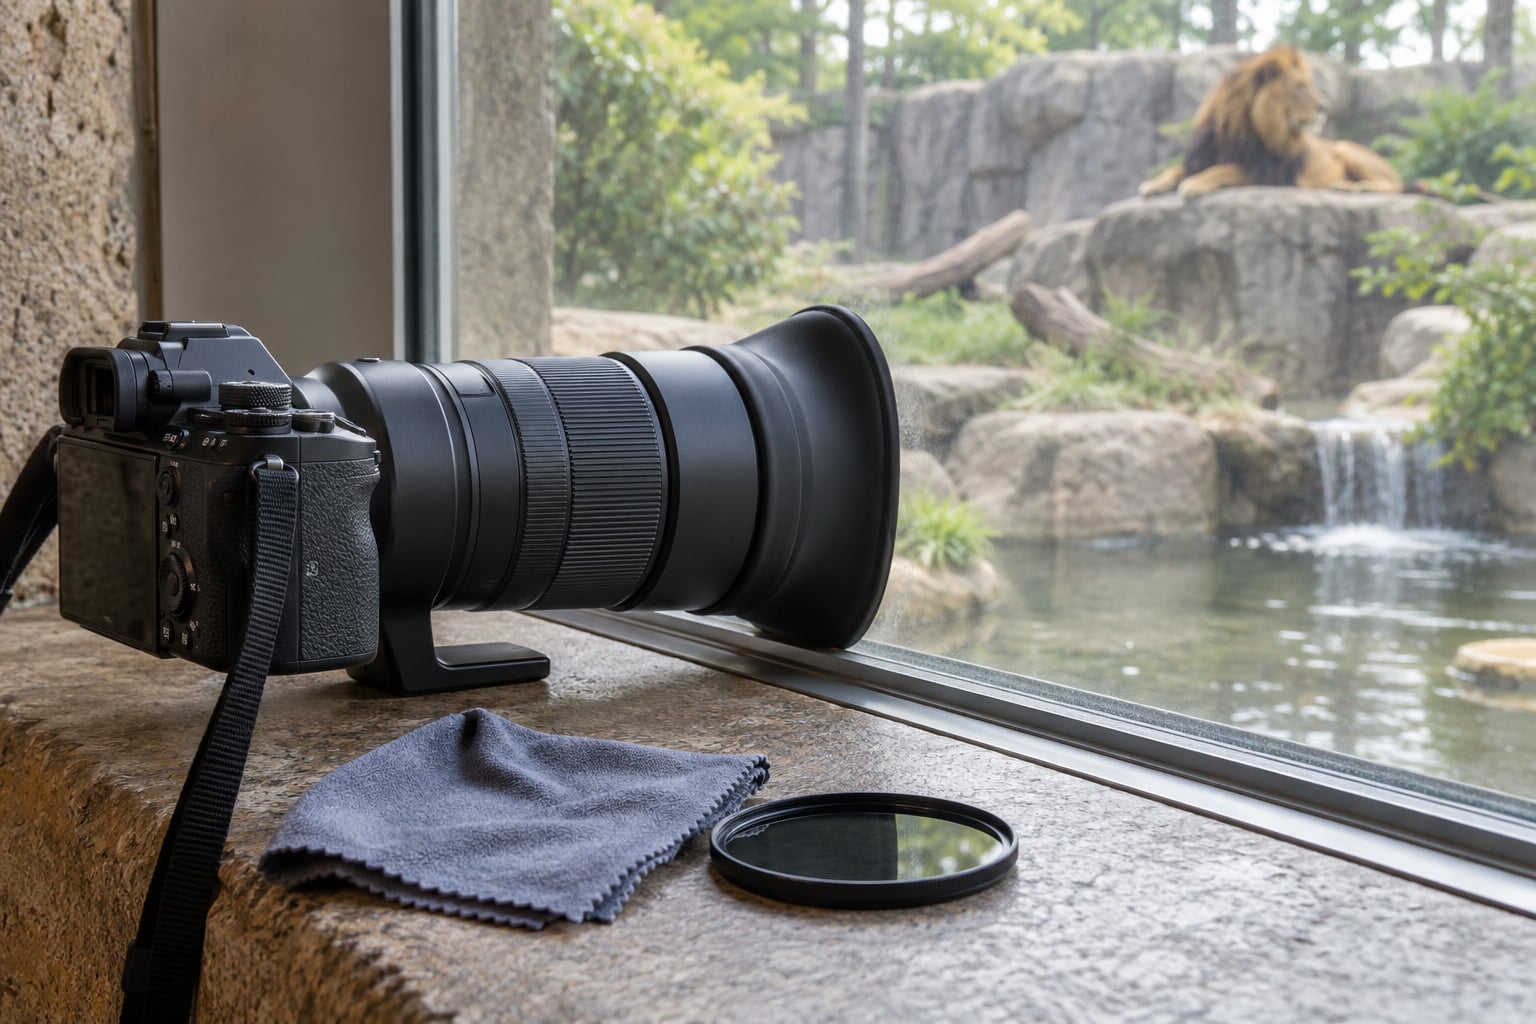
- A collapsible rubber lens hood. This is the single most useful item on the list. Squared flat against the glass, it blocks the light returning from both sides of the window.
- A circular polarizing filter. Photographers on photography forums report it cutting overhead glare on roughly half of their shots once they learn to rotate it.
- A microfiber cloth and a small amount of glass cleaner. Where cleaning is allowed, a wiped patch of window beats every filter you can screw on.
- Optional: a 10-second timer or remote release, a lens cloth for condensation, and spare batteries, since long lenses and cold indoor galleries drain them quickly.
Skip the UV filter. It costs you a couple of stops of light and adds a second surface for reflections to come off.
Step-by-Step
1. Clean the glass and find the best patch
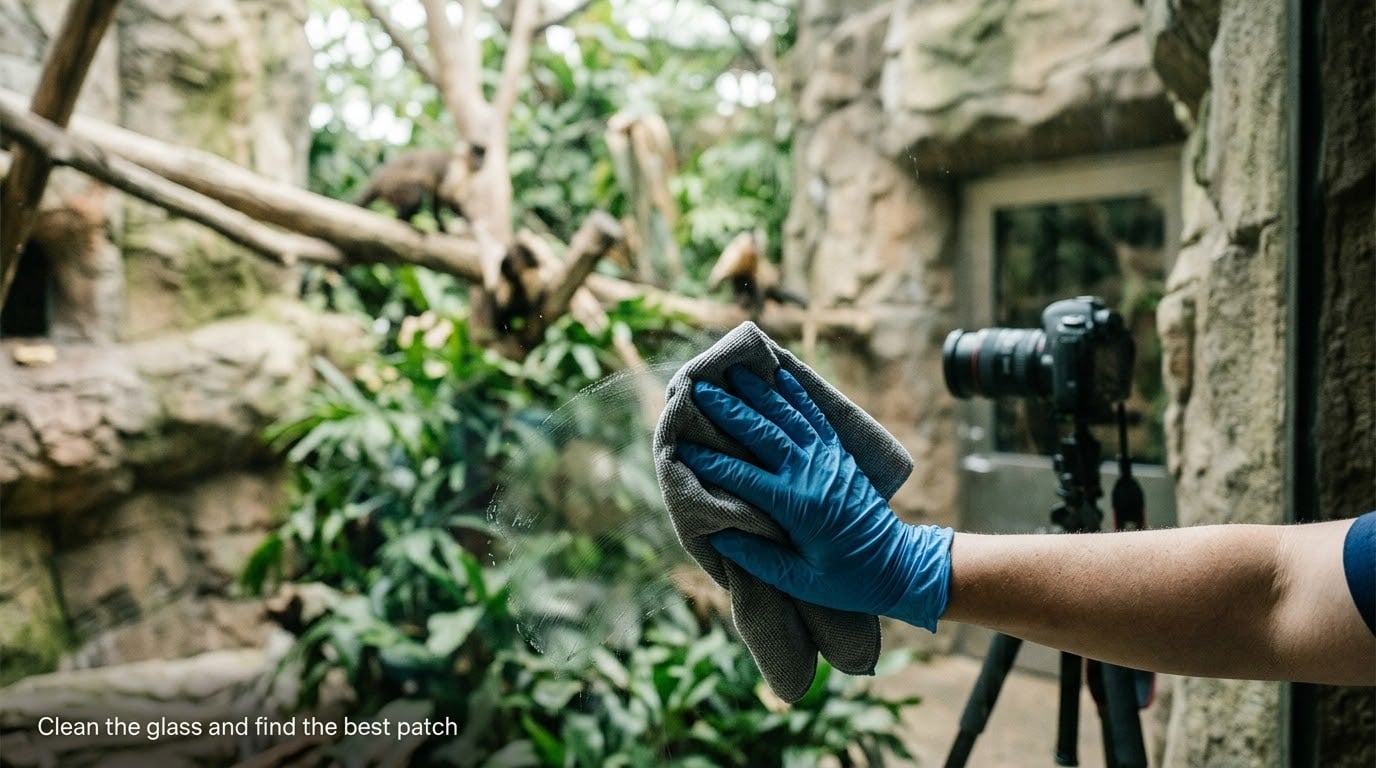
Smudges kill contrast long before they kill focus. Wipe the section of window you intend to use with a microfiber cloth and a little cleaner, working in small circles rather than long strokes that leave streaks.
Most zoos allow light cleaning from the visitor side, but check the signage first. Where cleaning is not allowed, hunt for the clearest square inch, and remember that handprints cluster at child viewing height, so an adult eye-level patch is often cleaner.
Then work out where the reflection is coming from. If the glare looks like a row of ceiling lamps, it comes from behind your shoulder. If it is a human silhouette, it comes from your side of the glass. The fix differs, and step 2 covers both.
2. Turn off reflections with angle and light
Move a few inches sideways rather than up and down, because overhead lights reflect at steep angles and clear as soon as your viewpoint shifts. The physics is simple: light reflects off glass at the same angle it arrives, so changing where you stand moves the reflection off the animal.
Steps away from the wall, too. When your back is near a bright surface, that surface bounces light onto the glass and into the lens. In a dim gallery you can often see your own reflection better than the animal, which is your cue to shift position until it disappears.
Put the rubber lens hood flat on the glass once you have settled. A hood rested against the window blocks the light coming back at the lens, and photographers describe it removing most of what the polarizer cannot.
3. Set the exposure so the animal is not a silhouette
Start in manual or shutter priority and let the animal be the brightest thing in frame. Zoo interiors are dim with bright windows behind the subject, so the default meter reading usually lands on the glass rather than on the fur, leaving you with a black animal against a white background.
The shutter speed rule for shooting through glass zoo windows is simple: keep it at least twice your focal length, so a 300mm lens wants 1/600s or faster. Open the aperture wide, f/2.8 to f/4, so the lens also throws the glass itself slightly out of focus. Raise ISO as needed to hold the shutter speed, and check the histogram for clipped whites before you shoot a burst.
If the animal still reads dark, add a third of a stop to two thirds of a stop of exposure compensation. Watch the highlights on the fur at the same time.
4. Focus on the eyes, not the smudges
Single-point autofocus placed directly on the nearest eye solves most of the problem. Turn off face detection and wide-area modes through glass, because those systems treat the dirt as a subject.
Eye-detection autofocus is worth trying when the animal faces the camera, but treat it as a shortcut rather than a rule. When autofocus hunts, switch to manual: focus once on the eye, then track with the barrel as the animal walks, using the magnified view to hold the distance.
Leave enough depth of field to keep the whole face readable. At close range a wide aperture gives you a sharp eye and a blurred snout, which reads as a mistake rather than a choice.
5. Stabilize the camera
Long focal lengths magnify every wobble in your hands, and you cannot lean on exhibit glass. Brace the lens barrel against a railing or wall where the zoo permits it, cup the lens with your left hand, and squeeze your right hand around the grip with your index finger on the shutter.
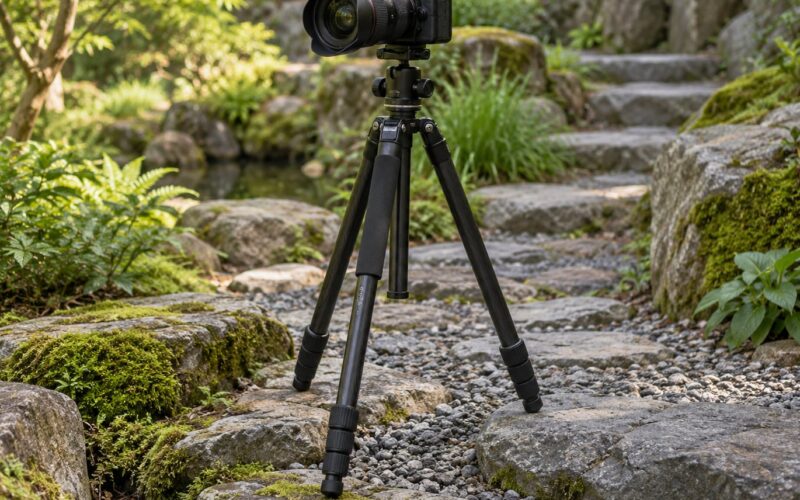
Breathe out gently as you press the shutter. Where tripods are allowed, a two-second self-timer releases the shake that pressing the button adds, and it costs nothing but patience.
Burst mode helps with movement, not with shake. It captures the sharp frame among ten shaky ones.
6. Compose around the window frame
Put the eyes on a third-line rather than dead centre, and shoot from the animal’s eye level if the habitat allows it. A low angle on a primate enclosure usually looks far better than the default view down from an adult’s shoulder height.
Watch the frame edges. Window mullions, glass seams, scratched patches and stray reflections all pull attention, and the fix is usually a small step sideways rather than a different lens. Wide apertures also let you melt the barrier out of the frame when a seam will not move.
Never press equipment through bars, never tap the glass, and never lean anything against the barrier that the animal could startle into running.
7. Take variations and read the histogram
Animals never hold a pose, so work through the frame. Try a wider focal length for context, then a tight portrait on the eyes, then a shot with the enclosure visible so the picture tells you where it was taken.
Check the histogram after the first frame rather than the last. Blown highlights on white fur and clipped glass are permanent, while a slightly dark shot can be lifted later. Overcast days are a gift here, because even light keeps reflections faint and glass haze low.
Common Mistakes
Shooting through dirty glass. This is the number one reason zoo photos look soft and flat. Clean the patch you are using, or find a cleaner one. A filter cannot fix smears on the surface in front of it.
Leaving reflections in frame. If overhead lamps streak across the image, you are standing in the reflection path. Step sideways until they vanish, then use the hood flat on the glass.
Letting autofocus grab the glass. Dirt and scratches sit closer to the camera than the animal does, so the system prefers them. Switch to a single AF point on the eye, or go manual once the animal settles.
Allowing an underexposed animal. Metering the bright glass produces a dark subject with a blown background. Set exposure for the animal and accept a bright window, or use spot metering on the fur.
Using flash. Do not fire a flash at an animal through a viewing window. The reflection bounces straight back at you, and keepers and zoo rules generally forbid it. The ethical reasons are the real problem, the glare is only the visible symptom.
Resting gear on barriers or leaning into fences. Long lenses are heavy enough to scratch glass and heavy enough to fall through a viewing gap. Keep the strap short and stay a step back from fences.
Ignoring the edit. Thick glass eats contrast and light. A modest dehaze and local contrast pass in post-processing brings back punch, and a little noise reduction handles the ISO you needed indoors.
Frequently Asked Questions
Can you use a polarizing filter for zoo glass?
Yes, and it is one of the better tools for the job. Screw it on and rotate it while looking through the viewfinder, watching for the moment the overhead lights and the glass haze fade. It works best when the light hits the glass at a fairly steep angle, so it helps more on side-lit windows than on ones facing you head-on. A polarizer will not remove your reflection or your neighbour’s reflection, so pair it with a rubber lens hood pressed flat against the window.
How do you focus through dirty zoo glass?
Clean the glass first if zoo rules allow it, then use a single autofocus point placed on the animal’s nearest eye. Turn off wide-area and face-detection modes, which treat smudges as subjects. If autofocus still hunts, switch to manual and focus once on the eye at high magnification, then track the animal with the barrel. A wide aperture also helps, because it softens the dirt itself.
What lens is best for zoo photography?
A telephoto zoom that reaches 200 to 300mm covers most enclosures without asking you to crowd the barrier. Anything from 70-300mm on full frame, or 100-400mm, handles big cats and distant primate islands. Bring the hood that comes with the lens rather than buying a screw-on shade, since you want the collapsible rubber version. Below 70mm you will mostly get pictures of the habitat rather than the animal.
Should you use flash for zoo photography through glass?
No. Flash reflects off the glass and bounces straight back at the lens, so you get a bright blob instead of catch lights in the animal’s eyes. Many zoos prohibit it outright because animals react to sudden light. If you want brighter eyes, position yourself so the nearest overhead light falls across the animal’s face, or shoot later in the day when outdoor light enters at a lower angle.
What are the best camera settings for zoo photography through glass?
Shoot manual or in shutter priority, keep the shutter at 1/500s or faster for a long lens, open the aperture to f/2.8 or f/4, and raise ISO until the shutter speed holds. Meter for the animal rather than the window and add a third to two thirds of a stop of exposure compensation when the subject still reads dark. Use single-point autofocus on the eye, or manual focus once autofocus starts hunting.
Best time of day for zoo photography?
Arrive at opening and go to the enclosures that get morning light first. Animals are usually most active early and again around feeding, though feeding also brings the biggest crowds. Overcast days give the softest light and the fewest reflections, which makes them easier for glass shots. Late afternoon is good for outdoor habitats, though afternoon sun through a west-facing window can create heavy glare.
Conclusion
Knowing how to photograph animals at a zoo through glass comes down to a short routine you can repeat at every window. Wipe or find a clean patch of glass, step sideways until the reflection of the lights and your own face disappears, press the rubber lens hood flat against the window, and meter for the animal.
Then set a fast shutter speed, open the aperture, focus on the nearest eye, check the histogram, and take a few variations while the animal stays still. Ten minutes of that at each exhibit beats an afternoon of fighting the glass.