Photographing the Milky Way needs one long exposure, a tripod and a wide, fast lens — no telescope, no tracking mount, no dark room. Point a camera at the faint band of our galaxy, open the aperture, raise the ISO, expose for 10 to 25 seconds, and stars that are invisible to the naked eye land on the sensor as points of light. The tricky part is not the camera, it is planning a location and a date, then working in the dark without ruining the shot. This guide walks through the whole routine for a first attempt.
The baseline exposure I hand beginners is f/2.8, 20 seconds, ISO 3200, RAW, manual focus. Everything below explains how to get there and how to fix it when a frame comes back too dark, too bright or too grainy. Read it once in about fifteen minutes, then give yourself a scouting trip in daylight and an hour in the dark.
Table of Contents
- What You Need
- The three things that matter
- Helpful but not required
- Field items people forget
- Step-by-Step: How to Photograph the Milky Way for Beginners
- 1. Choose a Dark Location and Check the Milky Way
- 2. Prepare Your Camera and Equipment in Daylight
- 3. Set Up the Shot After Dark
- 4. Focus Sharply on Distant Stars
- 5. Adjust Settings for Your Equipment
- 6. Take Test Shots and Refine the Composition
- 7. Review, Stack, and Finish the Images
- Common Mistakes and How to Fix Them
- Why your Milky Way photos come back blurry or noisy
- Light pollution glow, lens haze and blown highlights
- Frequently Asked Questions
- What are the best settings for taking Milky Way photos?
- How to take a photo of the Milky Way with your phone?
- What is the 500 rule in astrophotography?
- How dark does a location need to be to photograph the Milky Way?
- How do I focus stars in manual focus mode?
- Start with a Simple Night-Sky Setup
What You Need
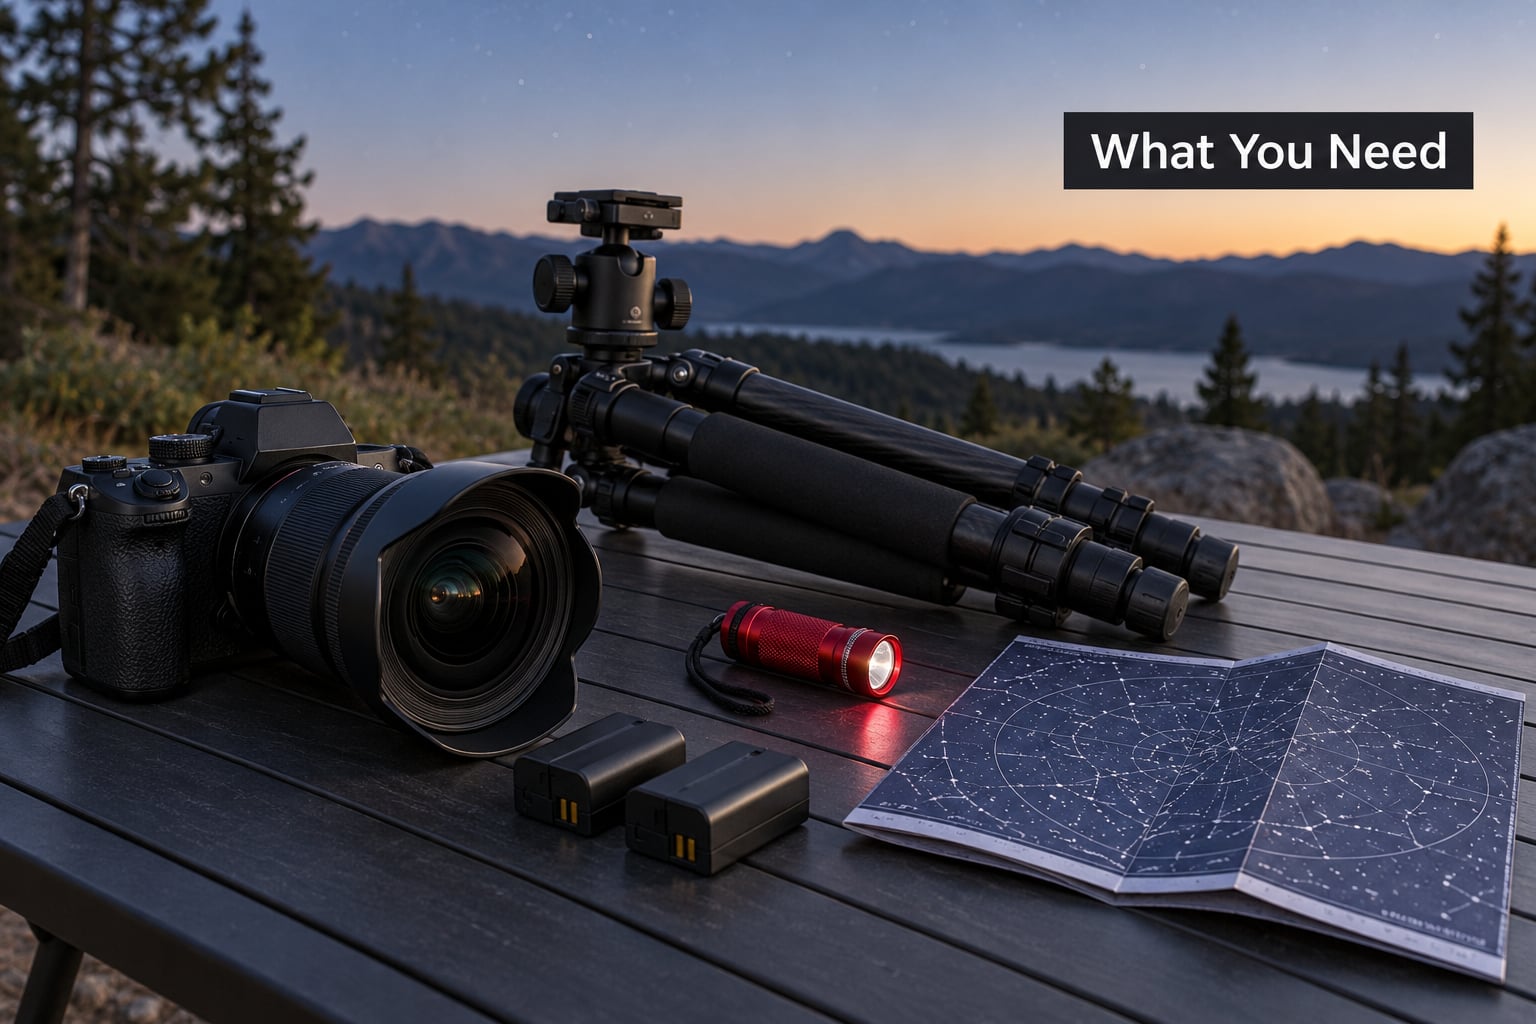
You need far less than gear forums suggest. A camera that shoots RAW, any lens that reaches 24mm wide or wider, and a tripod that holds still are the only items you cannot improvise. Everything else has a workaround.
The three things that matter
Camera. Any DSLR or mirrorless body with a manual mode and a RAW option works, including entry-level bodies. The sensor size changes how long you can expose before stars trail, but it does not change whether you can shoot at all.
A wide, fast lens. 14mm to 24mm on a full-frame body is the classic astro-landscape pairing. “Fast” means f/2.8 or wider, because a wide aperture gathers the faint light you need in one short exposure. A kit lens at f/5.6 will still produce a picture, but you will be cranking ISO far enough that noise eats the sky.
A tripod. It has to be stiff enough that wind does not shake it during a 20-second exposure. A cheap three-legged table tripod works if the legs are braced against something. Shoot on a stable surface rather than holding the camera at arm’s length — this is the mistake that ruins most first attempts.
Helpful but not required
- A remote release or 2-second timer. Pressing the shutter button shakes the camera. The self-timer costs nothing and removes the problem.
- Spare batteries. Cold nights drain them, and screens eat charge faster than you expect. Two bodies of power is comfortable, three is not silly.
- A red flashlight. White light kills your dark adaptation and you wait another twenty minutes for your eyes to adjust again.
- A planning app. PhotoPills, Stellarium (free planetarium software) and Star Walk all show where the galactic core sits at a given date, time and latitude. Clear Outside and 7Timer give cloud and transparency forecasts.
- A star tracker mount. Impressive, unnecessary. Skip it for your first shoot and revisit once tracking clicks.
- A dew heater or a lens cloth. Condensation on the front element ruins a long night more often than people expect.
Field items people forget
Layered clothing, a warm drink in a flask, a charged phone, a headlamp, and a way to get home. Tell someone where you are going and when you expect to be back. If the location involves a walk in, tell them the route. Cold plus a long drive on tired roads is a bad combination, and this is a hobby where you will be out past midnight more often than you expect.
Step-by-Step: How to Photograph the Milky Way for Beginners
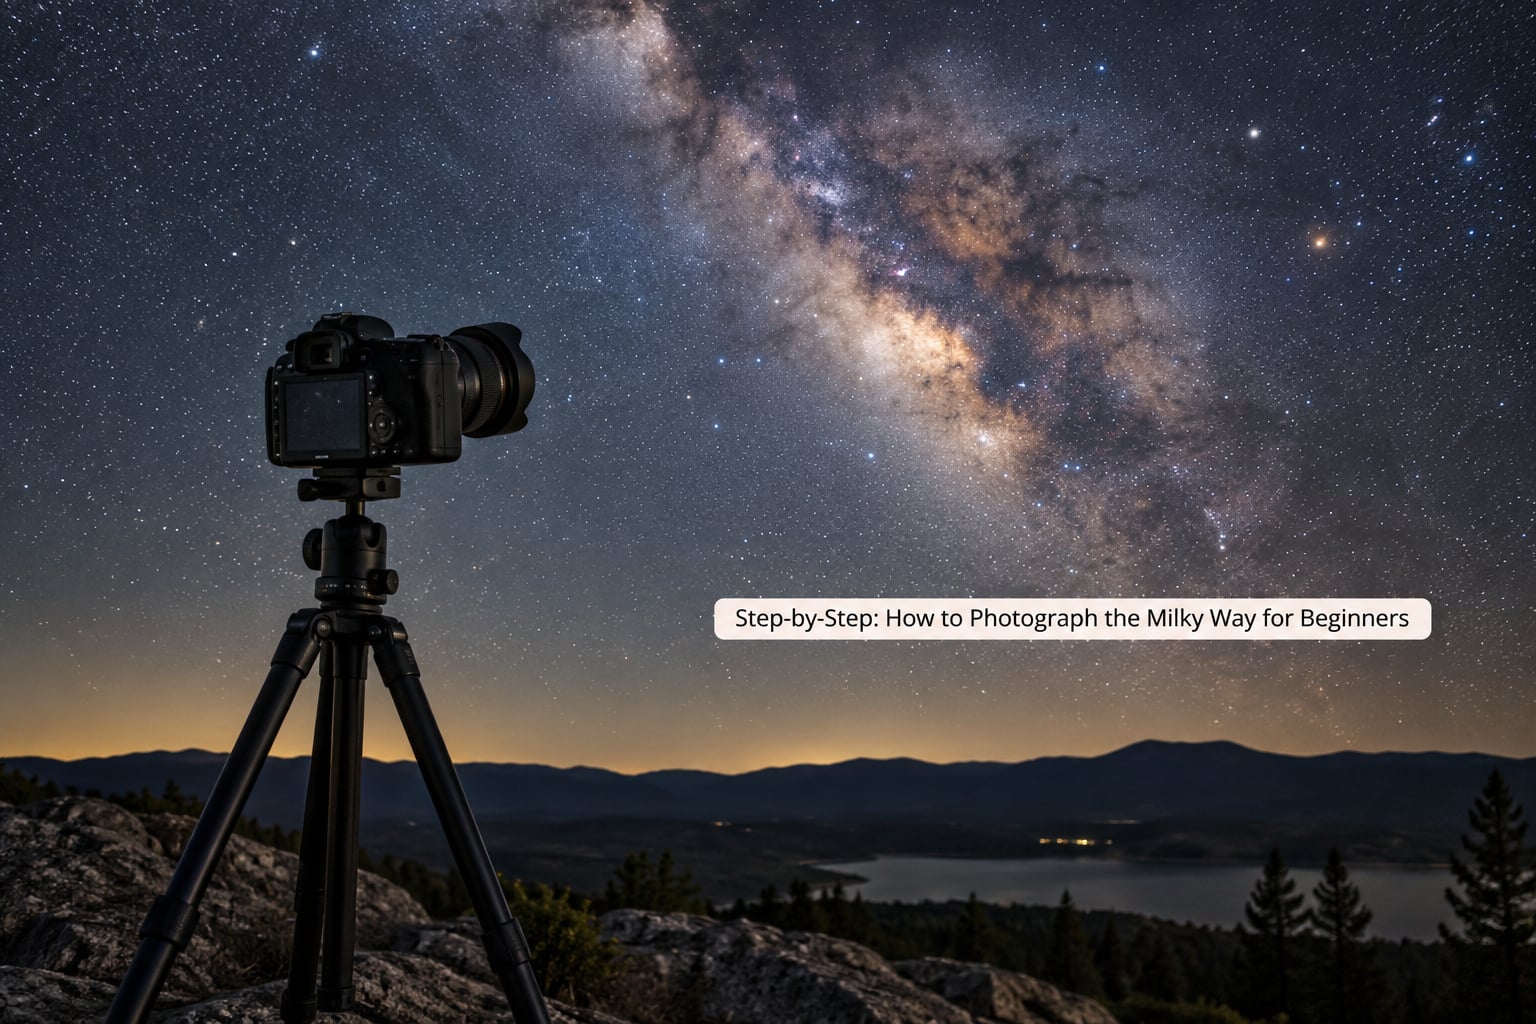
Learning how to photograph the Milky Way for beginners comes down to seven steps, and only the fourth one is genuinely hard. The rest is planning, patience and repeating small adjustments.
1. Choose a Dark Location and Check the Milky Way
Pick a site with a dark horizon before you pick anything else. Look up a light-pollution map and aim for a Bortle class of 2 or 3 — a scale from 1 (pristine) to 9 (inner city) that describes how much artificial light washes the sky. The International Dark-Sky Association maintains a list of certified sites if you want somewhere guaranteed.
Community advice on r/astrophotography repeats a useful truth: you can get a better result from a moderately bright area shooting toward a black horizon than from a dark site pointing over a glowing town. Direction beats distance. Once you are set up, check the compass and exclude any direction where a town sits on the skyline.
Then check the sky itself. Open a planning app, enter your date and location, and look at where the galactic core rises. The core — the bright bulge in Sagittarius — is what most people mean when they say Milky Way photo, and it is only visible for part of the year at most latitudes. Open the sky map in daylight while you are already at the location, and frame the composition you want at that exact spot.
2. Prepare Your Camera and Equipment in Daylight
Set up everything you can while there is still light. Charge both batteries, clear the lens glass, and remove any UV filter or protective glass — cheap filters are a leading cause of hazy, milky-looking images at night. Confirm the body shoots RAW and that you know where to switch to manual focus and manual exposure.
Turn off anything that will move or brighten on its own: image stabilisation, auto focus, long exposure noise reduction, and auto white balance. Leave the screen off or dimmed. Pack the warm layers, fill the flask, and set the navigation app to download maps for the area while you still have signal.
3. Set Up the Shot After Dark
Give your eyes twenty minutes once you arrive. Keep the headlamp red and pointed down, and avoid checking a phone screen at full brightness — it resets your adaptation faster than anything else.
Mount the camera, point it where you scouted, and level the tripod head loosely so the horizon runs straight. The Milky Way sits at an angle, so leaving the camera level and rotating later in software saves you an uphill tripod position. Frame wider than feels right; you can crop in the edit and you cannot add back sky you left out.
Now set a reliable starting exposure: f/2.8, 20 seconds, ISO 3200, RAW. Shoot in 16:9 or 3:2 rather than cropping tighter, because a taller frame catches more of the galactic arch.
4. Focus Sharply on Distant Stars
Autofocus hunts in the dark and fails. Set the lens to manual focus, switch the camera to live view, and point at the brightest star you can find. Zoom the display to maximum magnification until the star is a small disc, then turn the focus ring slowly until it collapses to a point.
That focus position is your infinity. Many lenses have an infinity mark, but they are often wrong by enough to matter. A strip of gaffer tape on the focus ring lets you set it once and leave it. Once focus is set, do not touch the lens again for the rest of the session.
If there is genuinely no bright star in the frame — a moonlit sky or heavy cloud — focus on something at true distance instead: the horizon far below, or a distant light source, then switch back before you shoot. Take a test frame immediately after focusing, at high ISO and a short shutter, and check sharpness before committing to 20-second exposures.
5. Adjust Settings for Your Equipment
Start from the baseline and move one setting at a time. Aperture first: open as wide as the lens allows, and if it stops down to f/4 or f/5.6 expect to raise ISO in exchange. ISO next: raise it until the sky background lifts off pure black, then stop. Shutter last, and only downward, to control star trailing.
The ceiling on shutter time comes from how fast the Earth turns. That limit is what the 500 rule estimates, and the formula is simple: maximum seconds = 500 divided by focal length in millimetres. On a 20mm lens that gives 25 seconds. Older guides use 400, and some use 300 — both give shorter, safer exposures on the same lens.
Because smaller sensors see the sky differently, entry-level bodies need less time. The table below starts from the 500 rule and works down toward 300 for APS-C and Micro Four Thirds.
| Focal length (full-frame) | Equivalent on APS-C (1.6x crop) | 500 rule | Safe starting point, APS-C |
|---|---|---|---|
| 14mm | 9mm | 36s | 20s |
| 20mm | 13mm | 25s | 15s |
| 24mm | 16mm | 21s | 12s |
| 35mm | 22mm | 14s | 8s |
| 50mm | 31mm | 10s | 6s |
The NPF rule is the more accurate version. Instead of one number it accounts for aperture, pixel pitch and diffraction limit, so it returns a shorter time on slow, high-resolution lenses. The plain-language version: modern bodies with small pixels trail sooner than the 500 rule suggests, so use it as a ceiling, not a target.
Set white balance manually at roughly 3500K to 4000K. Leaving it on auto gives you a different colour balance in every frame of the same session, which makes stacking painful.
Camera-specific starting points, for the bodies people ask about most:
- Canon Rebel T7 (APS-C, kit 18-55mm at f/5.6). Manual mode, f/5.6, 10 seconds, ISO 6400, RAW, long exposure noise reduction off. The slow kit lens is the limiting factor — borrow or rent a faster prime if you can.
- Sony a6400 (APS-C, 16mm f/2.8). Manual mode, f/2.8, 15 seconds, ISO 3200, RAW. Shoot in the 16:9 crop so you can use the full sensor height.
- Nikon D7500 (APS-C). Manual mode, f/2.8, 15 seconds, ISO 3200, RAW. Turn off long exposure noise reduction or it eats a second from every frame.
- Micro Four Thirds bodies with a 12mm f/2.0. f/2.0, 10 seconds, ISO 3200, manual focus. That combination turns out usable images, which is a pleasant surprise for kit owners.
6. Take Test Shots and Refine the Composition
Shoot one frame, then look at it. Do not judge brightness by eye — your eyes are calibrated for daylight and the histogram is the only honest opinion. Read the histogram: if the whole thing sits hard against the left wall, you are underexposed; if it is piled against the right, you are overexposed and the highlights are gone.
Aim for the Milky Way’s bright core sitting in the right half of the histogram, not touching either edge. If it is too dark, raise ISO by one stop before you lengthen the shutter. If it is too bright, drop ISO first — that fixes both brightness and noise at once, which is the fix most commonly recommended on photography forums for over-bright first attempts.
Look for foreground interest: a lake, a rock, a lone tree, a ridge line. Put the horizon in the lower third and give the sky the rest. Include something in the near foreground to give the frame depth, and check that nothing bright — a car, a window, a satellite trail — sneaks into the frame before you commit to a long sequence.
Then shoot a bracket and a run: 10 to 20 frames at the settings that worked. Every frame is a chance to catch a moment without a plane, a flash or someone walking into the light.
7. Review, Stack, and Finish the Images
Open the RAWs in your editor and check the one thing that matters first: sharpness. Zoom to 100% on a bright star. If it is a clean point, the focus held. If it is a blob, the problem happened in the field and no amount of editing fixes it.
Noise is the other field to check. High ISO night frames look rough at full brightness, but stacking is the beginner’s best weapon and it is simpler than it sounds. Take the 10 to 20 frames you already shot, load them into a stacking program or Photoshop, align them on a star, and average them. Averaging 15 frames cuts random noise noticeably while keeping the stars in the same place, which only works because the Milky Way sits still during one session.
Once stacked, edit the single result. The order I use:
- Set white balance by eye with the histogram on screen.
- Open shadows and lift them, then pull highlights back until nothing clips.
- Apply a gentle noise reduction — around 20 to 40 luminance with detail preserved at 50%. Overdo it and the sky turns plastic.
- Add local contrast, texture or clarity to the Milky Way band only, using a mask.
- Apply a final curve for contrast, lifting the blacks slightly so shadows do not crush.
- Sharpen lightly at 100% on the stars, then export.
Lightroom Classic does steps 1 to 6 with no plugins. Free options that handle the same ground include darktable and RawTherapee, which both do the RAW processing, noise reduction and masking. Shoot RAW in the camera, export JPEG for sharing, and keep the stacked file as your archive.
If you want the foreground brighter than the sky allows in one frame, take a separate landscape exposure during blue hour and blend it in. It works, but the blend has to be invisible or the frame looks fake. My preference is to expose for the sky and let the foreground fall into shadow — it looks honest.
Common Mistakes and How to Fix Them
Most beginner Milky Way images fail in one of five predictable ways. Each has a cause you can identify from the file and a correction you can make on the same night.
| What you see | Why it happened | Fix |
|---|---|---|
| Stars are stretched into short trails | Shutter too long for the focal length and sensor | Drop to 60-70% of the 500 rule number, or drop shutter one stop and raise ISO |
| Everything is soft, stars look like blobs | Focus missed, or the camera moved during the shot | Re-focus on a bright star in live view at maximum magnification; use the self-timer or remote release |
| Sky is black and the Milky Way is barely visible | Undershot, judged by eye instead of histogram | Raise ISO one stop at a time; check the histogram each frame |
| Orange or white glow along the horizon | Light pollution from a town in that direction | Rotate 90-180 degrees away from the glow; in the edit, apply a graduated filter to the sky area |
| Milky band looks hazy and low contrast | Dirty lens, a UV filter, or condensation on the front element | Clean the glass, remove all filters, warm the lens with body heat between shots |
| Grainy, colour-speckled shadows | ISO pushed too high, or a single frame with no stacking | Lower ISO and stack 10-20 frames; add moderate luminance noise reduction afterwards |
| Unrealistic-looking composite | Daylight and night frames blended without matching light | Match the colour temperature, add slight atmospheric haze over the foreground, keep the blend subtle |
| Nothing but empty sky | Framed without foreground or with a narrow lens | Scout in daylight, add a lake or rock in the lower third, shoot 16:9 or 3:2 |
Why your Milky Way photos come back blurry or noisy
Blurry stars mean one of three things: focus was not locked, the tripod shifted between setting up and pressing the shutter, or the shutter ran longer than the sensor can track. Check focus first, since it causes the most failures. A fast shutter with soft stars is a focus problem; sharp stars with visible trails is a shutter problem.
Noise is a different animal. High ISO amplifies the sensor’s own read noise, and long exposures heat the sensor, which adds more. You cannot remove noise that is blotchy and colour-speckled without losing real detail, which is why stacking works so well: average several frames and the random component cancels out while the signal builds.
Light pollution glow, lens haze and blown highlights
Glow is directional, so turning the camera solves most of it. Haze is optical, so it comes from glass — a filter, a smudge, a fogged front element at the dew point. And blown highlights are almost always the foreground, not the sky: the ground is lit by something the histogram shows clearly even when your eyes cannot see it in the dark.
One more fix worth knowing: if your first attempts come back over-bright and grainy, lower the ISO and the aperture together rather than lengthening the shutter. It costs shutter time, but it trades a small amount of trailing for a much cleaner sky.
Frequently Asked Questions
What are the best settings for taking Milky Way photos?
Start at f/2.8, 20 seconds, ISO 3200, RAW and manual focus, then adjust one setting at a time. Shoot RAW, turn off long exposure noise reduction and image stabilisation, set white balance manually around 4000K, and use the self-timer. Check the histogram on every frame and raise ISO until the sky lifts off pure black.
How to take a photo of the Milky Way with your phone?
Use a phone that offers a dedicated star or night mode, mount it on a tripod or stack of books, tap the sky to focus to infinity, and use the 10 or 15 second option rather than the maximum 30 second exposure, which smears most stars. Shoot in RAW or Pro mode if your phone offers it, lower ISO as far as the phone allows, and open an app that stacks 8 to 15 frames.
What is the 500 rule in astrophotography?
The 500 rule estimates the longest exposure before stars visibly trail: maximum seconds equals 500 divided by the focal length in millimetres. On a 20mm lens that gives 25 seconds. It is an estimate, not a promise, and modern high-resolution bodies with small pixels trail sooner, so treat it as a ceiling and check your frames.
How dark does a location need to be to photograph the Milky Way?
Darker is better, but direction matters as much as darkness. A Bortle class of 2 or 3 with a dark horizon gives clean, dark skies. Shooting from a moderately dark spot toward a black horizon often beats a darker site pointing over a glowing town. Suburban backyards can work when you frame away from streetlights and shoot when the galactic core sits well above the skyline.
How do I focus stars in manual focus mode?
Switch the lens to manual, open live view, aim at the brightest star in the frame, and magnify the display to maximum. Turn the focus ring slowly until the star collapses to the smallest possible point, then stop touching the lens. Mark the ring with tape so you keep that position for the rest of the session, and shoot a short high-ISO test frame to confirm before every sequence.
Start with a Simple Night-Sky Setup
If you only do five things, do these: pick a location with a dark horizon and check the galactic core’s position for that date, mount a wide fast lens on a tripod, focus on a bright star in magnified live view, shoot one test frame at f/2.8, 20 seconds, ISO 3200 in RAW, then read the histogram and move one setting until the sky sits where you want it.
That loop — set, shoot, check, adjust — is the whole skill. Everything else in this guide, stacking, tracking mounts, panoramas across the galactic arch, builds on top of it. Go out on a moonless night with no moon at all, give yourself a full two hours at the site so the first twenty minutes of dark adaptation and the first twenty minutes of fumbling are not the shots you judge yourself on. Bring more layers than the forecast suggests, and check the core’s position before you drive, not before you shoot. Updated for 2026, and worth doing again every clear month because the galactic core moves through a completely different part of the sky with the seasons.