To photograph clouds dramatically, you want strong side or back light, a camera set to protect bright highlights, and a foreground that gives the sky scale. Shoot near sunrise and sunset, expose for the brightest cloud edge rather than the average sky, and check the histogram before every frame.
Most flat cloud photos are not bad photographs of clouds. They are correct exposures of a boring sky, or a correct exposure made with the light coming from behind the camera. Change the light, not the settings, and most of the difficulty disappears.
Here is the whole process in seven steps.
- Check the forecast and radar the night before, then pick a day with unsettled weather rather than a clear one.
- Arrive 45 minutes before sunrise or before sunset so you can choose your foreground while the light is still flat.
- Set manual mode: aperture around f/8, ISO 100, and a shutter speed the camera picks for you.
- Spot-meter or centre-meter the brightest cloud edge, then apply minus one to minus two EV of exposure compensation.
- Shoot raw, focus manually on infinity, and watch the histogram for clipping on the right.
- Bracket two or three exposures when the dark land and bright sky exceed your sensor’s dynamic range.
- Mask the sky and the foreground separately in editing, recover highlights first, then add restraint.
Table of Contents
- What You Need
- How to Photograph Clouds Dramatically, Step by Step
- Choose Dramatic Weather Conditions
- Find a Viewpoint with Depth
- Set the Camera for Bright Clouds
- Protect Highlight Detail
- Focus and Capture the Scene
- Check the Result and Refine the Shot
- Common Mistakes That Flatten Dramatic Clouds
- Editing for Dramatic Cloud Detail
- Frequently Asked Questions
- What is the best camera setting for dramatic clouds?
- How do you keep white clouds from being overexposed?
- Should I photograph clouds with a polarizing filter?
- What lens is best for cloud photography?
- Can I photograph clouds with a phone camera?
- When is the best time to photograph dramatic clouds?
- Conclusion
What You Need
You need less than people expect. A camera with manual exposure mode, a lens that reaches somewhere between wide and normal, and a way to check the sky before you drive out. Everything else is optional.
A mirrorless body or a DSLR with a live view screen makes a real difference, because live view lets you set focus and exposure and see the histogram while the camera is on the tripod. Older bodies work fine too, just with more menu diving.
For the lens, a 24mm to 70mm zoom covers most situations. Wide angles exaggerate the distance between cloud layers and make the sky feel huge. Telephoto lenses compress several cloud layers into one tight frame, which is how a small patch of sky ends up looking packed with structure.
A tripod matters more than most people expect. Once you stop down to f/8 for edge-to-edge sharpness, or add a filter, your shutter speed drops below what you can hold. A tripod is also the difference between being able to reposition carefully and missing the light.
Bring a proper lens cloth. Salt spray and dust on a front element kill contrast, and cloud photographers spend their time outdoors in exactly the conditions that put grit on the glass.
For weather information, the Met Office and the US National Weather Service both publish cloud-type forecasts and stability charts. RadarScope shows precipitation movement on your phone, which tells you where the cloud edges and sunbreaks will be. The Cloud Appreciation Society has free identification guides if you are still learning the ten genera.
Two filters earn their keep. A graduated neutral density filter darkens the top half of the frame at a fixed transition, which lets you hold detail in a bright sky over dark ground. A circular polarizer cuts haze and can deepen blue sky, but it needs care.
How to Photograph Clouds Dramatically, Step by Step
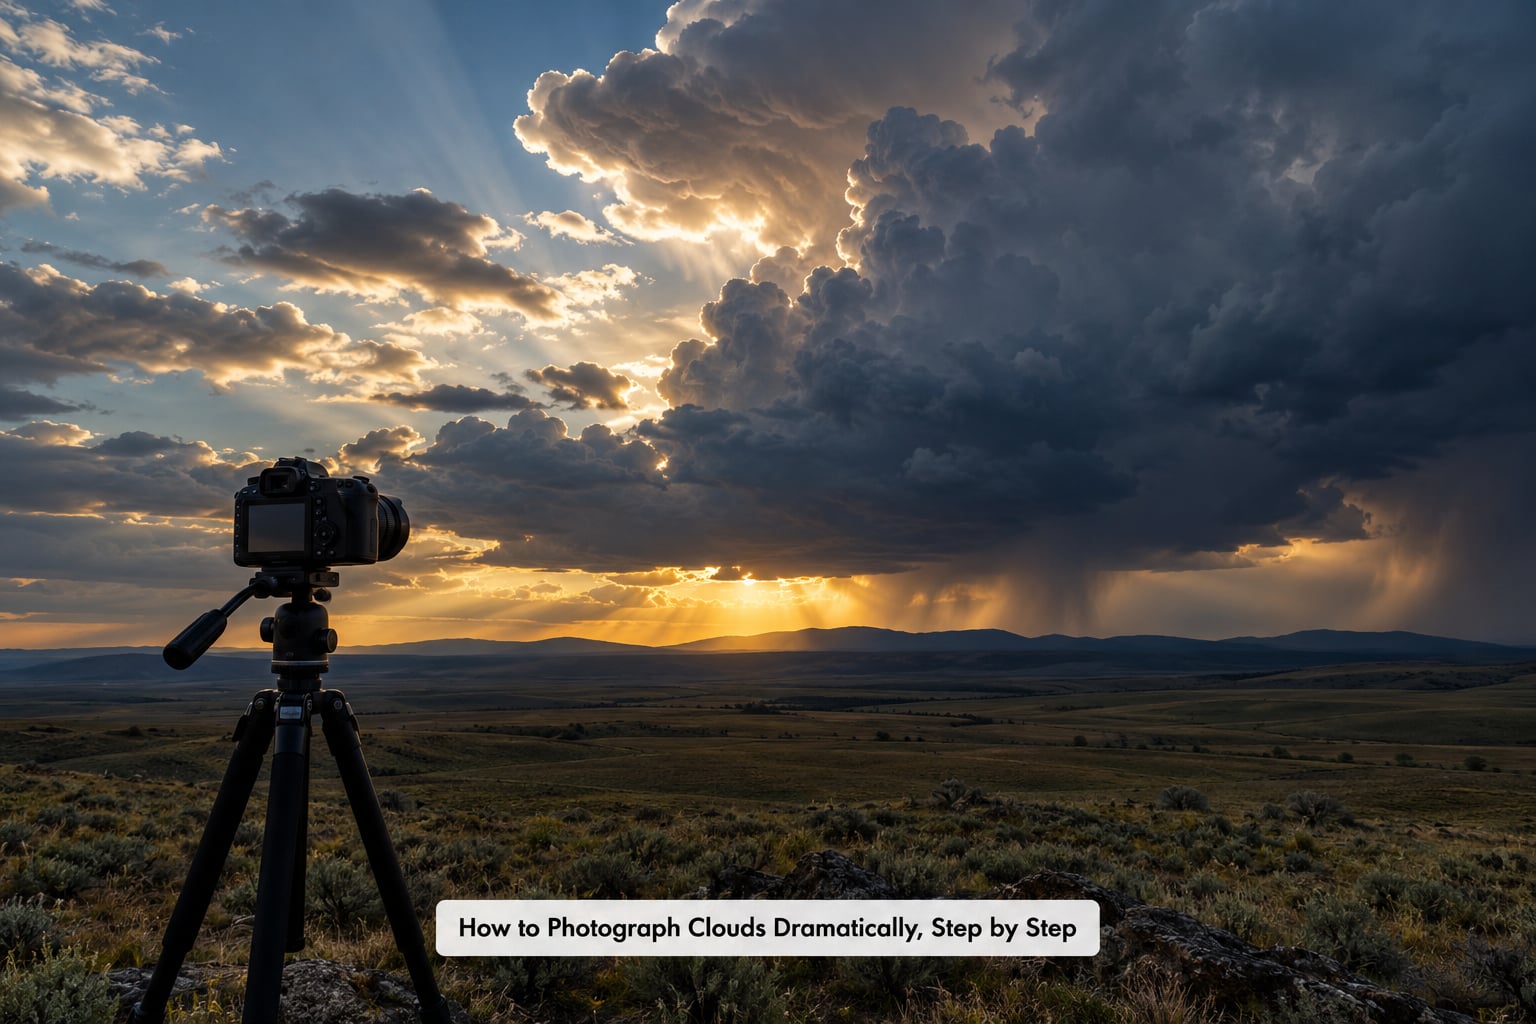
Choose Dramatic Weather Conditions
Unsettled weather gives you dramatic clouds. Stable high pressure gives you blue sky and a few tidy fair-weather cumulus, which is beautiful but not what this article is about.
Look for a day when warm air is being pushed up into cooler air. That is what builds the towering cumulonimbus with an anvil top, the flat grey shelf of stratocumulus that arrives with a cold front, and the altocumulus sheets that catch colour at sunset. A Met Office stability chart or the equivalent national service forecast will tell you which of those you are getting.
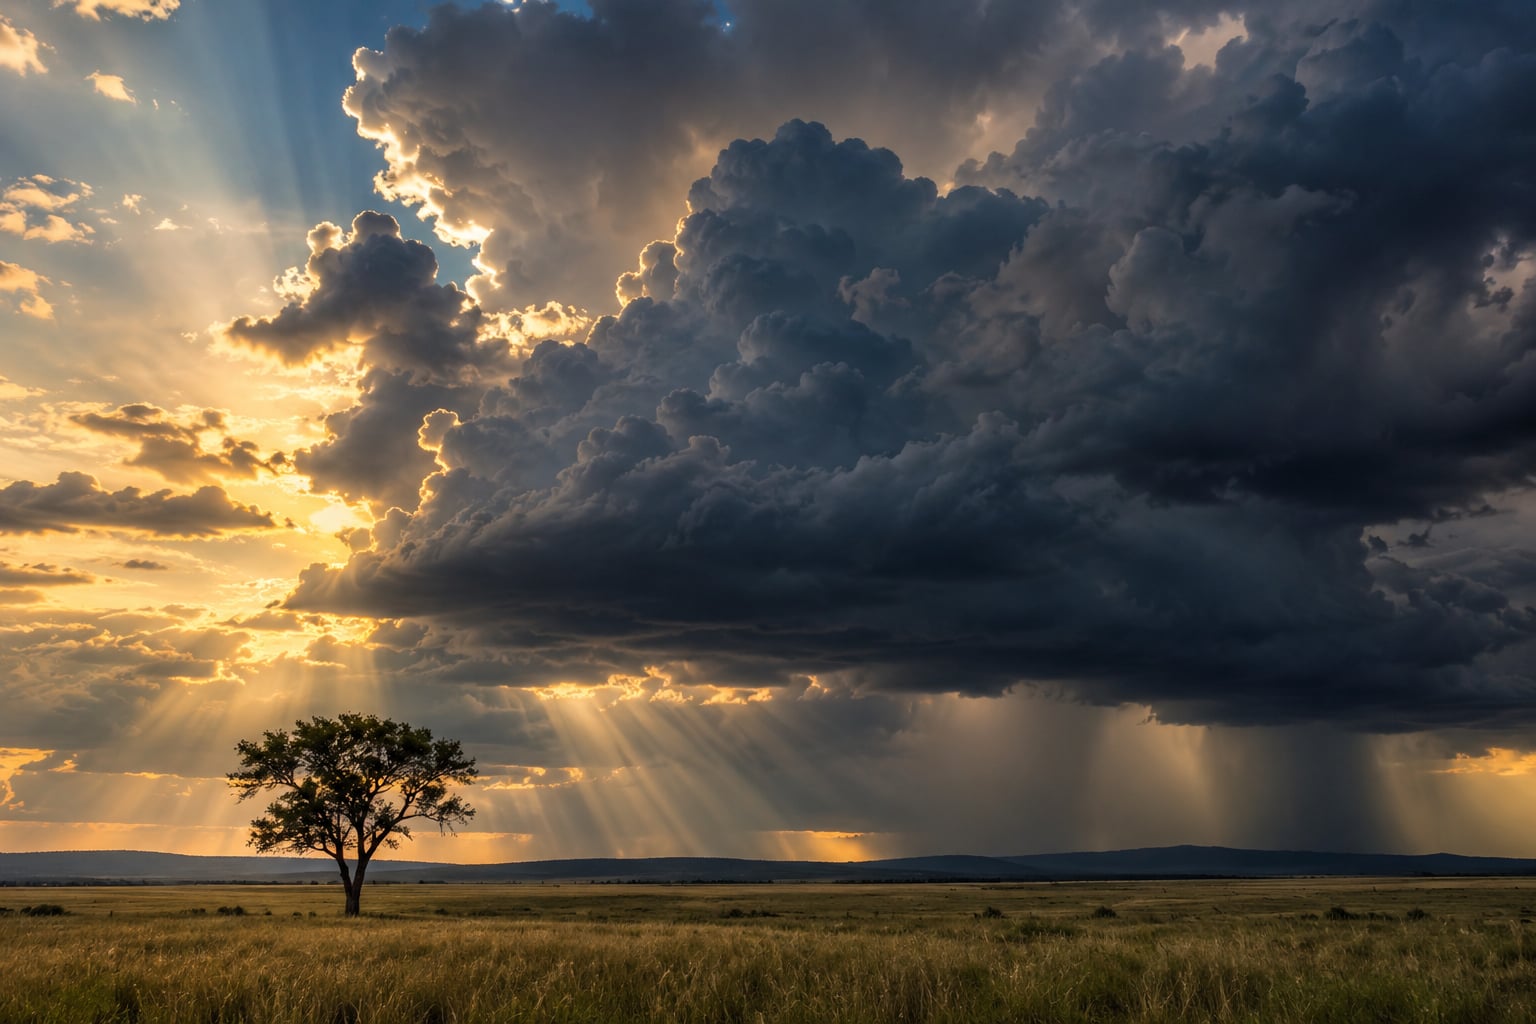
The light matters more than the cloud. The dramatic skies are the ones where the sun is low and partly hidden, so clouds are lit from underneath and from the side. That produces the warm glowing edges, the cool blue shadow on the side facing away, and crepuscular rays fanning out from gaps between cloud towers.
On radar, the best signal is a broken line of precipitation rather than a solid blob. Solid rain means a continuous grey deck overhead. Broken showers mean holes, and holes mean light.
Find a Viewpoint with Depth
Clouds photographed alone rarely feel dramatic, because there is no scale reference. A towering anvil photographed against empty blue reads as a smudge until you put a tree, a fence post, or a post at the base of the frame.
Foreground elements give depth in three ways. Something close to the lens creates a strong depth cue. Something at a mid distance catches a shaft of light. Something far away marks the horizon and gives the eye a line to read cloud height against.
Leading lines work well here. A river, a road, a fence line or a shoreline all point into the frame, and if the cloud movement runs parallel to that line, the flow opens toward the viewer and doubles the composition.
Keep the horizon straight and decide where it goes before you commit. Putting the horizon in the lower third gives the sky roughly two-thirds of the frame, which suits towering clouds. Putting it high leaves room for reflections on water, wet sand or a flooded field, but only works when there is something worth reflecting.
Watch for the distraction at the edge of frame: a bright fence post, a stray branch, an aircraft. Move two steps before you shoot. Ninety percent of disappointing cloud photos are composition problems that one small move fixes.
Set the Camera for Bright Clouds
Switch to manual or aperture priority, set the aperture around f/8, and set ISO to 100 or 200. Fixing those two leaves shutter speed as the variable, which is exactly what you want when light changes fast under a broken sky.
Meter from the brightest cloud edge with spot or centre-weighted metering rather than letting matrix metering average a dark foreground against a bright sky. Matrix metering will try to make the ground look correct, which pushes the sky two stops past white.
Here is a starting point by cloud type. Treat it as a pre-load, not a rule.
- Cumulus. Low, roughly 1 to 2 km. Shoot it wide to normal, 16 to 50mm, at f/8, ISO 100 and 1 to 1/500s. Early morning side light is the money.
- Stratocumulus. Low, roughly 1 to 3 km. A normal lens, 35 to 70mm, at f/8, ISO 100 and 1/125 to 1/500s. Look for a break in the grey deck.
- Altocumulus and altostratus. Mid, roughly 3 to 6 km. A telephoto, 70 to 200mm, at f/8, ISO 100 and 1/250 to 1/1000s. Sunset colour lands on the underside.
- Cirrus and cirrocumulus. High, 6 to 12 km. A telephoto, 100 to 200mm, at f/8, ISO 100 and 1/500 to 1/1000s. You want low sun raking across the ice crystals.
- Cumulonimbus. Low base with the anvil near 12 km. Go wide, 16 to 24mm, at f/8, ISO 100 and 1/250 to 1/1000s. Try it with the sun just under the anvil edge.
- Lenticular. Mid, 3 to 6 km. A long telephoto, 135 to 200mm, at f/8, ISO 100 and 1/500s. Late golden hour suits the smooth stacked shape.
- Mammatus. Hanging from the base of a storm cell. Telephoto, 100 to 200mm, at f/5.6 to f/8, ISO 100 to 400 and 1/250s. Shoot it in the last light under the base.
Shoot raw every time. A raw file gives you the highlight data you need later, and it lets you correct a badly chosen white balance without losing the colour in the sky.
Protect Highlight Detail
Clouds are the brightest thing you are likely to point a camera at in daylight, and once their highlights clip to pure white there is no detail to recover. No editing tool can invent texture inside a blown pixel.
Set exposure compensation to minus one EV and check the histogram. You are looking for the right-hand edge of the histogram stopping short of the wall. If the bright edge of a cloud is touching the wall, take another frame a third of a stop darker.
The histogram view can be black-and-white or overlaid on the frame. The black-and-white version is easier to read on a bright screen in daylight, and it works the same on every camera and phone that has one.
When the dynamic range of the scene exceeds what your sensor can hold, bracket. Shoot one frame at minus two EV, one at minus one, and one at the metered reading, then blend them later. A graduated ND filter does the same job in one frame by darkening only the top half, which is worth the transition line you have to hide later.
Underexposing protects the sky but has a floor. Push past about two stops down and the shadow side of the clouds turns into a flat grey block with no colour, and the raw file feels dull even though nothing clipped. One stop under the meter reading is usually the sweet spot.
Focus and Capture the Scene
Turn autofocus off for clouds. Autofocus hunts across a featureless sky, grabs the far edge of the frame, and gives you a soft image of detail-free white. Set manual focus, switch to live view, zoom in until you can see the edges of a cloud, and focus on the part of the sky you care about.
Clouds are effectively at infinity, so focusing slightly short of infinity on a wide lens is a useful compromise when the foreground also needs to be sharp.
Keep the shutter speed fast enough to freeze cloud motion unless you want the opposite. Mid-level cumulus in a strong wind can move noticeably in a couple of seconds, and if your frame is soft it is usually the clouds that drifted, not the camera.
Use burst mode and take a short sequence as the cloud shape evolves. A single frame is a coin flip; ten frames across a minute gives you ten different shapes to choose from, and it costs nothing but card space.
For deliberate blur, add a neutral density filter. Shoot your metered speed first, then calculate the increase from the filter strength. Ten stops takes a metered 1/100s to about 30 seconds, which is the community standard for turning moving cloud into smooth flow. Without a filter, you can still get soft motion by underexposing, accepting a noisy file as the price.
Align the camera so the cloud movement runs across the frame rather than toward or away from you. Motion toward the lens looks like nothing happened. Motion across the frame draws visible streaks, and if a coastline or road runs the same direction, the streaks become leading lines.
One wind warning that costs real frames: hang a tripod strap down and let it blow. Long cloud exposures pick up that motion as a smeared edge along one side of the image. Tuck the strap under the tripod head and use the camera’s two-second timer or a remote release instead of a dangling cable.
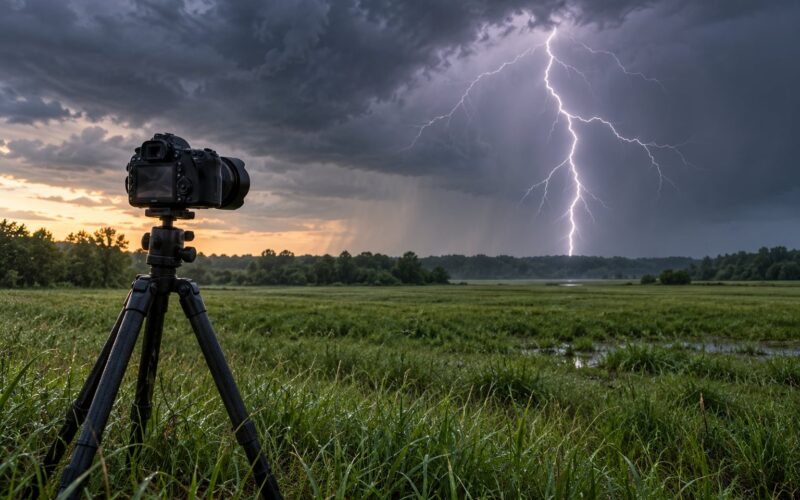
Finally, keep yourself safe. Storms produce the best clouds and the worst conditions, and lightning kills. Work from a building, a hard-topped vehicle or a substantial distance from an isolated cell. If you cannot see the whole storm from where you stand, you are too close.
Check the Result and Refine the Shot
Check each frame on the camera screen at full magnification before you move on. Look at the corner pixels first, because soft corners from a misaligned filter or a smudged lens hide better than centre softness.
Then ask three questions. Is the brightest cloud edge still showing texture, or is it a solid white shape? Is the horizon level? Does the frame contain something that tells you how big that cloud is?
If the highlights are gone, lower exposure compensation and shoot again. If the horizon is tilted, fix it before you leave the spot rather than trying to straighten it later. If the whole frame feels flat, the light is flat, and the fix is to wait fifteen minutes for the sun to move behind the cloud.
Cloud light changes fast. The frame that looked ordinary on the screen can look dramatic the moment the sun drops below a distant horizon edge, so keep shooting while you wait.
Common Mistakes That Flatten Dramatic Clouds
Exposing for the average sky. Matrix metering balances the bright sky against the dark land and clips every cloud edge. Switch to spot metering on the brightest cloud and add minus one EV.
Underexposing far past the point that helps. Two stops down protects the sky but drains the colour out of the shadows. Stop at minus one EV unless the histogram says otherwise.
Rotating a polarizer to the wrong angle. A circular polarizer only removes glare at one specific angle relative to the sun. Turn it 90 degrees and it can deepen the sky a little; turn it further and the effect reverses, leaving a flat grey haze. Rotate slowly and watch the background change, then stop where it looks best.
Relying on autofocus in an empty sky. There is nothing to focus on, so the camera guesses. Use manual focus and magnification.
Leaving the tripod strap loose in the wind. Long exposures pick up the strap’s movement as a doubled or smeared edge. Strap it down and use a timer or remote.
Waiting for blue sky. Flat blue with a few small clouds makes a pleasant picture. The drama comes from instability, broken light and a sun near the horizon.
No scale in the frame. A dramatic cloud with no reference is just weather. Include something of known size near the base.
Treating a good location as a guarantee. Photographers routinely return to a spot that produced a famous sky and find flat grey overcast. Check radar on the day, not on the day you shot the reference image.
Two habits fix most of these at once. Shoot a bracket every time, and review at full magnification before packing up.
Editing for Dramatic Cloud Detail
Editing cannot recover a clipped highlight, but it can turn a flat raw file into a photograph with shape. Work in this order, and change things gently.
- Set white balance before anything else. Cloud colour is the subject, and fixing it later means re-fixing every other slider.
- Drop exposure half a stop if the histogram is touching the right wall, then use highlight recovery to bring texture back into bright cloud edges.
- Select the sky with a luminance or colour range mask, feather it generously, and darken it a little. Lift the foreground separately so the two are not forced into one global correction.
- Add texture or clarity to the sky mask only. Small amounts read as cloud detail; large amounts read as crunched, over-processed noise.
- Add a small dehaze amount for aerial depth, then check the far horizon. Heavy dehaze creates a dark halo along the edge of the mask.
- Finish with a gentle contrast curve, one adjustment for everything rather than stacked per-slider contrast.
Cloud photographers often compare a punchy, saturated version against a natural version of the same frame, and the natural one usually reads better. Check your result at arm’s length on a normal-brightness screen, because contrast and colour that look right zoomed in can look heavy at full size.
If you shot a bracket, blend the exposures after correcting each one, using a soft mask along the horizon so the transition is invisible.
Frequently Asked Questions
What is the best camera setting for dramatic clouds?
Start in manual or aperture priority at f/8, ISO 100, with shutter speed set by the camera. Meter from the brightest cloud edge with spot metering and apply minus one EV. For mid-level clouds such as altocumulus, 1/250s to 1/1000s usually freezes motion; for soft blur, add a 10-stop neutral density filter to a metered reading. Always shoot raw and check the histogram before each frame.
How do you keep white clouds from being overexposed?
Meter off the brightest part of the cloud, not the average sky, then apply minus one to minus two stops of exposure compensation. Watch the right-hand edge of the histogram and stop short of the wall so highlights keep texture. When the bright sky and dark ground exceed your sensor’s dynamic range, bracket several exposures or use a graduated neutral density filter to darken only the top half.
Should I photograph clouds with a polarizing filter?
A circular polarizer can deepen blue sky and cut haze, and it can boost contrast in thin cirrus. It only works at one angle relative to the sun, so rotate it slowly and watch the background. Past about 90 degrees of rotation the effect reverses and leaves a flat grey sky, which is the muddy look people complain about. At sunset the angle changes fast, so check as you turn.
What lens is best for cloud photography?
A 24mm to 70mm zoom covers most situations and keeps a bag light. Wide angles from 16mm make the sky feel huge and exaggerate distance between layers. Telephotos from 70mm upward compress several cloud layers into one frame, which is how a small patch of sky looks packed with texture. Telephoto lenses also isolate single shapes like lenticular or mammatus clouds against clean sky.
Can I photograph clouds with a phone camera?
Yes, and modern phones handle bright skies well. Use Pro or Manual mode if your phone has it, set ISO low, and tap and hold on the brightest cloud to lock exposure, then pull that down slightly. Turn off the HDR auto-blend if it flattens the sky into a grey card. Use the 2x telephoto lens for compression, and hold the phone still against something solid.
When is the best time to photograph dramatic clouds?
Arrive 45 minutes before sunrise or sunset and stay for an hour after. The best light comes when the sun is low and partly hidden behind cloud, so edges glow while the shadowed sides stay cool. Midday sun flattens everything into white overhead light. Fronts and thunderstorms produce the most dramatic skies, so watch radar the day before rather than trusting a clear forecast.
Conclusion
If you do one thing differently, check the sky before you leave rather than after you arrive. Unsettled weather with a broken line of showers gives you the light that makes clouds photograph well.
Then protect the highlights: spot-meter the brightest cloud, subtract a stop, and confirm it on the histogram. Take one deliberate frame, bracket a couple more, and keep shooting while the light changes.
Back at the desk, mask the sky separately from the land and adjust each on its own. That single habit is what turns a record of the weather into a photograph with drama in it.