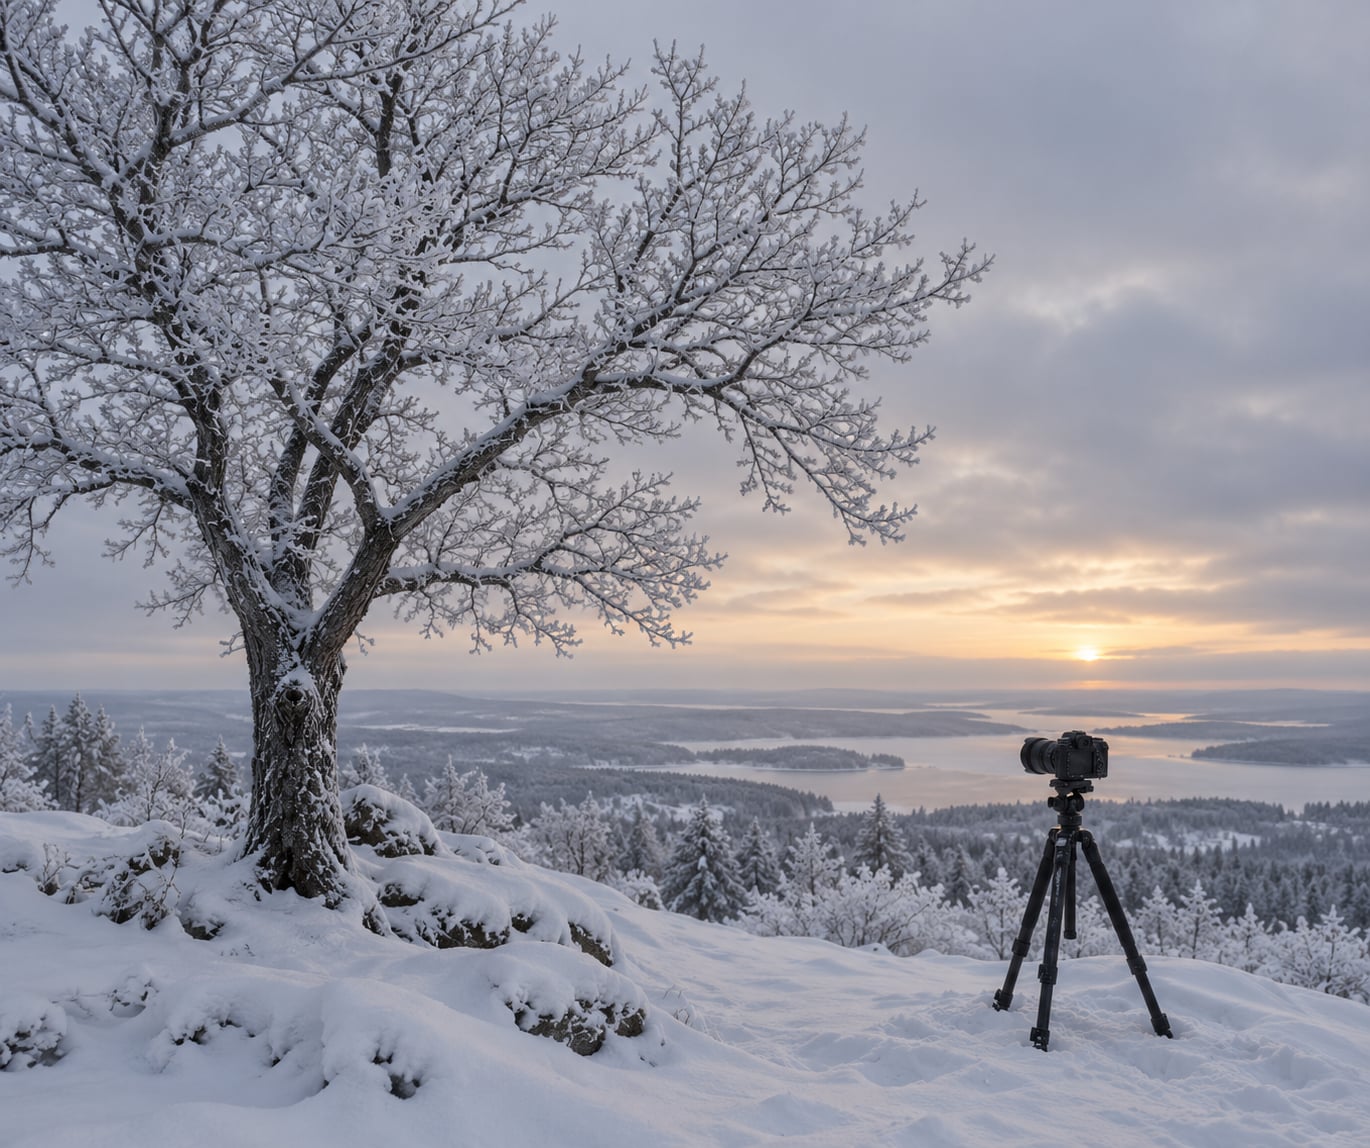
To photograph trees in winter, scout the tree before you unpack the camera, protect your gear from snow and condensation, add about +1 to +2 stops of exposure compensation so snow renders white instead of grey, and check focus at 100 percent before you leave. Most of the work happens before the shutter fires.
Winter strips a scene down to line, shape and texture. Bare branches read like ink on paper, hoarfrost catches the first light, and a snow-laden conifer sits against a pale sky as a clean graphic shape. The catch is that the same conditions wreck a camera that was never prepared for them.
Here is the field workflow I use, in the order the steps actually happen on a cold morning. Budget 30 to 90 minutes depending on how far you walk, and expect the tripod to do more work than any filter.
Last updated: October 2026
Table of Contents
- What You Need
- How to Photograph Trees in Winter: Step-by-Step Guide
- Step 1: Scout the Trees Before You Shoot
- Step 2: Protect Your Camera From Snow and Moisture
- Step 3: Decide How to Photograph Trees in Winter
- Step 4: Set the Exposure for Snow, Sky, and Branches
- Step 5: Use a Tripod, Stabilize, and Focus Precisely
- Step 6: Compose for Shape, Contrast, and Background Simplicity
- Step 7: Take Several Frames and Review Them Cold
- Common Mistakes
- Frequently Asked Questions
- What is the best time of day to photograph trees in winter?
- Should I use spot metering when snow is present?
- How do I keep fine branches sharp in wind?
- What camera settings work best for snow and a bright sky?
- How do I prevent snow and condensation from forming on my camera?
What You Need
A capable phone camera is enough to learn all of this. A dedicated camera gives you raw files, interchangeable glass and a viewfinder that keeps your face out of the wind, but nothing else changes about the technique.
- Camera with manual exposure and a histogram display. A phone in its pro or manual mode covers the same ground.
- Lens that suits your subject: a wide zoom for a lone tree in a wide view, a short telephoto for layered tree lines, a macro or close-focus option for frost crystals.
- Weather protection: weather-sealed body and lens if you own them, a dry bag or zip bag, and a lens cloth that stays clean and dry in your pocket.
- Tripod with a decent head. The single most useful piece of kit in low winter light, and the difference between sharp twigs and mush.
- Spare batteries. Cold cuts battery life hard; keep one set in an inner pocket against your body.
- Lens cloth dedicated to snow and moisture, kept separate from the one you use on dusty glass.
- Composition aids: a small notebook or phone notes app for EXIF notes, a lens hood for flare control, and optionally a circular polariser for glare and sky contrast.
Leave the camera in the car until the last possible moment, and skip the walking route that crosses open ground if the wind is strong enough to make you lose balance. Cold gear is useless if you cannot get to the tree.
How to Photograph Trees in Winter: Step-by-Step Guide
The sequence matters more than any individual setting. Scouting first saves you from cold retakes, camera protection prevents damage that ends the session early, and exposure set after the subject is chosen stops you dialling in the wrong light for a composition you have not decided on yet.
Step 1: Scout the Trees Before You Shoot
Walk the whole tree first, without the camera in your hands. Look at where the trunk divides, how the main limbs travel, how thick the snow sits, and where the light is coming from behind you or in front of you.
A promising composition shows you three things before you set up: a clear separation between the branches and whatever is behind them, a direction the eye can travel, and a background with nothing distracting in it. If the lower third of the frame is a parked car or a footpath sign, either change the angle or accept that the shot needs a much tighter crop.
Check your footing and your exit route while you are out there. Thin ice, hidden streams under snow and uneven ground are the actual hazards of a winter photo walk, not the cold.
Step 2: Protect Your Camera From Snow and Moisture
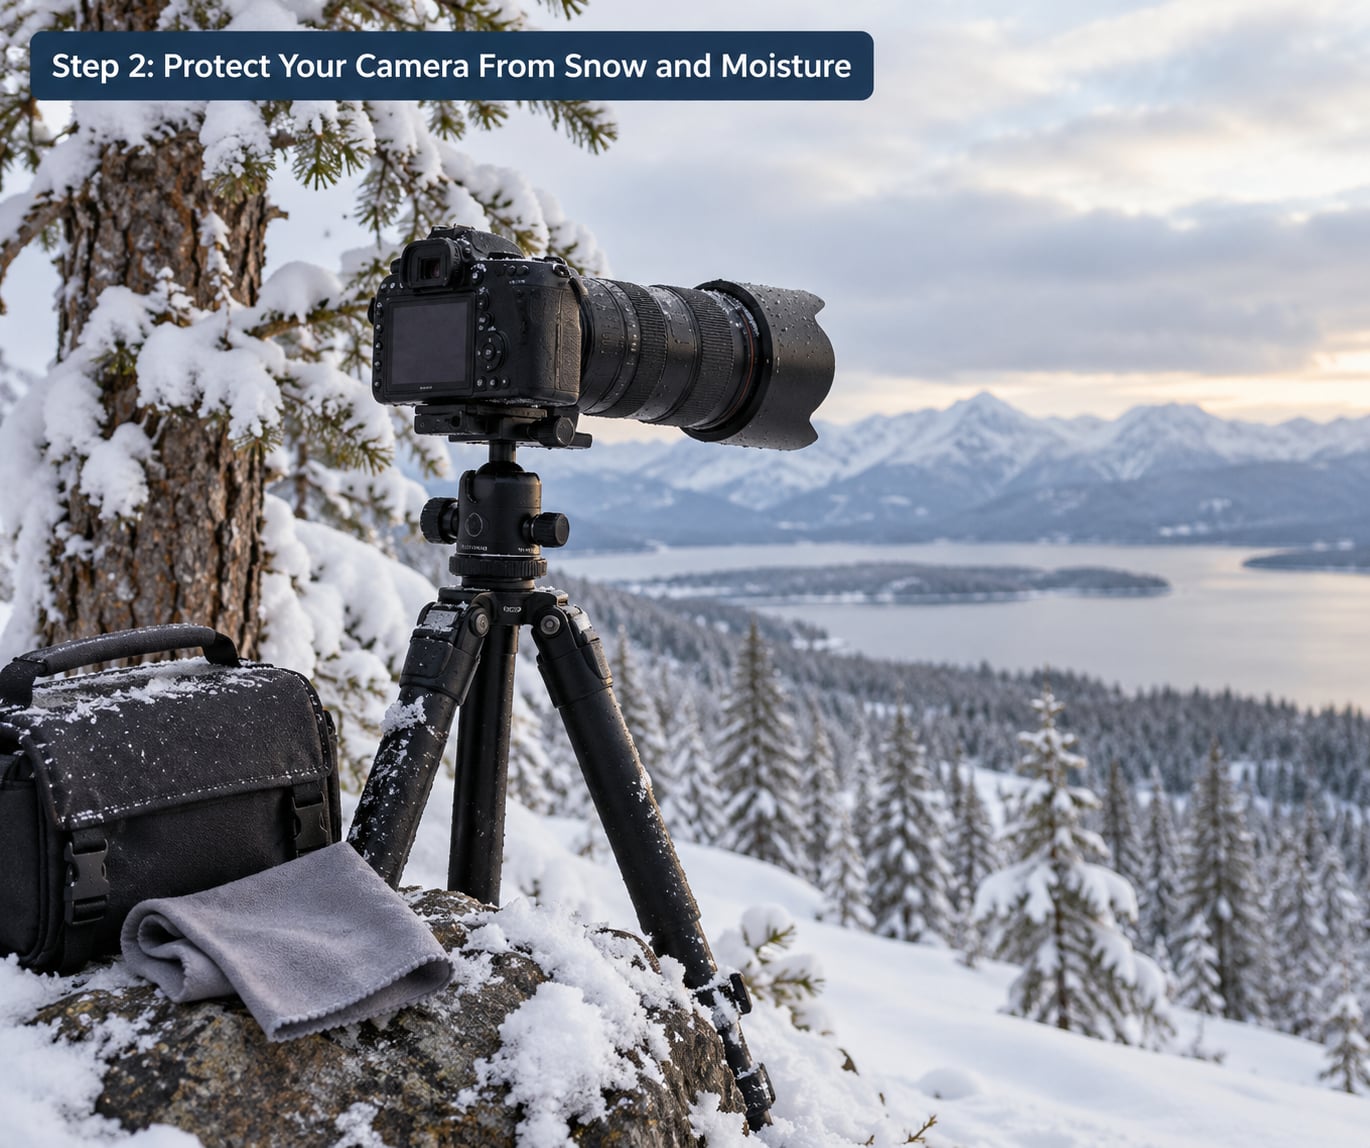
Treat moisture as the enemy, because it is the one failure that costs you a camera. Snow brushes off; water gets inside.
- Change lenses inside your bag or car, never in open air. A gust of fine snow will find the sensor opening within seconds.
- Wipe snow off the body and hood before it melts. Melted snow on a warm-ish camera runs into seams it should never reach.
- Keep the cloth in your pocket, not in the open bag where it is already wet with snow.
- Breathe on the viewfinder and front element only when you cannot help it, and do it while facing away so warm breath lands on your jacket instead.
- Use a dry bag when snow turns to drizzle or sleet. Wet snow clings to glass far more stubbornly than dry powder.
- Put the camera in a sealed bag before you bring it indoors. Condensation forms on the outside of a cold body when it meets warm room air, and sealing it keeps that moisture on the bag rather than the electronics. Wait until it reaches room temperature before opening.
Step 3: Decide How to Photograph Trees in Winter
Four framings cover almost every winter tree shot, and the right one depends on the light you have rather than the tree you fancy.
- A wide environmental scene places the tree in its surroundings. It needs open light and works best low in the day, with long shadows across snow.
- A single-tree portrait isolates one tree against sky, fog or a far treeline. A short telephoto keeps it honest without flattening everything into a wall.
- A trunk and bark study rewards raking side light and close focus. Frost patterns, cracks and lichen read far better than they do at midday.
- A close-up of fine branches needs the least light of the four, which makes it the safest option on a heavily overcast afternoon or in a pine stand that blocks the sky.
Decide before you unpack. Changing framing means changing aperture, ISO and shutter speed again, and that is a lot of fiddling with cold hands.
Step 4: Set the Exposure for Snow, Sky, and Branches
Snow and ice bounce a large share of the light back at the camera, so the meter reads a bright scene as darker than it really is and underexposes. This is the reason winter photos look flat and grey, and it is a metering behaviour rather than a mistake in your technique.
Switch to manual exposure and dial it in yourself. Start around +1 stop and add up to +2 stops for large areas of unbroken white, then check the histogram: you want the snow’s peak just under the right-hand edge, with no clipping at the top. Highlight warnings and zebra stripes are faster than squinting at a small screen.
When a bright sky and dark branches cannot both sit in one exposure, do not force it. Bracket two or three frames around your setting and blend them, or expose for the sky and let the branches fall to near-black for a deliberate silhouette. Most photographers arrive at the same manual-mode conclusion for bright snow.
Starting points, all adjustable:
- Bright overcast: ISO 100 to 400, f/8, 1/250s, +1 to +1.7 stops.
- Sunny with hard shadows: ISO 100, f/8 to f/11, 1/500s, +1.7 stops, watch for clipped snow.
- Shaded woodland or deep forest: ISO 400 to 1600, f/5.6, 1/125s, dial compensation back toward zero as the scene darkens.
Shoot raw. Recovering a slightly overexposed snow highlight is straightforward in a raw file and impossible once it has clipped in a compressed jpeg.
Step 5: Use a Tripod, Stabilize, and Focus Precisely
Long lenses magnify hand shake into visible branch blur, and a tripod removes the problem entirely. Keep the tripod low to the ground and angle the centre column so the camera is not pointing straight down, which softens the corners.
Use a two-second timer or a remote release rather than the shutter button. Pressing the shutter at one-handed speed adds a small jolt that is invisible until you check the file.
For focus, choose single-point autofocus and place the point on a branch near the camera, not on the sky or the distant treeline. Confirm sharpness at 100 percent before you change anything else. Once it is right, switch to focus lock or manual focus so a gust of wind cannot drag the focus point off your subject mid-sequence.
For frost and fine twigs where depth of field gets thin fast, stop down to f/8 or f/11 and focus about a third of the way into the subject. Bracket a couple of frames rather than moving everything between shots.
Step 6: Compose for Shape, Contrast, and Background Simplicity
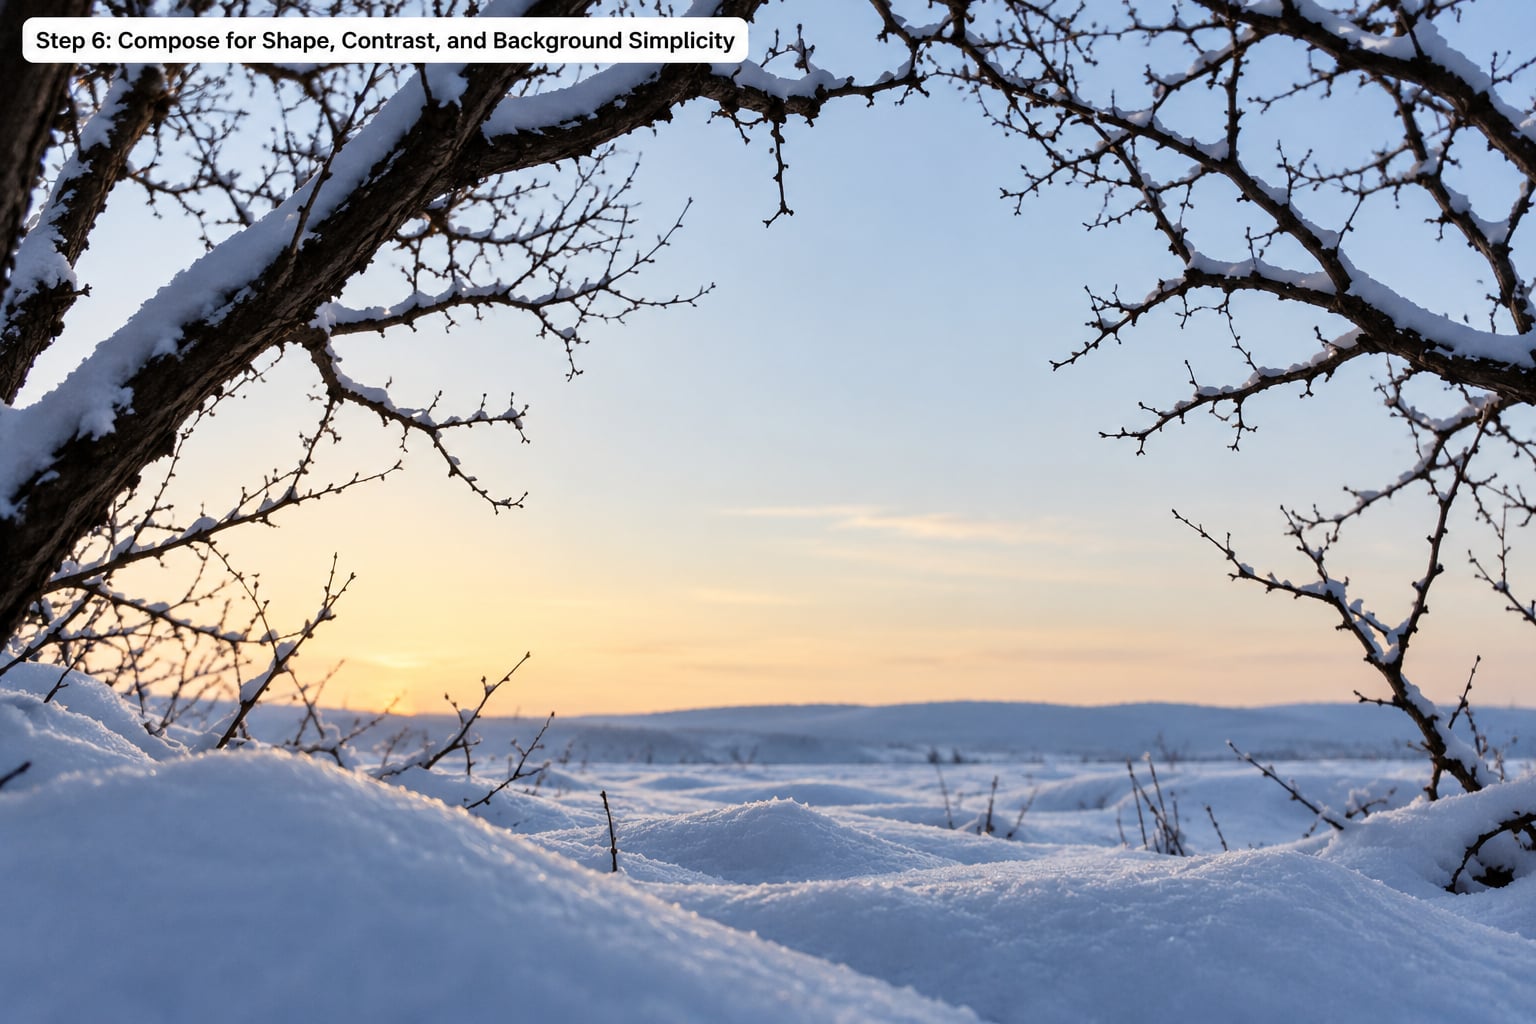
Winter composition is mostly subtraction. Anything you can remove from the frame without losing meaning, remove.
A dark trunk against pale sky is the strongest silhouette you will find in a cold month, and the branches leading out of it act as leading lines. Shoot from a low angle and let the canopy close over the top of the frame for a frame-within-a-frame effect. Layer several trees at different distances to build depth in a scene that would otherwise look flat.
Use negative space deliberately: a bare crown surrounded by empty sky reads as minimal and calm, while a busy background turns the same tree into clutter. Look for small details too, a single frosted bud or a bird’s nest in a fork, because the wide shot and the close-up of one tree are rarely both the strongest frame.
Move only what is safe to move. Leave the tree’s structure alone; rearranging a natural scene to suit a composition costs you time you do not have in the cold, and the shape was good before you arrived.
Step 7: Take Several Frames and Review Them Cold
Work a short sequence rather than one frame: nudge the position, change the focal length slightly, add or remove a stop. The best frame of a winter tree is usually the third or fourth attempt, because that is when you have moved far enough for the background to change but not so far that you have lost the shape you spotted in scouting.
Check four things on the back of the camera before you pack up: focus on the nearest branches, snow highlights not clipped, branches placed where you intended, and no distractions sitting in the corners. Zooming to 100 percent catches all four faster than any amount of guessing.
Know when to come back. Overcast soft light rewards the wide scene, low sun rewards texture and frost, and blue hour rewards silhouettes. If the light gave you none of those, note the tree, note the time, and return at a different hour rather than forcing a weak frame at the end of a cold afternoon.
Common Mistakes
Snow renders grey. The meter underexposed it. Add exposure compensation in manual mode until the histogram peak sits just below clipping.
The sky is blown out. You exposed for the branches. Expose for the sky instead and accept the silhouette, or bracket and blend.
Focus sits on the background. Single-point autofocus was left on the far treeline. Put the point on a near branch and check at 100 percent.
Fine branches are soft from wind. Raise the shutter speed, open up the aperture a little, or wait for a lull. A tripod and a shorter exposure both help.
Branches merge into clutter. Change your position a few steps and check the background before the frame, not after. A small lateral shift separates overlapping limbs better than any crop.
Melted snow is smeared on the lens. Stop shooting and clean it. Wipe with a dry cloth, breathe lightly on the glass to soften stubborn ice, then wipe again. Do not rub grit across the front element.
The edit pushes it too far. Recovering highlights and neutralising a blue cast is useful. Crushing the snow into a blue-grey and clipping the sky is not.
Bark detail is gone. Open a stop, or bracket, and expose for the trunk rather than for the overall frame. Bark needs side light, so move until the sun rakes across it.
Frequently Asked Questions
What is the best time of day to photograph trees in winter?
The low sun, roughly the first hour after sunrise and the last hour before sunset, is the best time. That light rakes across bark and frost, throws long shadows across snow and gives bare branches separation from the sky. Overcast days still work well for wide scenes and close branch details, since the diffused light is even and detail stays soft rather than harsh.
Should I use spot metering when snow is present?
Usually not on its own. Spot metering on a bright snowy area still triggers the camera’s tendency to underexpose, and it gives you no control over the sky. Manual exposure with about +1 to +2 stops of compensation is more predictable for snow. Evaluative metering in manual mode is fine as a starting point, then correct from the histogram.
How do I keep fine branches sharp in wind?
Raise the shutter speed until the movement stops, usually somewhere around 1/500s or faster for gusty conditions, and compensate by opening the aperture or raising ISO. A tripod helps with your own shake but does nothing for the branches themselves. If sharpness still matters more than the frame, wait for a lull and shoot in short bursts between gusts.
What camera settings work best for snow and a bright sky?
Shoot manual at around ISO 100, f/8 to f/11 and 1/250s to 1/500s, then add +1 to +2 stops of exposure compensation and watch the histogram for clipping. When the sky is much brighter than the trees, expose for the sky and let the branches go dark for a silhouette, or bracket two or three frames and blend them later.
How do I prevent snow and condensation from forming on my camera?
Change lenses inside your bag or vehicle, wipe snow off before it melts, and keep a dry lens cloth in your pocket rather than the open bag. When you bring the camera indoors, seal it in a closed bag first so condensation forms on the outside, then wait until it reaches room temperature before opening it. Cold glass plus warm breath causes most of the fogging.
Start with the tree, not the camera. Walk the whole thing, pick one framing, protect the body from snow, then set manual exposure with about +1 to +2 stops and check the histogram before the first frame. That order alone fixes most of the grey, blown-out winter photos people complain about.