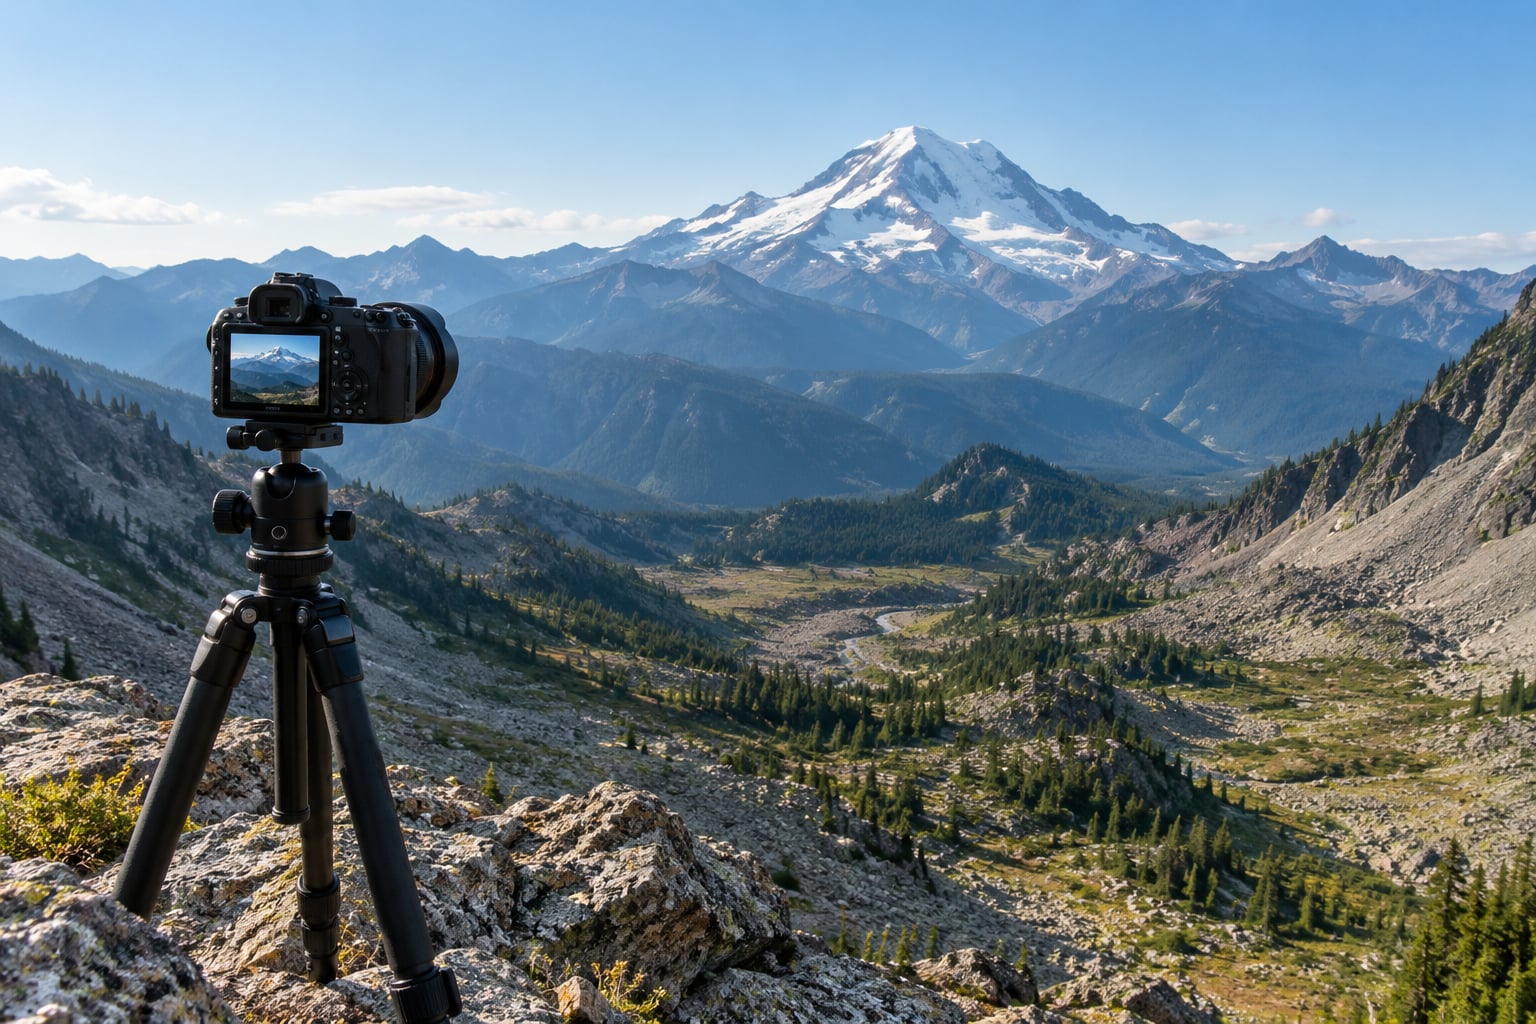
Mountains look small in photos because of angular size. A peak 20 km away subtends only a few degrees of your view, so it fills a small slice of the frame no matter how many megapixels the file has. A wide-angle lens shrinks that slice further, and with no scale reference in shot, the eye has nothing to measure the peak against.
That is the whole mechanism. Everything else in this guide is a way of working with it, either by narrowing the angle your lens covers, by putting something of known size next to the mountain, or by choosing where you stand.
I have shot the same summit at 16mm and at 135mm from the same spot on the same morning. The telephoto frame is not closer, it is simply narrower, and the mountain reads twice the size. That gap between what you remember and what lands on the card is what brings people searching for why do mountains look small in my photos.
Table of Contents
- What Makes Distant Mountains Look Small?
- Angular size, the whole answer in one idea
- Framing and competing elements
- How Distance Changes Mountain Scale
- How Focal Length Changes the Mountain’s Apparent Size
- Why Do Mountains Look Small in My Photos? The Role of Perspective
- Reference objects standing too close to the lens
- Camera height and where you stand
- Haze and aerial perspective
- The peak only occupies a small part of the frame
- How to Make Mountains Look Larger in the Frame
- Simple Editing Fixes for Small-Looking Mountains
- Frequently Asked Questions
- Do mountains actually look smaller in a wide-angle photo?
- Is a telephoto lens better for making mountains look large?
- Why do mountains look small when I use a wide-angle lens?
- Can I make a mountain look larger by changing the camera position?
- How much should I crop a mountain photo?
- Why do distant mountains look flatter or less detailed?
- Conclusion: Make the Distance Work for Your Photograph
What Makes Distant Mountains Look Small?
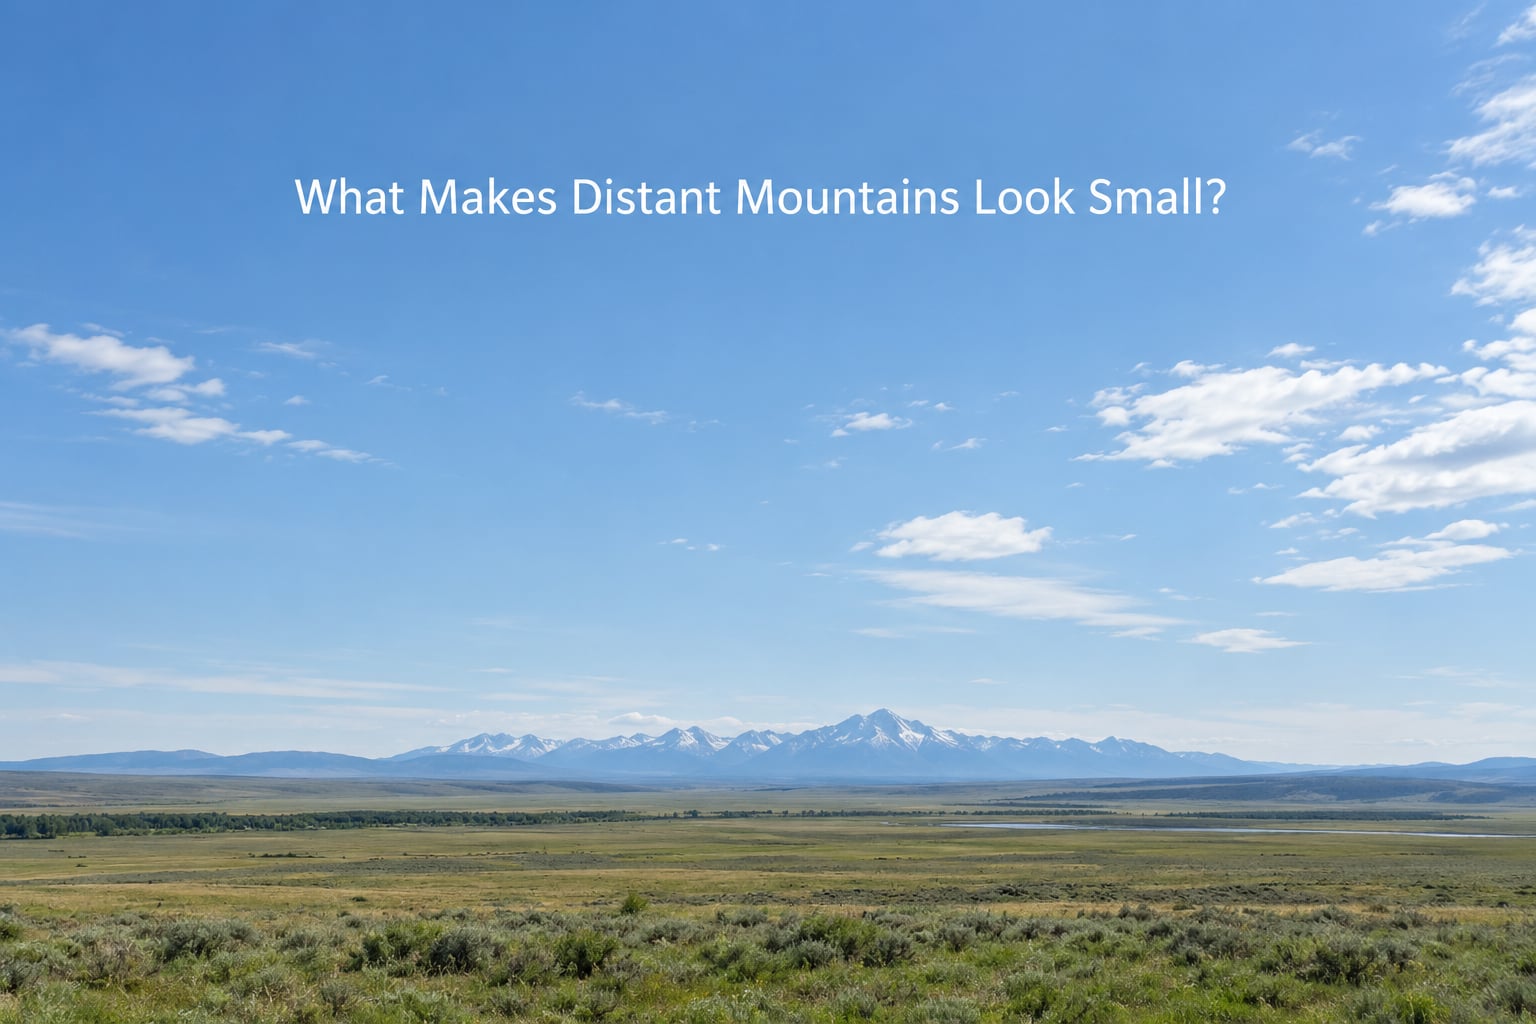
A mountain’s size in a photograph is set by four things: how far away you are, how many degrees your lens covers, how you frame it, and how much other stuff competes with it in the frame. Change any one of those and the mountain changes size, even though the peak itself never moved.
Start with angular size, the angle a subject spans in your viewfinder. A mountain 20 km away subtends roughly 8.5 degrees, which sounds meaningful until you hold up a lens covering 74 degrees horizontally. The peak is then about a ninth of the frame width. It is not a defect in the camera. It is the honest geometry of a very large object photographed from very far away.
Angular size, the whole answer in one idea
Angular size is the fraction of your field of view the subject takes, and it is the only thing that determines size in the frame. Taller mountain, shorter distance, longer lens: each one increases it. Nothing else does.
Framing and competing elements
Framing decides how much of that fraction you keep. A ridge that is a third of the frame becomes half the photo when you crop to the peak, and a fifth of it when you include a foreground boulder. Same exposure, same lens, three very different mountains.
Then there is the competition. Empty sky above the summit, a wide plain in front of it, or a bright lake reflecting light nearby all pull the eye somewhere else. The mountain is not smaller, but it reads smaller because it stopped being the loudest thing in the picture.
How Distance Changes Mountain Scale
Moving away from a mountain makes it smaller in the frame in exact proportion to how much further you go, and nothing in post can undo it. The peak’s physical size never changes; only the angle it subtends does.
Take a 3,000 m peak and hold the lens still. From 20 km the summit subtends about 8.5 degrees. From 5 km it subtends about 31 degrees, nearly four times as much. From 40 km it drops to about 4.3 degrees, and the same peak you photographed from 5 km now sits on the horizon as a thin white notch.
That last number is the one that catches people out. They admire a photograph shot from 10 or 15 km with a long lens, then drive to a viewpoint 40 km away, use the wide end of their zoom, and wonder why the result looks like a postage stamp.
It helps to separate three things people all call size. Physical size is the rock itself, fixed. Image size is how many pixels or millimetres of frame it occupies, decided by your distance and lens. Perceived scale is the judgement your brain makes, and that is the one photography can influence most.
Perceived scale is the interesting one. A distant mountain with no reference objects looks like a modest hill. The same mountain behind a person, a hut, or a line of larches looks enormous. You have not changed its image size at all. You have given your brain something to measure against.
How Focal Length Changes the Mountain’s Apparent Size
Focal length sets how many degrees the lens covers, and a narrower angle makes everything in it bigger. Switch from 24mm to 100mm on the same mountain from the same spot and the peak goes from about a ninth of the frame width to roughly a third, with no movement on your part.
Here is what that looks like for a 3,000 m peak at 20 km, on a full-frame body. Approximate horizontal angles, and the share of the frame width the peak takes up.
| Focal length | Horizontal field of view | Peak share of frame width | What it is good for |
|---|---|---|---|
| 14mm | About 104 degrees | About 8% | Foreground drama, valleys, shooting upward from a trail |
| 24mm | About 74 degrees | About 11% | Wide vistas with a strong near foreground |
| 35mm | About 63 degrees | About 13% | Environmental views, layered ridges |
| 50mm | About 47 degrees | About 18% | Natural eye-like perspective, close work |
| 100mm | About 27 degrees | About 32% | Isolating a summit, compressed ridgelines |
| 200mm | About 14 degrees | About 61% | One peak filling the frame, distant ranges |
Phone shooters hit the same wall with less choice. A phone’s main camera is roughly 26mm equivalent, which lands you near the 11% mark, and the ultrawide sits around 13 to 14mm equivalent, close to 8%. If you have been shooting mountains on the 0.5x button, that alone explains most of what you are seeing.
Zoom in on your phone instead. Most phones offer a 2x and a 3x or 5x optical or stabilized crop, and using those is a direct move up this table without carrying another lens. You lose some resolution compared with a dedicated telephoto, and you gain a peak that actually reads as a mountain.
Why Do Mountains Look Small in My Photos? The Role of Perspective
Perspective is what makes mountains look small in my photos more often than any other factor. Your eye reads size by comparison, and a photograph flattens a three-dimensional world into two dimensions, which strips away most of the comparisons your brain was using on the trail.
Reference objects standing too close to the lens
The most common scale mistake is putting your person for scale a few metres from the camera. A human 3 m from the lens is magnified enormously and the mountain behind them is pushed away, so the frame ends up saying the opposite of what you meant. Walk your person 30 or 50 metres out, or use a telephoto and put them further still, and the same frame finally reads correctly.
One photographer on r/AskPhotography described shooting a rock formation at 15mm from beside it and reporting that the rock looked very prominent while the mountains behind looked small. That is the distortion doing exactly what it does, and no amount of editing removes it.
Camera height and where you stand
Height changes which ridges overlap your peak and how much ground you see in front of it. Dropping lower usually helps, because a low angle puts foreground objects in front of the mountain’s base and hides the empty gap between you and it. Moving side to side or a few metres up a slope can pull a nearer ridge out from behind your summit and give the peak a clean silhouette.
Haze and aerial perspective
Atmospheric haze scatters light between you and a ridge, which lowers contrast and drains colour as distance increases. Overlapping ridgelines fade toward the same pale blue and merge into one flat mass, so the range looks like a cardboard cutout rather than a series of planes.
Clear air at sunrise, or the first minutes after sunset, gives you the most separation between layers. The same ridgelines on an overcast afternoon after a wet morning can be almost invisible.
The peak only occupies a small part of the frame
Sometimes there is no trick available. If the summit is 30 km off and you have 35mm on the body, the mountain is going to be a modest shape. At that distance the honest options are a longer lens, a different viewpoint on a nearer ridge, or accepting the small peak and building the photograph around something else.
How to Make Mountains Look Larger in the Frame
Work through these in order on the trail. The first three are free and take under a minute each.
Zoom in. The single biggest change available. Step from 24mm to 70mm or 100mm and the peak grows without you moving, cropping the empty sky that was making it look lost.
Move closer, safely. Every step forward shrinks the angle the mountain subtends by that much more. Stop at a viewpoint with a real drop or a scramble, not one with a cliff edge and loose rock.
Change your position, not just your zoom. Walk 20 metres left or right. Ridges that overlapped will separate, a summit will move off centre, and the mountain may get a clean edge instead of merging into its neighbour.
Fill or cut the sky. Either crop tight above the summit or commit to a lot of sky with the peak placed low. The dead zone in the middle, where there is neither sky nor mountain, is what makes a frame look empty.
Isolate one summit. If three peaks are competing, pick one. A tighter frame on a single peak with clean air around it reads as monumental in a way a full range never does.
Put scale back in. A person, a cabin, a bridge, a stand of trees, or even a well-known trail marker gives your brain a ruler. It is usually the difference between a mountain and a lump on the horizon.
Give the frame a foreground. Rocks, grass, a tarn shoreline, a line of larches. Foreground, midground, background reads as depth, and depth is what turns a flat shape into a mountain with mass behind it.
One more that is free: shoot lower. A knee-height camera at the same spot and lens often beats an eye-height frame, because it puts the foreground between you and the mountain’s base instead of the horizon.
Simple Editing Fixes for Small-Looking Mountains
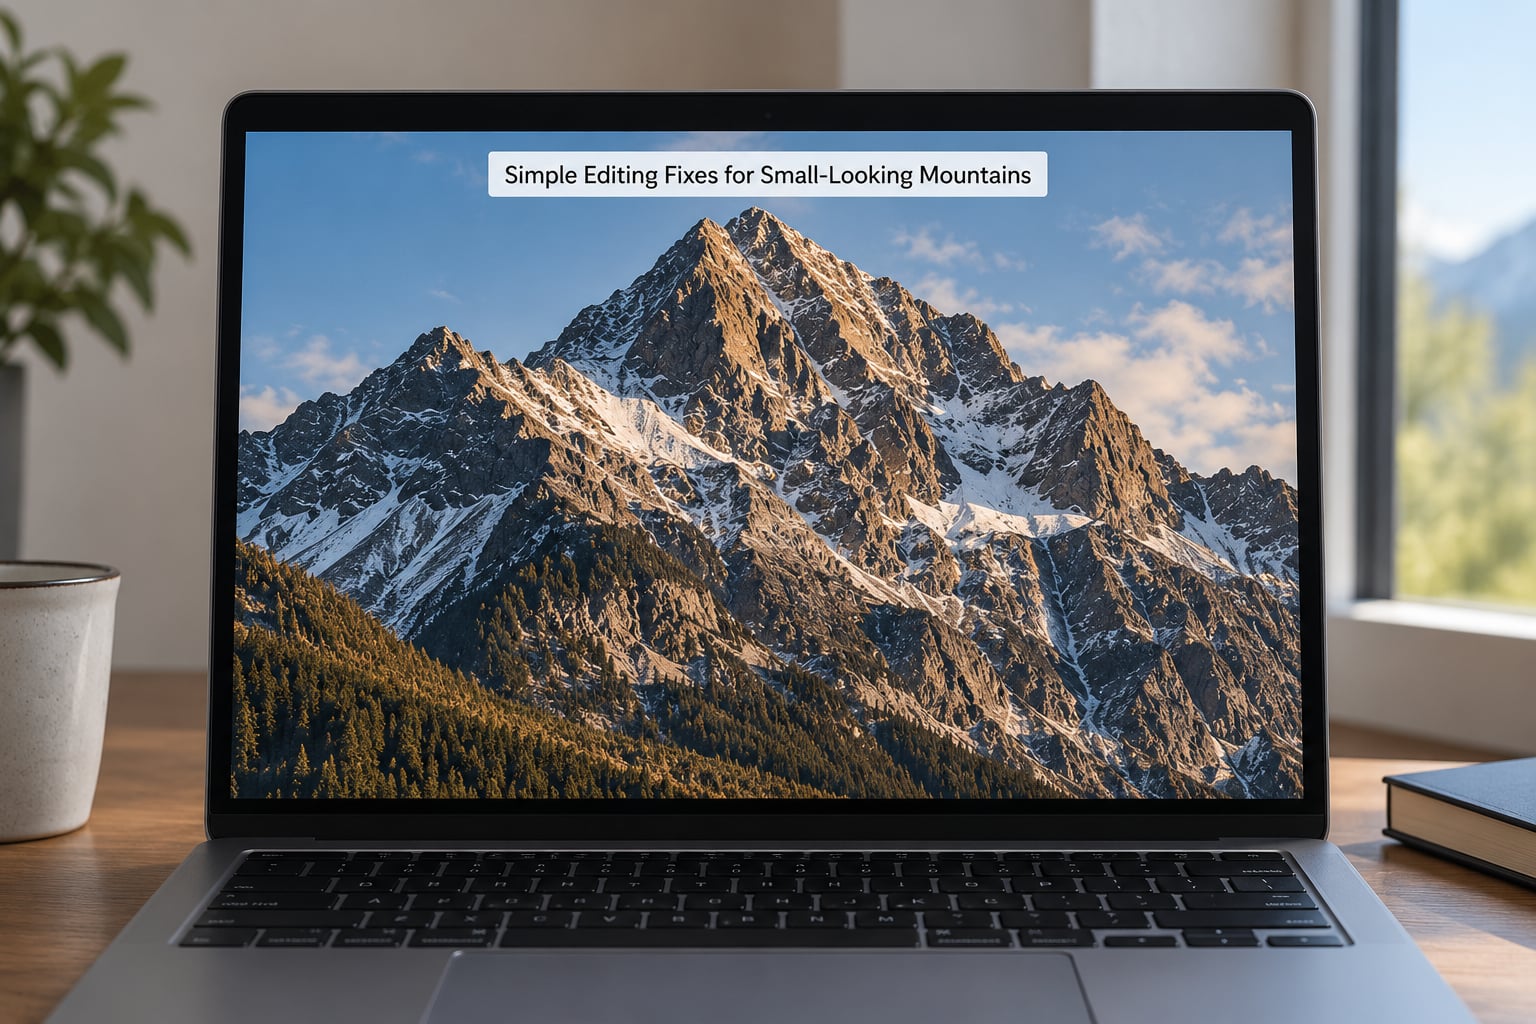
Cropping is the main fix, and it works better than most people expect. If your peak occupies a small band across the middle, take 10 to 25% off the long edges and the mountain becomes the subject rather than a detail. Crop to the summit and the nearest base, straighten any tilt, and stop before you start cutting into the shape of the mountain itself.
After the crop, add the contrast the distance took away. A gentle dehaze or clarity adjustment on the mountain only, with the strength pulled back until the rock still looks like rock, separates ridgelines that haze had merged. Masking matters: apply it to the mountain and leave the sky softer, or you will end up with a grey, gritty mess in the highlights.
Two smaller moves help. Recover the detail in a dark or hazy peak with a local exposure lift, and warm the mountain slightly against a cooler sky so the peak separates by colour as well as by tone.
Where editing cannot help is depth. If your frame has one flat band of mountain and an empty sky, no slider recreates a foreground you never shot. That frame is a lesson for the next trip, not a post-processing problem.
Editing should make the mountain more visible, not bigger than it could have been. An obviously composited or heavily stretched mountain looks wrong to almost everyone, which is the opposite of the point.
Frequently Asked Questions
Do mountains actually look smaller in a wide-angle photo?
Yes, measurably. On a full-frame body a 24mm lens covers about 74 degrees horizontally and a 14mm about 104 degrees, while a 100mm covers roughly 27 degrees. A peak spanning 8.5 degrees of view takes around 11% of the frame width at 24mm but nearly a third at 100mm. Wide lenses also exaggerate the near foreground, which reads as big and pushes the mountain further away.
Is a telephoto lens better for making mountains look large?
For filling the frame with a distant summit, yes. Something between 70mm and 200mm covers most mountain work: enough reach to isolate a peak without the stacked, postage-stamp look of a long prime. Telephoto also compresses ridgelines so overlapping peaks stack into layers. The trade-offs are less sky, a tighter crop, and usually no foreground, so it is not the right tool for a wide vista.
Why do mountains look small when I use a wide-angle lens?
Three effects stack up. The lens covers such a wide angle that the mountain becomes a small fraction of it. The same wide view exaggerates whatever is closest to the lens, and the eye reads that enlarged foreground as the big thing. Finally, a wide frame usually drags in a lot of sky and ground, and the peak ends up competing with empty space instead of commanding the picture.
Can I make a mountain look larger by changing the camera position?
Yes, and it costs nothing. Moving a few metres left or right separates ridges that were overlapping and can move your summit off a cluttered background. Dropping lower often helps most, because a low angle puts foreground in front of the mountain’s base and hides the empty gap between you and it. Both changes alter your view of the peak without touching your zoom at all.
How much should I crop a mountain photo?
Enough to remove dead sky and stray edges, typically 10 to 25% off the long edge when the peak is a thin sliver. Crop to the summit and the nearest base, and check that you have not cut into the mountain’s own shape. If the peak fills less than a third of the frame, a tight crop helps but cannot recover depth cues that were never in the shot, so add contrast and texture afterwards.
Why do distant mountains look flatter or less detailed?
Haze scatters light between you and the ridge, which lowers contrast and drains colour as distance increases, so overlapping ridgelines fade toward the same tone and merge into one grey mass. Clear air around sunrise or just after sunset gives the most separation between layers. In post, a gentle dehaze plus a masked contrast lift on the mountain can separate them again without turning the rock grey.
Conclusion: Make the Distance Work for Your Photograph
Start with your distance and focal length, because those two numbers decide how big your mountain can possibly be. Zoom in from 24mm to 70mm or more, walk a few metres sideways, drop the camera low, and put something of a size your brain already knows next to the peak.
Then crop away the dead sky and give the mountain back the contrast that distance flattened. A small peak in a good frame is a legitimate choice, but a small peak in a wide, empty, reference-free one is usually a framing decision you can fix on the trail next time.