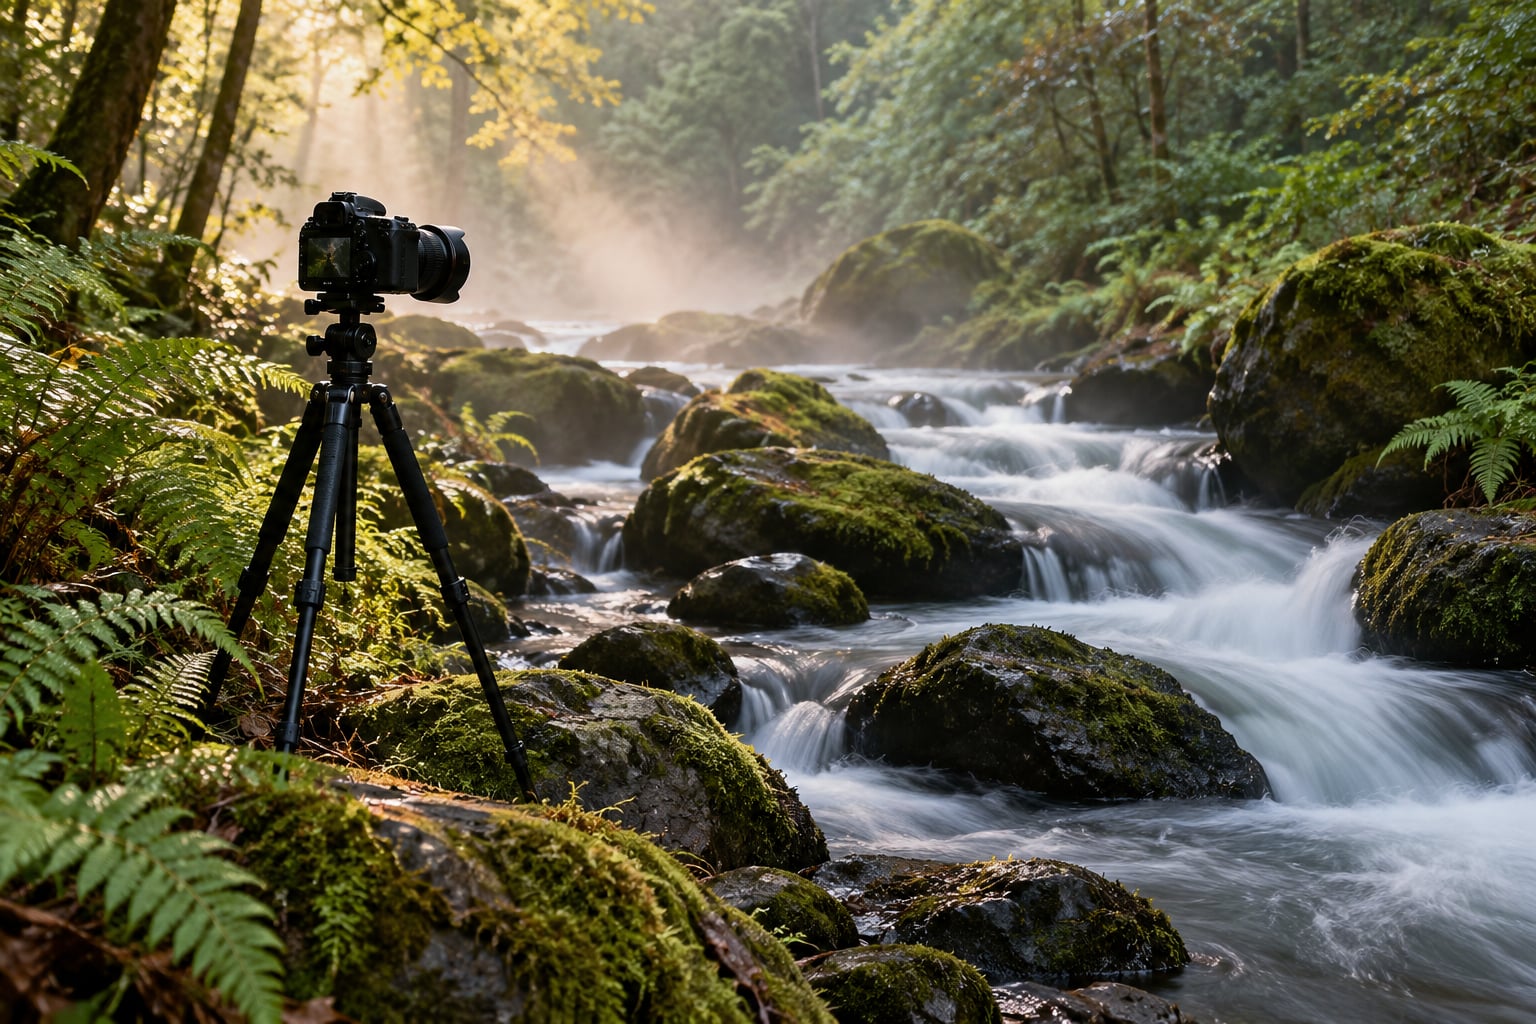
To photograph a stream with long exposure, mount a camera on a tripod, focus manually on a rock, and drop the shutter speed to somewhere between 0.5 and 10 seconds. The water smears into a smooth, milky ribbon while the banks stay sharp. On a tripod it takes about 15 minutes once you have the basics down, and the awkward part is stability, not settings.
Long exposure works on a stream because the water moves and the rocks do not. While the shutter is open, the sensor records every ripple passing through the frame as a smear rather than a frozen droplet, and those smears stack up into a continuous glowing band. A half-second frame still shows you moving water. A six-second frame turns the same channel into something that looks almost solid.
What surprises most beginners is how little gear this needs. A tripod, a camera with manual shutter control, and a bit of patience get you a finished frame. A neutral density filter just buys you longer exposures in bright light.
Table of Contents
- What You Need
- Step-by-Step
- 1. Scout the Stream and Choose Your Composition
- 2. Set Up the Tripod and Prevent Camera Shake
- 3. Focus Manually on a Stable Subject
- 4. Choose the Right Aperture, ISO, and Shutter Speed
- 5. Meter for Bright Highlights
- 6. Add a Neutral Density Filter for Longer Exposures
- 7. Take Test Shots and Judge the Water
- 8. Capture Variations and Protect Your Equipment
- Common Mistakes
- Frequently Asked Questions
- Do I need a neutral density filter to photograph a stream with long exposure?
- What shutter speed makes stream water look silky?
- How do I focus when photographing moving water?
- Is a polarizing filter useful for long exposure stream photography?
- Can I use a smartphone to photograph a stream with long exposure?
- What time of day is best for photographing a stream?
- Start With a Test Shot
What You Need
The tripod is the only item you cannot work around. Everything else on this list has a substitute.
- A camera with manual shutter control. Any DSLR or mirrorless body will do. You need access to shutter speeds of 1 second or longer, and Bulb mode if your camera has it for exposures past 30 seconds.
- A lens in the normal to short tele range. A 24-70mm or 35mm is ideal. Wide lenses exaggerate the near foreground and can make the tripod feel dangerously close to the water; long lenses compress the channel and make the water look bigger.
- A tripod with a weight hook. Essential. Hang your camera bag on the hook under the centre column and the leg vibrations that blur your frame mostly disappear.
- A remote release or the self-timer. Pressing the shutter with your hand moves the camera. A two-second timer is the minimum; ten seconds is better if you need to step away and compose.
- A neutral density filter, optional. A 6-stop or 10-stop ND is what turns a two-second exposure into a thirty-second one in full daylight. Skip it and shoot at overcast times of day, golden hour or blue hour.
- A circular polariser, optional. It cuts surface glare on still pools and deepens wet rock colour, at a cost of one to two stops of light. It also has a side effect explained in step 4.
- A microfibre lens cloth. Spray from moving water reaches further than you expect, and it reaches the front element first.
- A reflector, optional. A small white card or foil blanket bounced into the shadows on the bank side of the frame lifts a dark foreground by a stop or two without touching your exposure.
Step-by-Step
1. Scout the Stream and Choose Your Composition
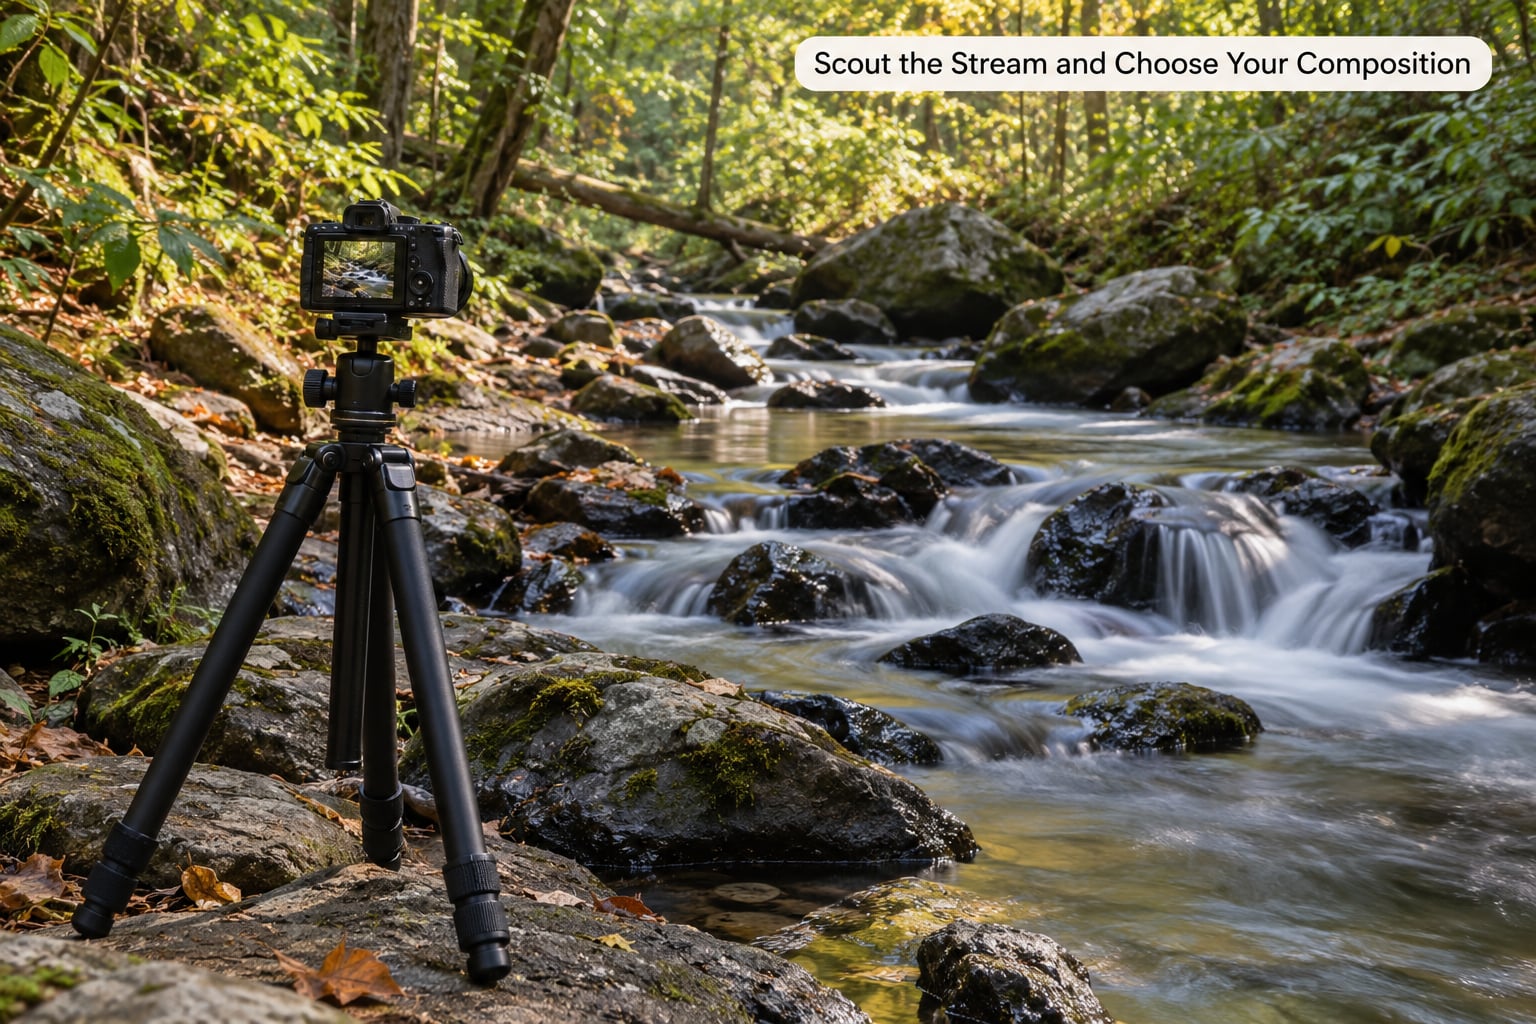
Walk the stream before you unpack anything. You are looking for three things: a place where the water visibly flows rather than sits, a stable foreground to anchor the frame, and a bank you can stand on without sliding.
Riffles, where water moves fast over shallow gravel, go silky fastest. Pools sit still and need far longer exposures. Cascades blur beautifully but produce a lot of white, which is the hardest thing in this whole genre to expose for.
Frame the channel as a line. Where does the water enter the frame, and where does it leave? A stream that enters at the bottom left and exits at the top right gives the eye somewhere to travel. Get low, close to the surface, because a low angle turns a flat channel into a receding path with rocks and grass for foreground interest.
Watch for debris. Twigs and leaf litter collect in the downstream corners of every bend and read as mess once the water behind them turns smooth. Either frame them out or let one sharp twig act as a deliberate anchor.
Note where the sun is coming from and when. A shaded forest stream at midday and the same stream forty minutes later in dappled light are two different pictures.
Stay on dry, flat rock. Banks crumble, and cold water plus a tripod plus a heavy lens is a bad combination for losing a camera and a tripod leg in three feet of water.
2. Set Up the Tripod and Prevent Camera Shake
Extend your legs wide and low rather than tall and narrow. On a stream bank, the widest stance is the stable one. Keep the centre column low and hang your bag on the hook beneath it.
Turn off image stabilisation if your camera has it. Stabilisation is built to detect hand movement, and a tripod on rock next to running water reads as movement to the system, so it corrects in the wrong direction and softens the frame. On some recent bodies the menu is buried in different places, so check your specific model’s stabilisation settings before you start.
Do not touch the camera after it is set. Lock the lens zoom, confirm nothing is leaning on a strap, and if your camera has mirror-up or electronic-shutter modes, pick the one that reduces mirror slap. For a two-second exposure with a tripod this matters less than it did on film, but it costs nothing.
Focus and compose before you mount the heavy filter. Filters are where shaking gets worse, not better.
3. Focus Manually on a Stable Subject
Autofocus will hunt on moving water, and it will lock onto a leaf or a bright reflection instead of the rock behind it. Turn to manual focus.
Switch on live view and magnify to 100 percent. Find a stationary subject roughly a third of the way into the frame: a rock just breaking the surface, the shadow line on a boulder, a piece of wood in the current. Focus on that point rather than on the nearest water.
If you are shooting very close, check the depth of field. At 24mm on full frame, f/8 is usually deep enough to hold foreground to background. Diffraction starts to soften the corners noticeably past f/11, so there is rarely any benefit going narrower.
Once focus is set, do not refocus after mounting the filter. Autofocus is not the only thing that struggles in a dark viewfinder; a big ND makes the screen so dim that you cannot confirm focus by eye, and the AF assist light may be blocked by the filter itself.
4. Choose the Right Aperture, ISO, and Shutter Speed
Start at your camera’s base ISO, usually 100 or 64. Use manual mode. Shoot RAW so you have room to fix white balance and a green colour cast later.
Set your aperture for depth, not for light. f/8 or f/11 is the working range for a stream. Widen to f/5.6 if you need more light and cannot afford a longer exposure, such as on a fast riffle in shade.
Now pick the shutter speed by what you want the water to do. This is the whole craft in one decision.
| Flow type | Shutter speed | Result |
|---|---|---|
| Fast riffle, shallow and broken | 0.5-1 second | Water begins to blur, texture still visible |
| Moderate run over rocks | 2-4 seconds | Smooth ribbon, some flow shape still reads |
| Slow pool, gentle channel | 6-10 seconds | Silky milky water, banks fully sharp |
| Small cascade or fall | 10-30 seconds | Cotton-wool water, high risk of blown highlights |
If a polariser is mounted, it will unevenly blur the surface of a long exposure rather than smoothing it completely. The effect is often attractive, but it is not the textbook milky look. Most photographers drop the polariser once the exposure passes a few seconds.
5. Meter for Bright Highlights
White water is the brightest thing in most stream frames, and it clips to pure white long before the rest of the scene looks dark. Clip the white water and the image is unrecoverable; the rocks will still be fine.
Turn on the histogram and the highlight warning. Take a test frame at your target shutter speed and look at the right-hand end of the histogram. If the highlights are piling up against the wall, apply negative exposure compensation until they separate, usually one or two stops.
Judge with the light you actually care about. A bright patch of sky reflected in a wet leaf will read as a small blown highlight before anything serious is happening, and that is acceptable. A solid white slab where the cascade used to be is not.
One complication: the light changes constantly. Clouds move, leaves move, and reflected light on the surface shifts. If you have to re-meter, re-meter the same way rather than trusting an average from two minutes ago.
6. Add a Neutral Density Filter for Longer Exposures
A neutral density filter reduces the light reaching the sensor by a fixed number of stops without changing colour. One stop halves the light, so 10 stops lets you run a shutter speed 1000 times longer for the same exposure.
| Filter | Light reduction | What it buys on a stream |
|---|---|---|
| 3-stop ND8 | 8x less light | 1/2 second becomes 4 seconds. Enough in soft light or late in the day. |
| 6-stop ND64 | 64x less light | 1/2 second becomes 32 seconds. The workhorse for a forest stream in dappled light. |
| 10-stop ND1000 | 1000x less light | Minute-long exposures. Great for milky pools, risky for anything moving but water. |
Meter before you mount the filter, then multiply. If your camera says 1/4 second at f/8 ISO 100 with no filter, a 6-stop ND puts you at 16 seconds at the same settings. A metering app handles this in seconds if you would rather not do the maths in the field.
Watch for two things. Cheap resin ND filters can shift colour noticeably at long durations, pulling greens toward blue or magenta, and quality glass can cost you a full stop of light through a cheap holder. Second, once you are past about 30 seconds, anything that moves, including leaves and a strap, starts recording as blur, so clear the frame before you go longer.
7. Take Test Shots and Judge the Water
Shoot one frame and check five things: focus, highlight clipping, water movement, foreground detail, and overall sharpness.
If the water still shows distinct ripples and edges, your shutter is too fast. Double it. If the whole frame looks like it is sliding around, including the rocks, something is moving, usually wind in a branch or a tripod on soft ground.
If the water looks perfect but the image is soft everywhere, the cause is almost always vibration. Recheck stabilisation, the weight hook, and whether a strap is hanging off the camera.
If the rocks look soft but the water is fine, you probably went past f/11, or a strong ND is fogging the viewfinder. Try one stop wider and re-meter.
8. Capture Variations and Protect Your Equipment
Once the frame works, shoot a small ladder rather than a single hero exposure. Three seconds, six seconds, ten seconds, all at the same composition, gives you a choice in the edit instead of one coin-flip.
Move for a second frame only if you have a spare tripod position and the light has not changed. Moving the camera to get a second exposure is how you end up with a tripod leg in the current.
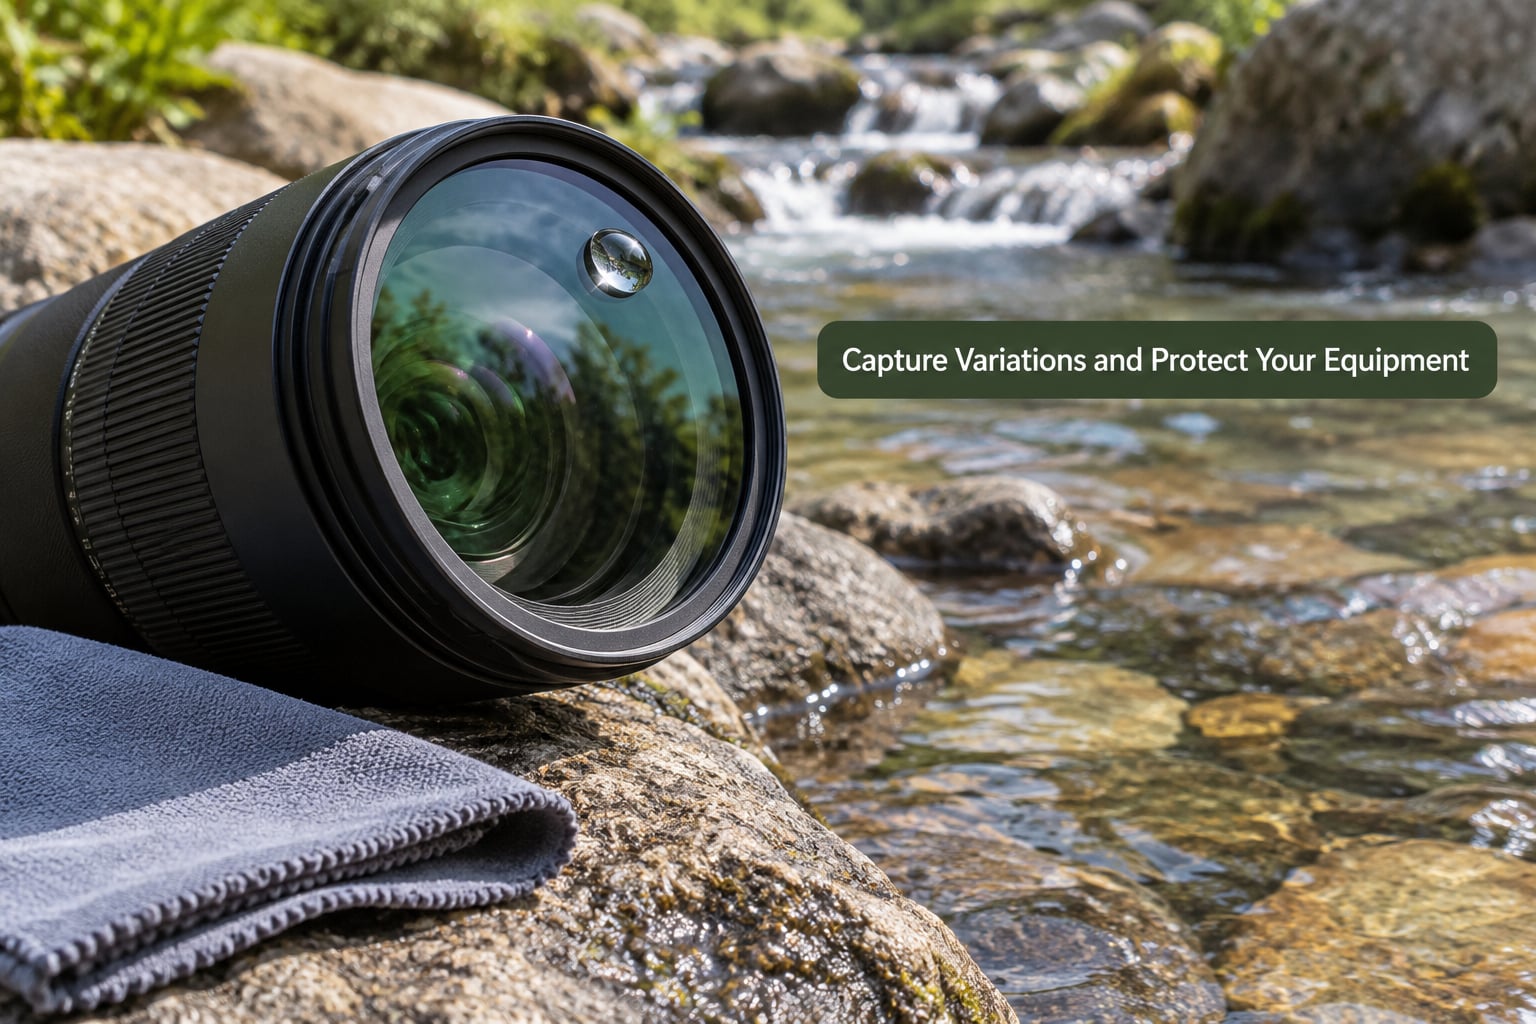
Keep the lens hood on in mist or spray, and wipe the front element every few minutes. Salt and mineral deposits in stream water etch coatings over time, and a dry cloth between shots prevents most of it. Keep spare batteries warm in a pocket, because cold mornings drain them faster than you expect.
Common Mistakes
- Soft frame with sharp-looking water. Usually stabilisation fighting the tripod, or a branch moving in the wind. Turn stabilisation off, hang your bag on the hook, and check the wind before lengthening the exposure.
- Autofocus hunting or grabbing the wrong thing. Switch to manual focus on a stationary rock before you mount any filter. A 10-stop ND can leave the viewfinder too dark for AF assist to work at all.
- Water blown out to pure white. Watch the histogram, not the screen, and dial in negative exposure compensation until the highlights separate. Shoot RAW so a small amount of clipping is recoverable.
- Water completely frozen. The shutter is too fast for the flow. A gentle pool needs six seconds or more; a broken riffle still reads as movement at one second.
- Tripod drift on uneven ground. Spread the legs, keep the centre column down, and check every foot before you compose. A tripod foot over a soft bank is the usual reason a series of frames is never quite identical.
- Unwanted reflections in the pools. A polariser helps, but so does shooting when the sky and trees are in less awkward positions, or simply moving the frame to include more broken water instead of flat water.
- Greyness or a green haze over the image. That is the filter, not the water. Cheaper ND glass plus cheap step-up rings is the usual culprit. Clean the glass, check for smudged rings, and if it persists, take the filter off and shoot one comparison frame.
- Long exposures past 30 seconds that go soft. The water is not the problem. Thermal noise, creeping humidity on the sensor and drifting focus are all worse past that point, so bank a set of frames and move on.
Frequently Asked Questions
Do I need a neutral density filter to photograph a stream with long exposure?
No, not if you shoot at the right time of day. Under thick cloud, at golden hour, or during blue hour, you can reach 2 to 10 second exposures without any filter at all. In bright midday light a 6-stop or 10-stop ND is what gets you past half a second. If you own no filters, restrict yourself to overcast days and work in the last hour before sunset, and a three-stop filter will still widen your options considerably.
What shutter speed makes stream water look silky?
Between 2 and 10 seconds for most streams. Faster riffles need 0.5 to 2 seconds to blur while keeping some texture, and slow pools need 6 to 10 seconds to go fully milky. Small cascades tolerate 10 to 30 seconds but produce far more white to expose for. Start at 2 seconds, take a frame, and double the time until the water matches what you had in mind.
How do I focus when photographing moving water?
Focus manually on something stationary rather than on the water itself. Turn on live view, magnify to 100 percent, and use a rock, a shadow line, or a piece of wood in the current about a third of the way into the frame. Autofocus hunts on moving water and will lock onto reflections. Set focus before mounting any ND filter, because a strong filter leaves the viewfinder too dark to confirm focus by eye.
Is a polarizing filter useful for long exposure stream photography?
It helps in specific ways and hurts in others. It removes glare from still pools, deepens the colour of wet rock, and cuts one to two stops of light, which is a real cost when you are already short on exposure time. It also smooths the surface unevenly at longer durations rather than completely, so the classic milky effect will not be as consistent. Most photographers use one for short exposures and take it off for long ones.
Can I use a smartphone to photograph a stream with long exposure?
Yes, within limits. Most phones have a Night mode that stacks several seconds of frames into one longer exposure, and a few let you reach 10 to 30 seconds directly. You get the smooth water effect, but you keep a fixed aperture, no control of ISO, and no RAW in most cases. The tripod still matters, and a manual focus or a tap on a rock gets you a sharper result than autofocus hunting on the current.
What time of day is best for photographing a stream?
Early morning and late afternoon, for two separate reasons. Soft directional light brings out texture in the rock and avoids the hard contrast that clips bright water. Low angles also let you see the surface of the water rather than looking straight down into glare, and mist is more likely in the cool air. Overcast days are the easiest of all, since flat light means you need far less filtering to reach a long exposure.
Start With a Test Shot
Pick a spot with moving water and a stable foreground, lock the camera at ISO 100, f/8 and one second, and take a single frame before touching anything else. Check the histogram for clipped white water, then double the shutter speed until the water blurs the way you want it to.
Add a filter only once the unfiltered version works. Everything that makes a long exposure stream photograph fail comes back to stability, focus and metering, and none of those are fixed by buying glass.