How to use a neutral density filter in daylight is simpler than most tutorials make it sound: meter the scene with the lens bare, note the shutter speed, then mount the filter and multiply that time by two for every stop of density it removes. At ISO 200 and f/11 in full sun, a 1/250-second exposure becomes about 1 second behind an 8-stop filter and just over 4 seconds behind a 10-stop.
A neutral density filter is dark, colour-neutral glass that cuts light without shifting colour — sunglasses for your lens. That lets you hold ISO and aperture where you want them and slow the shutter as far as the light allows, which is how you get milky water, softened surf and streaked clouds in the middle of the day.
The one rule that trips up beginners is order of operations. Mount the filter first and the meter reads a scene that is several stops too dark, so the camera exposes for blackness. Meter first, mount second, recompute the shutter. Everything below follows that sequence.
Table of Contents
- What You Need
- Step-by-Step: How to Use a Neutral Density Filter in Daylight
- Step 1: Choose the Right Filter Strength
- Step 2: Check Your Camera and Filter Compatibility
- Step 3: Mount the Filter Correctly
- Step 4: Set Exposure Before Adding the Filter
- Step 5: Reduce Light and Check the Result
- Step 6: Refine the Photograph for Your Scene
- Step 7: Review Sharpness, Colour, and Artifacts
- Common Mistakes
- Frequently Asked Questions
- Are you supposed to use ND filters at night?
- Which ND filter is best for a sunny day?
- How many stops is ND 32000?
- Do I need a tripod to use a neutral density filter?
- How do I meter with an ND filter on?
- Why do my long exposures come out black?
- Conclusion
What You Need
You can do this with any camera that has a manual exposure mode, including an old DSLR or a phone with a manual app that allows long exposures. The gear list is short.
- A camera with manual mode. Aperture priority will fight you once a dark filter is on, because the meter keeps re-reading a scene that is now several stops under.
- The ND filter itself, in a strength matched to your light. Screw-on glass is simplest; a 100mm square system on a filter holder gives you more room for stacking.
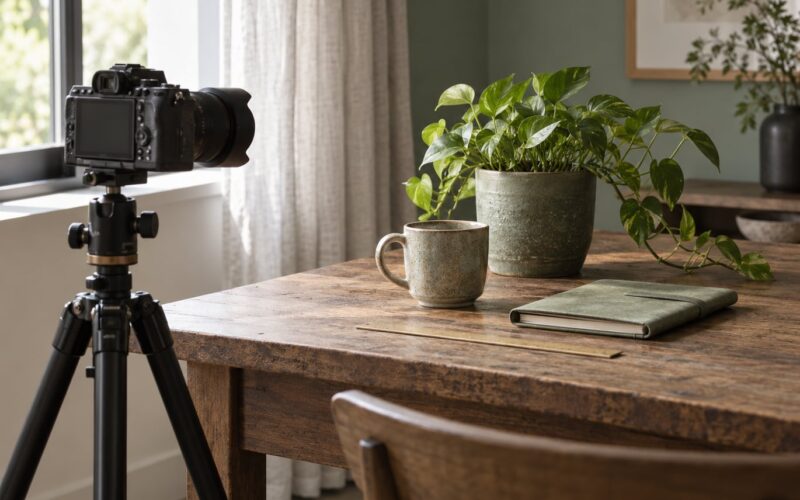
- A tripod. Any exposure slower than about 1/60 second needs one. A table or a wall works if the tripod legs are short enough.
- A two-second timer or a remote release. Pressing the shutter by hand at 20 seconds guarantees a soft frame from the mirror moving.
- A lens cloth and a blower. You will be taking the filter on and off in wind, and grit on glass shows up in every frame at 100% magnification.
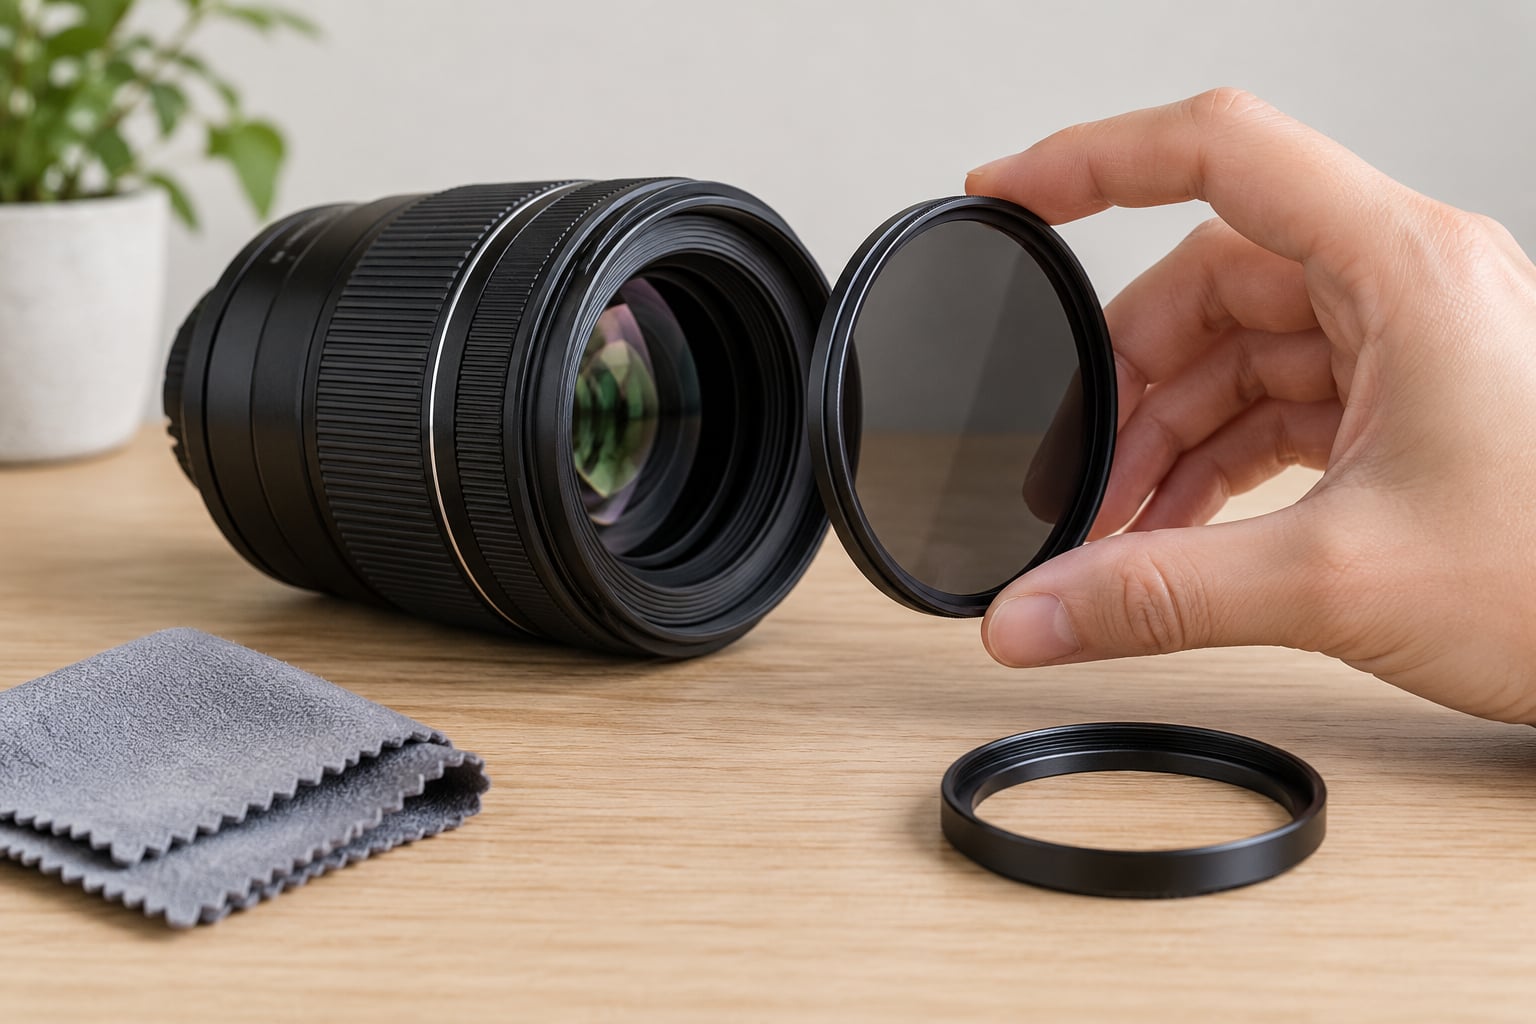
- Optional: a step-up ring so one filter fits lenses with different thread diameters, and a circular polariser if you plan to shoot water or sky.
One more habit worth forming: carry the filter in its case rather than balanced on a strap. A dropped ND ring will crack the coating, and cracks scatter light in ways you will spend an afternoon blaming on the filter.
Step-by-Step: How to Use a Neutral Density Filter in Daylight
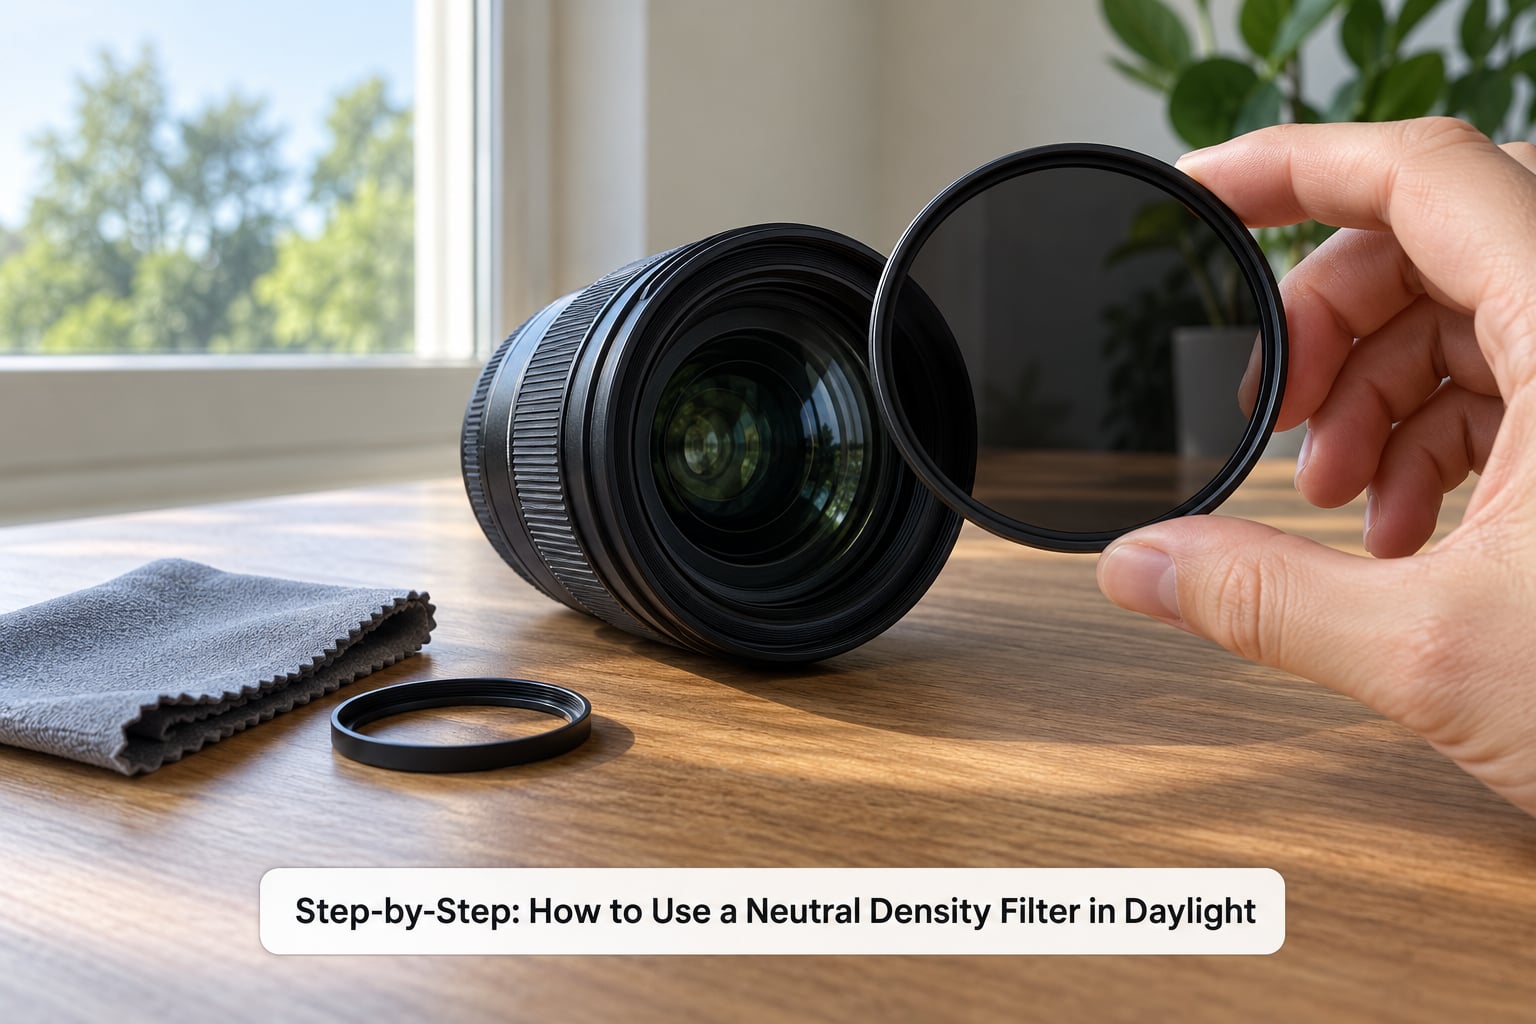
Step 1: Choose the Right Filter Strength
Strength is printed two ways: as an ND number (ND1000, ND64) and as a stop count (10-stop, 6-stop). The number is just a shorthand. ND2 removes one stop of light, and every doubling of the number removes one more, so ND1000 removes about ten stops.
This is the conversion you will actually use in the field. Each line gives the filter marking, the stops it removes, how much light gets through, and the shutter time you end up with starting from a 1/1000-second baseline.
- ND2 — 1 stop — 50% transmission — 1/500s
- ND4 — 2 stops — 25% — 1/250s
- ND8 — 3 stops — 12.5% — 1/125s
- ND16 — 4 stops — 6% — 1/60s
- ND32 — 5 stops — 3% — 1/30s
- ND64 — 6 stops — 1.5% — 1/15s
- ND100 — about 6.6 stops — 1% — about 1/10s
- ND400 — about 8.6 stops — 0.25% — about 1/2s
- ND1000 — 10 stops — 0.1% — 1s
- ND32000 — 15 stops — about 0.003% — 32s
Now match the strength to the light rather than to a guess. This is the same question people ask in photography forums as “which ND filter for a sunny day”, and the answer changes with conditions.
- Overcast, soft shade — 3 to 6 stops. Half-second to few-second exposures at wide apertures for waterfalls.
- Bright overcast, mid-afternoon — 6 stops. Blurred water with a sharp foreground and no tripod shake to worry about.
- Hazy sun, low contrast — 6 to 10 stops. Long exposures for surf and crowds.
- Bright sun, hazy horizon — 10 stops. Ten to twenty second exposures for smooth ocean.
- Harsh noon sun, full contrast — 10 stops, sometimes stacked. Clouds and traffic smeared while shadows stay readable.
A useful reality check: a 10-stop filter in full sun at ISO 200 and f/13 still only produces about 20 seconds. Stops multiply fast, so work out the arithmetic before you walk to the location rather than at the water’s edge.
Step 2: Check Your Camera and Filter Compatibility
The thread size is printed on the front of the lens, usually as a diameter such as 67mm or 77mm, and on the filter’s rim. A 67mm filter will not thread onto a 77mm lens, and forcing it is how threads get stripped.
If the filter you own is smaller than your lens thread, a step-up ring bridges the gap. Mark the front and rear rings of the step-up with a small tape tab so you mount it the right way round.
Sensor format does not change the filter size. A crop body still needs the same diameter glass — the difference is the angle of view you get once the filter is on, not the fit.
Decide between screw-on glass and a 100mm square system before you buy. Screw-on is cheaper per filter and fine for a single strength. A square holder takes 100mm glass that can be stacked and rotated, which is what you want if you plan to combine an ND with a polariser or a graduated filter.
Step 3: Mount the Filter Correctly
Blow dust off both surfaces first. Grit trapped under the filter or on the rear element of the lens will not always be visible in the viewfinder, but it will show in a full-resolution file.
Hold the lens by the barrel, not by the filter ring, and thread the filter on gently. It should drop into place and turn with almost no force. If it resists, back it off and start again rather than pushing through the thread — crossed threads bend the filter ring and the lens together.
Remove the lens cap before you mount. Leaving it on and then trying to shoot through the filter ring is a rite of passage nobody enjoys twice.
Step 4: Set Exposure Before Adding the Filter
This is the step that separates a usable long exposure from a black frame. With no filter on the lens:
- Set ISO to base — 100 or 200 on most bodies.
- Choose the aperture you actually want to photograph, which is rarely the widest one.
- Switch to manual mode and let the camera meter.
- Write down or remember the shutter speed the meter chose.
- Compose and focus now, while the viewfinder is bright and focusing is easy.
Focusing before the filter goes on is what experienced shooters report doing, because an optical viewfinder on a DSLR goes almost black behind a 10-stop filter. Mirrorless bodies with an electronic viewfinder boost brightness automatically and stay usable, which is a genuine advantage in bright daylight work.
Step 5: Reduce Light and Check the Result
Mount the filter, then multiply the metered shutter time by two for each stop of density. One stop doubles the time, two stops quadruple it, ten stops multiply it by about 1000.
Worked example: the meter reads 1/250s at ISO 200 and f/11. With a 6-stop ND, multiply by 64 and you land near 1/4 second. With a 10-stop ND, multiply by 1024 and you are at a little over 4 seconds.
Switch live view on and check the histogram. The curve should sit comfortably inside the frame rather than crammed against the right edge, which means blown highlights with no recoverable detail. If everything is crushed into the shadow side, your multiplier is off or you metered with the filter already attached.
Check the histogram rather than the screen brightness. Screens and viewfinders are lying to you, and the histogram is the one readout telling the truth.
Step 6: Refine the Photograph for Your Scene
Running water is the reason most people buy an ND. At half a second, a stream turns into a soft milky ribbon and the rocks around it stay sharp. That range is roughly a 6-stop filter on a bright overcast day.
For a bright sky with a darker foreground, expect the sky to blow out before the shadows recover. More density makes the whole frame darker, not just the sky, so it solves the problem only in combination with a graduated filter or by bracketing and blending later.
Watch what else moves while the shutter is open. A long exposure also smears pedestrians, branches in wind, and anything crossing the frame. Many photographers shoot several frames in continuous mode and pick the one where the incidental motion looks intentional.
A long exposure also amplifies every source of camera shake, so a remote release and a locked-down tripod are not optional details.
Step 7: Review Sharpness, Colour, and Artifacts
Zoom to 100% and check the corners first. Dark corners that brighten toward the centre point to vignetting from a wide filter or a stack of glass on a wide lens, and no amount of editing removes it convincingly.
A green or magenta shift across the frame means the filter is not neutral or a variable filter has drifted off its centre marking. Strong coatings cut flare, but cheap glass and mismatched stacks will show haze and reflections when the sun sits near the edge of the frame.
Overall softness that lifts with a smaller aperture usually means diffraction, which is why stopping down to f/22 to avoid a filter is a poor trade. Diffraction softens fine detail, reveals dust spots on the sensor, and takes you out of the range where the lens is sharpest.
Uneven brightness across a smooth gradient can also be a dirty filter. Before blaming the glass, check the front element under light and clean both surfaces again.
Common Mistakes
Nearly every blown-out or black frame traces back to one of these.
- Mounting the filter before metering. The meter sees a scene several stops darker and exposes for it. Fix: set ISO and aperture, meter with a bare lens, then attach the filter and recompute.
- Choosing a filter that is too weak. If the longest exposure the light allows is still 1/30 second, you cannot get a silky effect no matter how you edit. Buy one or two stops more density.
- Stopping down to f/22 instead of using a filter. You lose sharpness to diffraction and pick up every speck of dust on the sensor.
- Stacking more glass than you need. Two filters multiply their light loss, and each extra layer adds reflections and darkens the corners further.
- Forcing the filter on. If the thread does not turn freely, the size is wrong. Check the thread diameter and use a step-up ring.
- Leaving the camera in aperture priority. The meter keeps adjusting the shutter to compensate for the filter, which cancels the effect you mounted it for. Use manual.
- Forgetting the remote release. Hand-pressure on the shutter at slow speeds produces a soft frame every time.
- Expecting a strong ND to freeze motion. An ND slows the shutter. Freezing a sprinting cyclist or a bird in flight needs a fast shutter, not a dark filter.
Frequently Asked Questions
Are you supposed to use ND filters at night?
Usually not. At night you are already light-starved, and a 10-stop filter turns a 30-second exposure into eight hours. The exceptions are a bright artificial source, a lit cityscape where you want to blur traffic, or long exposures of the night sky where a mild 2-stop or 6-stop filter balances a very fast lens. Otherwise, skip it.
Which ND filter is best for a sunny day?
For full daylight sun, a 6-stop filter handles bright overcast and hazy conditions, while a 10-stop covers harsh sun and gives you ten to twenty seconds of exposure. If you only own one and shoot in changing light, a 6-stop is easier to meter with and less extreme to focus through. Stacking a 3-stop with a 6-stop gives you a 9-stop.
How many stops is ND 32000?
ND 32000 removes about 15 stops of light, because every doubling of the ND number equals one stop. Starting from 1/1000 second, 15 stops gives roughly 32 seconds. It is the filter commonly used for daylight exposures of several minutes, such as surf, fairground rides or blurred crowds.
Do I need a tripod to use a neutral density filter?
Yes, for anything slower than about 1/60 second, which is most of what an ND is for. A tripod also means you can compose carefully, focus manually and use a two-second timer or remote release. A sturdy flat surface such as a wall or a low wall works as well as a tripod for low angles.
How do I meter with an ND filter on?
You generally should not. Set ISO and aperture, meter with no filter attached, note the shutter speed, then multiply that time by two for each stop of density in the filter. If you must meter with the filter on, apply positive exposure compensation equal to the filter’s stop count, or use live view and raise the screen brightness.
Why do my long exposures come out black?
Almost always because the filter went on before metering, so the camera underexposed for a scene several stops darker than the real one. Mount it in the wrong order and the meter sees only a fraction of the light. The other cause is a shutter speed the camera cannot reach without bulb mode, which is where anything past 30 seconds needs manual timing.
Conclusion
Start with three things: pick the filter strength that matches your light, meter the scene with the lens bare, then mount the filter and double your shutter time once per stop. Everything else — tripod, manual mode, remote release — exists to protect that exposure while the shutter is open.
Worked examples help more than rules. Once you have seen that 6 stops turns 1/250 second into 1/4 second, you can do the maths for any filter in a couple of seconds at the location.