Most deleted photos can be pulled back off a memory card, and the whole job usually takes 20 to 40 minutes on a laptop. When you know how to recover deleted photos from a card, the process is simple: stop using the card, check whether the files are merely hidden, then scan it read-only with recovery software and export copies to your computer. The one rule that decides whether you succeed is the first one, because every new photo you shoot writes over the data you are trying to rescue.
That urgency surprises people. A deleted file rarely disappears from flash storage. The card just forgets where it was, and the image bytes sit there until something new takes their place. So the recovery odds stay decent for hours or days, then fall off a cliff the moment you start shooting on that card again.
Below is the workflow I would follow for my own card, whether it is a 32GB SDHC in an older camera or a 128GB SDXC from a wedding shoot. It covers SD, microSD, CompactFlash and CFexpress, and it works the same way whether the photos were deleted by accident or wiped by an in-camera format.
Table of Contents
- What You Need
- Step-by-Step: How to Recover Deleted Photos from a Card
- 1. Stop Using the Card Immediately
- 2. Check Whether the Photos Are Only Hidden
- 3. Choose Trusted Recovery Software to Recover Deleted Photos from a Card
- 4. Scan the Card Without Writing to It
- 5. Preview and Recover the Right Files
- 6. Verify and Back Up the Recovered Photos
- Common Mistakes
- Frequently Asked Questions
- Can deleted photos be recovered from a memory card?
- Will a deep scan find photos after the card was formatted?
- Can I recover deleted photos from an SD card using a phone?
- Does free photo-recovery software work, or do I need to buy a program?
- Why does my computer show a card with no photos?
- How can I prevent deleted photos from being lost again?
- Start With a Read-Only Scan
What You Need
Five things, and three of them you probably already own.
- A computer with real free space. Recovered photos land on an internal drive or an external one, never back on the card. A 64GB card full of RAW files needs well over 64GB free elsewhere. Check your free space before you start, not after.
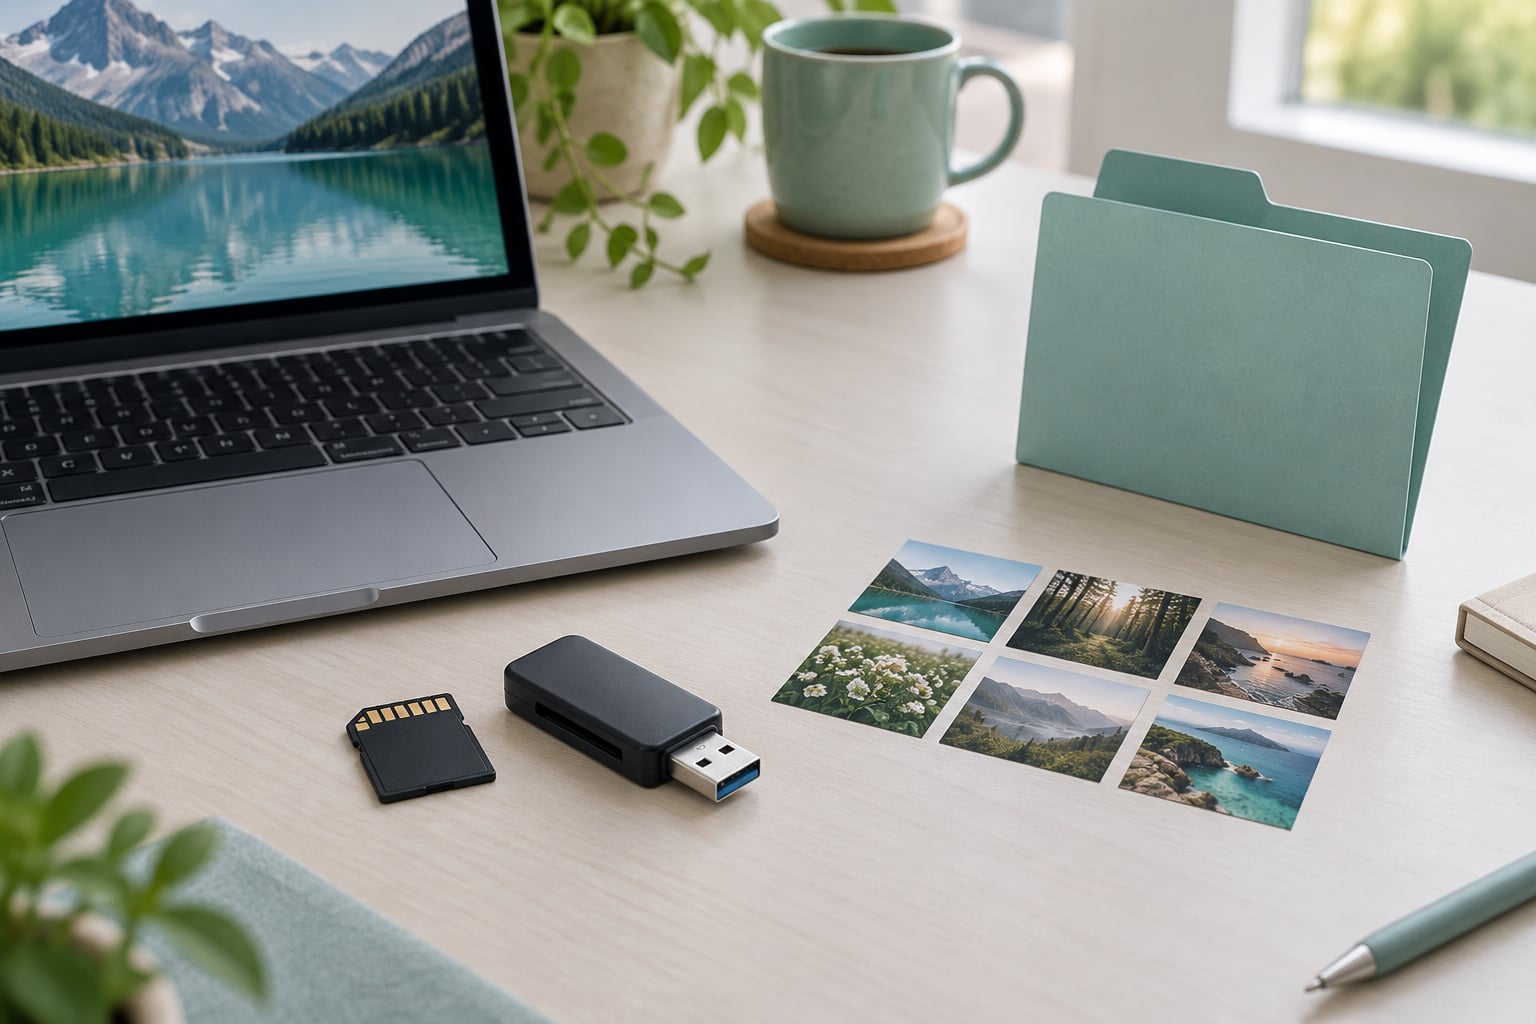
- A card reader that matches the format. USB-A or USB-C readers with a full-size SD slot and a microSD slot handle almost everything. For CompactFlash you need a dedicated reader, and for CFexpress you need one that explicitly states CFexpress Type A or Type B support.
- A recovery program. Free options include PhotoRec, which is free and open source, and Recuva, whose free tier scans but restricts some saving. Paid tools add deeper raw file handling and better fragmentation repair.
- A separate destination. An external SSD, a second internal drive, or a large USB hard drive. This is the piece people skip, and it is the piece that causes the worst outcomes.
- Patience for the scan. A deep scan of a 128GB card can run for a couple of hours. You need a power source and nothing else running.
Two card-specific notes. First, if the card is microSD, use a proper full-size adapter rather than a flimsy partial adapter, and never push it in backwards to test the fit; adapters bend the contact pins and can kill a card that still holds recoverable photos. Second, if the card is physically damaged, bent, swollen inside a camera, or making clicking noises in a reader, stop. No software can read a card that the hardware cannot address, and forcing it can destroy what is left. Those cases need a recovery lab with clean-room equipment.
Step-by-Step: How to Recover Deleted Photos from a Card
1. Stop Using the Card Immediately
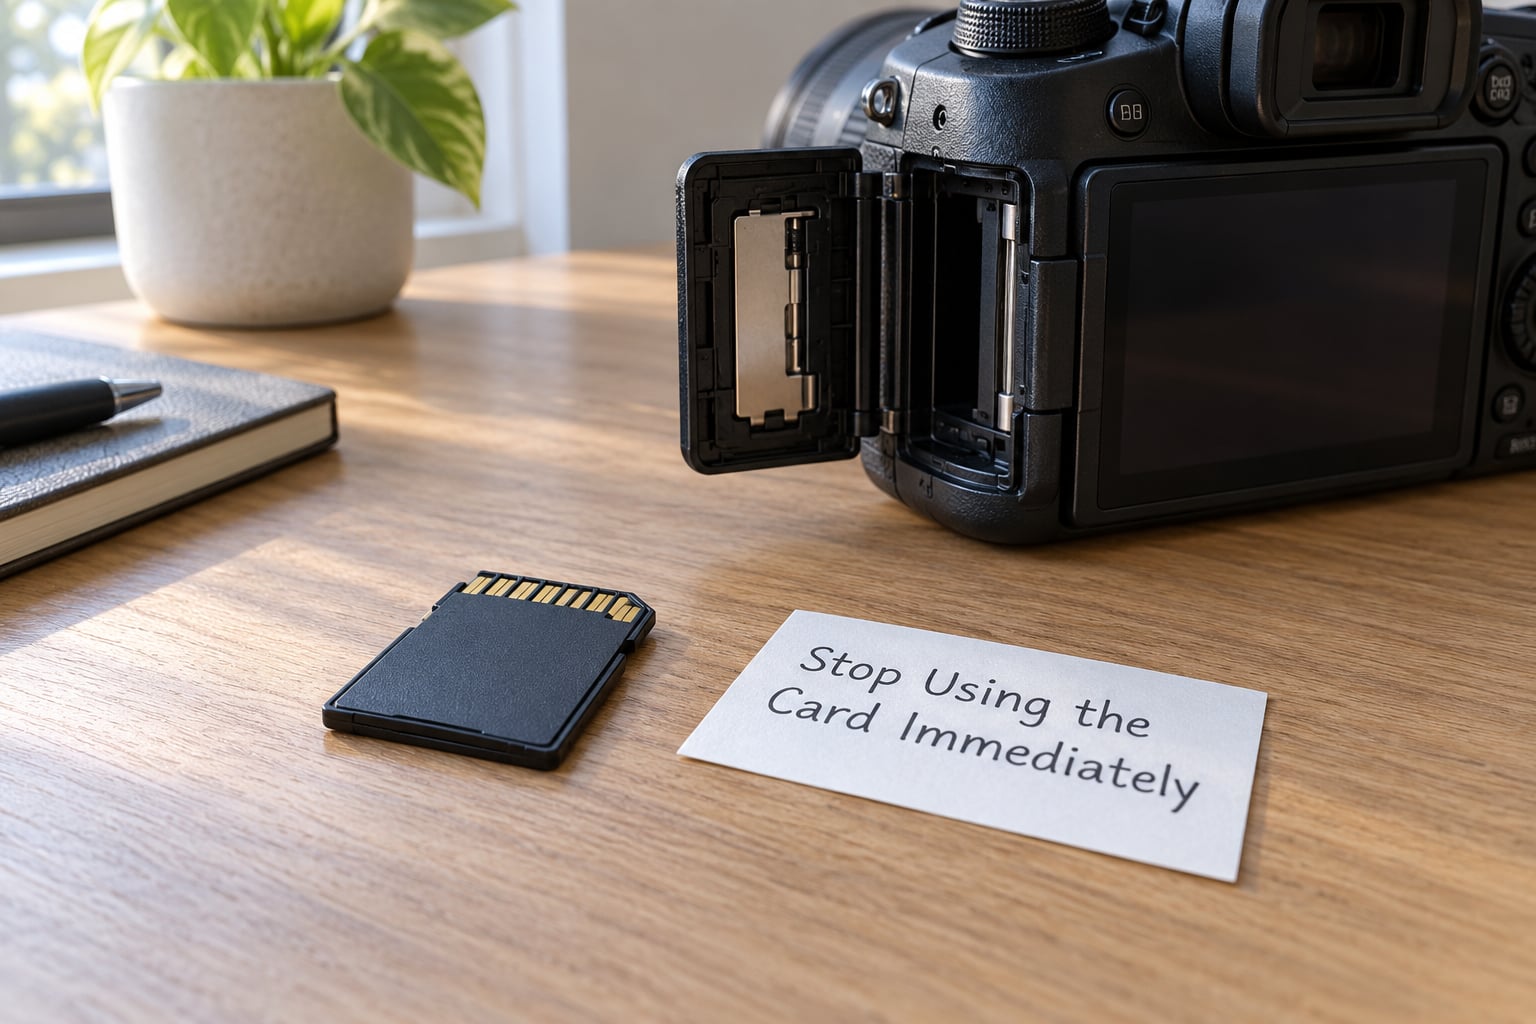
Put the card down and leave it alone. Everything on this list makes it worse: taking more photos, formatting the card in the camera, deleting a folder to tidy up, or reconnecting it over and over while you hope something appears. Each of those is a chance for new data to land on top of your photos.
Saving unrelated files to the card counts too. An MP4 you copied over, a cache folder, a log file, anything. And hold off on running repair utilities such as chkdsk or the macOS Disk Utility First Aid until either a full disk image exists or the recovered files are safely on another drive.
If the card is currently in a phone, take it out now. Recovery attempts made directly on a phone rarely work, because the operating system writes to the card in the background and you have no control over what it does next.
2. Check Whether the Photos Are Only Hidden
A surprising share of “deleted” photos were never deleted. Before launching any software, spend five minutes on the cheap checks.
On the camera or phone, open the playback grid and check the protected or filtered views. Nikon bodies hide rated images behind a filter, and Canon bodies mark cards full when they see a full-frame video file mixed in with stills.
On Windows, open the card in File Explorer and look under View, then Show, then Hidden items. Also check the folder holding the DCIM directory, since some cameras write to a second folder. On macOS, run defaults write com.apple.finder AppleShowAllFiles -bool true in Terminal, then restart Finder to reveal dotfiles.
On Android, look for the .thumbnails folder and for an auto-backup copy of the same shoot. On iPhone, nothing deleted in Photos reaches Recently Deleted, so check the 30-day album there first.
Then check where the photos might already be. Google Photos and iCloud keep copies if automatic backup was on. Windows File History and macOS Time Machine both restore deleted files if you turn on the folder’s version history. Pulling a file back from a backup is faster and cleaner than any carve.
3. Choose Trusted Recovery Software to Recover Deleted Photos from a Card
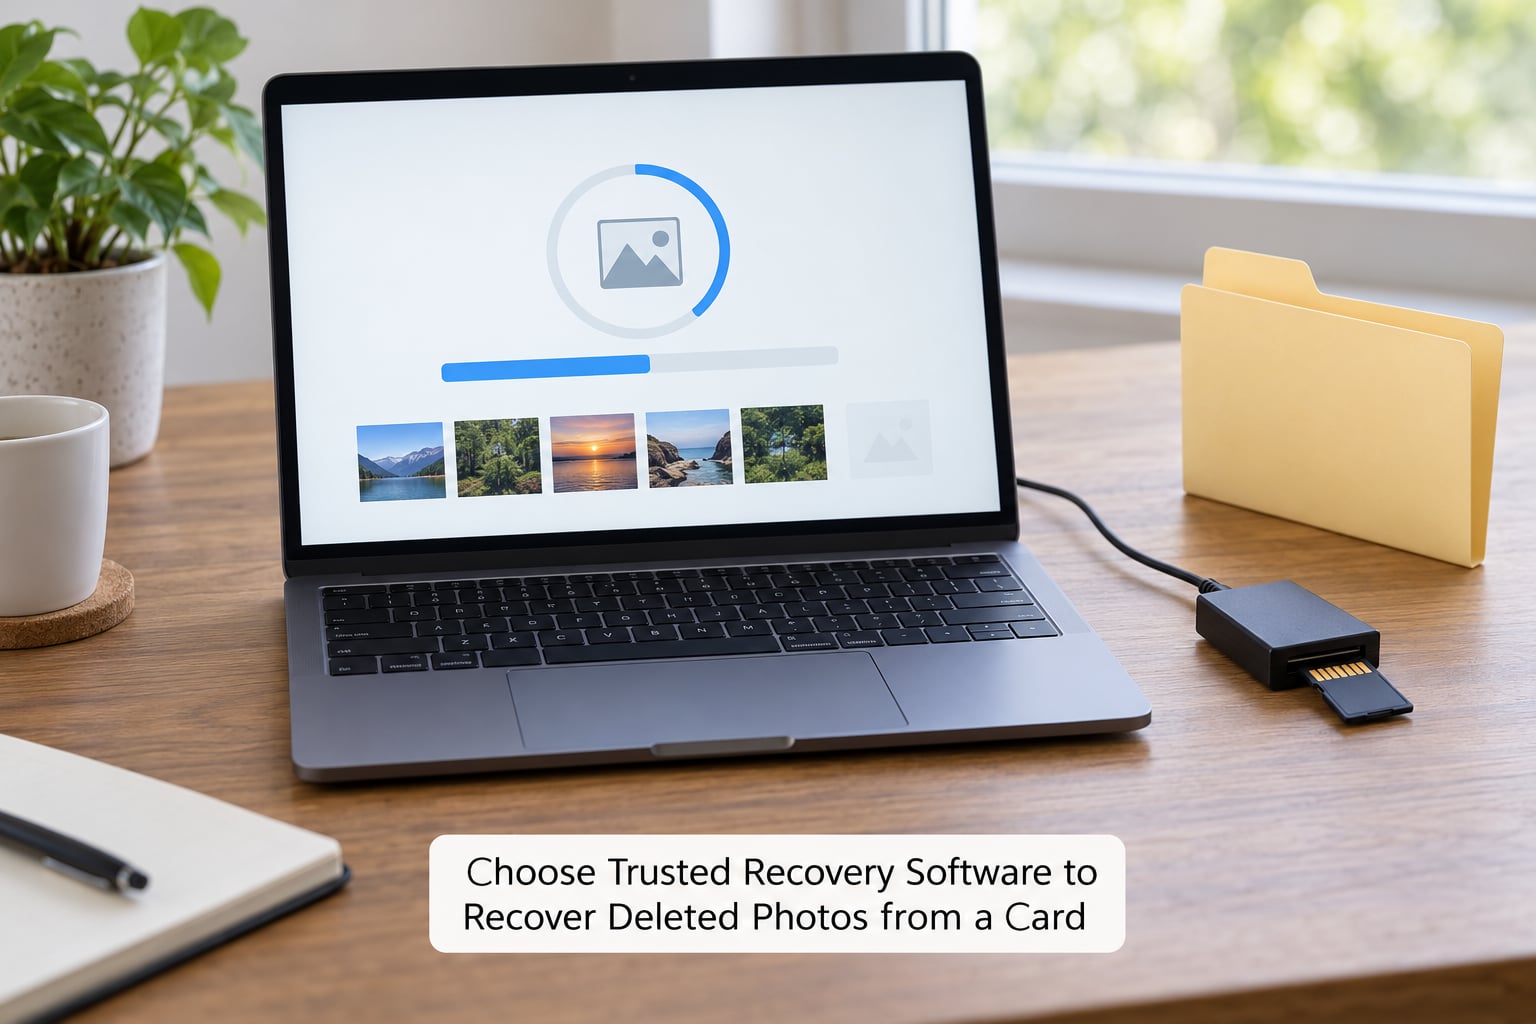
Pick the tool by what you actually need, not by who advertises hardest.
PhotoRec is free, open source and does not care about file systems. It scans raw sectors, finds file signatures and carves images back out. That makes it the right pick after a format, and the wrong pick if you need the original folder structure or filenames back. It runs from a command line or a small graphical window, and it works on Windows, macOS and Linux.
TestDisk is bundled with PhotoRec but solves a different problem. It repairs partition tables and boot sectors on hard drives. For a formatted memory card, PhotoRec is the tool you want, not TestDisk. This distinction confuses a lot of people.
Recuva has the friendliest Windows interface and a free tier that scans fully. Two things to know before you buy anything: on formatted media you must tick Deep Scan, because the normal scan relies on directory entries that no longer exist, and the free version’s limits have shifted between versions, so check what your installed version can actually save before relying on it.
Disk Drill and R-Studio are paid tools with better handling of fragmented raw files and, in some cases, damaged file systems. They are worth it when a card holds paid work or irreplaceable family photos.
Windows File Recovery, the Microsoft command-line tool, does the job for free but reads like a script. It is fine for technical users and frustrating for everyone else.
Two rules regardless of tool. Never install the program onto the card itself, and always check that it lets you filter by image type and recover to a different drive. A tool that only scans, or that insists on writing recovered files back to the source, will cost you the photos you came for.
4. Scan the Card Without Writing to It
The scan itself takes only a few clicks. What matters is which drive you point it at.
Insert the card with a reader, not through the camera. Then work through these steps in order.
- Confirm the drive letter first. Windows often reassigns a freshly inserted card, and recovering to the wrong volume is a bad afternoon. Check the capacity shown in File Explorer matches the card.
- Open the recovery tool and choose the card as the source device.
- Set the file type filter to images. Include JPEG, PNG, HEIC, TIFF and your camera’s raw extension, which is CR2 and CR3 for Canon, NEF for Nikon, ARW for Sony, and ORF for Olympus and OM System.
- Turn on Deep Scan or file carving mode if the card was formatted.
- Choose a destination folder on a different drive, not on the card.
- Run the scan and let it finish. Do not unplug anything.
If the reader throws errors, disconnects, or reports read failures, stop immediately. That is a hardware signal. Repeatedly reconnecting a failing card wears out the controller, and each attempt can scramble sectors that still hold good image data. Switch to a different reader, or stop and send the card to a lab.
If you have storage to spare, create a full disk image before scanning. An image is a byte-for-byte copy of the entire card saved as one file on another drive. Every future scan, preview and repair runs against the image, so the original card is never touched again. It costs you time and disk space, and it is the single technique most guides skip.
5. Preview and Recover the Right Files
This is where knowing how to recover deleted photos from a card turns into actually getting your photos back, rather than a folder full of files that will not open.
Work through the results list by thumbnail and by size. Valid images usually carry sensible dimensions, a plausible file size for their resolution and a date near your shoot. Blank squares, 0 KB entries and grey icons are usually carving failures.
File carving works by scanning for the byte pattern that starts an image and the pattern that ends it. That works beautifully for JPEGs, which are self-contained. Raw files, and video, are often fragmented across scattered clusters, so a carve can reassemble the header and the first part of the image while the rest stays scrambled. That is the usual reason a recovered raw file detects in your software but refuses to open in an editor.
On names: carved files arrive with generated names such as f_0001234.jpg and lose the original DSC sequence. If you had File History, Time Machine or a cloud backup, recovering from those sources restores real filenames, which matters for a client delivery.
Select only the files you need and recover them to your destination drive. Recovering everything, including hundreds of thumbnails and cache files, only makes the sorting worse later.
6. Verify and Back Up the Recovered Photos
Assume nothing is safe until you have opened it.
Open a spread of files: five random JPEGs, the oldest ones in the list, and any raw file you care about. In your photo editor, not just the file browser, because a truncated JPEG often still shows a thumbnail and only fails on load. Zoom to 100 percent on at least one image so you can see actual pixel detail.
Count what came back against what you remember shooting. A card that should hold 800 frames and returned 240 tells you something is missing, and you may want a second scan from the disk image with a different tool before you accept it.
Then copy the recovered set to two more places: one working drive and one backup. Keep the originals byte-for-byte as recovered, untouched by editing, because a raw file only survives one round trip in a destructive editor.
Finally, leave the affected card out of service. A card that has lost files once, or that reported read errors, is a card you cannot trust with a paid shoot. Retire it, or at minimum run a full surface test and never format it again expecting to keep what was on it.
Common Mistakes
Most cards that end up in a recovery lab were destroyed by one of these actions, not by the original accident.
- Formatting the card in the camera to “fix” it. A camera format is nearly always a quick format: it clears the directory and leaves the image data sitting on the card. The full format option on some cameras is closer to a true erase. Fix: never format a card you still need data from.
- Continuing to shoot on the card. New photos overwrite old sectors gradually, so recovery often half-works, which is worse than clean failure. Fix: if any photos on the card still matter, format an empty card and shoot that.
- Saving recovered files back to the same card. The carve writes new data across the sectors it is still reading from. Fix: always choose a destination on a different physical drive.
- Using the card as general computer storage. An SD card in a camera acting as a Windows drive accumulates write-heavy activity that triggers error correction and constant rewriting. Fix: use cards for storage only, and keep working files on real drives.
- Concluding “the folder is empty, the data is gone.” An empty DCIM folder usually means the file system lost its directory, not that the images vanished. Fix: enable hidden items, check a second card slot, then scan.
- Reconnecting a failing card over and over. Every failed read is another chance to lose sectors permanently. Fix: one clean attempt with a different reader, then stop.
- Believing the first tool’s output is final. Different tools carve differently. Fix: if results look partial, image the card and run a second tool against the image.
Prevention is cheaper than any of this. Offload each shoot to two separate drives before formatting the card. Keep the camera’s second card slot filled when you shoot anything paid. Turn on automatic backup to a cloud service, and set a phone reminder to offload after each trip. A card is a buffer, not storage; treat it that way and you will never run this guide again.
Frequently Asked Questions
Can deleted photos be recovered from a memory card?
Usually yes. Deleting a photo removes the file system entry, not the image data itself, which stays on the card until new writes replace it. Your odds are good if the card sat unused after the accident and poor if you kept shooting on it. Recovered JPEGs open reliably; raw files and video often come back partially intact.
Will a deep scan find photos after the card was formatted?
In most cases, yes, because a camera or Windows format is usually a quick format that only clears the directory. File carving tools such as PhotoRec, Recuva in Deep Scan mode and Disk Drill scan raw sectors for file signatures and rebuild images without needing the old folder structure. A full format that also erases every sector removes the odds entirely.
Can I recover deleted photos from an SD card using a phone?
You can try, but remove the card and use a computer with a card reader instead. Phones keep background activity on removable storage, so any recovery attempt runs while the system is still writing. iPhones have no user-accessible file system on a card, and Android app recovery usually only covers internal memory. The card reader route takes minutes and risks nothing.
Does free photo-recovery software work, or do I need to buy a program?
Free tools recover plenty of JPEGs. PhotoRec is genuinely free and open source with no save limits, and Recuva scans fully on its free tier, though restrictions vary by version. Paid tools earn their price on fragmented raw files, damaged file systems and badly corrupted cards. Check before you buy that the free version can actually save files, not just scan.
Why does my computer show a card with no photos?
An empty folder usually means the file system lost its directory, not that the data is gone. Cameras also hide images behind playback filters, and some bodies lock out stills when a full-frame video is on the same card. Run a card-level deep scan to find the images wherever they sit on the sectors. Only a full erase or physical failure means the data is truly unrecoverable.
How can I prevent deleted photos from being lost again?
Offload every shoot to two separate drives before you format anything, and never format a card while files on it still matter to you. Keep the second card slot filled during paid work, turn on automatic cloud backup, and set a phone reminder to offload after each trip. A memory card is a working buffer for a shoot, not the place your photographs live.
Start With a Read-Only Scan
If you remember nothing else from this guide, remember the order of operations. Take the card out of the camera or phone, leave it alone, plug it into a computer with a reader, and run a read-only deep scan that exports to a different drive. Ten quiet minutes on step one saves you from a card that has nothing left on it.
Recovered images deserve a proper backup on two separate drives the same day, and the card itself should be retired once the files are verified. That is how to recover deleted photos from a card without losing anything else along the way.