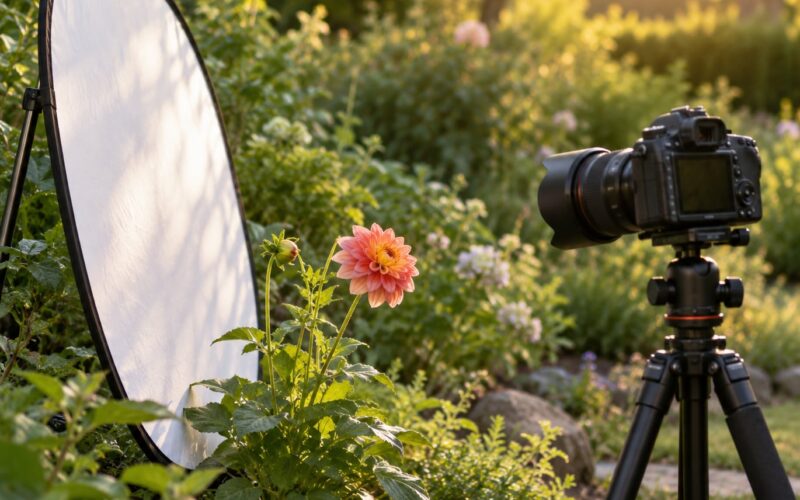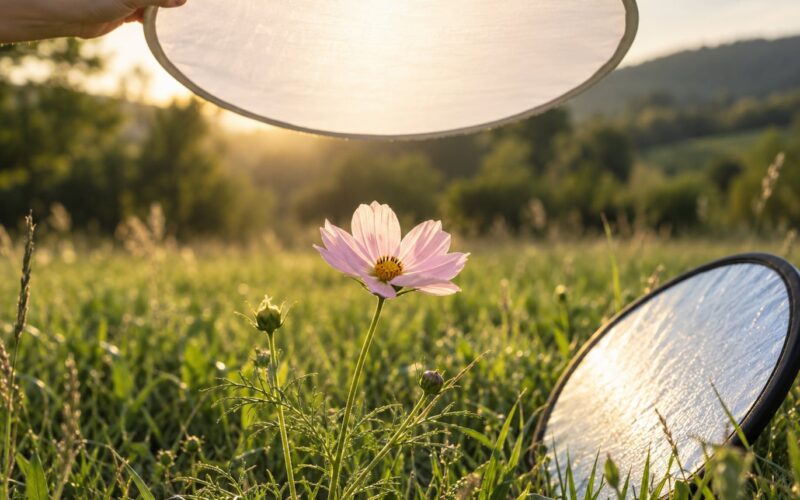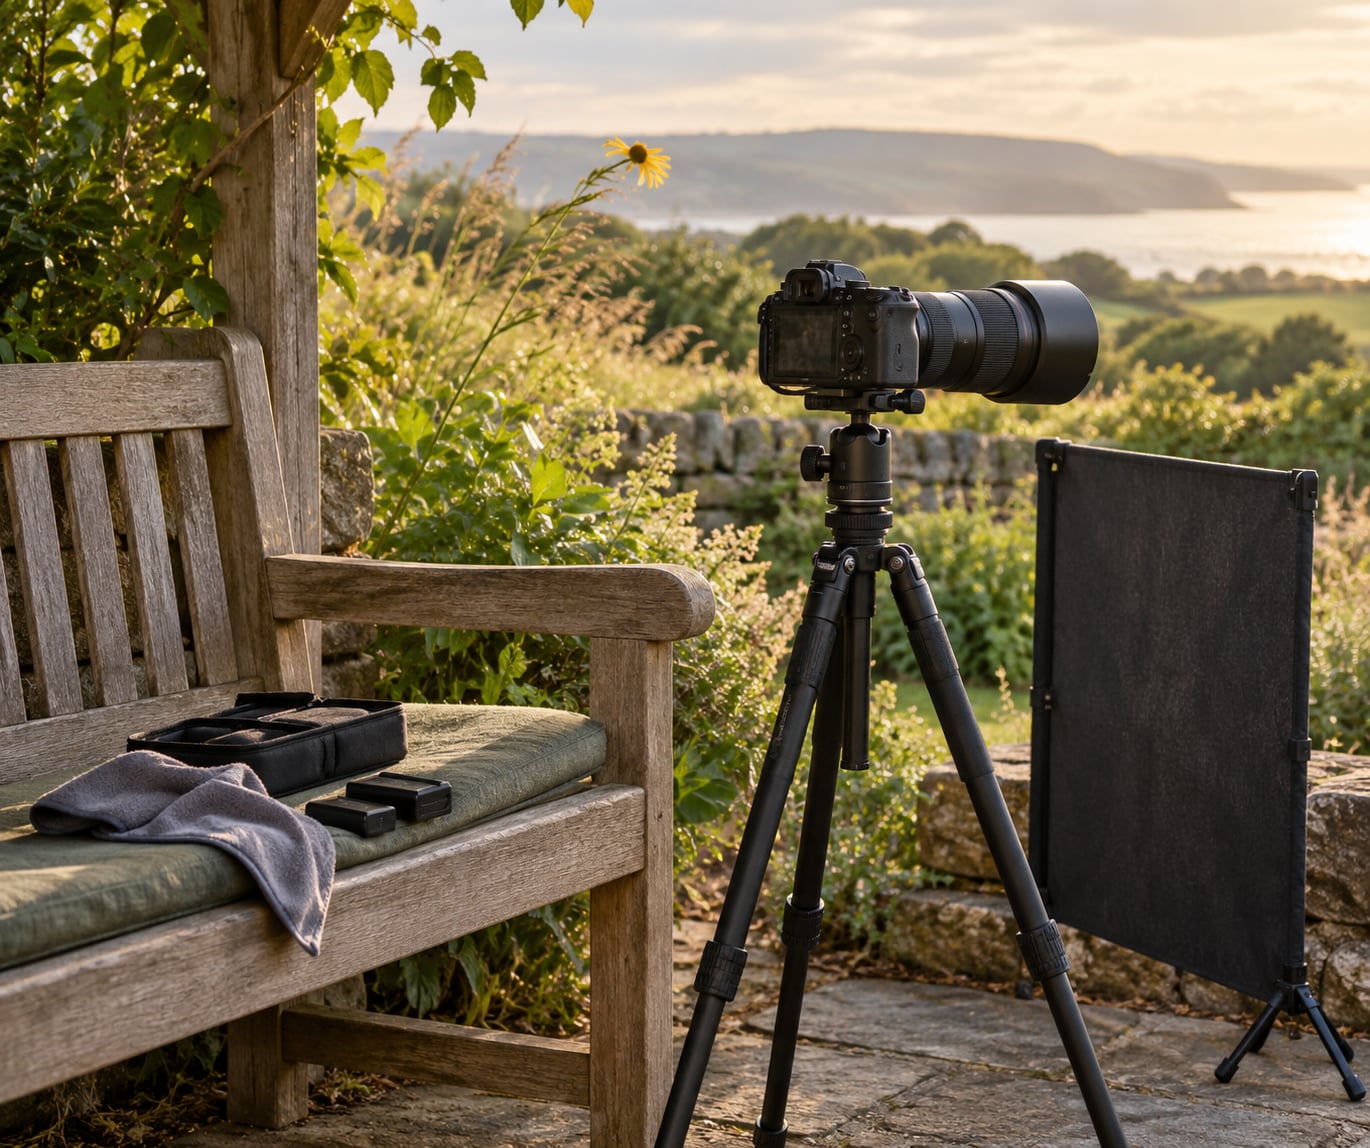
Wind is the single most common reason flower photographs fail, and it is fixable. If you know how to photograph flowers on a windy day, you handle two problems separately: a tripod and a two-second timer kill camera shake, while a fast shutter speed and burst mode deal with the flower actually moving. Add a windbreak, shoot into the lull between gusts, and a session that used to be a write-off takes about fifteen minutes.
The catch is that most advice on this stops at use a fast shutter speed, which is not specific enough to act on while the wind is bending the plant in front of you. Below is the full workflow, with the shutter speed for each level of wind, the order to set things up in, and a table for chasing the blur later.
Table of Contents
- What You Need to Photograph Flowers on a Windy Day
- Step-by-Step
- 1. Pick a sheltered spot and wait for the lull
- 2. Set up your camera so shake does not spoil the frame
- 3. Shutter speed settings for photographing flowers on a windy day
- 4. Focus on a stable part of the flower
- 5. Compose around the wind direction
- 6. Take a short burst and review the results
- Common Mistakes
- Frequently Asked Questions
- Can I photograph flowers in strong wind without a tripod?
- What shutter speed should I use to freeze windblown flowers?
- Is image stabilisation useful when photographing flowers in wind?
- How do I photograph flowers in the rain without blurry results?
- Should I freeze the motion or let windblown petals move in the photo?
- What is the best way to photograph flowers with a phone on a windy day?
- What to Do First on Your Next Windy Shoot
What You Need to Photograph Flowers on a Windy Day
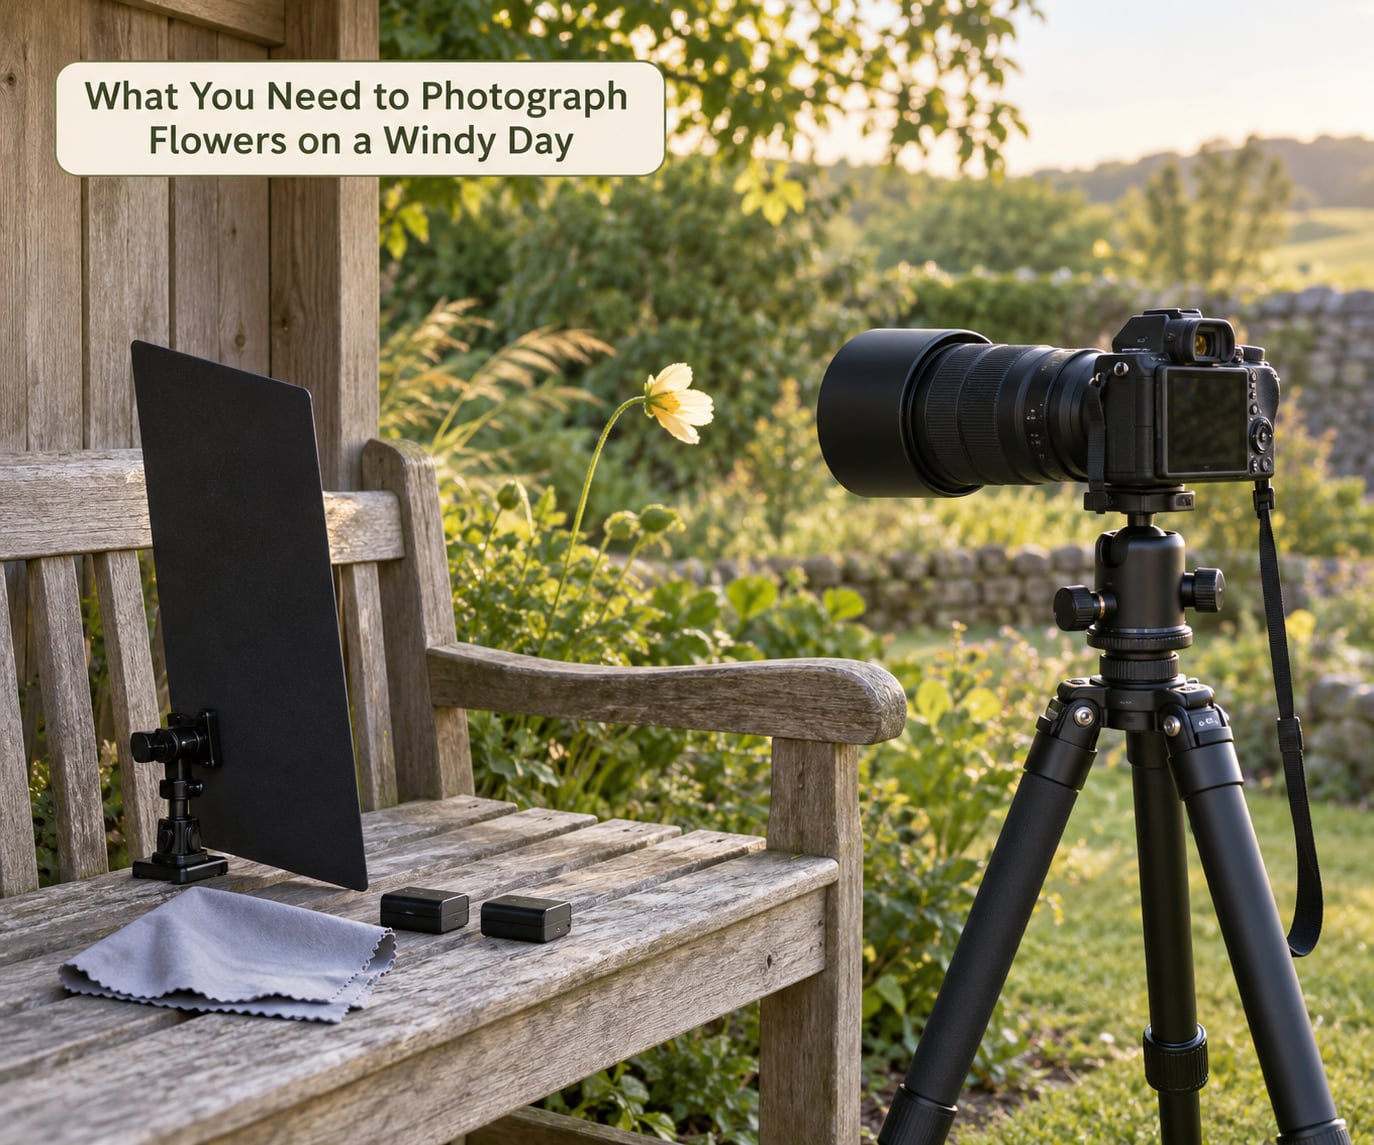
Most of the kit is ordinary. The only item that genuinely changes your results on a windy day is something that holds the plant still, because a faster shutter only buys you a few frames.
Here is the short list, with what each piece actually does in wind:
- A camera with quick autofocus. Any recent mirrorless body or DSLR will do. Continuous autofocus with subject tracking matters more here than resolution, because a swinging flower will not hold a single fixed point.
- A short telephoto or macro lens. A longer lens lets you fill the frame from further back, outside the worst of the gust zone, and cuts your depth of field, which makes focus less forgiving.
- A tripod. Even for fast shutter speeds it lets you drop the camera low, frame precisely, hold still, and shoot without bracing your elbows on a fence.
- A two-second timer or a remote release. This is the fix for shake, and it costs almost nothing. Pressing the shutter on a moving subject is a separate problem.
- A plant clamp, or a clothes peg and a length of stiff wire. A clamp on the stem below the flower is the single most effective tool on this list.
- A rain cover or a large lens cloth. Windy days are rarely dry days, and a wet front element ruins more frames than a gust does.
- Spare batteries. Cold wind and a long burst rate both drain a battery faster than you expect.
Optional, and only worth borrowing if you do not own one: a flash, which can freeze a small swing at shutter speeds your body alone cannot reach, and a three-stop neutral density filter, which turns the same movement into a deliberate blur. Neither is in the core workflow.
One piece of non-kit advice matters as much as the camera. Dress for it. A jacket zipped to the chin, a hair tie for anything loose, and a kneeling pad if you plan to work low will do more for a windy session than another stop of aperture.
Step-by-Step
Work through these in order at each new location. It takes a couple of minutes and it stops you from rebuilding the whole setup every time the wind changes.
1. Pick a sheltered spot and wait for the lull
Shoot from the lee side of something solid. A brick wall, a hedge, a fence line, a shed, even a parked car in a car park will cut the wind on the flower by more than any setting you can dial in. Valleys, hollows and the ground immediately behind a rise are noticeably calmer than the open ground above them.
Now stand still and watch the flower for a full gust cycle. A gust is not a constant push; it builds, peaks, then drops, and the quiet stretch at the end of each cycle is usually only a second or two long. That is your shooting window. Count three or four cycles so you learn the pattern at this spot rather than guessing from a single gust.
Aim to have the wind behind you when you can. Shooting into the wind pushes the flower away from the lens, which is a bonus, but it also puts your own back to the gusts and can push you off balance. With the wind at your back, the flower leans toward you and stays in frame.
2. Set up your camera so shake does not spoil the frame
Mount the camera, extend the centre column only as far as you need, and hang your camera bag over the legs if you have one. Extra weight on a tripod takes the jitter out of a slower setup in a way that feels wrong and works.
Then remove yourself from the picture. Two-second timer, remote release, or a ten-second timer if the flower is truly wild. Your hands moving a fraction of a millimetre at 1/500s is enough to soften a frame, and you cannot see it happening.
Drop the camera low. Wind speed drops with height, so a flower photographed from six inches off the ground is calmer than the same flower shot at eye level, and a low angle also gives a cleaner background and light on the petals.
Image stabilisation only corrects movement of the camera. It cannot stop a petal swinging, and on many bodies it is better switched off when the camera is locked to a tripod, so check your camera’s own notes on this.
3. Shutter speed settings for photographing flowers on a windy day
Shutter speed is the setting that decides whether the flower is sharp, and the only rule that matters is this: it has to be fast enough for how hard the wind is blowing, not how fast it feels. Use this as your starting point.
| Conditions | Wind | Shutter speed | Aperture | ISO |
|---|---|---|---|---|
| Calm, still air | Light air, under 5 mph, Beaufort 1 to 2 | 1/250s or slower | f/5.6 | 100 to 200 |
| Breezy, steady push | 7 to 12 mph, Beaufort 3 to 4 | 1/500s | f/4 to f/5.6 | 200 to 400 |
| Gusty, leaves visibly moving | 20 to 25 mph with gusts, Beaufort 5 to 6 | 1/800s to 1/1000s | f/4 | 400 to 800 |
| Gale | 28 mph sustained, gusts past 40 mph, Beaufort 7 and up | 1/2000s, or go wide and accept the blur | f/8 if the light allows | Auto ISO, capped |
Set this in Shutter Priority so the camera holds your chosen speed and picks the aperture, which is the simplest way to guarantee you never accidentally drop below it. If you shoot Manual with auto ISO, check that nothing in the camera will override your shutter.
Close-ups need the faster end of each range. A macro frame filled with a single bloom gives you maybe a few millimetres of depth of field, so any movement at all ruins it. A wide field shot at 1/500s can absorb a lot more movement, because the flowers are small in the frame and the stems move less than the blooms.
If you are stuck with a slow shutter because the light has gone, open the aperture, raise ISO, or add flash. A flash at 1/200s with second-curtain sync freezes the flower at the end of the exposure and trails the movement behind it, which looks like intent rather than a mistake.
4. Focus on a stable part of the flower
Autofocus will chase a swinging petal and miss, so take control of the focus point. Use single-point or spot autofocus, place the point on the centre of the flower or on the stem just below it, and use back-button focus if your camera has it so focus starts when you want it rather than when you half-press the shutter.
On a tripod with Live View, magnify to check the focus and then switch to manual. Nothing moves after that. This takes fifteen seconds and it is the most reliable option for close work in wind.
Then shoot a burst. A burst of ten to twenty frames, released across the lull, is what turns an unlucky gust into a usable file. Run the cycle twice: once as the flower travels to the far side of its swing and once as it comes back, because the two directions are rarely equally steady.
Two habits carry this over a whole session. Check the last frame’s sharpness before you change anything, so each adjustment has a reason behind it. And keep your eye on the flower rather than the screen, because reviewing during a lull is exactly when the next gust arrives.
5. Compose around the wind direction
Watch which way the flower leans during the gust, then leave space on that side of the frame. A flower photographed with the breeze behind it and empty space in front gives the movement somewhere to go and reads as deliberate.
Use side light for petal texture. Low, angled light rakes across a petal and shows the veins and the fuzz, which is exactly what a flat midday sky will not do.
Look for a background that is doing less work than the subject. A distant hedge or a wall a few metres back stays still while the flower moves, so a slightly soft frame is instantly readable as subject movement rather than camera shake. Tidying the background also means fewer wasted frames from a stray stem whipping through.
6. Take a short burst and review the results
Check four things on the back of the camera: is the flower sharp, is the background clean, is the exposure right, and which way is the movement. Then change one setting at a time. Moving aperture, ISO and shutter together gives you no information about which one fixed it.
Look at the pattern across the whole burst, not at one frame. If five frames in a row are soft in the same direction, the wind is beating your shutter speed and you need 1/800s, a clamp, or a longer rest. If one frame in ten is sharp, you are fine and just need to keep firing.
One thing to skip entirely: bracketing. Blending a moving flower across several exposures gives you ghosting every time, so shoot a single frame and change the exposure setting between shots instead.
Common Mistakes
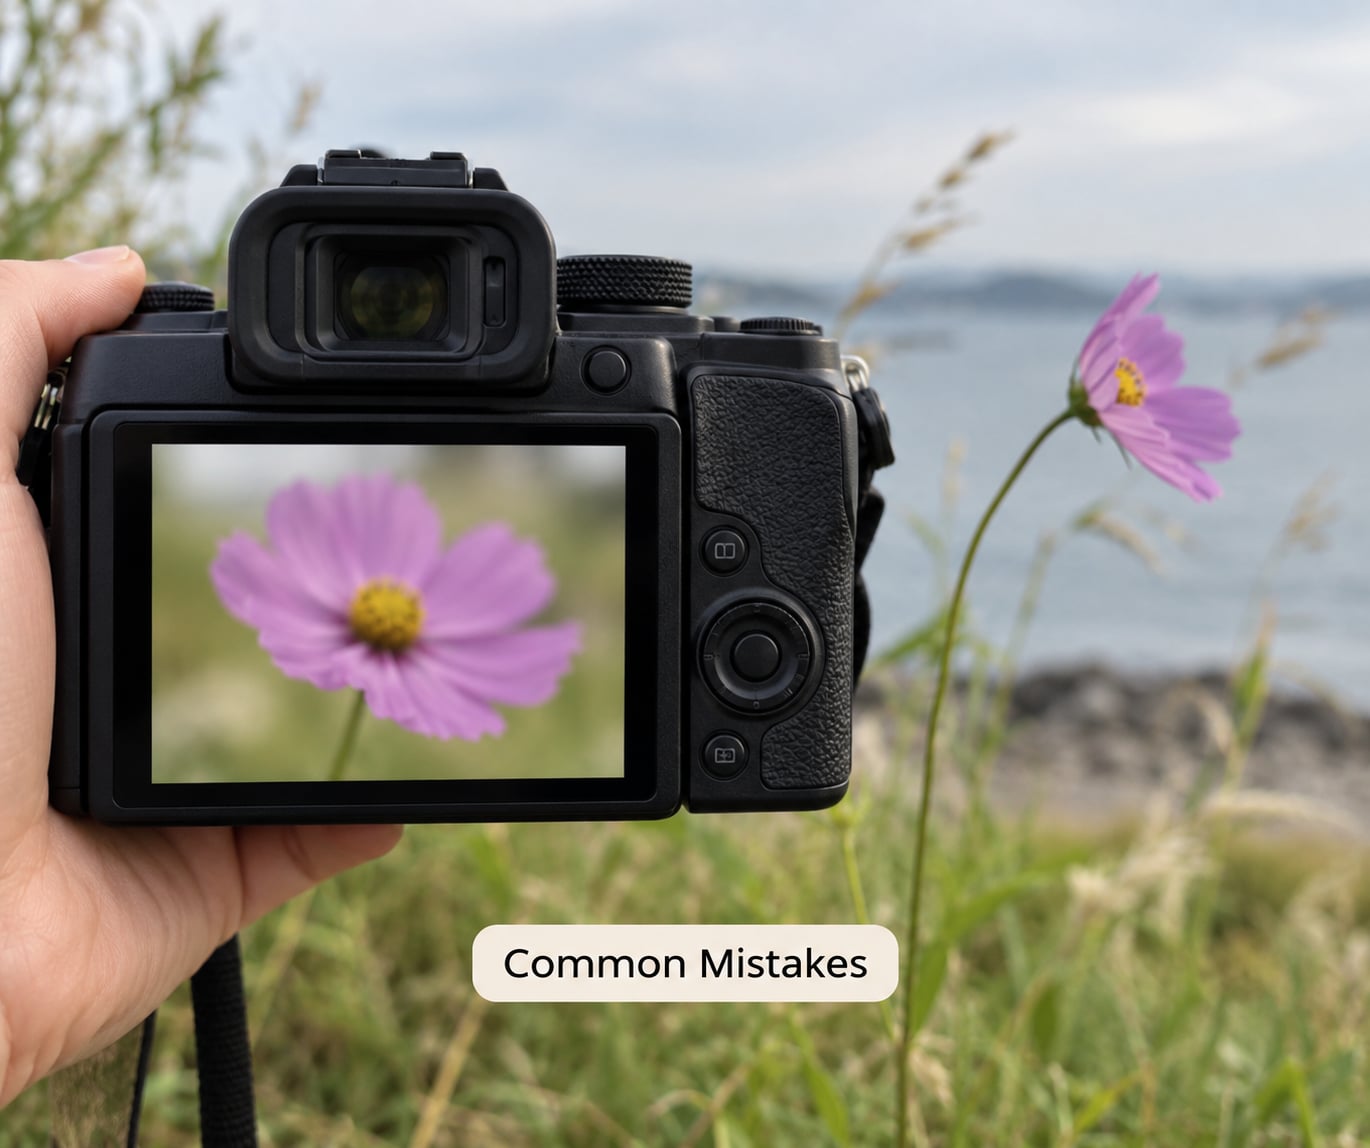
These four come up again and again when people are learning how to photograph flowers on a windy day, and each one has a specific fix rather than a general instruction to try harder.
- Expecting image stabilisation to freeze a moving flower. It corrects your own movement during the exposure, not the subject. Pair it with 1/800s or faster and a burst.
- Shooting at 1/125s and hoping. That speed is fine for a tripod shot of a landscape, and hopeless for a stem moving in a gust. Match the speed to the wind using the table above.
- Letting autofocus track the petal. Switch to single-point or manual focus and put the point on a stem or the flower centre.
- Forcing bright light into a dark background. The meter reads the shade and the petals blow out. Dial in minus one to minus one and a third of a stop, or meter on the petals themselves.
Two more that cost people whole sessions: arriving at the site and setting up in one spot instead of walking the location first, and shooting wide with the wind at eye level. Walk the site, find the sheltered side, and get low before you unpack anything.
If you are wondering when to give up entirely, use wind speed rather than frustration as the rule. Above roughly 25 to 30 mph sustained with gusts past 40 mph, a flower moves further in one frame than 1/1000s can hold, and the sensible move is to pack the tripod, come back on a calmer day, or spend the rest of the light shooting wide environmental frames with the movement left in.
| Symptom | Cause | Fix |
|---|---|---|
| Flower soft, background sharp | Subject movement | Faster shutter, burst, clamp the stem |
| Whole frame soft | Camera shake | Tripod, two-second timer or remote, stabilisation as your body requires |
| Ghosted or doubled edges | Bracketing blended across moving foliage | Single exposure, adjust exposure setting between frames |
| Focus misses on a swinging bloom | Autofocus tracking the petal | Single-point AF on the stem, or manual focus in Live View |
| Blown petal highlights | Metering on a dark background | Minus one to one and a third of a stop, or spot meter the petals |
| Ragged edges in a slow-shutter frame | Subject moving through a multi-second exposure | Clamp the stem, or add a 3-stop ND and keep the frame still |
For a frame that is nearly sharp, rescue it before you go home. Lift the shadows, add a small amount of local contrast to the flower, and a light sharpening pass on the subject only. It will not survive a hard crop, but it will survive a screen.
Frequently Asked Questions
Can I photograph flowers in strong wind without a tripod?
Yes, and most frames will be fine if you shoot fast enough. The tripod only handles camera shake; it does nothing for a flower that is moving. In strong wind, work at 1/800s or faster, rest the lens hood or your elbows on something solid, turn on continuous shooting and fire a burst of ten to twenty frames into the lull. Expect more failures than usual, and use a plant clamp if you can get one on the stem.
What shutter speed should I use to freeze windblown flowers?
Use 1/500s in a steady breeze, 1/800s to 1/1000s when gusts are visible in surrounding foliage, and 1/2000s in a gale. Close-up and macro frames need the faster end of each range because the depth of field is so thin. A useful check before you shoot: if you cannot hold a 1/500s handheld, you cannot freeze a flower at 1/500s either.
Is image stabilisation useful when photographing flowers in wind?
Only for the half of the problem it was designed to solve. Stabilisation corrects the small movements of the camera in your hands during an exposure. It does not stop a stem moving, so it will not rescue a frame of a swaying flower on its own. Check whether your camera advises turning stabilisation off when the camera is locked to a tripod, since older DSLR lenses can introduce blur when it is left on.
How do I photograph flowers in the rain without blurry results?
Overcast and drizzly weather usually brings the best light of the year for flower photography, and rain does not soften leaves the way wind does. Keep the front element clear with a cloth, shoot at 1/500s or faster, and use a reflector or a pale card to put soft light back into petals that would otherwise look flat. Water droplets on petals are worth keeping: they add texture to a close frame.
Should I freeze the motion or let windblown petals move in the photo?
Both work, and the choice is about what you want the frame to say. Freezing needs 1/800s or faster plus a burst, and it gives you a crisp record of a single moment. Letting it move needs a three-stop neutral density filter and an exposure of half a second to two seconds on a tripod, and it turns a whole field into soft directional streaks. Decide before you arrive, because the two approaches need different settings and different frames.
What is the best way to photograph flowers with a phone on a windy day?
Phones cope well if you treat them like a fast camera rather than a phone. Tap the flower to lock focus and exposure, lower exposure a little so the petals do not blow out, use the fastest burst your phone offers, and shoot more frames than feels necessary. Bracing the phone against something solid and holding still matters a lot. A cheap clamp on the stem does more for your results than any phone setting.
What to Do First on Your Next Windy Shoot
Walk the location and find the sheltered side of something solid, set the tripod with the camera low and a two-second timer running, then work out the wind and dial in the matching shutter speed from the table. Turn on continuous shooting, focus on the stem, and fire a burst of fifteen frames into the lull after the next gust peaks.
That sequence takes five minutes and it is the whole technique. Everything else on this page, clamps, flash, neutral density filters, is an addition to it rather than a replacement, and you will get most of your sharp windy flower frames from those five minutes alone.