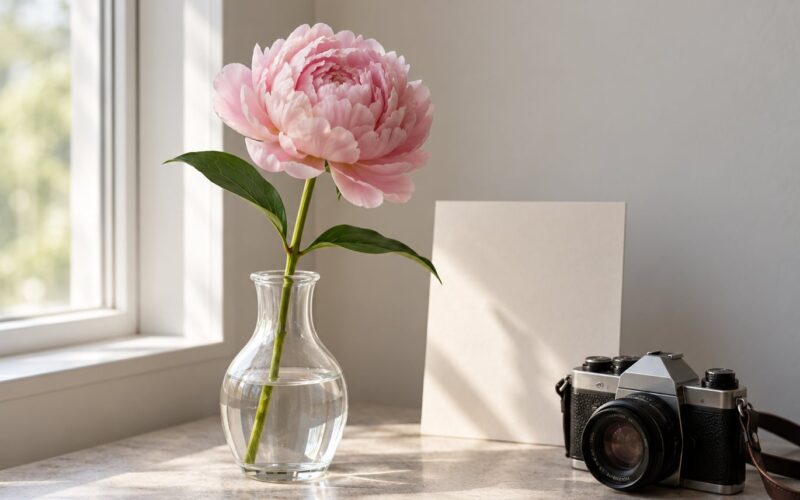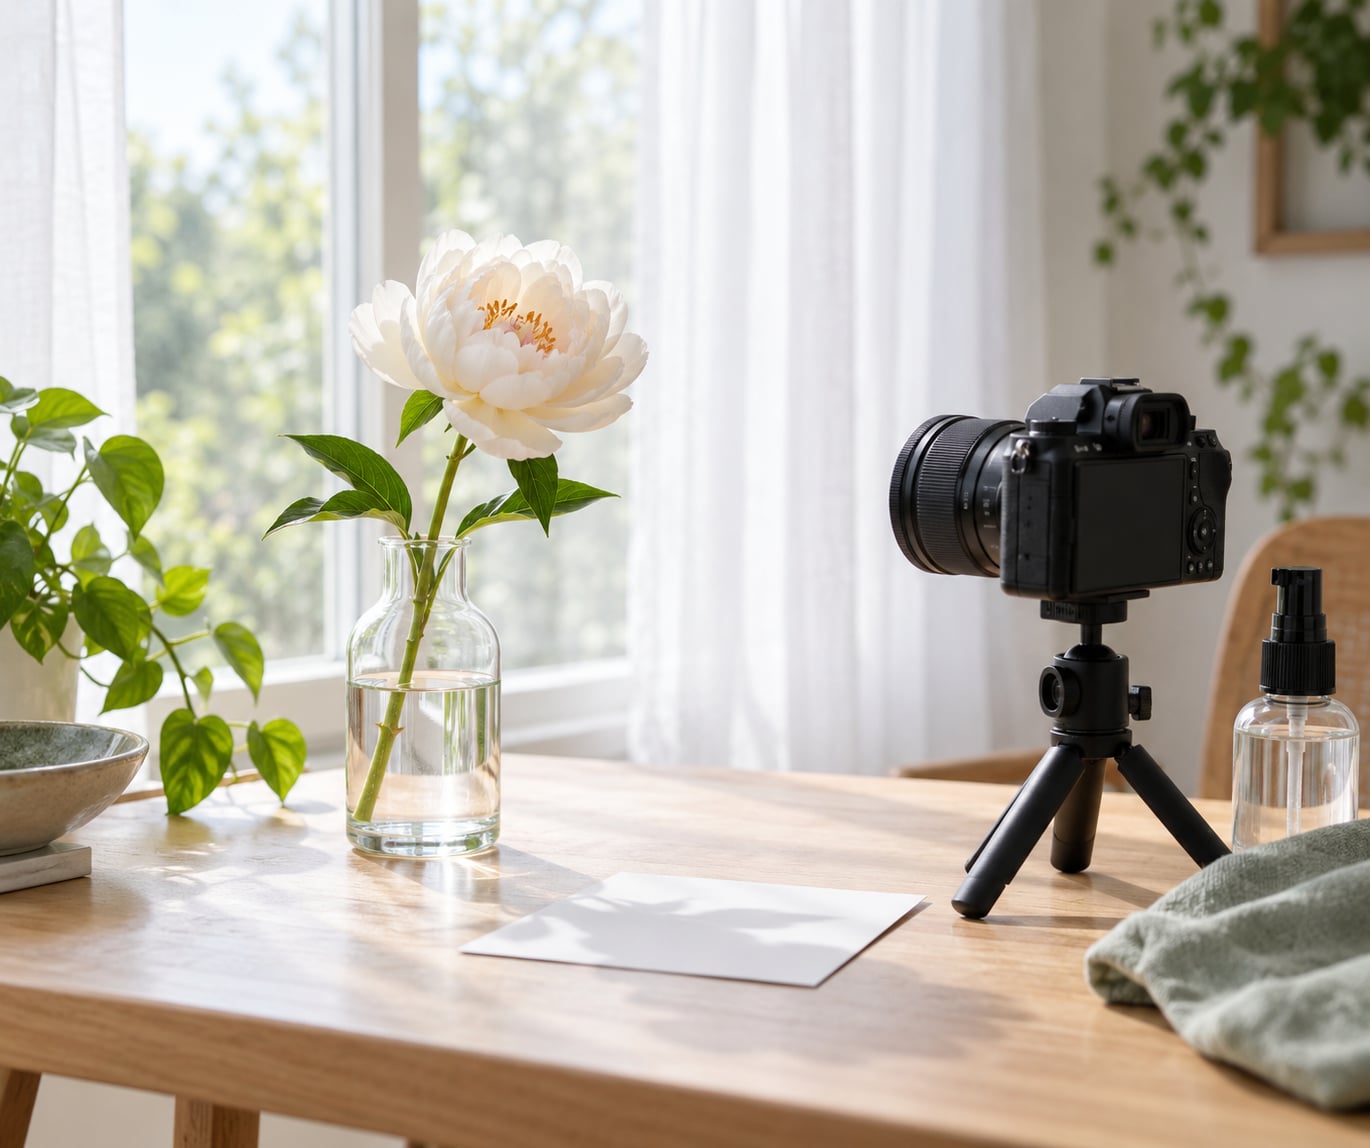
Learning how to photograph flowers indoors with window light takes about ten minutes to set up and costs nothing beyond a flower in a glass. Put the pot or vase 30 to 60 cm from a window, hang a sheer curtain if the sun is direct, switch off every ceiling light, then shoot in manual mode with your tripod already level.
That is the whole method. Window light is directional, soft, and free, and it is the reason good flower photos from kitchens and living rooms exist at all. The rest of this guide is how to photograph flowers indoors with window light without the three usual disappointments: blown-out petals, hard shadows across the bloom, and a frame that is soft because nothing was steady.
Table of Contents
- What You Need
- Step-by-Step
- 1. How to photograph flowers indoors with window light starts with the flower itself
- 2. Control the light before you control anything else
- 3. Position the flower and the background
- 4. Support the camera and focus manually
- 5. Set the exposure by watching the histogram
- 6. Refine the frame, then stop
- Common Mistakes
- Frequently Asked Questions
- What is the best way to photograph flowers at home?
- What are the best camera settings for flower photography indoors?
- How do you avoid glare when photographing flowers in a glass vase?
- Do I need a tripod to photograph flowers indoors with window light?
- Conclusion
What You Need
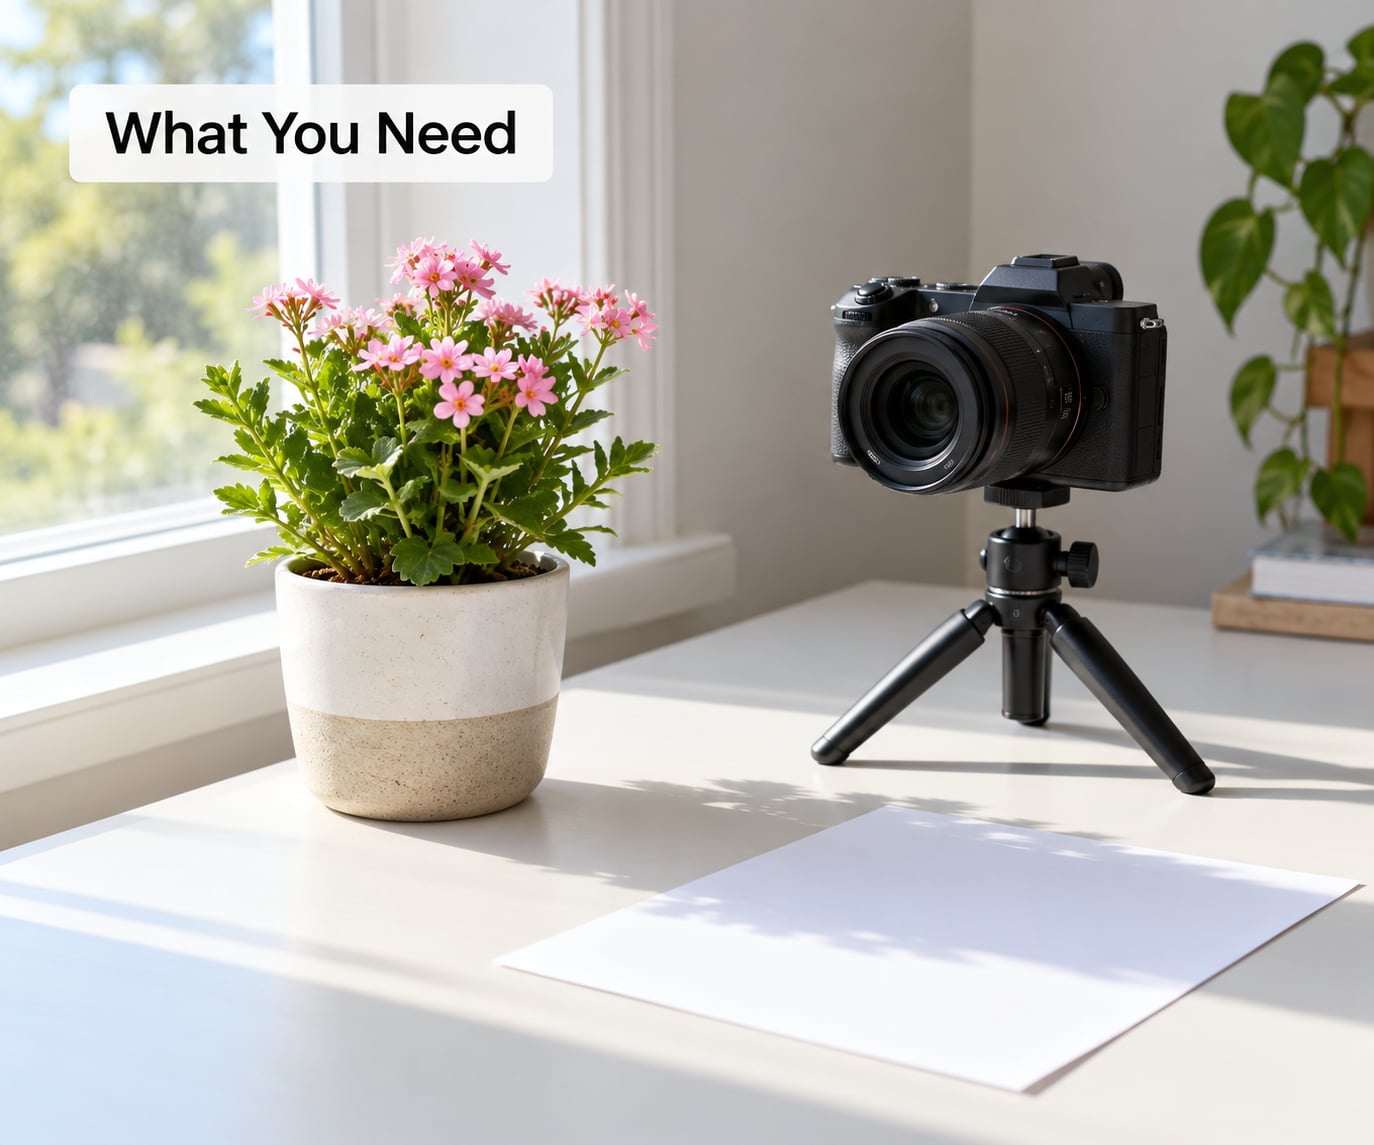
A windowsill, one flower, and a camera of any kind will get you a usable image. Everything below is optional, and you should add it only when a specific problem shows up.
A camera or phone. A phone handles the whole tutorial. A mirrorless or DSLR body with any lens will do better if the lens focuses closer, but a standard 50 mm lens plus a cheap extension tube covers most indoor flower work.
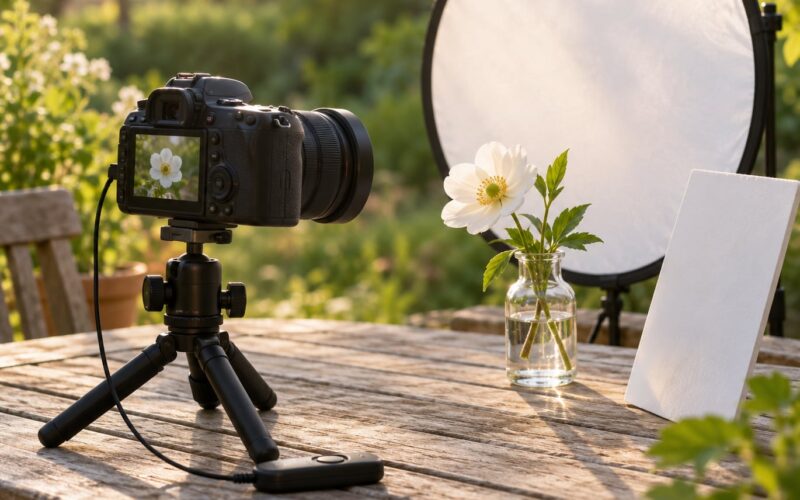
Something to stand still. A tabletop tripod, a stack of books, a sturdy windowsill, or a clamp arm screwed to the edge of the table. Without support you are limited to shutter speeds your hands can manage, and that rules out sharp macro work.
One flower with structure. A single bloom, a small bud, or a short stem with two or three flowers reads better than a crowded bouquet. Choose one with visible petal edges, because texture and translucency are what window light shows off.
A surface. A plain white or black sheet of card, a wooden board, or a piece of felt. Anything with a pattern will fight your subject.
A light modifier. A sheer curtain or a shower curtain for diffusion, and a sheet of white card or a reflective car sunshade for bouncing light back into the shadow side. Both are household objects, and both do more for a flower photo than any camera upgrade.
Two small helpers. A spray bottle with water for dew droplets, and clothespins or a helping-hand clamp arm to hold stems at an angle. A glass of water keeps the stems alive through a long session, which matters more than people expect.
Step-by-Step
1. How to photograph flowers indoors with window light starts with the flower itself
Rinse the petals under cool water and let them dry, so grit and dust do not turn into bright speckles in macro. Cut the stem at an angle and keep it in water while you work.
Wipe any fingerprints or smears off the vase before the camera goes anywhere near it. Under a bright window, a single greasy thumbprint on glass reads as a bright fog that no amount of editing removes cleanly.
2. Control the light before you control anything else
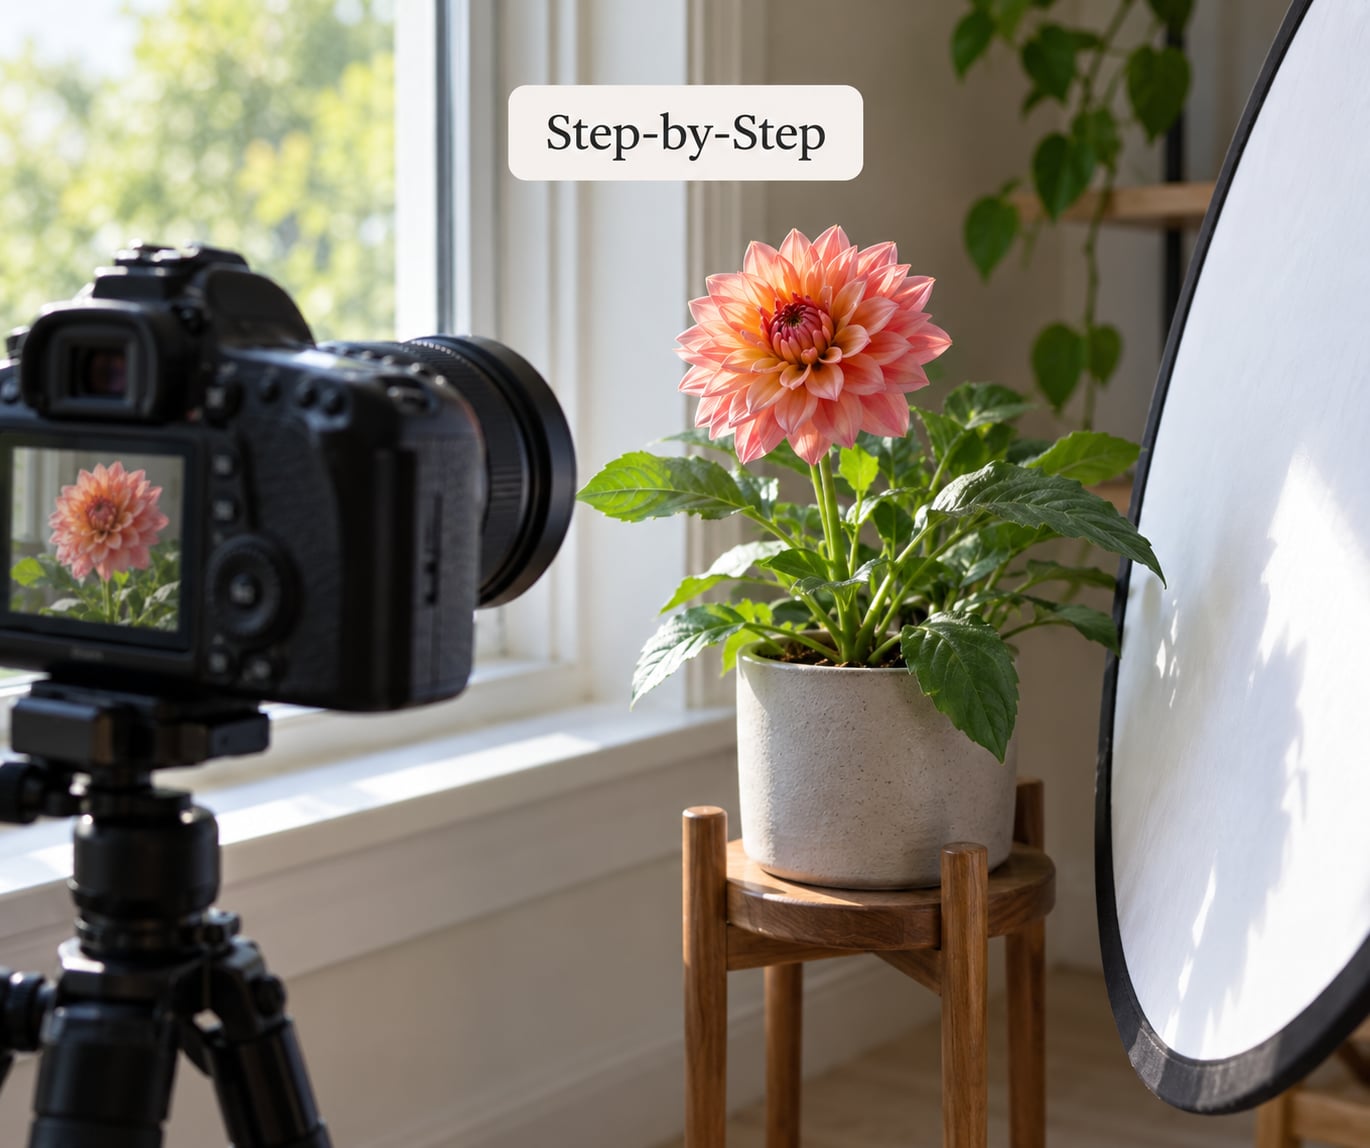
Hang a sheer curtain between the flower and the window. Direct sun through glass throws hard-edged shadows across your petals and clips the highlights, while a curtain spreads the same light into something that wraps around the bloom.
Turn off the lamps. Mixed light is the single biggest reason indoor flower photos come out with a green or yellow cast and a colour that changes depending on which lamp is nearest the flower. One source, one colour temperature, no guessing.
Face the flower toward the window for a bright, front-lit look, or turn it 90 degrees for side lighting, which gives shape and shadow and shows the curve of a petal. Put the window behind the flower and you get backlighting, where thin petals glow and stems go near-black.
3. Position the flower and the background
Set the flower one to two hand widths from the window, not against the glass. Closer to the glass means a harsher, brighter light with less colour and fewer details in the shadows.
Now handle the background, which is where most home setups fall apart. A tidy kitchen wall still has a light switch, a smear, and a cable in frame. Slide a plain card behind the flower, or move the background two or three metres away so it falls out of focus into a smooth blur.
Bounce white card on the shadow side to lift the darkness slightly. A little shadow keeps a flower looking three-dimensional, so fill only until the details are visible.
4. Support the camera and focus manually
Mount the camera, turn image stabilization off, and compose before you touch any dial. Live view with magnification, then manual focus, is the most reliable way to get a petal edge sharp. Autofocus will hunt because macro contrast is low and the subject is thin.
Focus on the front of the flower, not the middle. The part of the bloom nearest the lens is what the viewer looks at, and it is the part that goes soft first when depth of field is shallow.
5. Set the exposure by watching the histogram
Start at manual or aperture priority, ISO 100, a shutter speed around 1/125 second, and an aperture between f/4 and f/5.6 for a softly blurred background. Widen to f/8 or beyond when you want the whole bloom sharp and the background legible.
Check the histogram and pull exposure down until the brightest petal sits just under clipping. White and pale yellow petals blow out long before the rest of the frame looks too bright to the eye, and clipped petal detail cannot be recovered in editing.
Shoot RAW. A window is a daylight source, and a RAW file gives you room to correct the colour temperature afterwards without the muddy result you get from a JPEG.
6. Refine the frame, then stop
Take a wide test frame, check the shadows and the edges of the background, then crop in. Move the flower a centimetre at a time rather than moving the camera, since small subject changes cost you nothing.
Make three deliberate variations: one wide, one tight on a single petal, one with the stem and vase included. The tight frame almost always has the best texture.
Common Mistakes
Direct sun through the glass. Hard shadows, white patches on petals, and a background that is bright while the subject is dark. Fix: sheer curtain between window and flower, or shoot on an overcast day, which acts as a giant softbox.
Leaving the room lights on. A warm lamp next to a cool window gives two colour temperatures and a colour cast you cannot fully correct. Fix: kill the lamps, and if you need more light, bounce window light off white card rather than adding another source.
Handheld close-ups. A few millimetres of hand movement is enormous at macro magnification. Fix: a tripod or a firm support, a 2 second timer, and stabilization off. If you have no support, step back and use a longer focal length instead.
Relying on autofocus. Macro autofocus drifts and misses, especially against a busy background. Fix: manual focus with magnified live view, and check the sharpness on the camera screen at full size rather than trusting the thumbnail.
A cluttered background. Every object behind the flower competes for attention. Fix: a plain card close behind the subject, or distance the background far enough to blur. Moving the background is cheaper than editing it out.
Guessing exposure on the screen. Bright screens lie in daylight, so an image that looks right in the camera can be overexposed. Fix: histogram, plus a test frame you check at full brightness.
Photographing straight through a window. Shooting the flower on the far side of the glass with the window behind you produces glare and reflections. Fix: shoot the flower inside the room with the window to the side, so the glass is out of the frame entirely.
Waiting for a wilted flower. A bloom photographed after an hour of drooping needs rescuing in software. Fix: refresh the stems in water, and work on one flower at a time so the rest stay hydrated in the background.
Frequently Asked Questions
What is the best way to photograph flowers at home?
Set one flower near a window, hang a sheer curtain between it and the glass, and turn off every room light. Mount the camera on a tripod, shoot manual at ISO 100 with an aperture around f/4 to f/5.6, and check the histogram so pale petals do not clip. A plain card behind the bloom and white card on the shadow side do more for the image than extra gear. Work in RAW and refine the crop afterwards.
What are the best camera settings for flower photography indoors?
Start at ISO 100, a shutter speed near 1/125 second, and aperture priority or full manual. Use f/4 to f/5.6 for a creamy blurred background, or f/8 to f/11 when you want the whole flower and stem sharp. Focus manually with magnified live view, turn image stabilization off, and use a 2 second timer. Shoot RAW so white balance stays adjustable in editing.
How do you avoid glare when photographing flowers in a glass vase?
Keep the window to the side of the vase rather than behind your subject, so the glass never sits between the lens and the light. Clean the vase first, since fingerprints and hard-water marks catch light as bright fog. If the vase is glossy, angle it so the reflection points away from the camera, and place a plain dark card opposite the window to soak up the reflection instead of bouncing it back.
Do I need a tripod to photograph flowers indoors with window light?
A tripod is strongly recommended, not strictly required. At close focus distances your hands move enough to blur the frame at almost any shutter speed, and stabilization on older lenses actually adds motion. If you have no tripod, prop the camera on a stack of books or the windowsill and use the self-timer. Alternatively step back and zoom in, which reduces shake considerably.
Conclusion
Do one thing this week: put a single flower beside a window, turn off the room lights, hang a sheer curtain if the sun is direct, and take one test frame on a tripod at ISO 100 and f/4. Read the histogram before you change anything.
Nearly every hard flower photo I have seen at home started as a simple window portrait that worked. Adjust the light and background only after that first frame looks sound, and you will be photographing flowers indoors with window light more often than you expected.