To get sharp macro photos handheld you need three things working together: a fast shutter speed to freeze your own shake and the subject’s movement, more light so that fast shutter speed does not force a high ISO, and physical bracing so the camera does not drift. Flash, a subject that is not moving, and a steady body do the rest. Most soft macro frames fail because only one of those three levers was working.
This is a field technique, not a menu dive. The eight steps below take about ten minutes of practice at home before they ever go near an insect on a fence post.
One phrase first, because it fixes most beginner confusion. Sharp means frozen: nothing moved during the exposure. In focus means the plane of focus lands on the part of the subject you care about. A frame can be perfectly sharp and still have the wrong part sharp, especially in macro where the whole depth of field at close focus can be thinner than a grain of rice. If your flower photo looks “soft,” look at it twice: is the whole frame smeared (shake or movement), or is one small area crisp and the rest soft (depth of field)?
If you are still building fundamentals, our photography basics notes cover exposure and focus modes before this gets interesting. The short version of the whole workflow: brace, shutter fast, aperture small, focus deliberately, add light, check at 100%.
Table of Contents
- What You Need to Get Sharp Macro Photos Handheld
- Essential
- Optional but useful
- Starting settings cheat sheet
- Step-by-Step
- Step 1: Prepare the Subject and Shooting Position
- Step 2: Use a Fast Shutter Speed to Keep Sharp Macro Photos Handheld
- Step 3: Set a Small Macro Aperture
- Step 4: Stabilize the Camera Against a Solid Surface
- Step 5: Focus on the Most Important Detail
- Step 6: Control ISO and Exposure
- Step 7: Use a Practical Timer or Burst Technique
- Step 8: Check Sharpness at 100% and Refine the Shot
- Common Mistakes
- Frequently Asked Questions
- What is the best shutter speed for macro photography?
- Does image stabilization make macro photos sharper?
- Why are my macro photos blurry?
- Do I need a tripod for macro photography?
- Can you focus stack while handheld?
- Can a smartphone take sharp macro photos without a tripod?
- Conclusion
What You Need to Get Sharp Macro Photos Handheld
The list is shorter than most macro guides suggest. Light and shutter control do the heavy lifting; everything else is refinement.
Essential
- Any camera with manual mode. Every mirrorless and DSLR body has it, and you need it to hold a fixed shutter speed while the aperture does the focusing work.
- A close-focusing lens. A true macro lens is ideal, but a close-focusing telephoto, a reversed kit lens, extension tubes, a diopter, or a Raynox-style close-up adapter all produce a usable frame. Working distance matters more than the badge on the barrel.
- Light. A flash unit is the single biggest jump in handheld sharpness, because it lets you shoot at sync speed and base ISO in shade. Bright overcast daylight works too, just with a faster shutter.
- Something to lean on. A wall, a tree trunk, a railing, a fence post, a knee on the ground. Costs nothing and does more for your frames than any accessory.
- Focus assist. Manual focus magnification and focus peaking. Both are free on most modern bodies and are the difference between guessing and placing the plane of focus.
Optional but useful
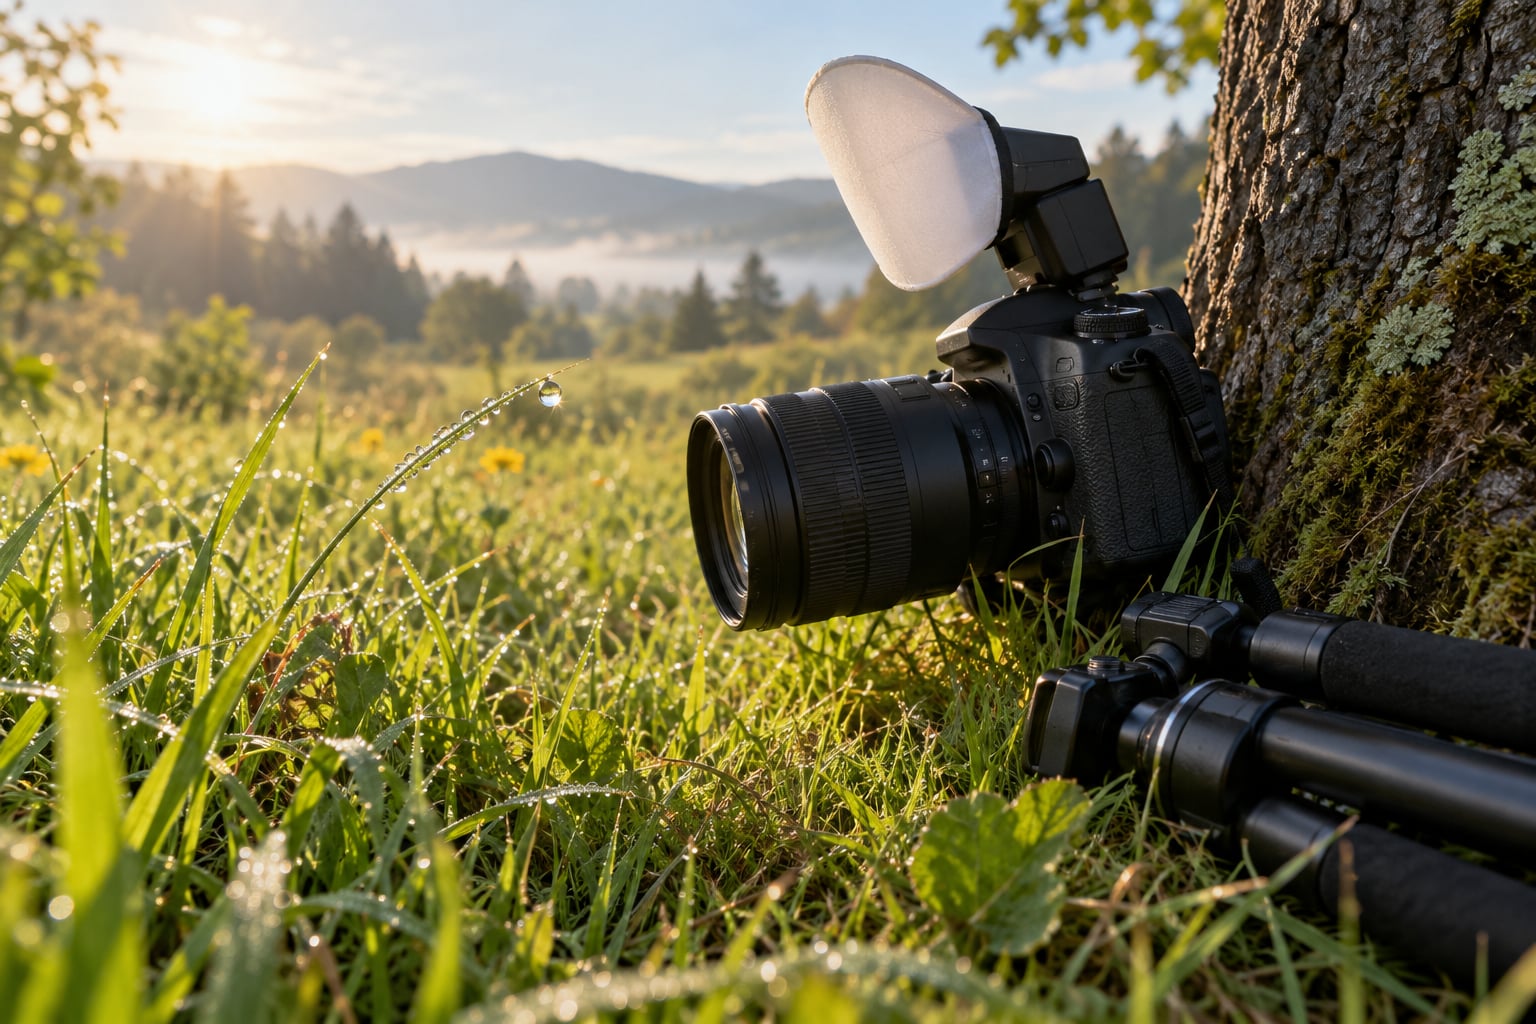
- A small flash diffuser or a sheet of white card to soften the light coming off the front element.
- A two-second self-timer or a wired remote release, so your finger is not on the shutter button when the frame records.
- A monopod, or a monopod with a gimbal head, as a middle ground between a braced body and a full tripod.
- A reflector or white card for bouncing fill into a black, shadowed subject.
Starting settings cheat sheet
These are starting points, not rules. Adjust for your subject, your light and how much movement it has.
| Subject | Shutter | Aperture | ISO | Light |
|---|---|---|---|---|
| Spider or insect at rest | 1/200s (sync speed) | f/8 | 100-200 | Flash, output adjusted |
| Flying or moving insect | 1/200s or faster with high-power flash | f/8 | 100 | Flash, off-camera |
| Flower, seed head, tree bark | 1/160s or faster | f/9 to f/11 | 100-400 | Overcast daylight or flash |
| Coin, watch, textured object indoors | 1/125s or faster | f/8 | 100-800 | Window light or lamp |
| Frog or small animal | 1/250s or faster | f/8 | 400-1600 | Flash |
Forum shooters on r/macrophotography and photo.stackexchange converge on the same two numbers: shoot at your flash sync speed and control exposure with flash power, and go to f/9 or tighter when handheld if the light allows. The depth of field you gain there pays for the shutter speed you lose.
Step-by-Step
Step 1: Prepare the Subject and Shooting Position
Get in position before you worry about settings. Find the subject, decide which detail matters (an eye, a flower centre, a ridge of bark), and get your feet planted so you are not shifting weight when the shutter fires.
Crouching low on a path is harder than it looks. Put one knee down, rest your elbows on your thigh, and you have a tripod that costs nothing. If a breeze is moving the stem, wait for a gap or find a subject in a sheltered spot. Wind and subject movement ruin more frames than settings do.
How you know it worked: you can hold still for ten seconds without needing to look down or re-adjust your feet.
Step 2: Use a Fast Shutter Speed to Keep Sharp Macro Photos Handheld
Switch out of Auto and Program. Those modes pick a slow shutter the moment the light drops, and a slow shutter plus a close-focusing lens plus a braced-but-not-rigid body equals motion blur.
The community rule of thumb is to multiply the focal length by the crop factor for a workable minimum, and then double it. A 90mm lens on a 1.5x body gives 135, so 1/250s or faster. In practice that number moves a lot with how close you are and how far your arms are extended.
With flash, the rule is simpler and stronger: set the shutter to the camera’s sync speed (commonly 1/200s, sometimes 1/250s) and control the exposure with flash power instead of the shutter. That is what removes motion blur without forcing a high ISO.
How you know it worked: shoot the same static subject twice, once at 1/200s and once at a deliberately slow 1/13s. The slow frame smears and the fast one stays crisp, which tells you exactly how much movement you were fighting.
Step 3: Set a Small Macro Aperture
Aperture controls how much of the subject is in focus, which is the usual reason a macro frame looks disappointing. At close focus, depth of field is measured in millimetres. Wide open you might have a couple of millimetres; stopped down you gain real coverage.
Start at f/8 and push to f/11 or f/16 when the light is there. Past f/16 you hit lens diffraction, where the softening from bending light inside the lens cancels out the extra depth of field. f/8 to f/11 is the sweet spot for most macro work handheld.
If you need more than f/11 and the subject is three-dimensional, stop closing down and start stacking. The real fix for shallow depth of field is not a smaller aperture, it is multiple planes combined in software.
How you know it worked: at 100% view, both the front and back edges of your intended detail are defined, not just the middle.
Step 4: Stabilize the Camera Against a Solid Surface
This is the step people skip, and it is worth more than any setting. Brace the camera rather than your arms: press the viewfinder or rear screen gently against a wall or tree trunk, rest the lens barrel on a rail or fence post, or set the camera on a flat surface at subject height and use a two-second timer.
Keep your elbows against your ribs, not flared out. Breathe out, hold, and shoot on the tail of the exhale. And keep the lens hood on: at high magnification the front element sits close enough to a stem to clip on contact, and a knocked lens is a dead frame and sometimes a broken barrel.
How you know it worked: you can take three frames and all three look identical in blur. If they differ, the camera is still moving.
Step 5: Focus on the Most Important Detail
Decide what deserves to be sharp before you touch the focus ring. An insect’s eye. The stamens in a flower. The nearest ridge of bark with the background falling away behind it.
Manual focus with magnification is the honest method: switch to manual, set focus peaking on, zoom to 10x or 5x on the viewfinder, and rack focus until the highlight edges light up on your target detail. Single-point autofocus in a small square works well for still subjects, and it beats an AF-C mode chasing a moving leg. Switch the camera to electronic first curtain or use mirror lock-up if you are on a DSLR, so the mirror slap does not blur the frame.
Focus peaking is a highlight overlay, not proof of focus. Always confirm with magnification.
How you know it worked: the detail you chose is the sharpest thing in the frame, and the rest falls away softly behind it.
Step 6: Control ISO and Exposure
ISO is your noise dial, so treat it as the last thing you change. With flash, set ISO 100 or 200 and let flash power do the exposure work. Going to f/11 with a fast shutter and no flash will push ISO into the hundreds, and at that magnification you are already cropping hard into the frame, so noise gets magnified too.
If the frame is too dark, check the order: open the aperture a stop, then add light, then raise ISO. If highlights are blowing out, use flash exposure compensation or drop the flash output a notch rather than speeding up the shutter past sync. ISO 800 is fine for a web-sized crop; it is not fine for a large print of a hairy spider, which is why base ISO plus flash is the standard answer.
How you know it worked: the histogram shows detail in both the brightest and darkest parts, with no clipped white on petals or dew.
Step 7: Use a Practical Timer or Burst Technique
Pressing the shutter is a small movement, but at 1:1 magnification a small movement is a large movement. Two-second and ten-second self-timers remove it entirely, and both are on every camera worth using for this.
A short burst of three to five frames is useful for still subjects when the wind is up: one of them lands in a gap. For moving subjects, a burst gives you options, but it is not a substitute for a fast shutter. If you are stacking, shoot a bracketed sequence instead and make sure the frames overlap in focus.
How you know it worked: timer frames taken from a braced position have identical sharpness, frame to frame.
Step 8: Check Sharpness at 100% and Refine the Shot
Review at full size before you change anything. A back-button or screen image preview lies about sharpness, so open the file and zoom to 100%.
Diagnose in this order. Whole frame smeared slightly: shake, brace harder or slow down. Subject smeared but background crisp: the subject moved, so speed up or wait. One small area crisp, rest soft: focus landed but depth of field was too shallow, so stop down or stack. One flat edge along a side of the frame: lens tilt, so square the sensor plane to the subject.
That last one is worth learning. A sensor held parallel to a flat subject, bark or a coin, gives a single frame sharp from edge to edge. Angle the camera and the near and far ends of that flat surface fall outside the plane of focus. This is the one trick that gives full-subject sharpness without stacking.
How you know it worked: you can name the cause of every soft frame, and you change one setting, not three.
Common Mistakes
Shooting in Auto or Program. Both modes hand the shutter to the camera, and when the light drops the camera buys its exposure with a slow shutter instead of the aperture and ISO you would have chosen. Switch to manual or shutter priority and check what it actually picked.
Treating one soft frame as a focus problem. Zoom in before you touch anything. If the edges of every object are soft in the same direction, that is shake or movement, not depth of field. Focus problems look like one crisp island in a soft frame.
Stopping down too far. f/16 and f/22 add a little depth of field and then take it back with diffraction. Most lenses start softening visibly at f/16 on a full-frame sensor. Stacking beats a tiny aperture.
Ignoring the shutter button itself. The finger movement from a half-press to full press, and mirror slap on a DSLR, are both real. Use the timer, a remote, or electronic first curtain.
Forgetting the subject is moving too. Image stabilization in a lens or body compensates for your movement, not the insect’s. On a cold morning the subject is slow, which is why early morning is when most macro work gets done.
Standing in a bad position. Reaching up and holding a heavy lens at arm’s length is the least stable pose there is. Kneel, brace, or lie down. A monopod helps, but a braced elbow beats an unsteady grip on a handle.
One habit worth building before field work: practice on indoor objects. A coin, a watch face, a textured surface, a plastic lego figure. Focus is repeatable there, so every soft frame is a technique problem you can actually diagnose.
Frequently Asked Questions
What is the best shutter speed for macro photography?
With flash, set the shutter to your camera’s sync speed, usually 1/200s, and control exposure with flash power rather than the shutter. Without flash, a common starting point is the focal length multiplied by the crop factor, then doubled: a 90mm lens on a 1.5x body needs about 1/250s. The faster you go, the more light you need, so add ISO only as a last step.
Does image stabilization make macro photos sharper?
It helps with your own movement, not the subject’s. In-body stabilization and lens optical stabilization can buy a few extra stops when you are holding still at a normal working distance, but they cannot freeze a walking insect or a stem moving in wind. For macro, stabilization is a useful extra layer, not the fix.
Why are my macro photos blurry?
Check the blur pattern at 100%. Whole frame soft in one direction means camera shake or subject movement, so brace and speed up the shutter. One small crisp area with the rest soft means focus landed but depth of field was too shallow, so stop down or focus stack. Soft only along one edge usually means the sensor is tilted to the subject.
Do I need a tripod for macro photography?
Not for still subjects, textures, flowers, fungi or coins. Handheld works well with a braced body, a fast shutter and added light. A tripod earns its place for slow, low-light work, extreme magnification, live moving subjects and in-camera focus stacking, where consistent framing between frames matters more than any single frame does.
Can you focus stack while handheld?
You can, and stacking software can correct a small amount of drift between frames. Your odds improve sharply once you brace the camera against a surface and shoot from a fixed position, because alignment depends on the subject not moving relative to the frame. Expect to discard more frames than a tripod setup, and shoot more overlap between frames than feels necessary.
Can a smartphone take sharp macro photos without a tripod?
Yes, with care. Phones have small sensors and no flash sync speed to worry about, so the limit is usually your own movement and the phone focusing on the wrong thing. Tap to lock focus on the detail you want, rest your elbows on a surface, and check sharpness at full size. Where the phone allows it, a small LED light at low power often beats raising the ISO.
Conclusion
Start with the first three actions and change one thing at a time. Brace the camera against something solid, set a fast shutter speed with flash at sync, stop down to f/8 or f/11, and put the plane of focus on the detail you actually care about.
Then open the frame at 100% and read the blur before you touch a setting. Learn to tell shake from movement from shallow depth of field, and you can get sharp macro photos handheld in almost any light.